Category Archives: On The Air

Articles and other information related to On The Air Operations, Special Events, Activations, DXxpeditions, Portable and Mobile On The Air Activities, Nets, etc.

Propagation Prediction Websites

Is the 20-meter band open to the location of the latest DXpedition on the bands?   When is 6 meters open for Sporadic E?  Looking for a weak signal 2-meter contact with a specific grid square?  There are websites you can visit that give you a prediction of whether the band you are on is open to a given destination.

HF Propagation

N0NBH Propagation Widget

The simplest HF propagation prediction is the widget that is seen on many Amateur Radio Websites – QRZ.com, DXSummit.fi, and more.   This gives you a rough idea of what bands are open day and night. Data is based on the Sunspot Number, A and K indices, and other indices.  But this doesn’t take into account many factors like your location, the DX location, the characteristics of your station, and the DX station.  Just because 15m says Poor doesn’t mean you won’t hear anything on the band.

VOACAP – HF Propagation Prediction

VOACAP Point to Point Prediction

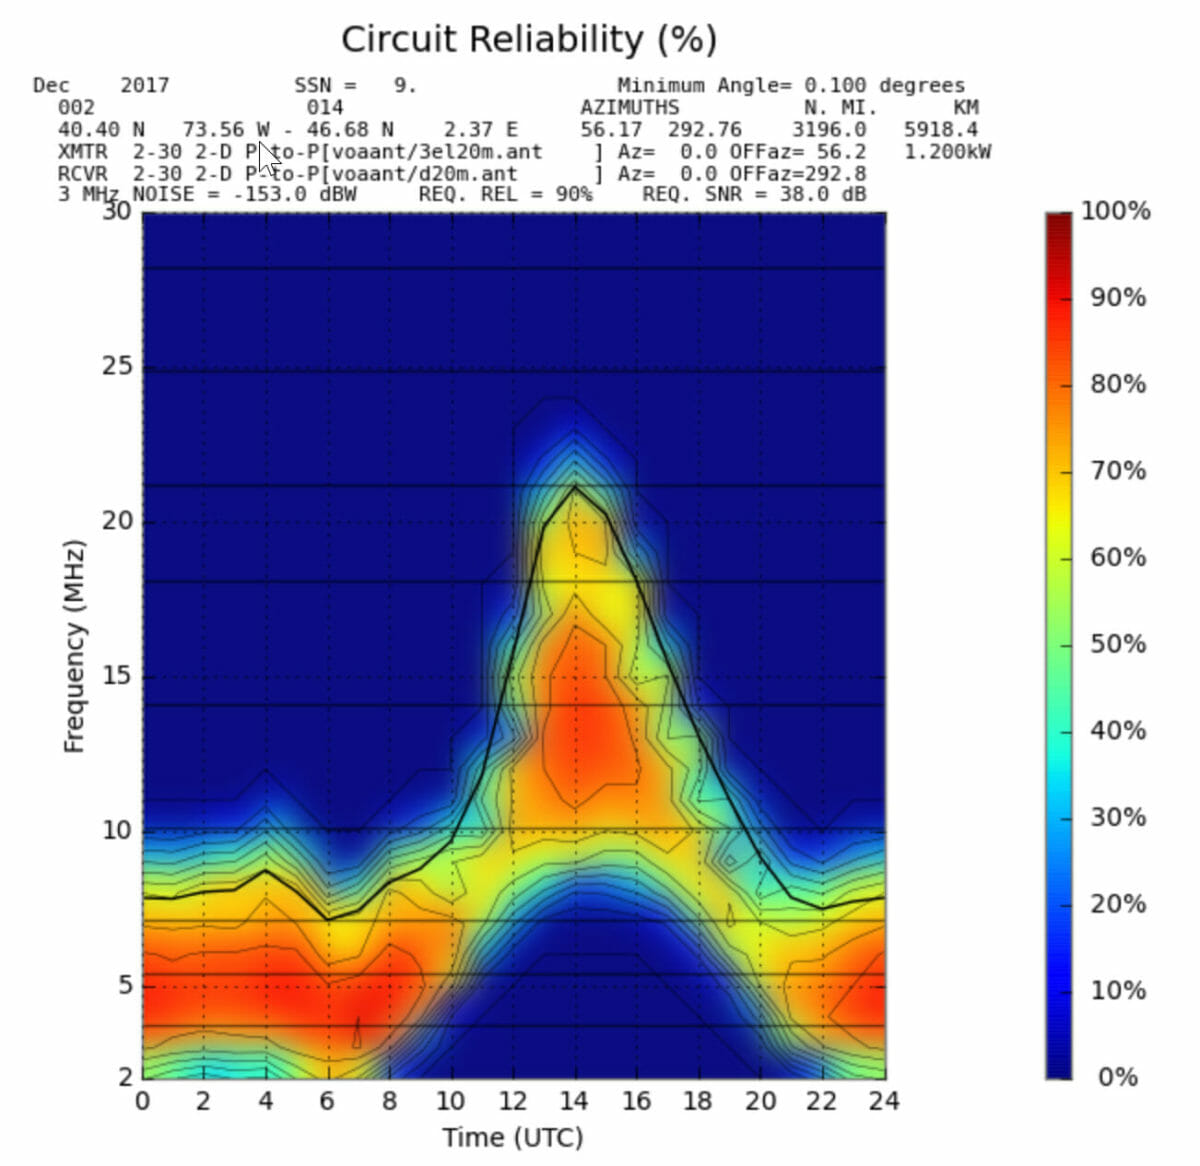
VOACAP is the Voice of America Coverage Analysis Program and provides detailed information about HF propagation.  You can choose transmitter and receiver locations from many cities around the world.  It also provides choices of Antennas, Power, Mode, and more for each end of the contact. You can look at several different views of propagation.  If you spend some time delving into the details of propagation visit this site.

VOACAP prediction from DXSummit.fi

For a faster view of whether you will be able to contact a specific DX Station that is currently on the air,  the DXSummit.fi spotting website has incorporated propagation predictions on their website.  If you find a DX station spotted there that you contact, just right-click on the DX callsign and select VOACAP from the drop-down.   You just need to choose whether you are a Basic (100 watts and a Wire) or a Superstation (Amplifier and Directional Antenna).  You can also look at views of Short Path or Long Path.  It will give you a good view of when you need to be on which band to contact the DX station.

6 Meters – The Magic Band

DXMaps - 6 Meter Openings
DXMaps – 6 Meter Openings

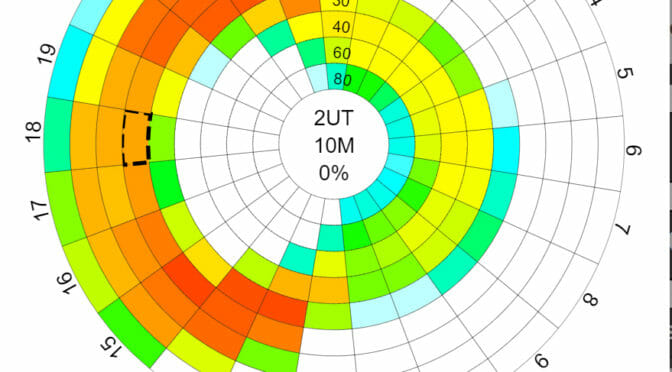
The best website that I have found for 6 meters is DXMaps.com.  It provides a map view of the world or you can select a continent. Based on spotting network data, it shows 6-meter contacts and color codes them by Sporadic-E, Multihop ES, Meteor Scatter, etc…  even Aurora.  You can also get a view of 10 meters, 2 meters, or 70 cm.  If you sign up for a free account, you can subscribe to real-time notifications when there is an opening near you.

2 Meter Propagation

VHF Propagation Map
VHF Propagation Map

Looking for a tropo opening for a weak signal 2-meter contact?   Visit the website http://aprs.mountainlake.k12.mn.us/ to see a VHF Propagation map.  This shows tropo openings as color-coded clouds – with brighter colors for the longer openings.    This is based on APRS data.

These are the websites that I like to visit to understand the propagation forecast for the day.  If your favorite site is not on the list, add a comment so the rest of our readers can check it out.
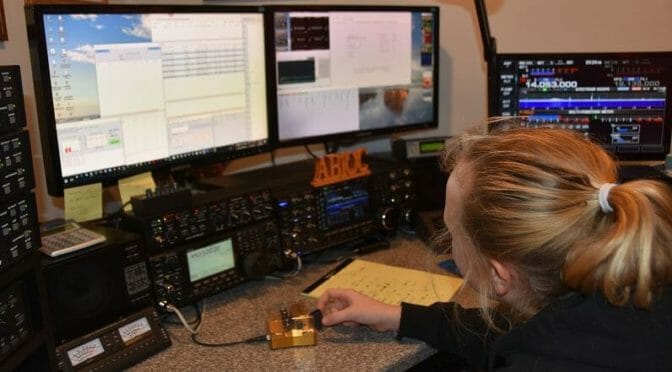
Anita, AB1QB

ARRL Rookie Roundup CW – Call for Operators

The next ARRL Rookie Roundup will be on Sunday December 17th and the mode is CW.    AB1OC and AB1QB will be hosting a multi-op entry from our QTH. 

Join Us for the Rookie Roundup

All Club Members who quality as rookies are invited.  For this contest, a Rookie is any Amateur Radio Operator who has received their first license in 2015, 2016 or 2017 or a has never made a QSO using the CW mode.

This is a great opportunity for qualifying members including  graduates of our recent CW classes to get on the air.   The rookie operators in the contest are also new to CW and the rates are slow.  The non-rookies in the contest all operate at slow speeds to help elmer the rookies.

2016 ARRL Rookie Roundup CW Certificate

Interested?

Help us to maintain our streak of #1 entries in the Rookie Roundup Contests!  If interested, contact Anita, AB1QB at [email protected] or at the December Club Meeting or Tech Night.  See the calendar for logistical information.

Calling all Elmers!

Don’t quality as a Rookie?  You can still participate in the Rookie Roundup as an Elmer.  Get on the air from your QTH between 1:00pm and 7:00pm on Sunday December 17th and make contacts with the Rookies.  You will be helping all of the CW rookies in the contest!

DX Alarm Clock Part 2 – Hardware

I recently wrote a blog article about the DX Alarm Clock software – here is Part 2 of the Series on the how I built the hardware for the DX Alarm Clock.

DX Alarm Clock Hardware Components

The DX Alarm Clock is based on a Raspberry Pi 3 computer and an Adafruit Pi-TFT Touch Screen Display.  The list of components, along with links is below.  Since I built the Raspberry Pi almost a year ago and technology is always advancing, some of the parts are no longer available or have better replacements available.  I’ll provide information on what I used and a recommended replacement.  Approximate prices are included.

Raspberry Pi 3
Raspberry Pi 3

Motherboard: Raspberry Pi 3 ($35) – includes a 1.2 GHz 64-bit quad-core ARM CPU, Build in WiFi, Ethernet, 4 USB Ports, an HDMI port and audio port (3.5″) and Bluetooth.

Also, you will need a power adapter  ($10) and Class 10 Micro SD card ($15) for the Raspberry Pi.  Ours is a SanDisk Ultra 64GB Micro SD Card.

Pi-TFT Touch Screen Display

Display: Adafruit Pi-TFT 2.8″ Display with Capacitive Touch Screen ($45).  A slightly larger, 3.5″ display is now available.

PiBow Case
PiBow Case

Case: Pimoroni PiBow Case for Raspberry Pi and Pi-TFT Display($20)

Kinivo Speaker
Kinivo Speaker

Portable Speaker:  Any small portable/rechargeable speaker will do.  Mine is a Kinivo, but it is no longer available.  Any small speaker will do as long as it is Bluetooth or has a 3.5″ stereo connector.

Completed DX Alarm Clock Hardware

The picture above shows the completed DX Alarm Clock Hardware running portable using a USB battery pack.

Raspberry Pi Development Environment

Raspberry Pi Development Environment

After constructing the Raspberry Pi, case and TFT Display, the next step was to connect it to a monitor via the HDMI port, a mouse via one of the USB ports and to a Bluetooth keyboard.   Then I loaded the Raspbian Operating System onto the Raspberry Pi via the micro SD card.  I first copied the OS to the Micro SD card using a PC or Mac and then inserted the card into the Raspberry Pi and booted from it.  You can find a good tutorial on how to do this at https://www.raspberrypi.org/learning/software-guide/quickstart/

Once Raspbian is installed, you will have a windows like GUI (Graphical User Interface) environment with a web browser, and a number of additional applications included.

This gave me a development environment that I could use to build and test the DX Alarm Clock software.  I used the Python language to develop the software.  I used the Python IDLE development environment, which is included in the Raspbian OS.

Interested in Raspberry Pi Amateur Radio Projects?  See the article on a Raspberry Pi Satellite Rotator Interface.

Radio Amateurs Developing Skills Worldwide