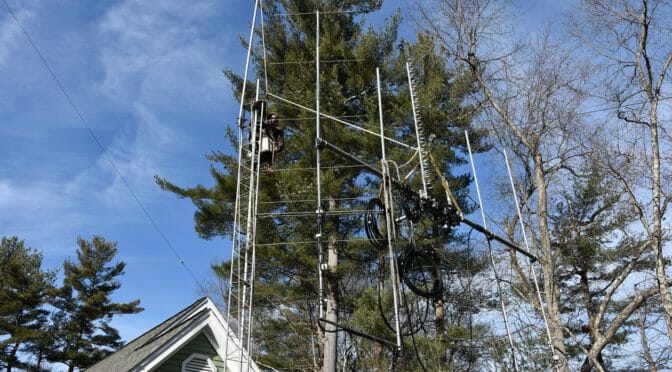
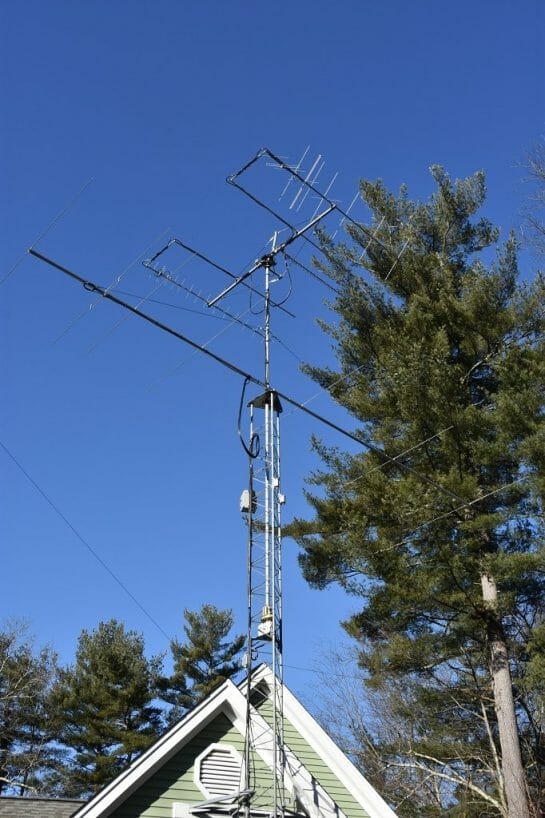
Our current Satellite 3.0 Antennas have worked well in their portable configuration. We’ve had them to License Classes, Field Day, Ham Fests, and ultimately to Hudson Memorial School for an ISS Crew Contact.
We have begun our Satellite Station 4.0 project with the construction of a new house-bracketed tower and the installation of our Satellite Antennas and a new 6 m yagi. You can read about our progress to date via the two links below…
The permanent installation of our Satellite Antennas and the associated new tower at our QTH is well underway. Here are two articles on the construction of the new antenna system. The project is based upon a house-bracketed Rohn 45G Tower. This is a good option for many Hams to consider when putting up a tower at their QTH.
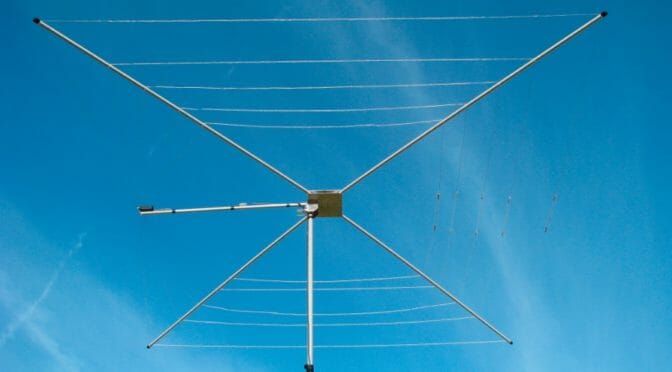
MFJ has created a set of 1/2-wave dipole antennas folded into a square (sort of a cobweb antenna). There are two units that cover 10m-20m. They are the MFJ-1836 ($229.95) that handles power up to 300 W, and the MFJ-1836H ($259.95) that handles up to 1.5 kW. These antennas are roughly 12-feet as measured diagonally across the square they make. (That is, about 9-foot by 9-foot.)
I purchased the high-power version and raised it up 25 feet in my backyard last year. I found its performance to be comparable to the vertical dipole antennas I have erected permanently.
My Original Intent
I originally purchased the antenna to see if it could be adapted to travel. I’d like to go on another lightweight DXpedition someday and I’m always looking for low-cost/low-weight solutions. This antenna weighs under 9 pounds (with the low-power model weighing slightly less than its big brother). Just for reference, the Buddipole Tripod and Mast weigh almost seven pounds and that’s before we add an antenna!
Assembly
Assembly of the antenna is straight-forward. I mounted it on a pipe and stuck it into a deck table’s umbrella hole. That allowed me to put the work at eye level and spin the antenna while I assembled it. That made assembly easy. I’m guessing I spent an hour reading the instructions and routing the wires.
The Wires
This is the only disappointment with the unit: the wires. MFJ used a lightweight stranded wire that is quite fragile with frayed ends. I’ve snapped the outer-most wire (for 20m) twice. If I were to attempt to adapt this antenna for travel it would have to be rewired with something more robust. My first choice would be Wireman model 534 “Invisible Touchcoat ‘Silky’ 26 AWG, 19-strand 40% copper-clad steel” wire. This stuff is tough with a break strength of 25 pounds. If I were to rewire this unit, or more likely purchase another antenna, I would discard the MFJ wires and use this stuff.
Tuning the Antenna
Tuning was straightforward when I used the antenna outside mounted up 25-feet. I just followed the MJF instructions and got a good match on all bands.
Tuning the antenna indoors mounted in my attic was another story.
MFJ-1836H mounted in NE1RD’s attic
This antenna, like nearly all antennas, works best when in the clear. That is, they work best when there is nothing in their near-field (say within 1/2 a wavelength). MFJ recommends the antenna be mounted at least 20-feet off the ground. Mounting this thing in my attic meant my furnace and roof are all within the antenna’s near field.
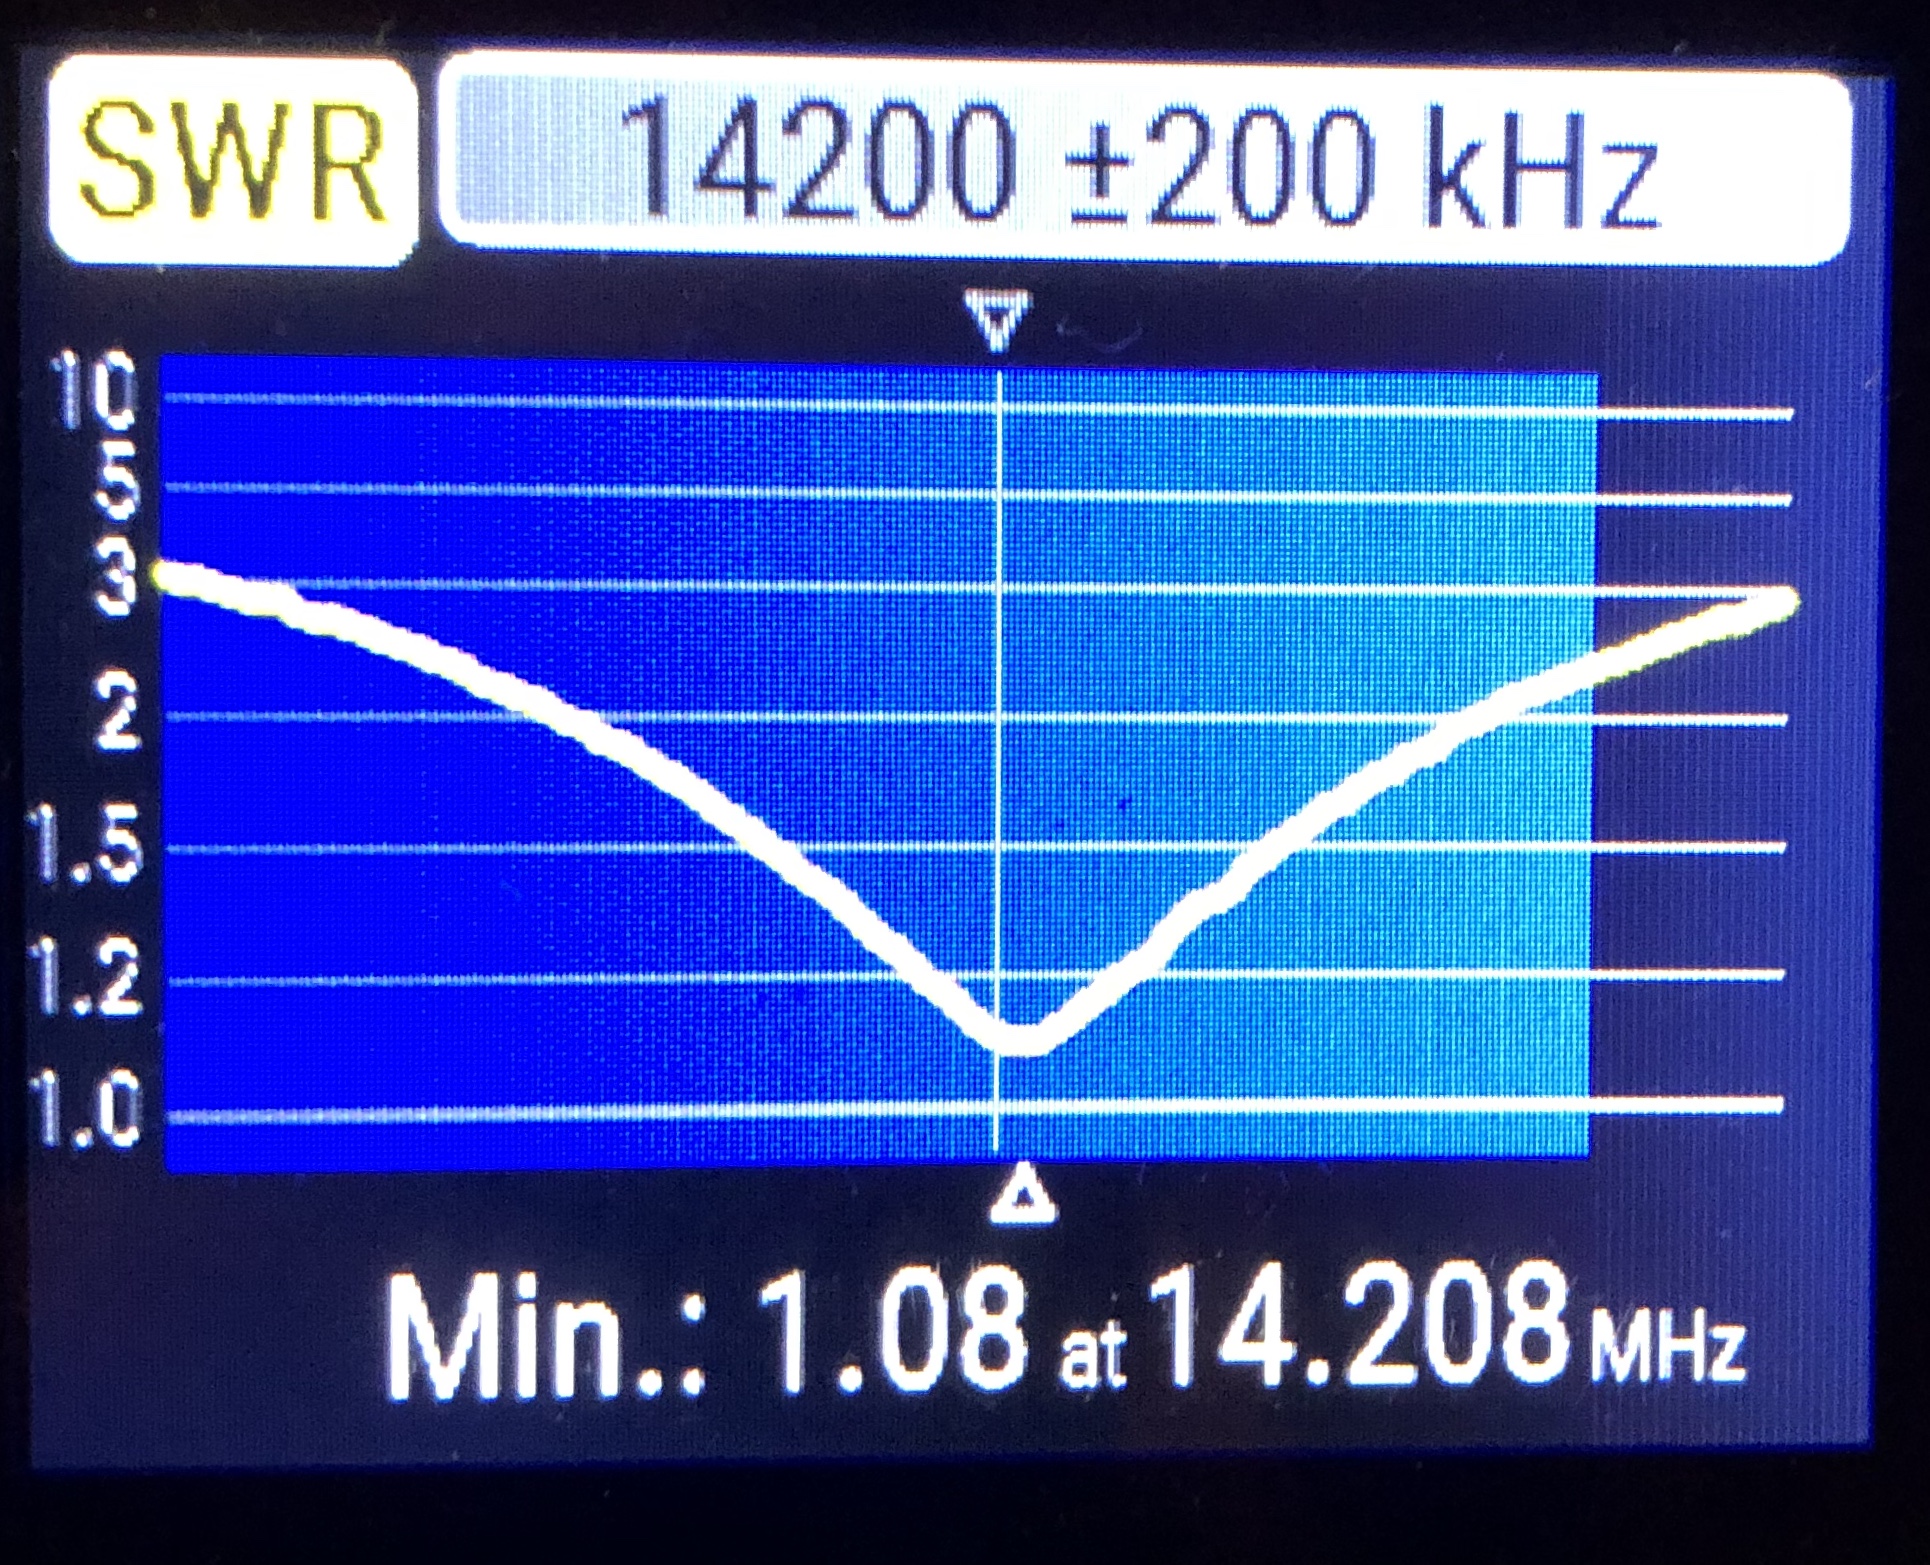
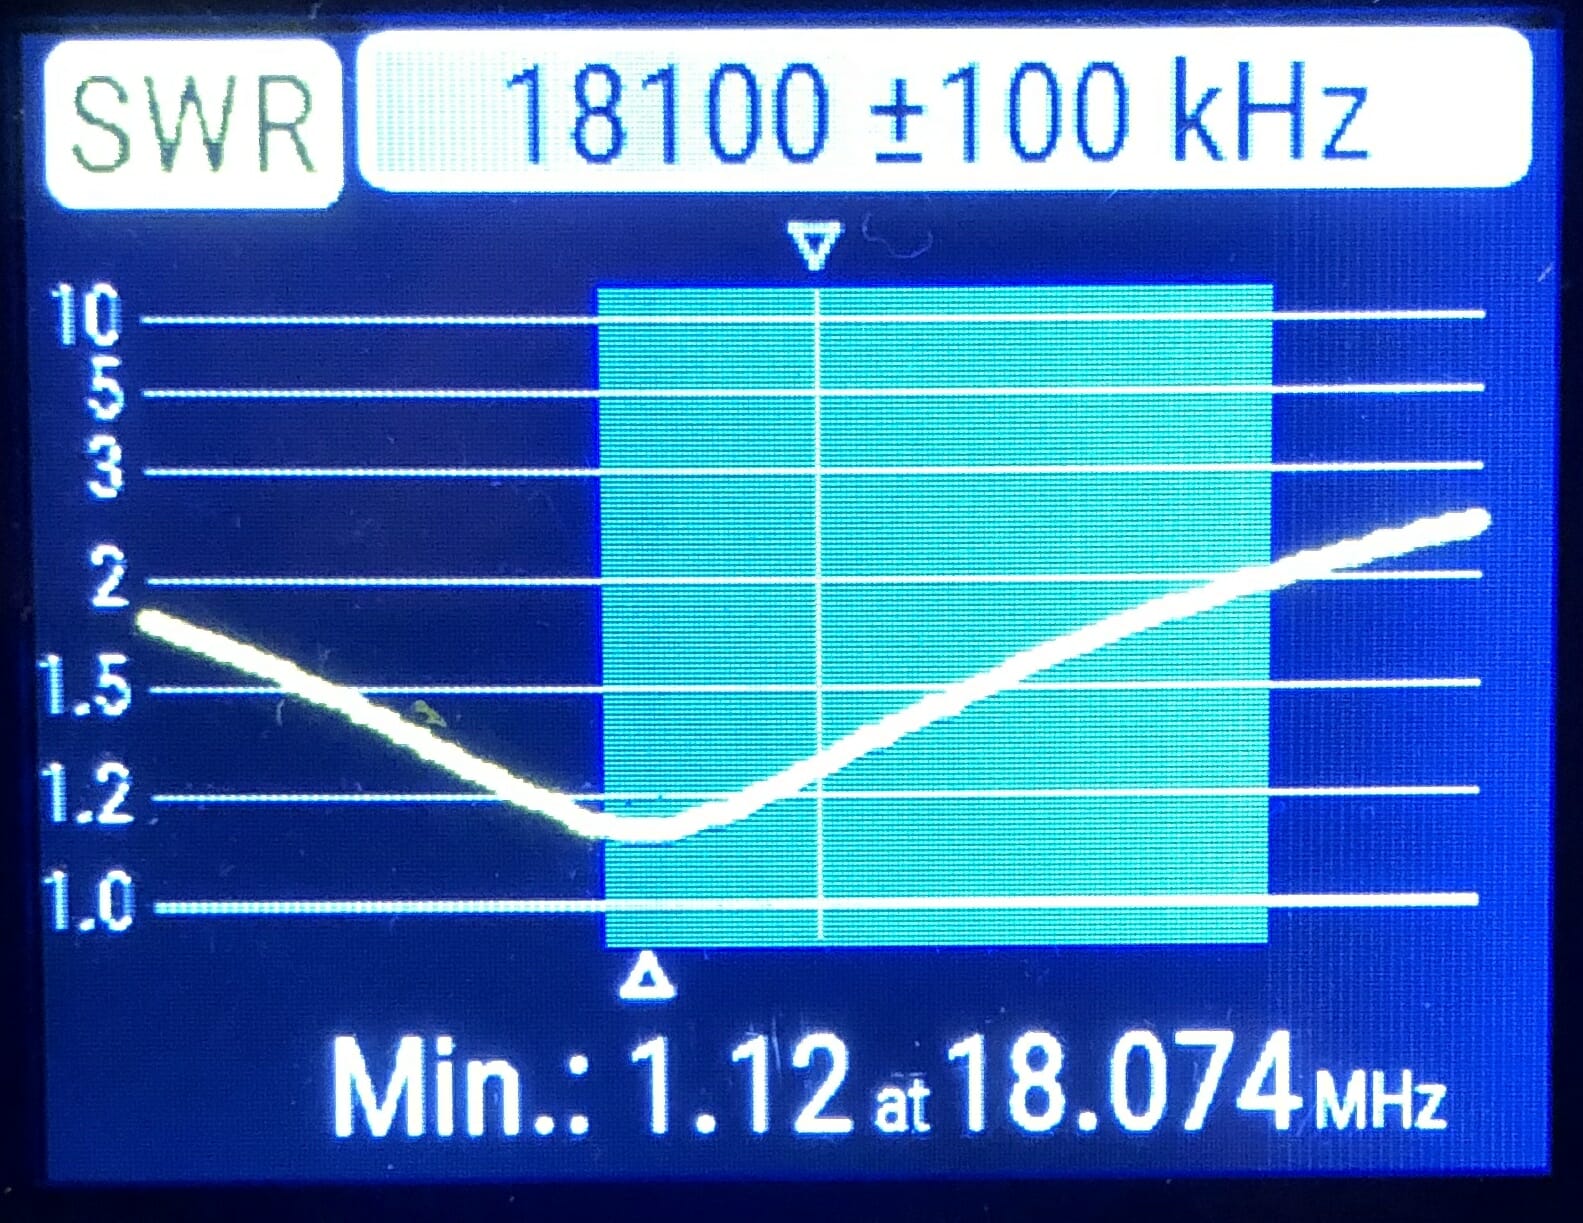
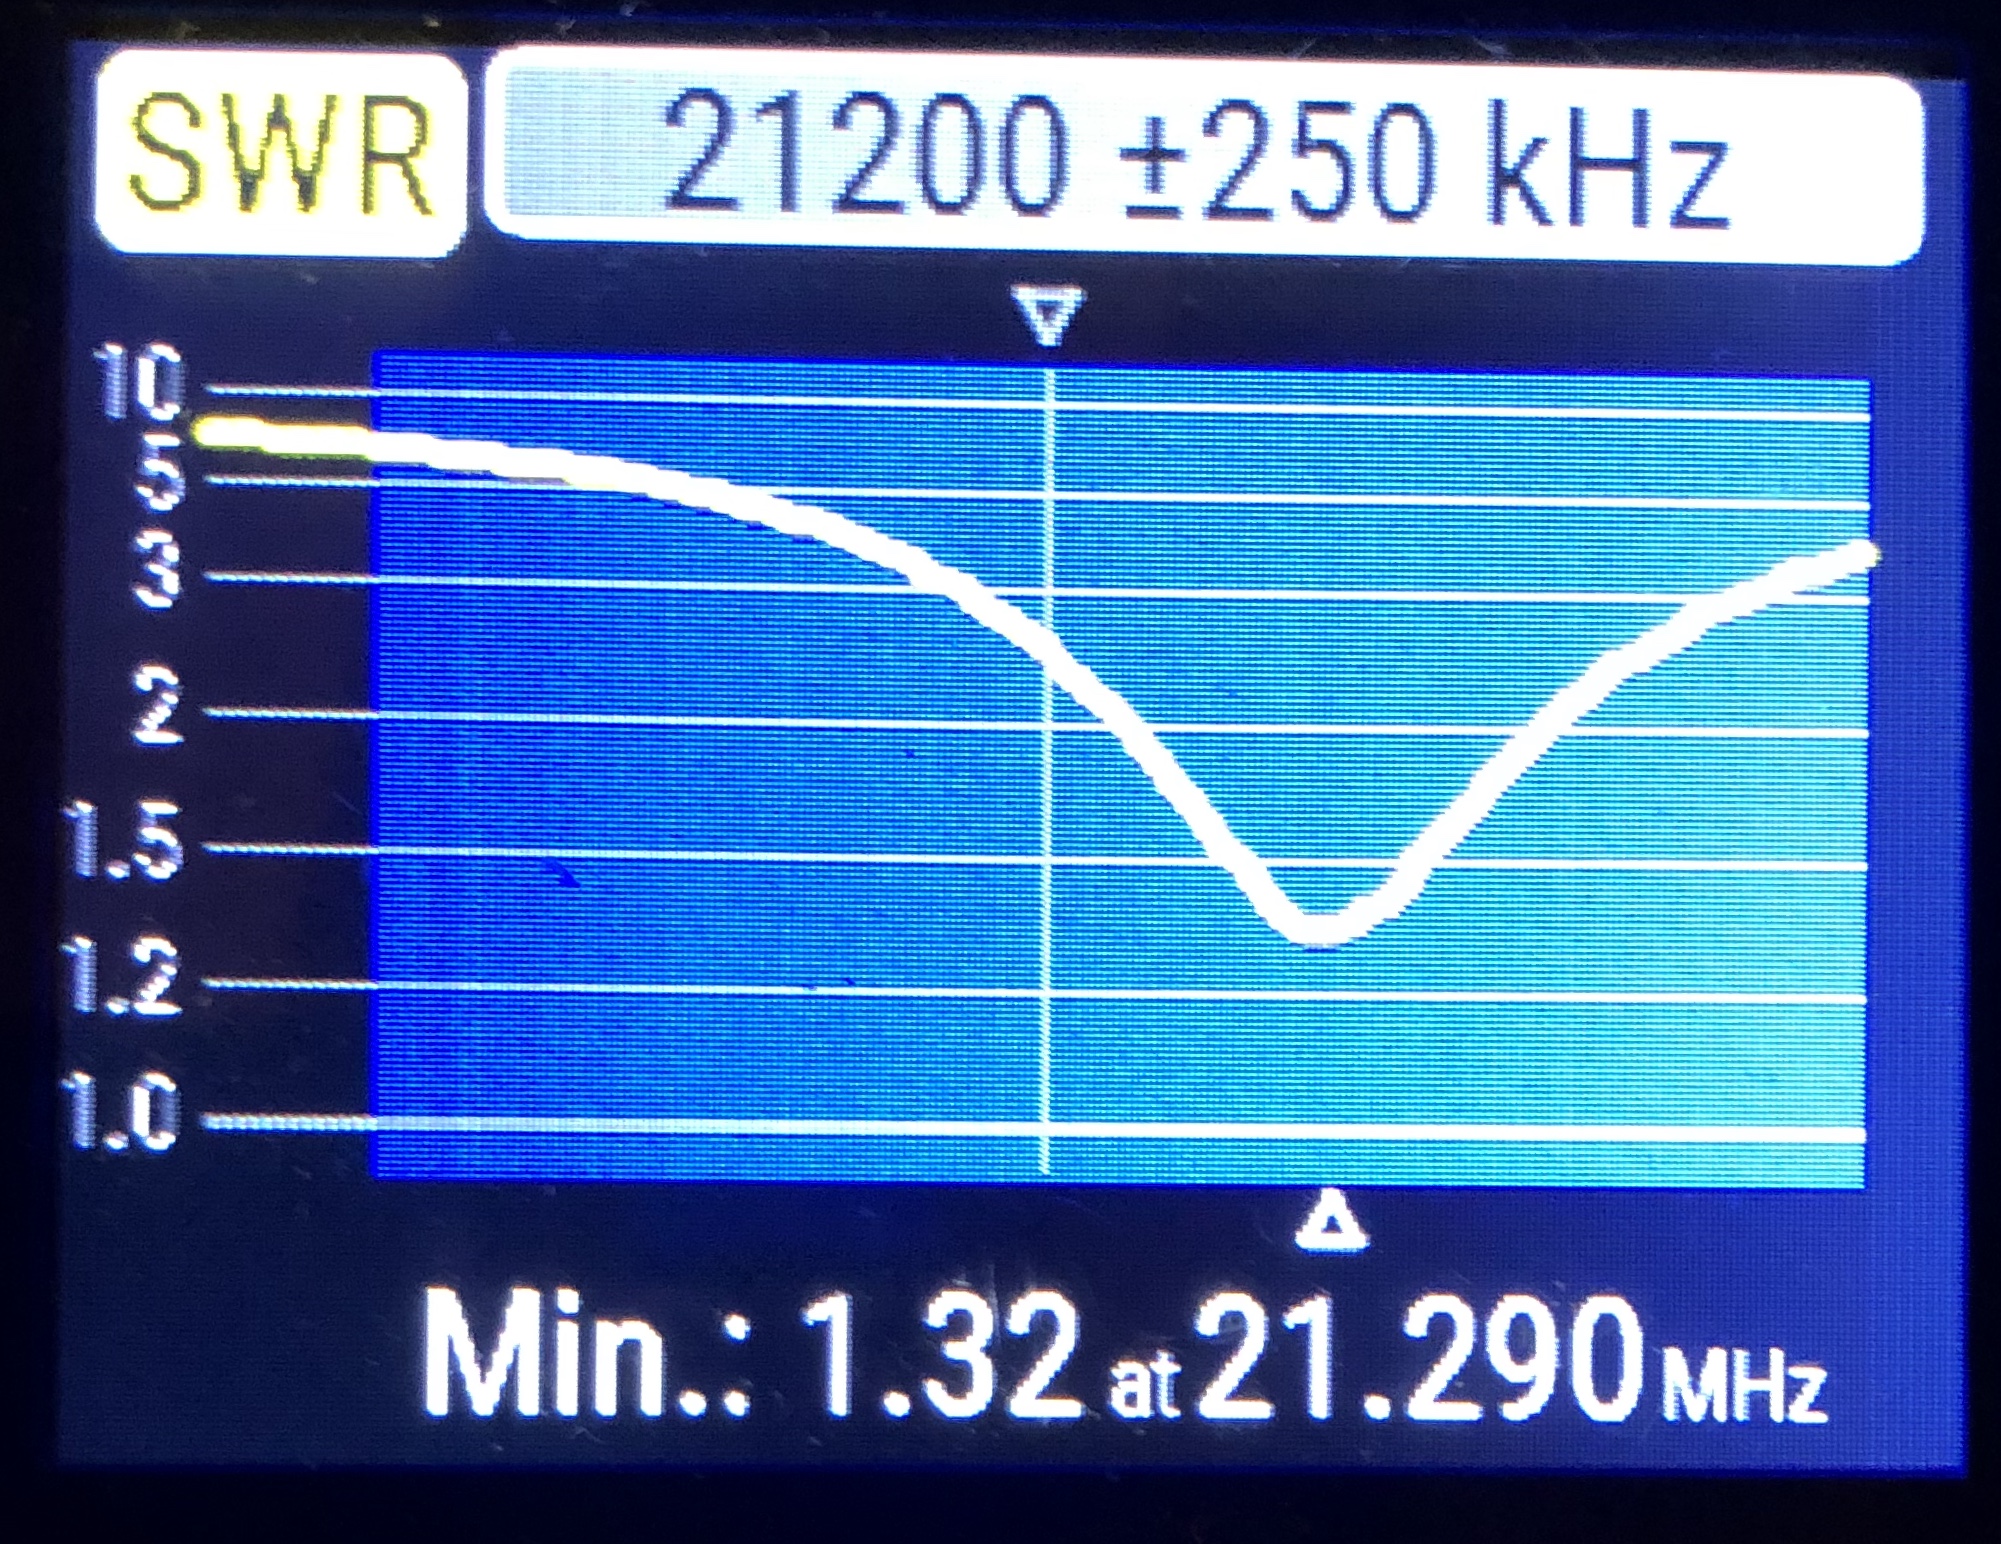
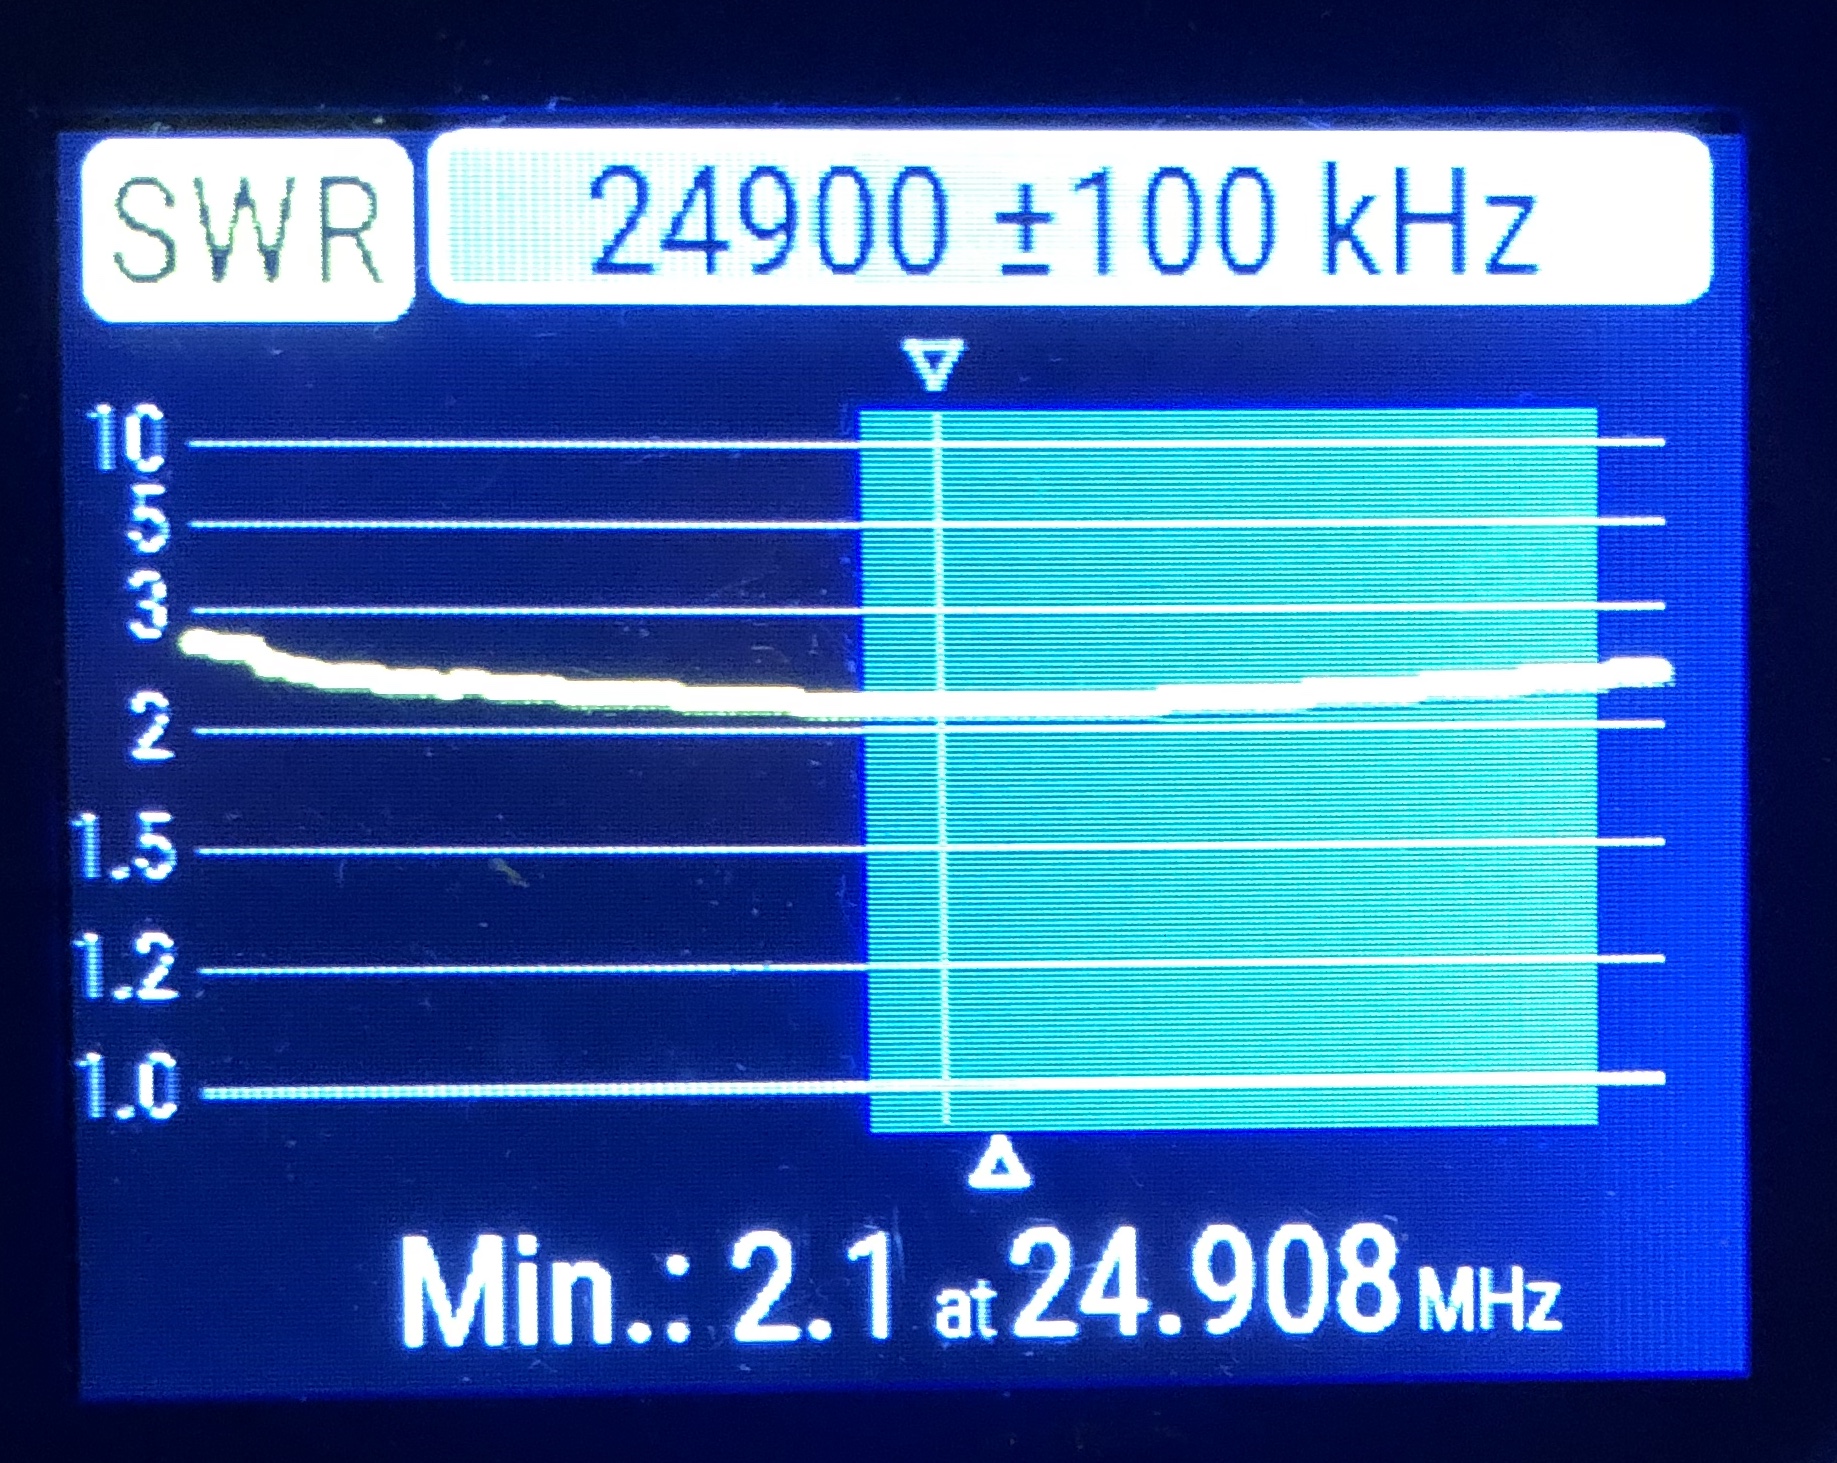
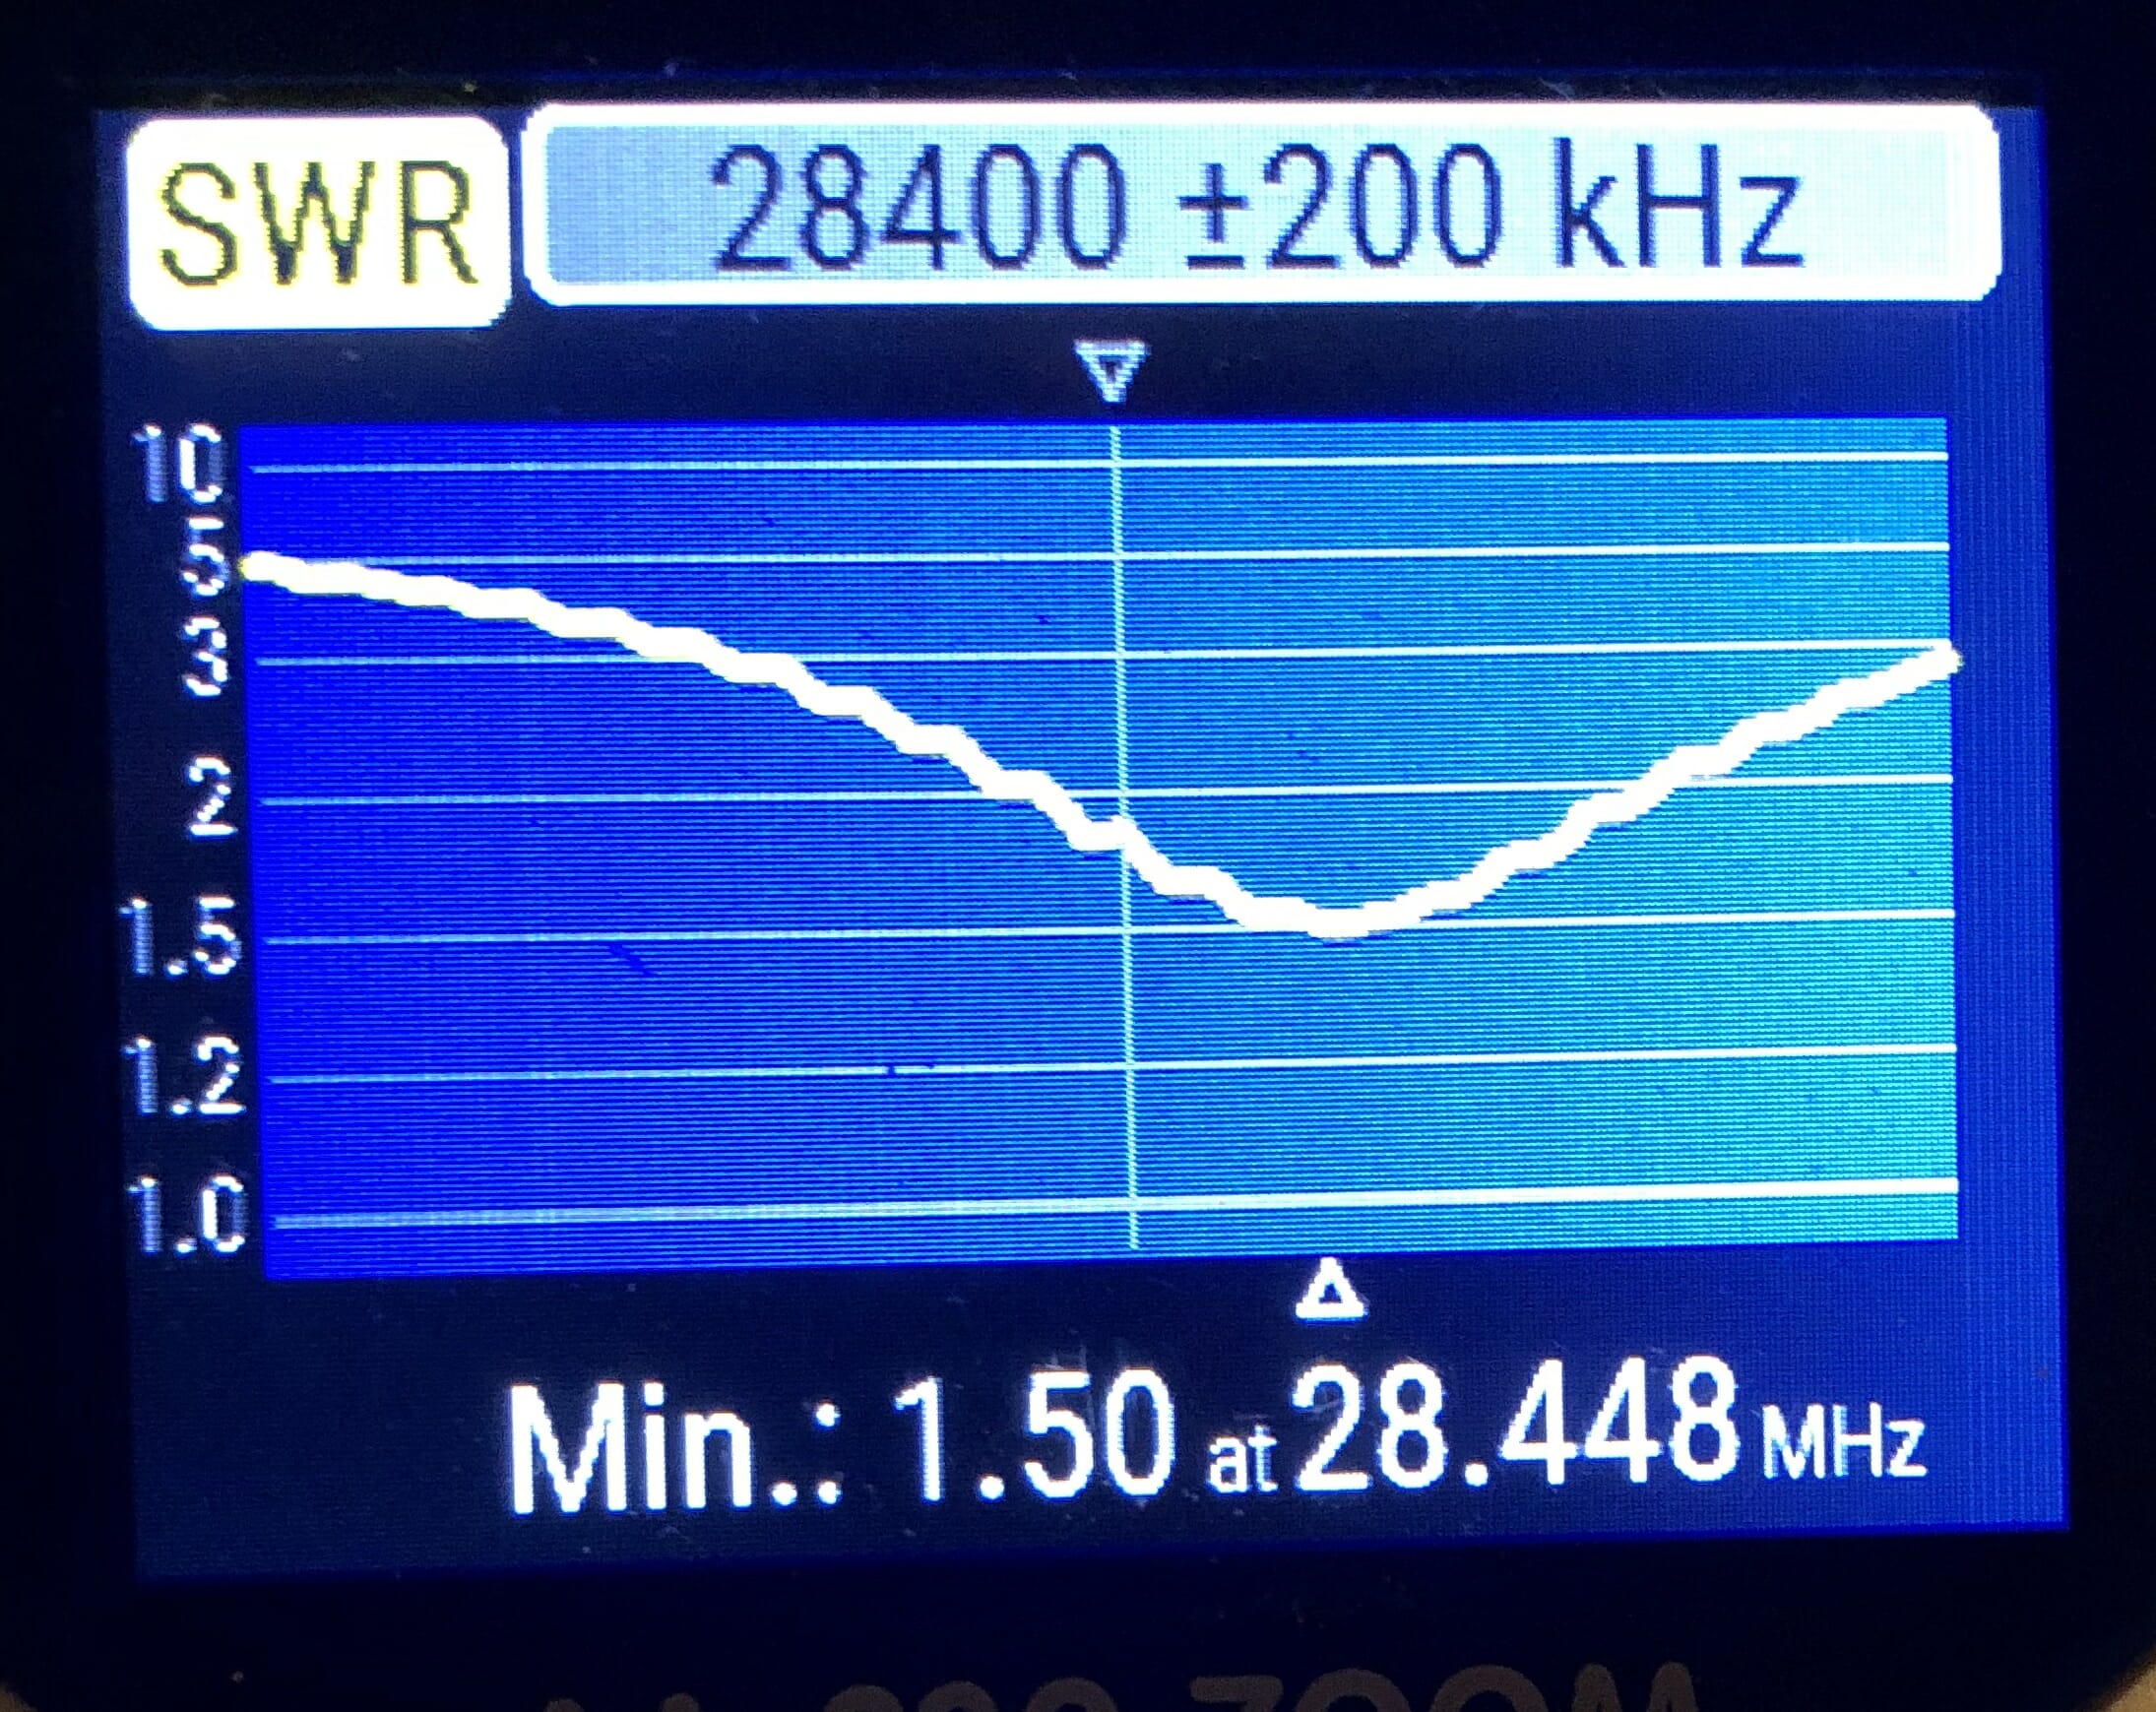
The upshot of this is I had to spend a little extra time adjusting lengths of the antenna wires to make it provide a good match on these five bands. My trusty RigExpert analyzer made the work go quickly. Here are the plots for the installed antenna.
20m SWR17m SWR15m SWR12m SWR10m SWR
I confess that I could probably do better on all bands except 20m if I were to spend more time adjusting the wires. But this is good enough for now.
HOA and Other Limitations
I spent my first few years in a restrictive environment where it was difficult for me to use outdoor antennas. If you have a large attic and find yourself in a similar situation then this antenna is worth a look. Temper your expectations, though. Remember that in general antennas are better outside than inside, and mounted higher rather than lower (although antennas can be hung too high!). Your antenna’s performance will be some combination of how well you have tuned it, and what kinds of objects are in the antenna’s near-field. Still, any antenna is better than no antenna!
The Big Brother: MFJ-1838
MFJ has a larger offering that covers the 30m and 40m bands. This antenna measures about 20-feet diagonally so you’d need a large attic to hold it. The MFJ-1838 is $399.95.
Wrapping Up
My home office is directly below the MFJ-1836H antenna and I have a small station there usually running an Elecraft KX3 (though some other QRP rigs are often called to duty there). With this antenna, I can now operate on any of five bands without needing to touch an antenna switch (all of which are two floors below my office in the basement!). It should make casual operating in the winter much more enjoyable.
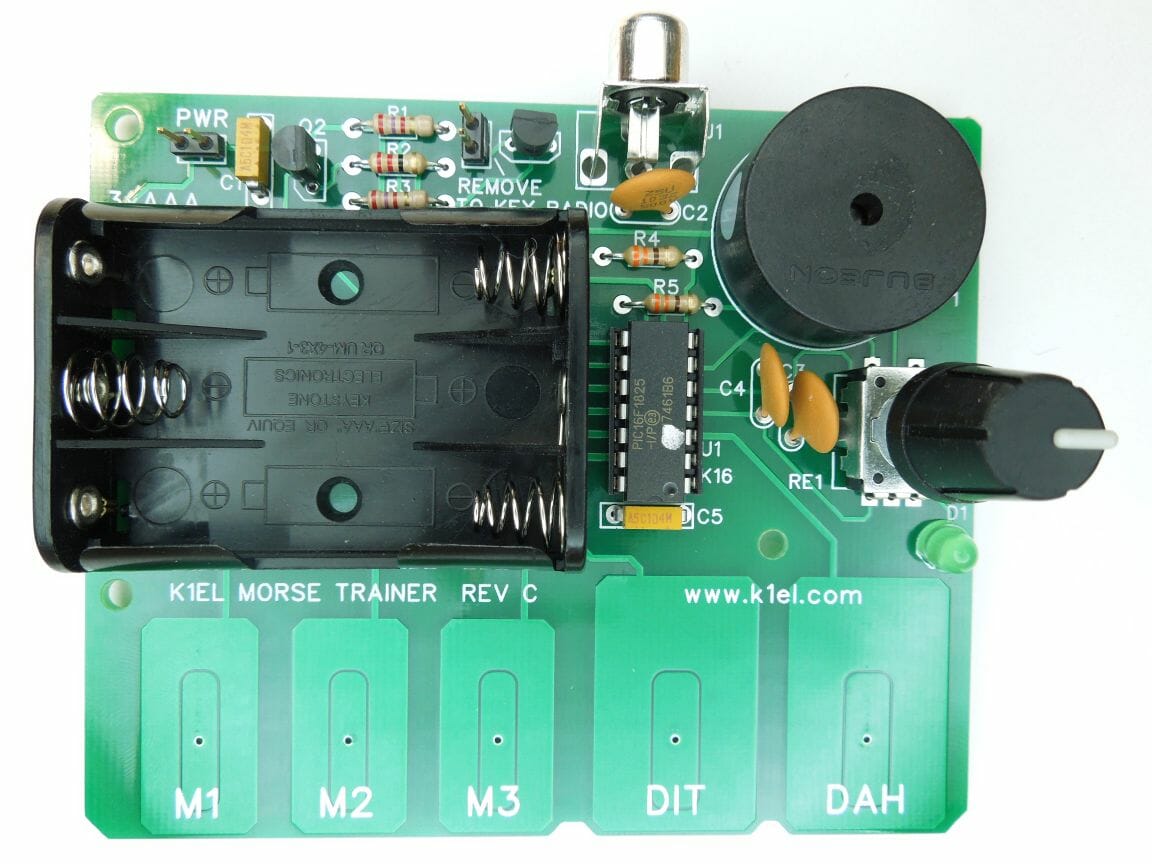
The change of seasons brings us again to the darkest months, a good time to concentrate on indoor activities like station updates and kit building. This February 12th the club will hold its annual kit build during Tech Night. The kit selected this year is the Morse Tutor Keyer Kit by K1EL. You can have a quick look at the manual for this kit here.
Club buy of kits
As part of its STEM initiative, NARS has purchased a number of these kits in bulk and has been using them in student kit builds in local area schools. Buying directly from the club means getting a discount on the kit, and directly supporting this educational outreach.
The kit will supply the board and parts necessary to complete the project. You’ll need to bring appropriate tools including:
Soldering iron and solder
Small needle-nose pliers
Small diagonal/flush cutters for trimming component leads
Small flat blade and Phillips head screwdrivers
Your reading glasses (a note to myself, if no one else!)
A printout of the manual for the kit (or a copy downloaded to your tablet)
Recommended: Multimeter
Optional: a small magnifying glass
Don’t forget to bring batteries! The unit requires 3 AAA cells.
The spirit of kit build night
NARS has many new members since the last kit build. Those of us who have experience with kit building should lend a hand to those new to the adventure. Take a moment and help mentor your fellow club members, especially our youngest recruits, so they walk away with a working kit and the sense of accomplishment that goes with it.
Remember: Watch for the link on the website for ordering your kit.