This Christmas I bought a 28 watt solar panel and MPPT charge controller from Bioenno. I haven’t had much time to use it until recently with the weather getting warmer. I’ve been able to use this with my 7.5 amp hour battery which will power the KX2 for quite some time. I’ve also been watching a lot of videos on YouTube about portable power boxes and I thought it would be nice to have something a little heftier for car camping or portable activations that I wasn’t carry gear very far.
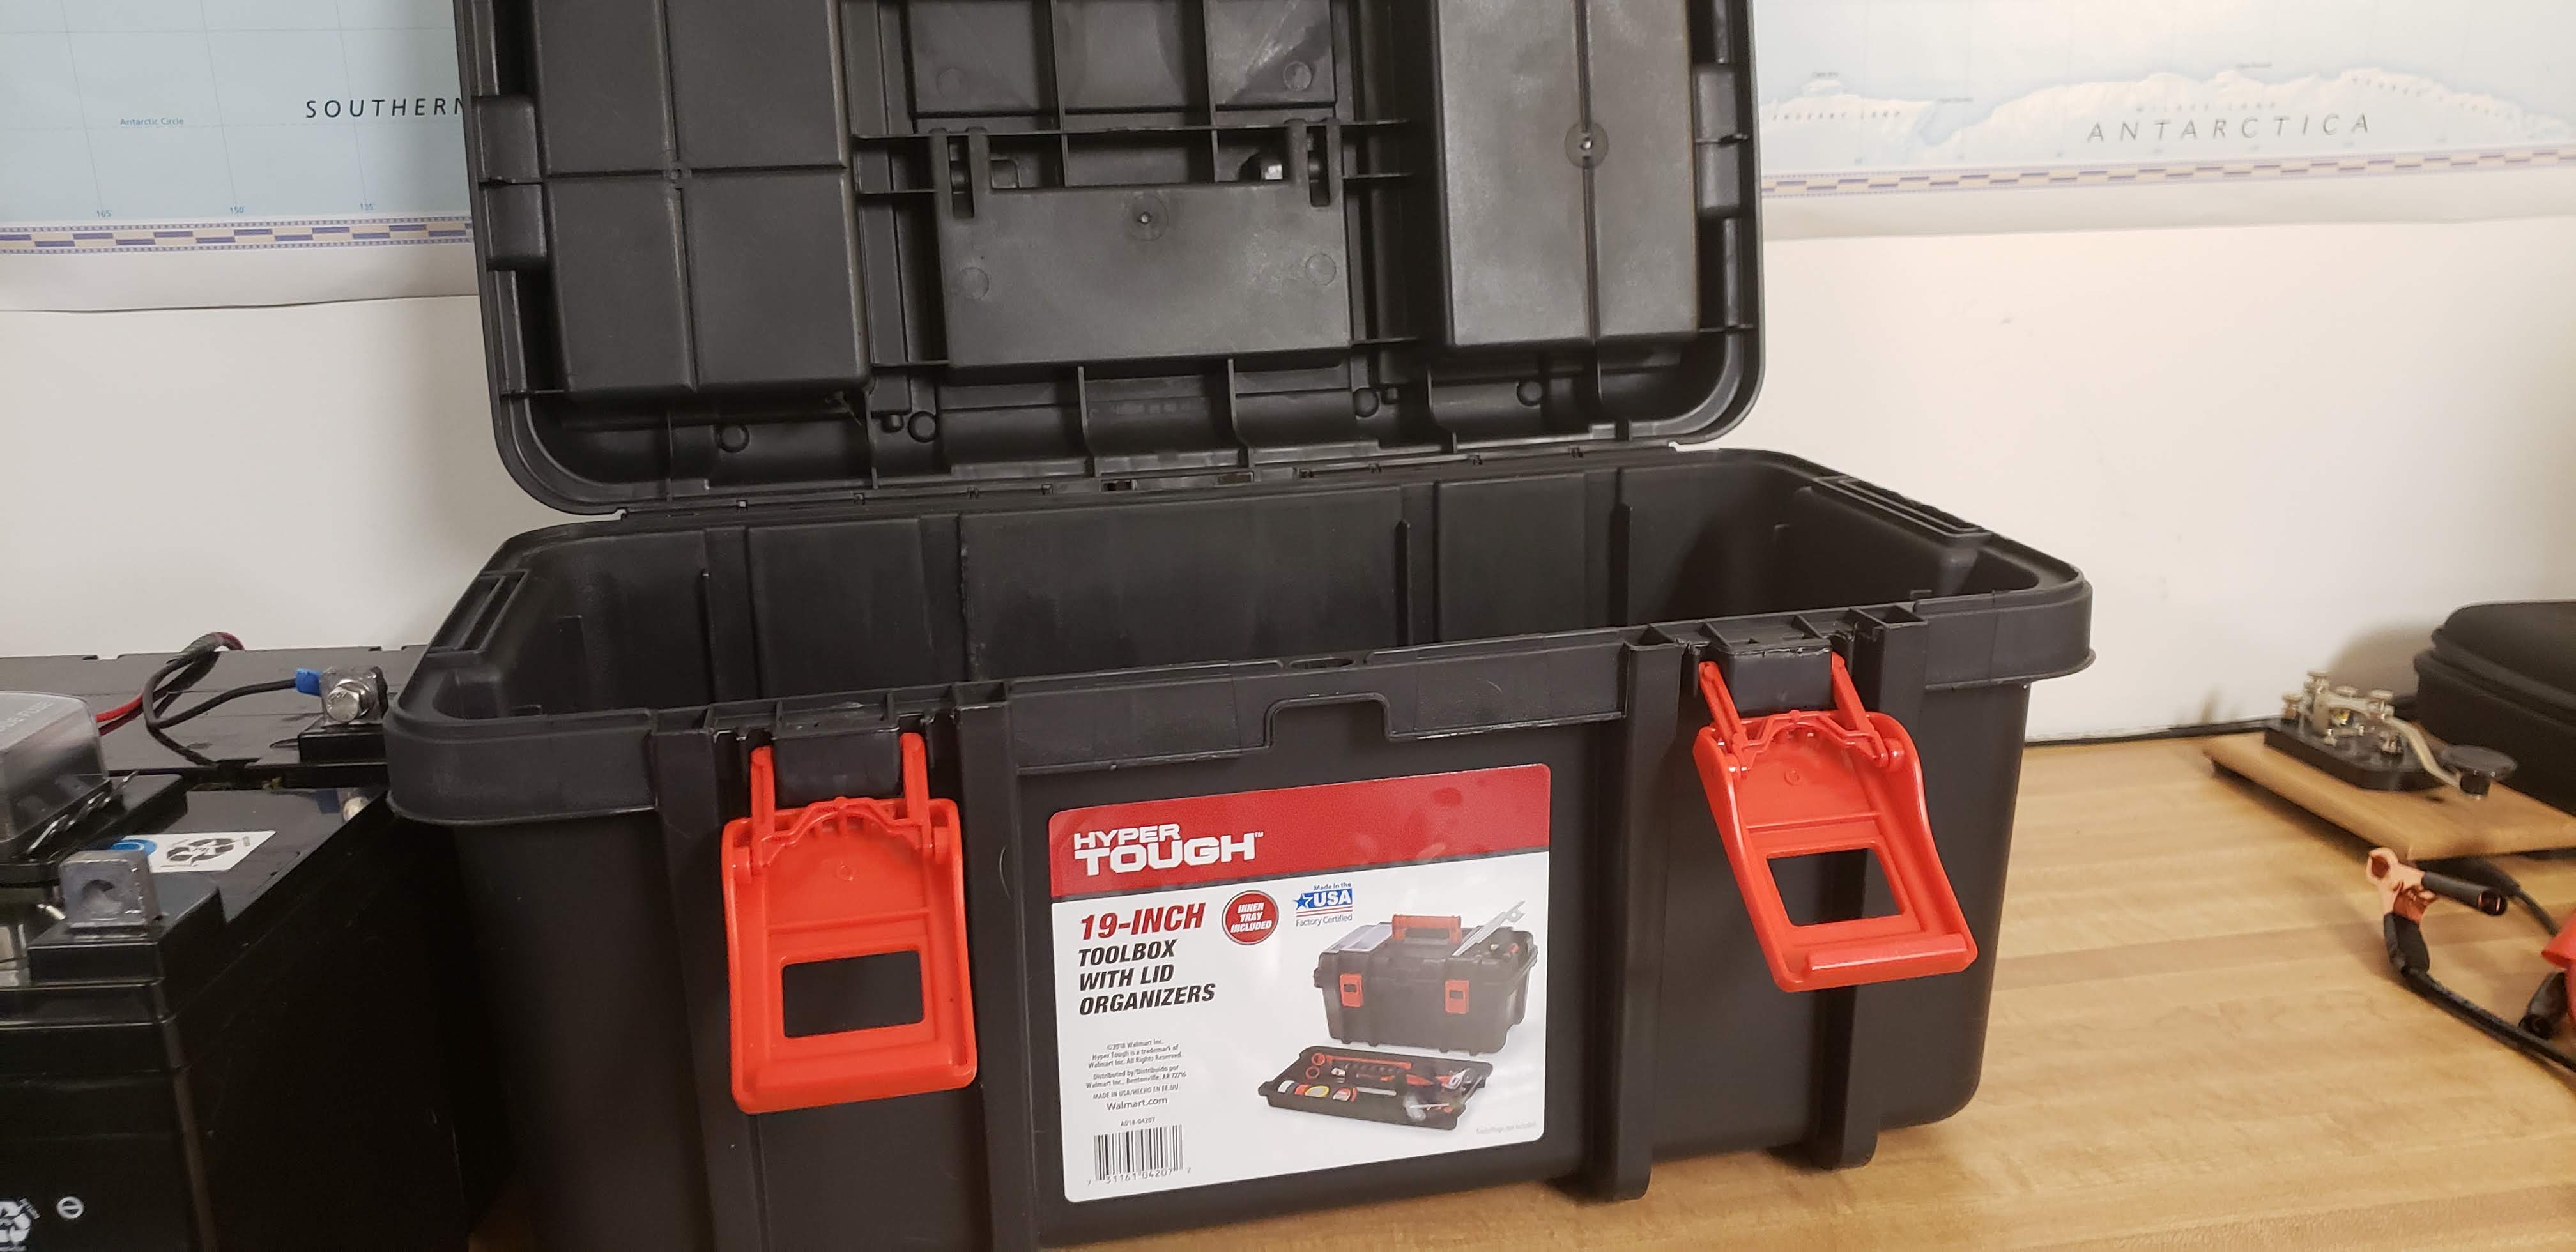
This past week I finally got to work on it. I started with a HyperTough 19 inch tool box from WalMart for the battery box. I have two 12-volt, 35 amp hour AGM batteries from Harbor Freight that fit in the box nicely with a little extra room so that everything can be inside the box.
WalMart Tool Box to be used as the battery box
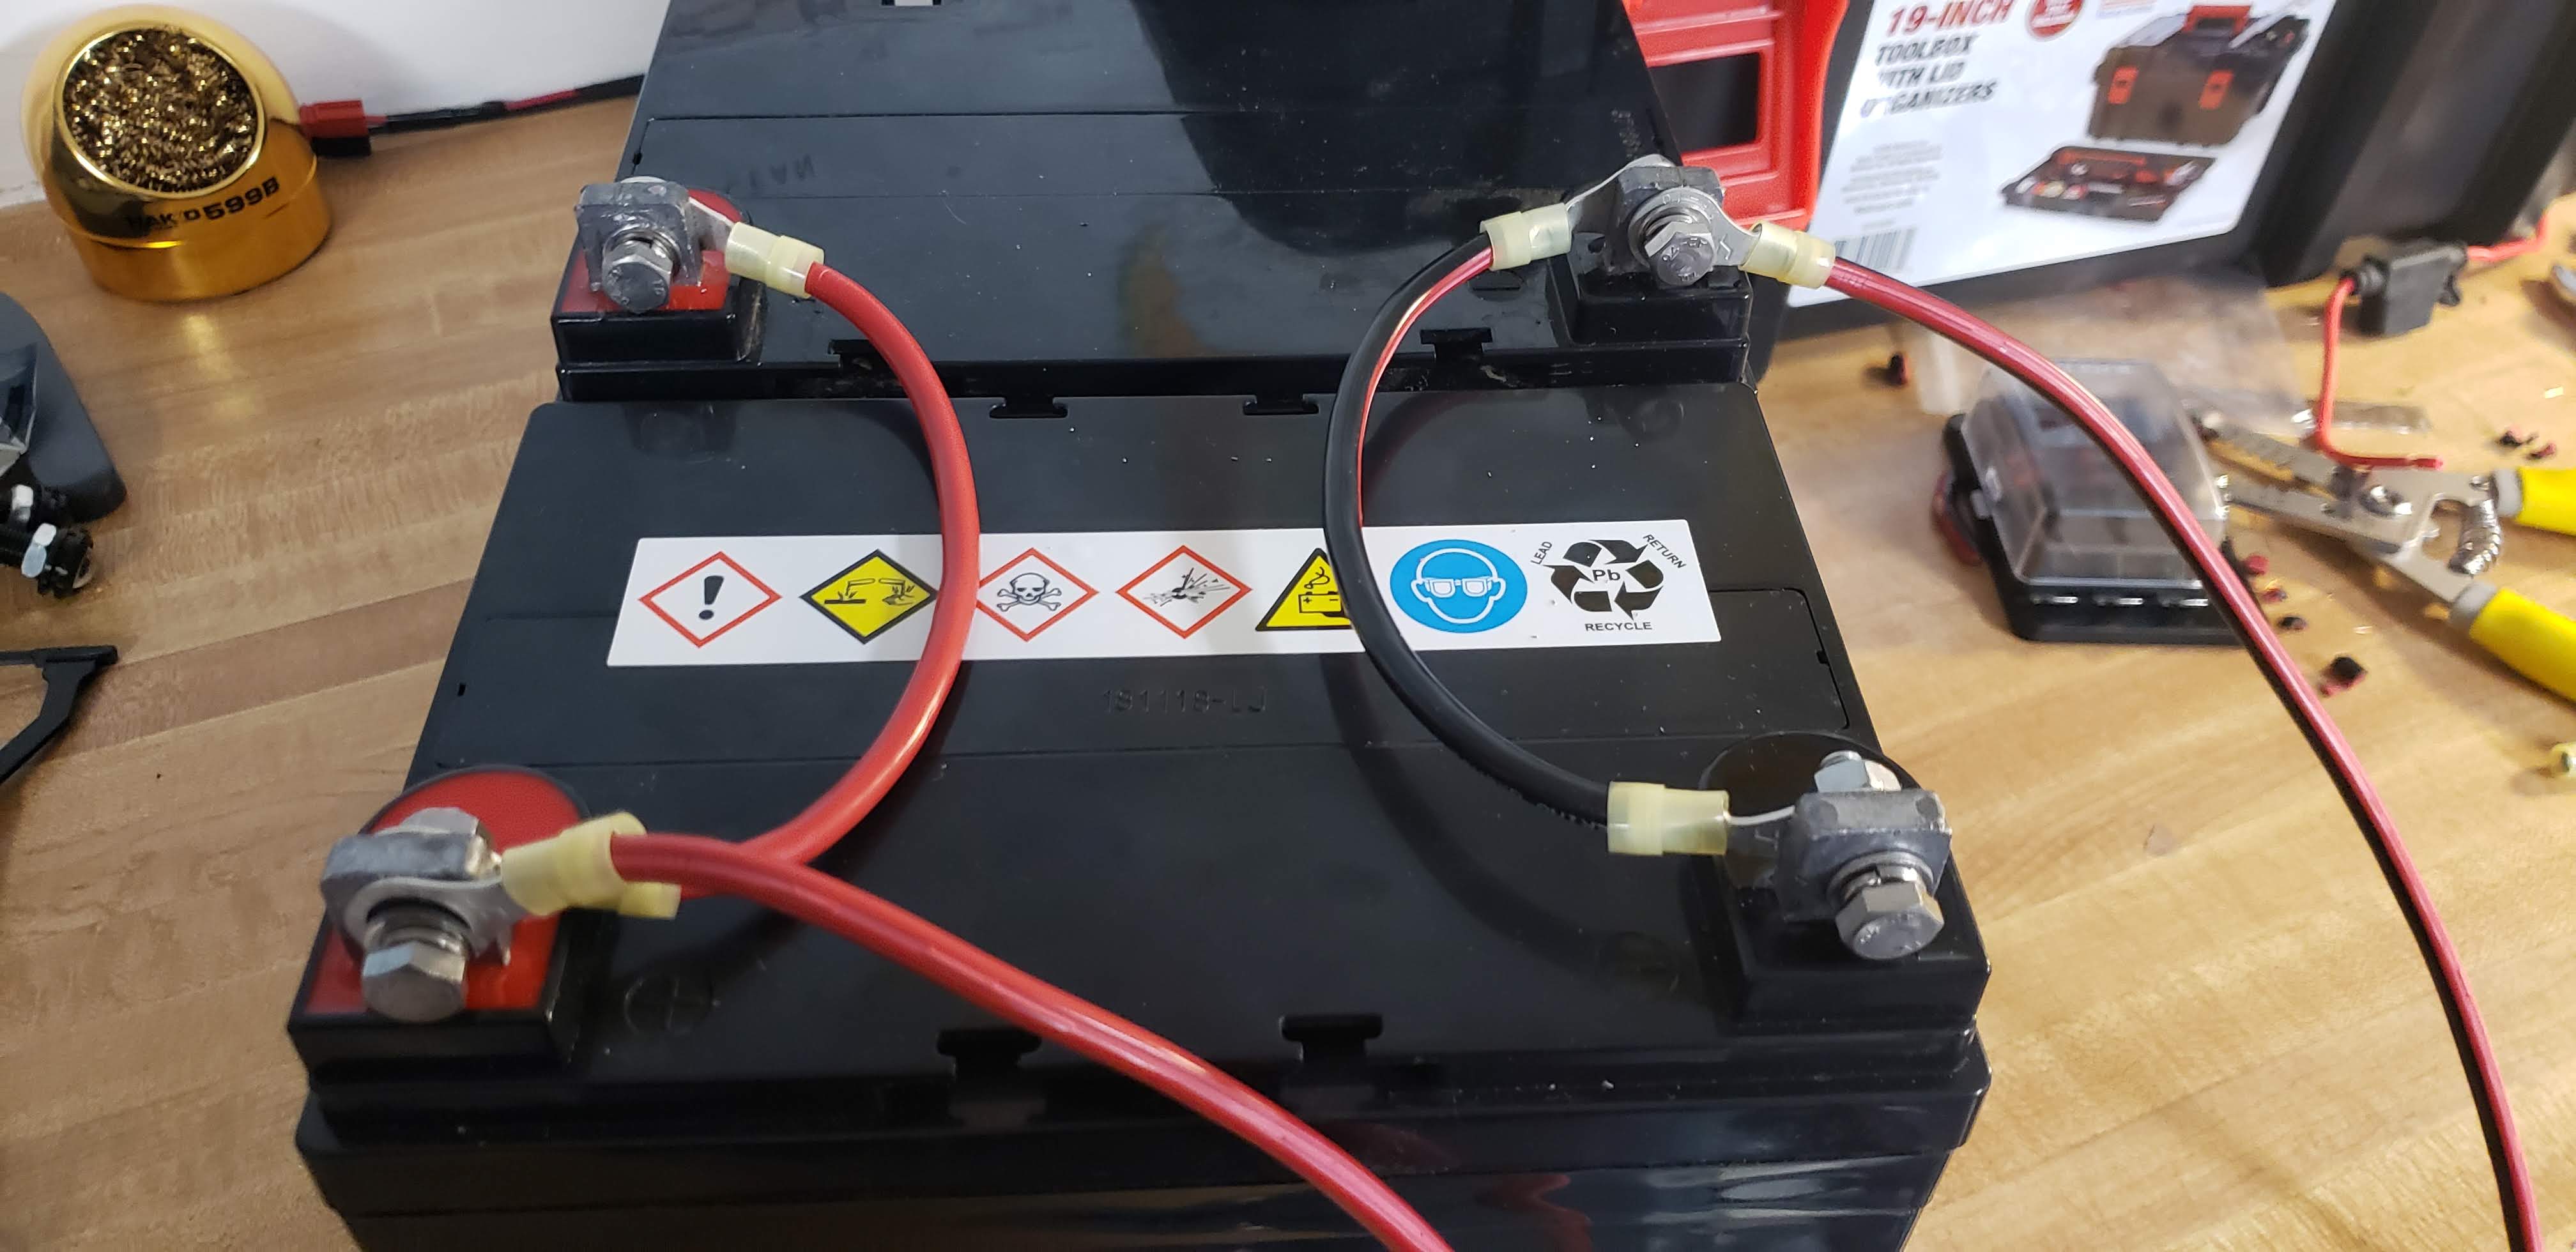
I wired the two batteries in parallel to give me 12-volts and 70 amp hours. I read that the AMG batteries do not emit any hydrogen gas so I did not put any vents in the box (yet).
12 Volt, 35 Amp Hour Batteries wired in parallel (12 volts, 70 Amp Hour)
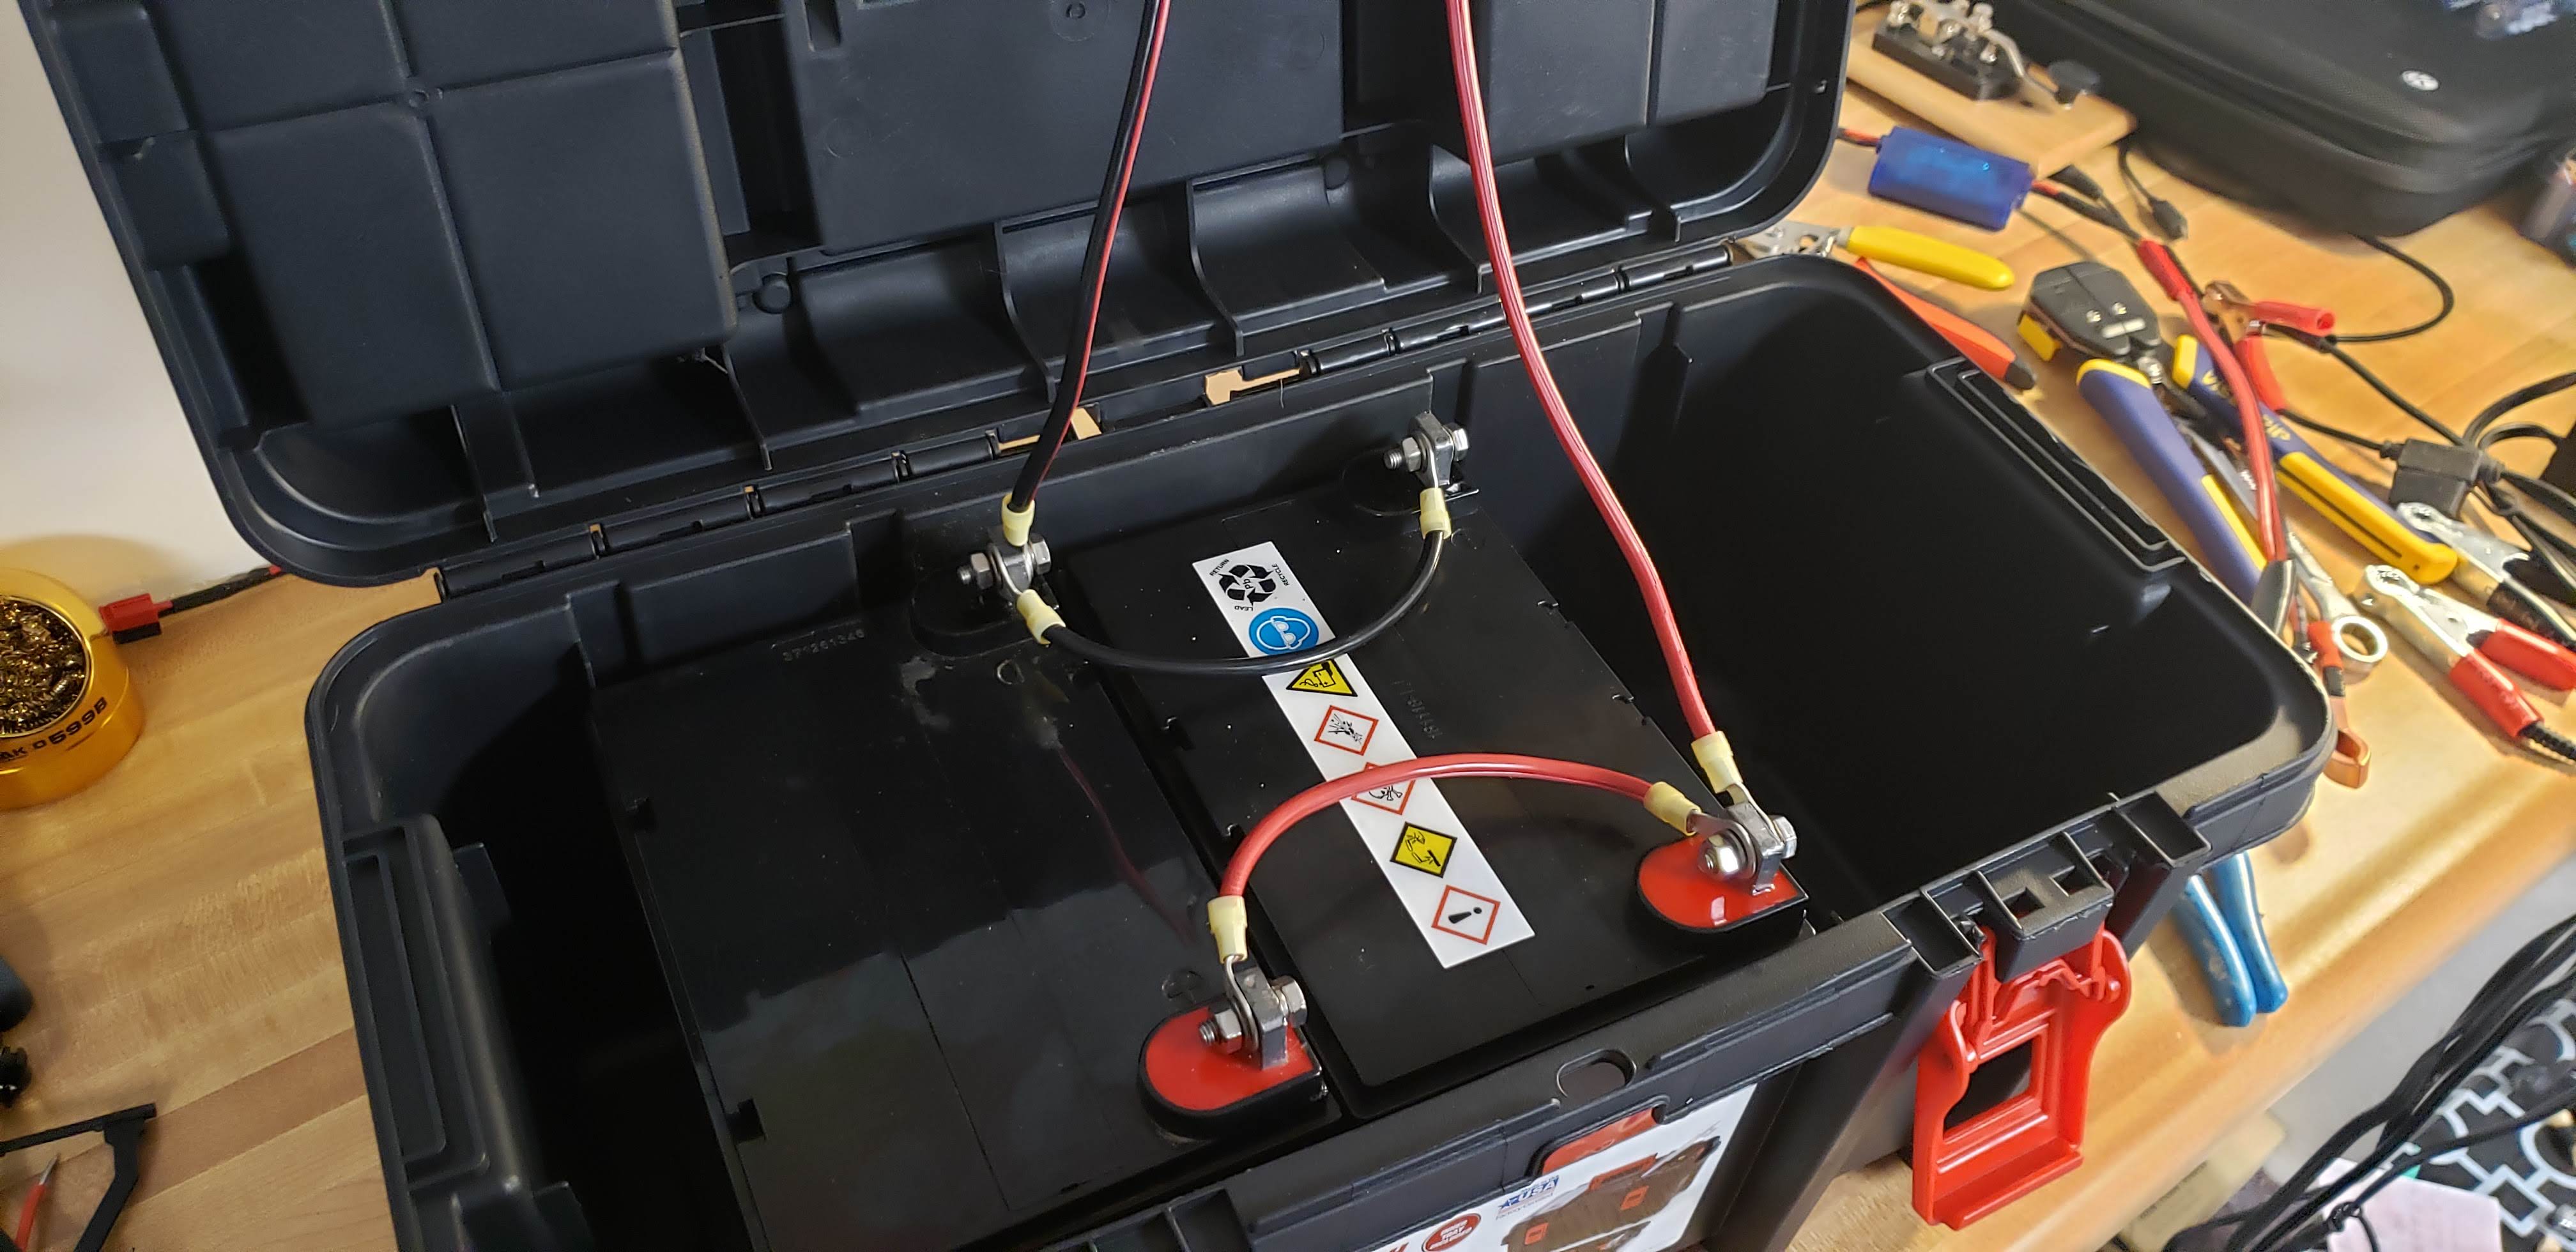
Once the batteries were wired in parallel they fit perfectly in the box! I originally had planned on putting a small computer fan on one end to use as an exhaust and put in venting holes as well, but did not do this after reading more about the AGM batteries.
The batteries fit nicely in the box!
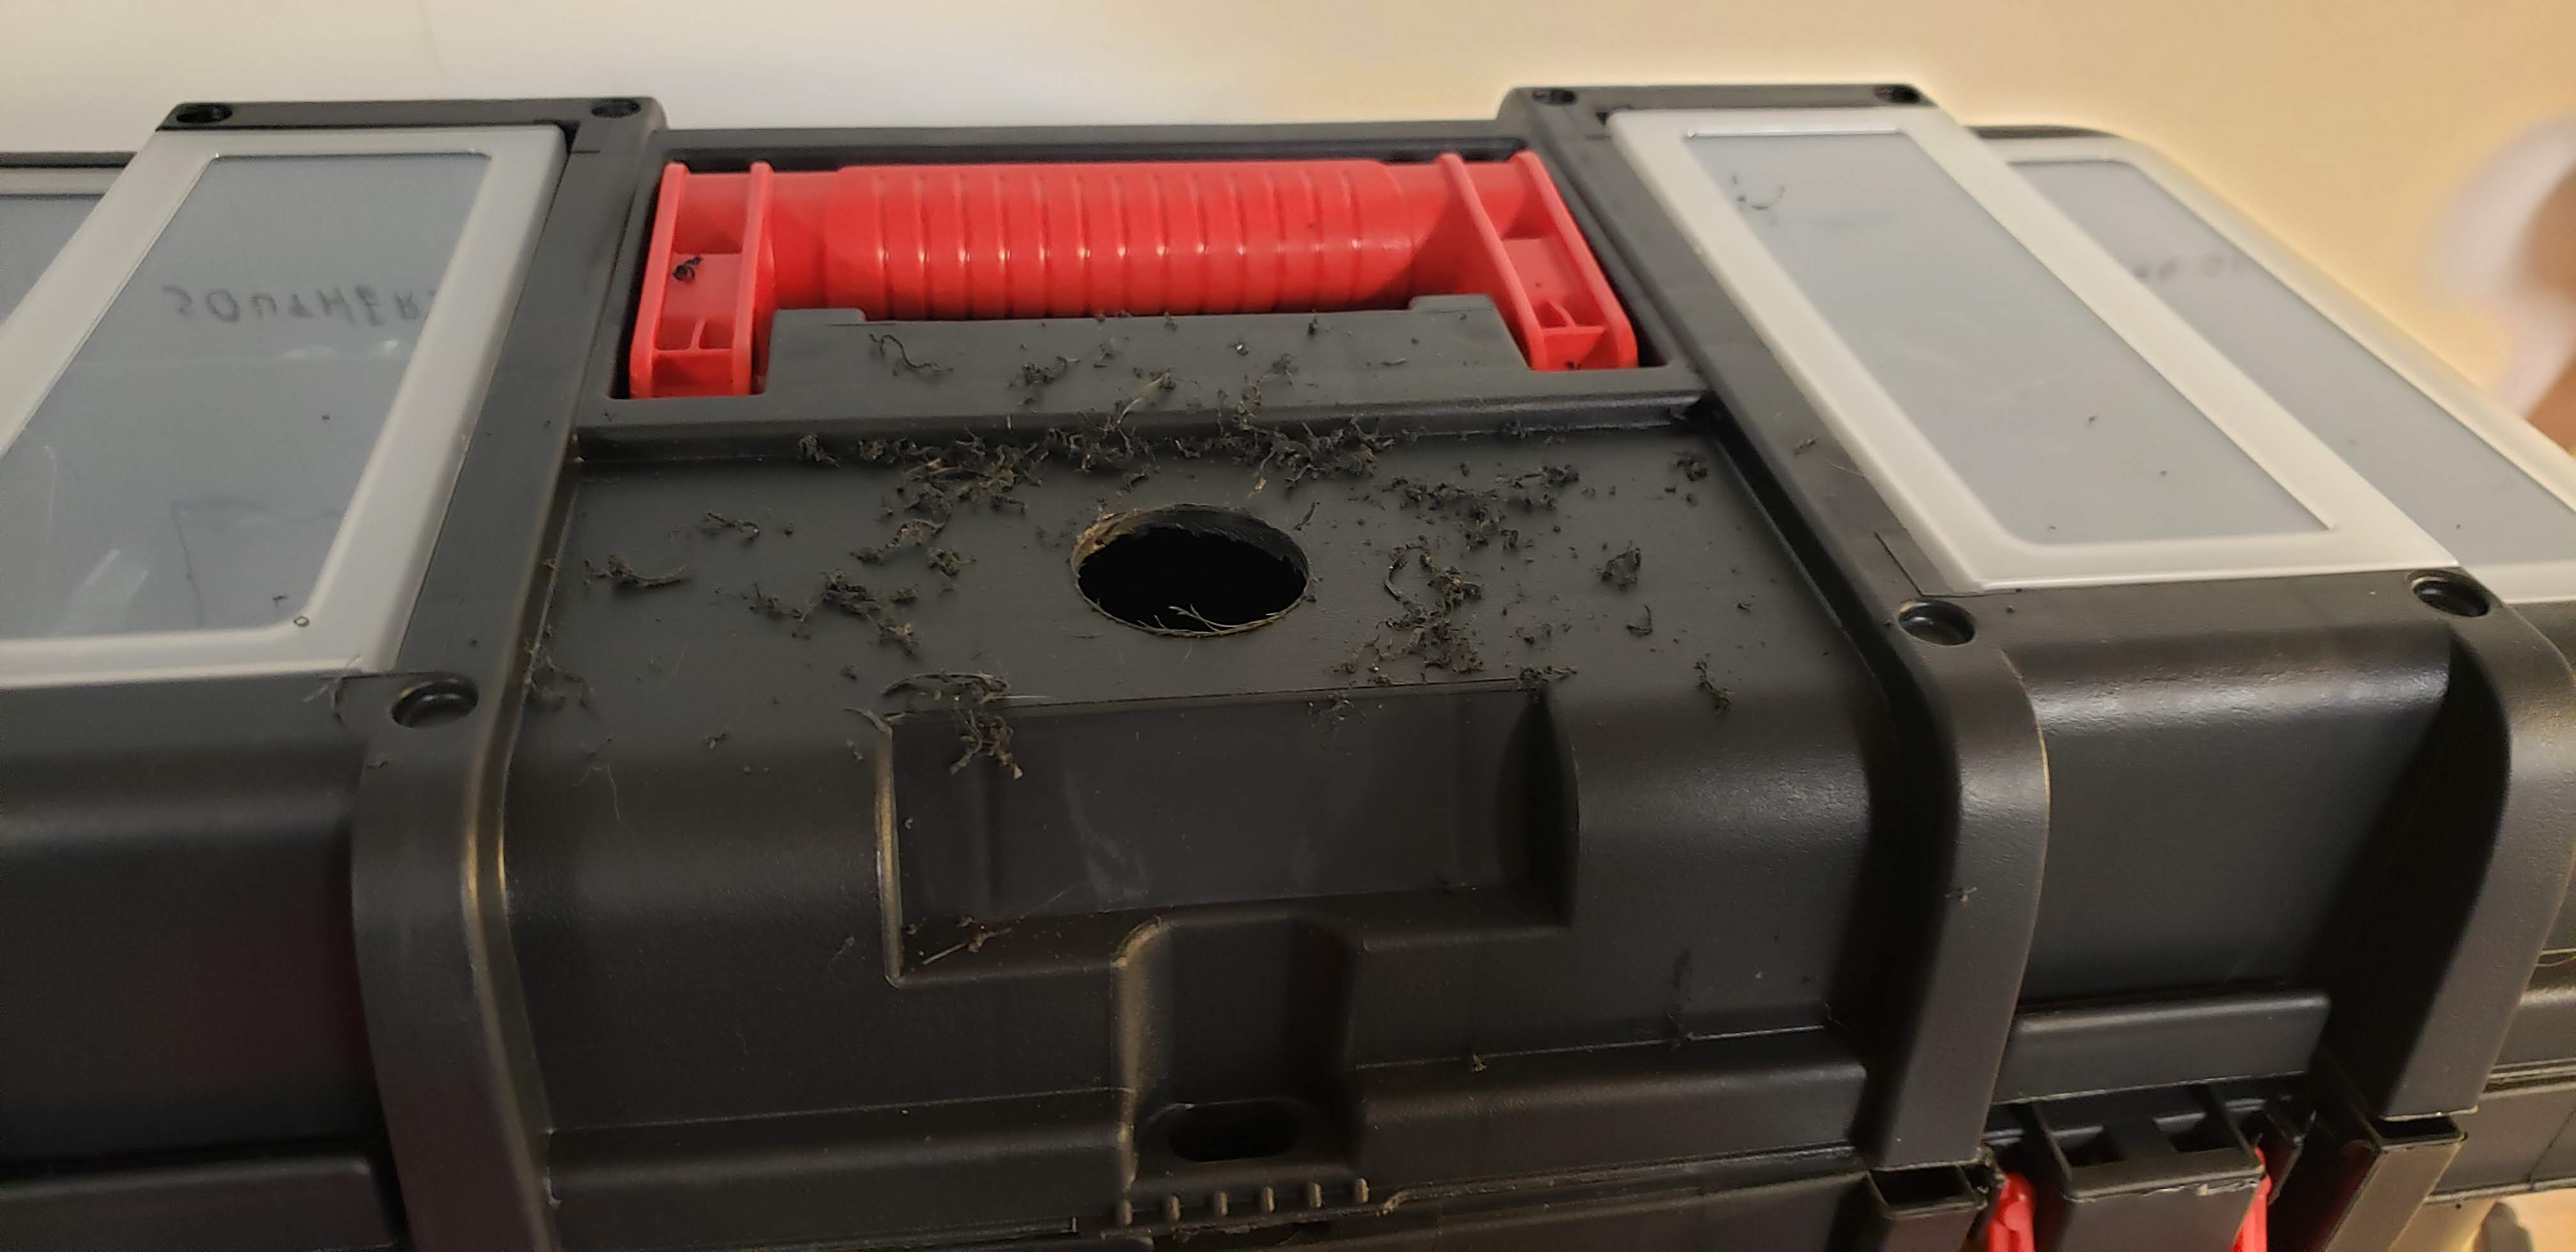
I took ideas from a bunch of different YouTube videos that I watched to try to fit what I wanted for the box. I started laying out where I wanted everything on the box and started drilling holes.
Laying out components
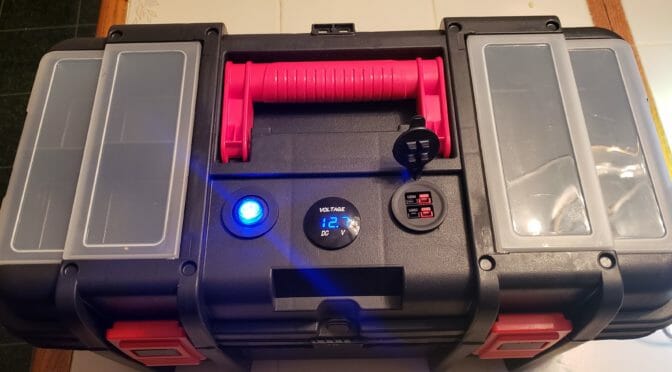
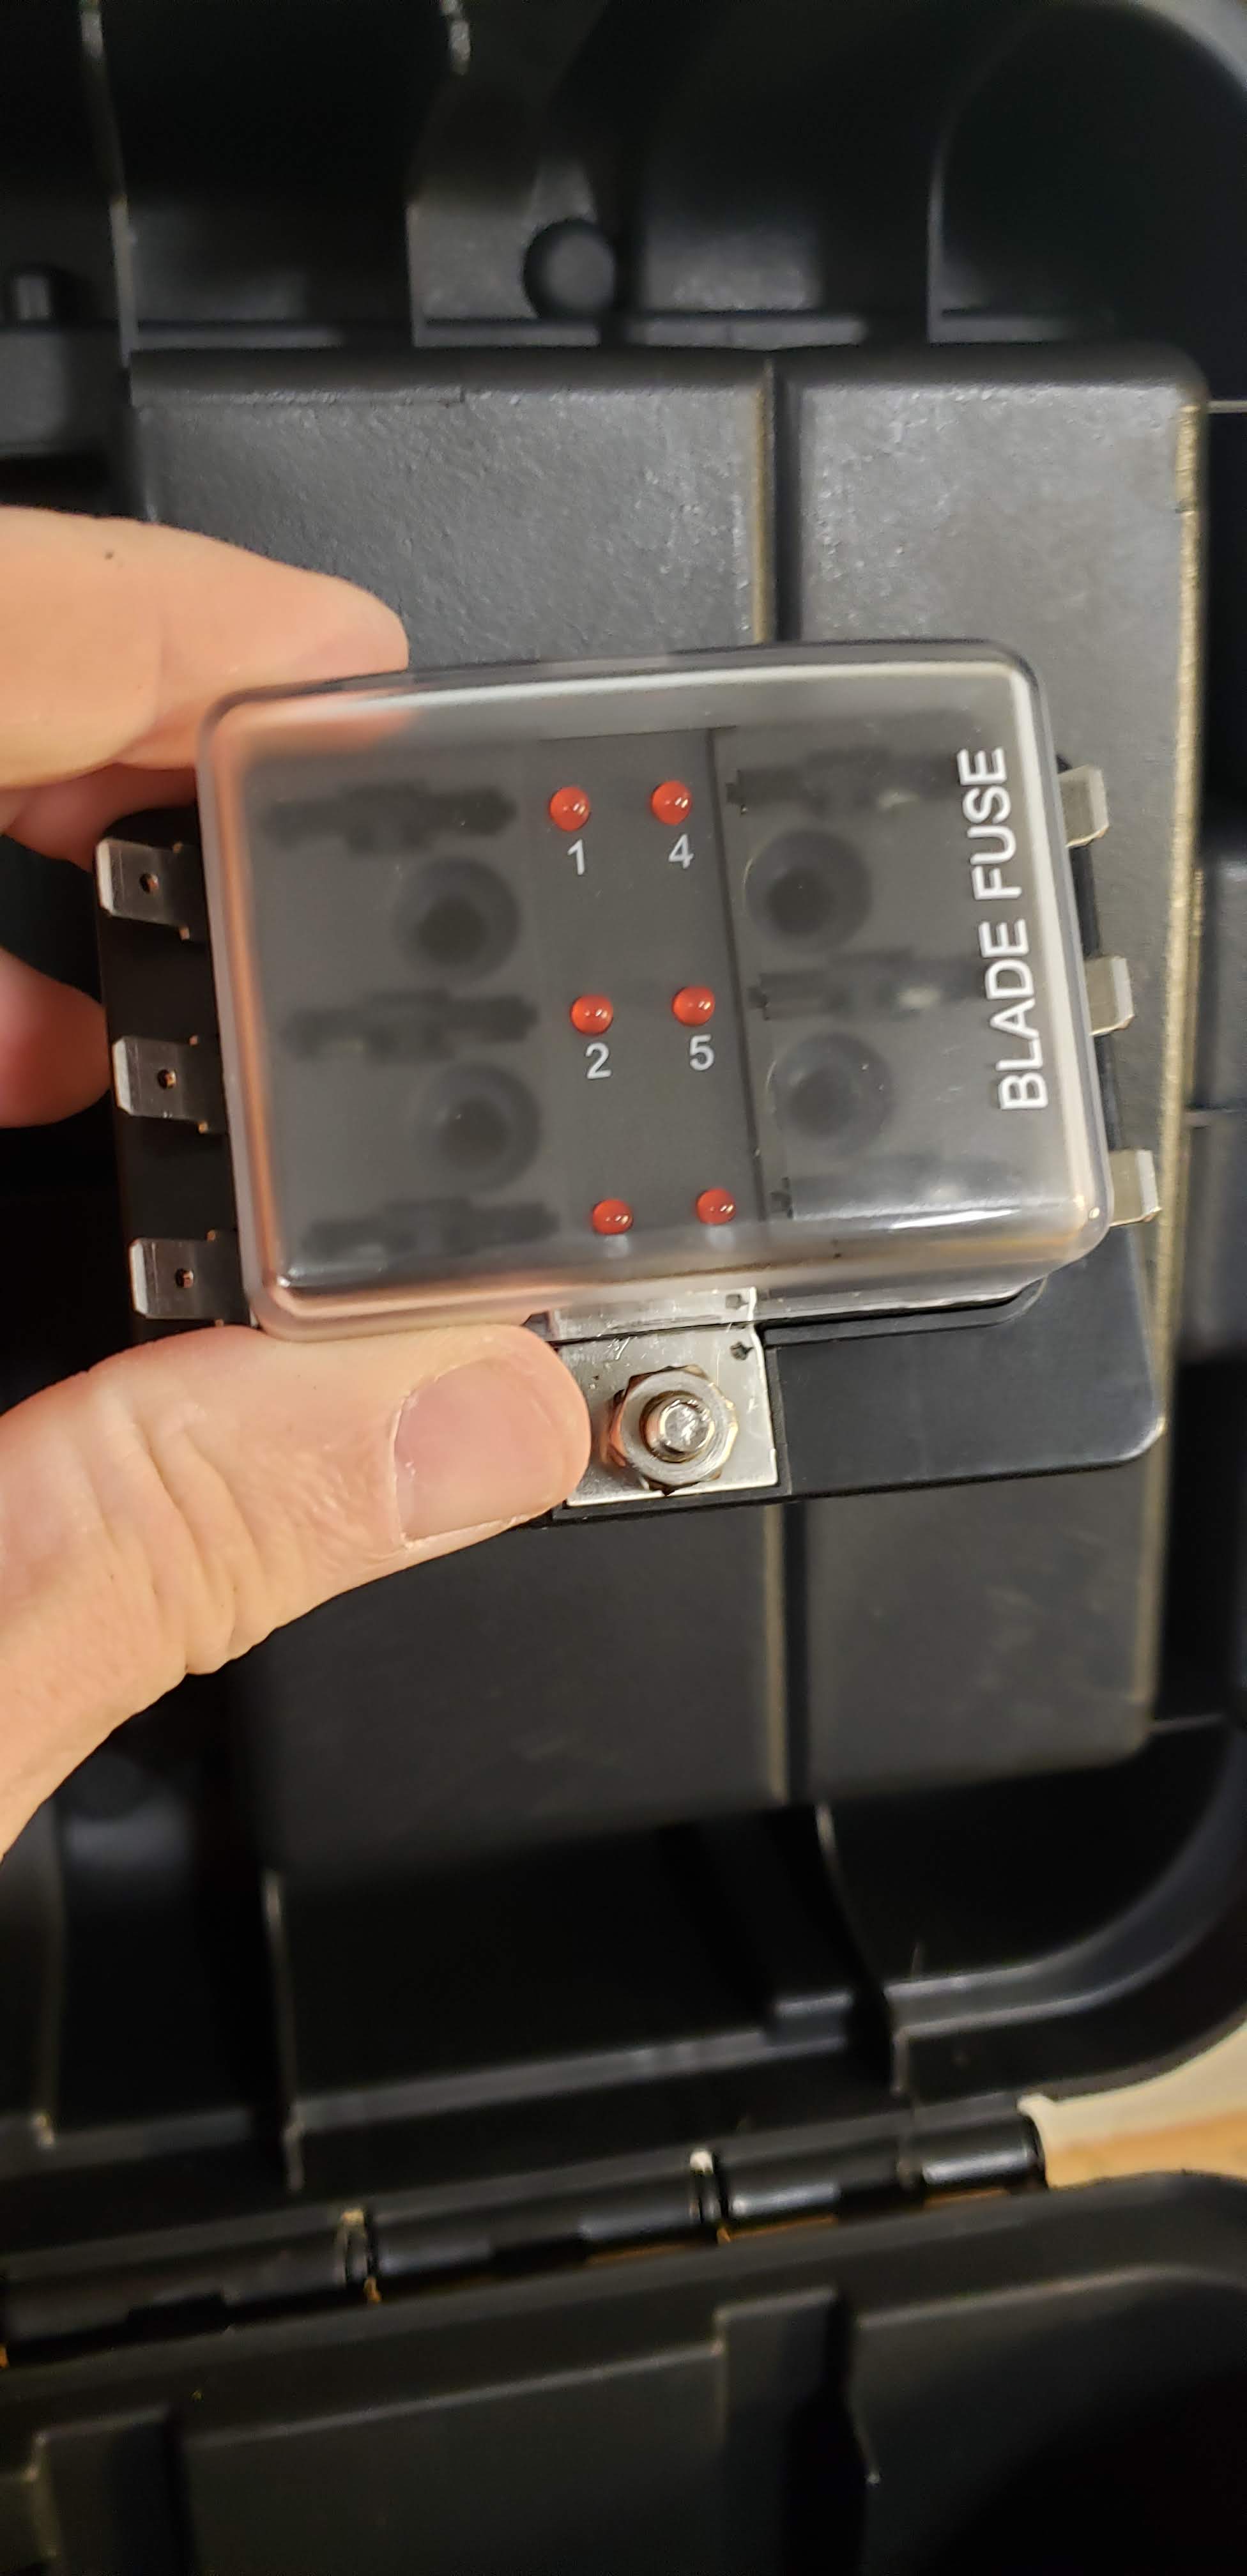
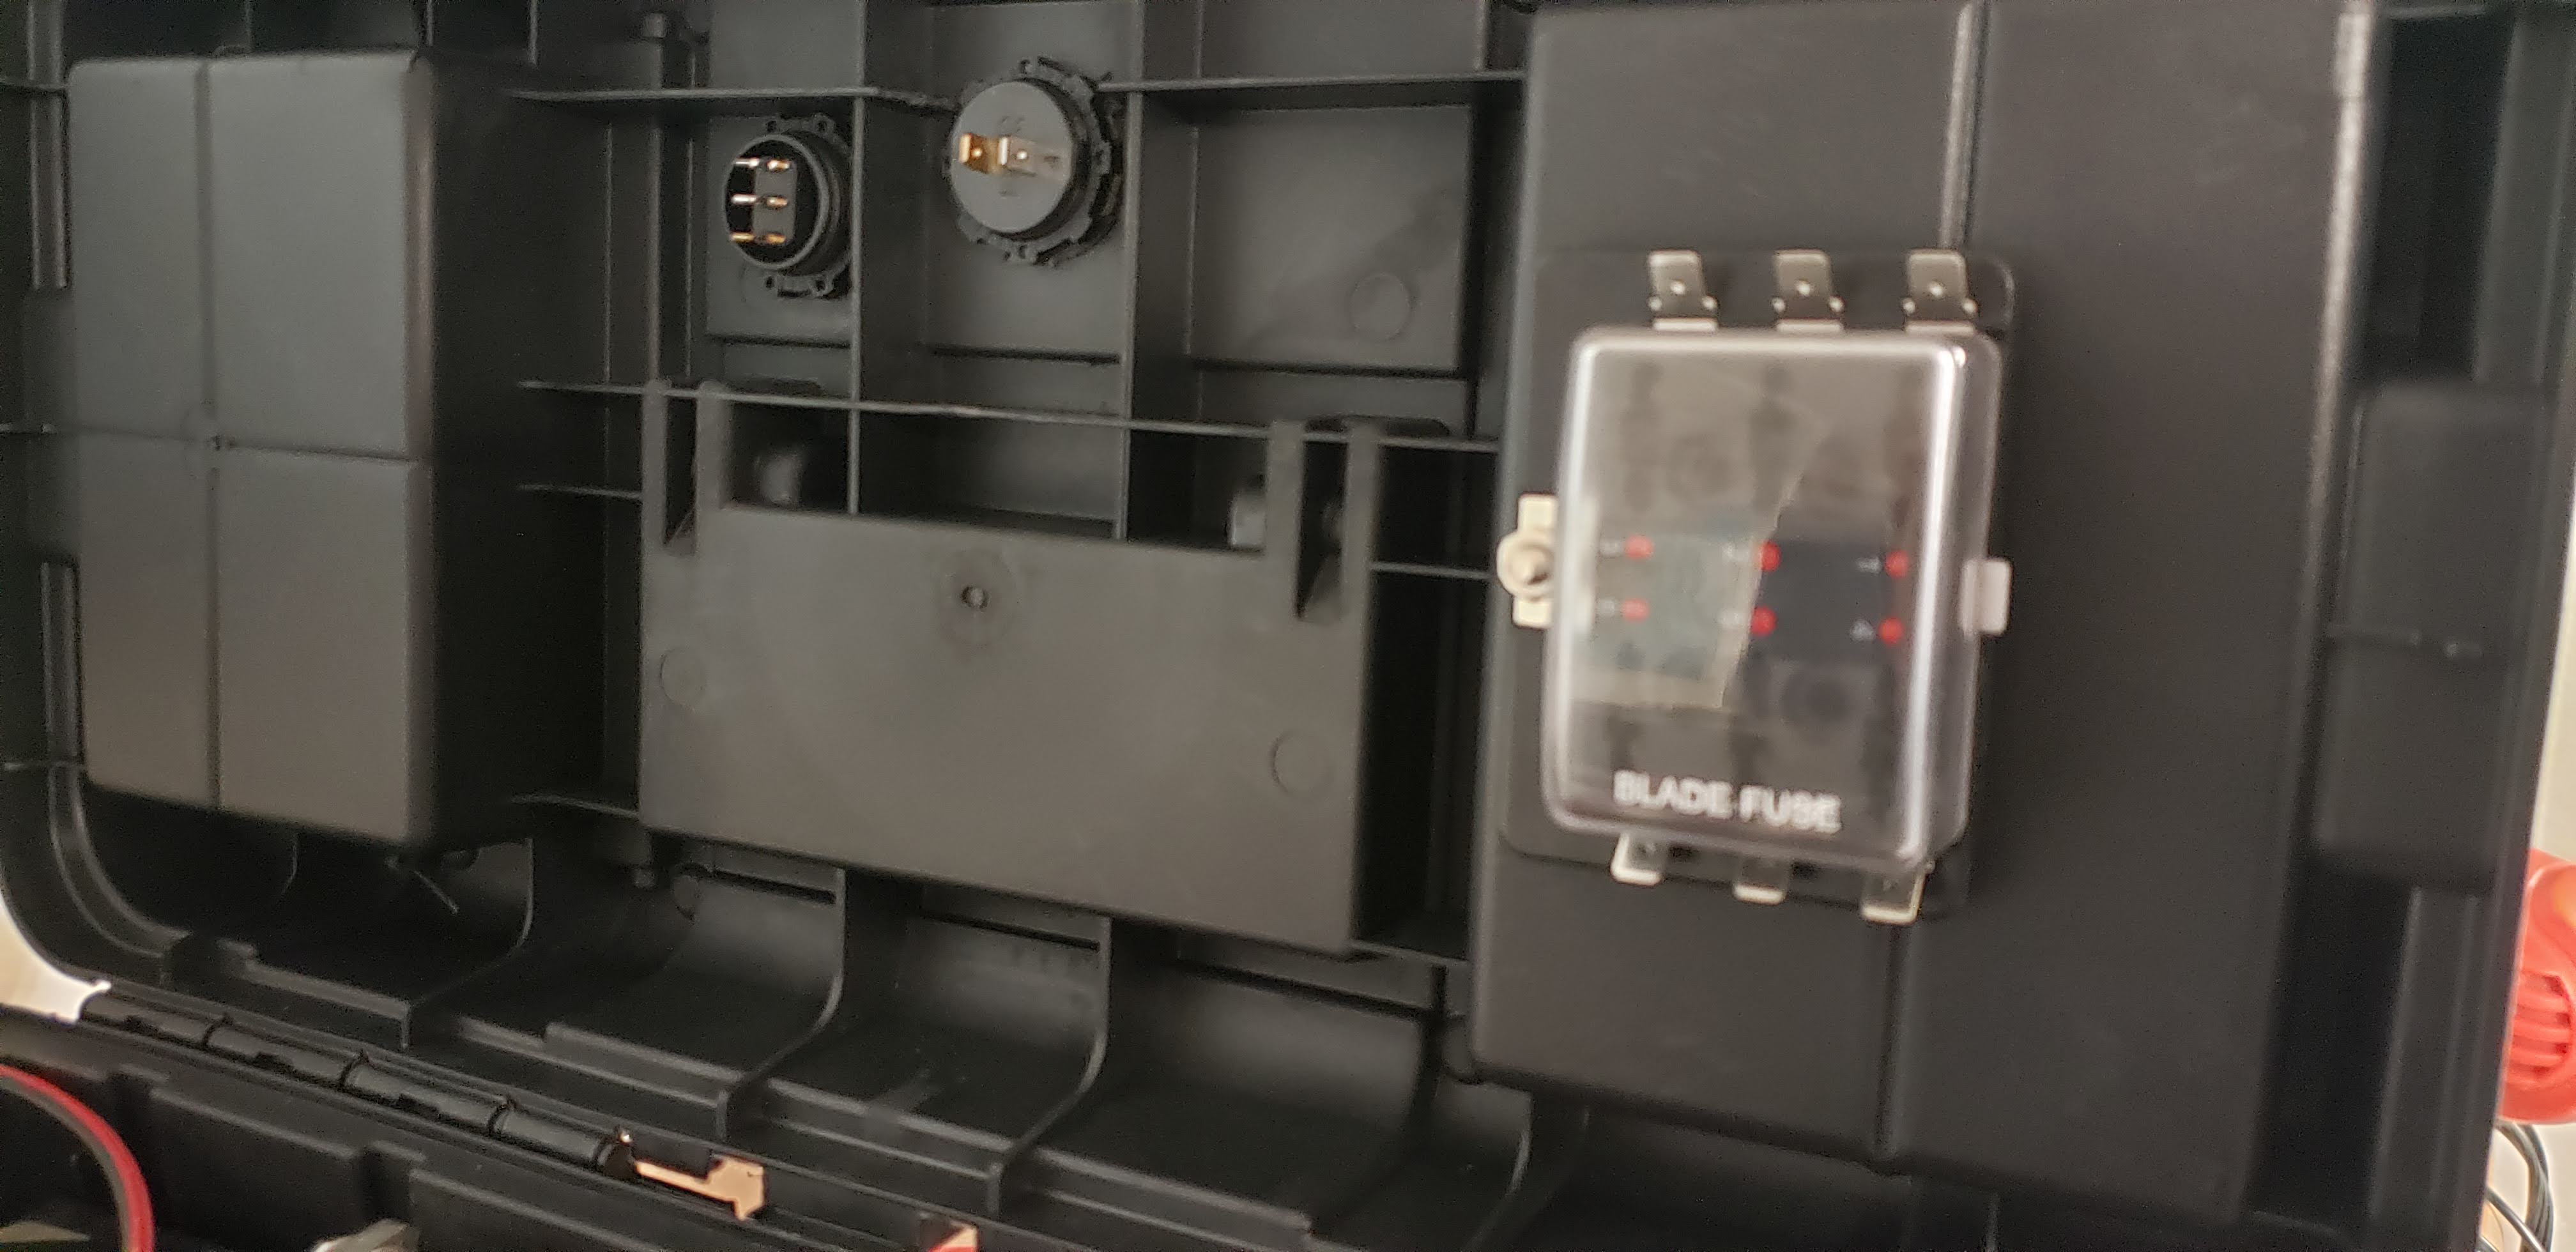
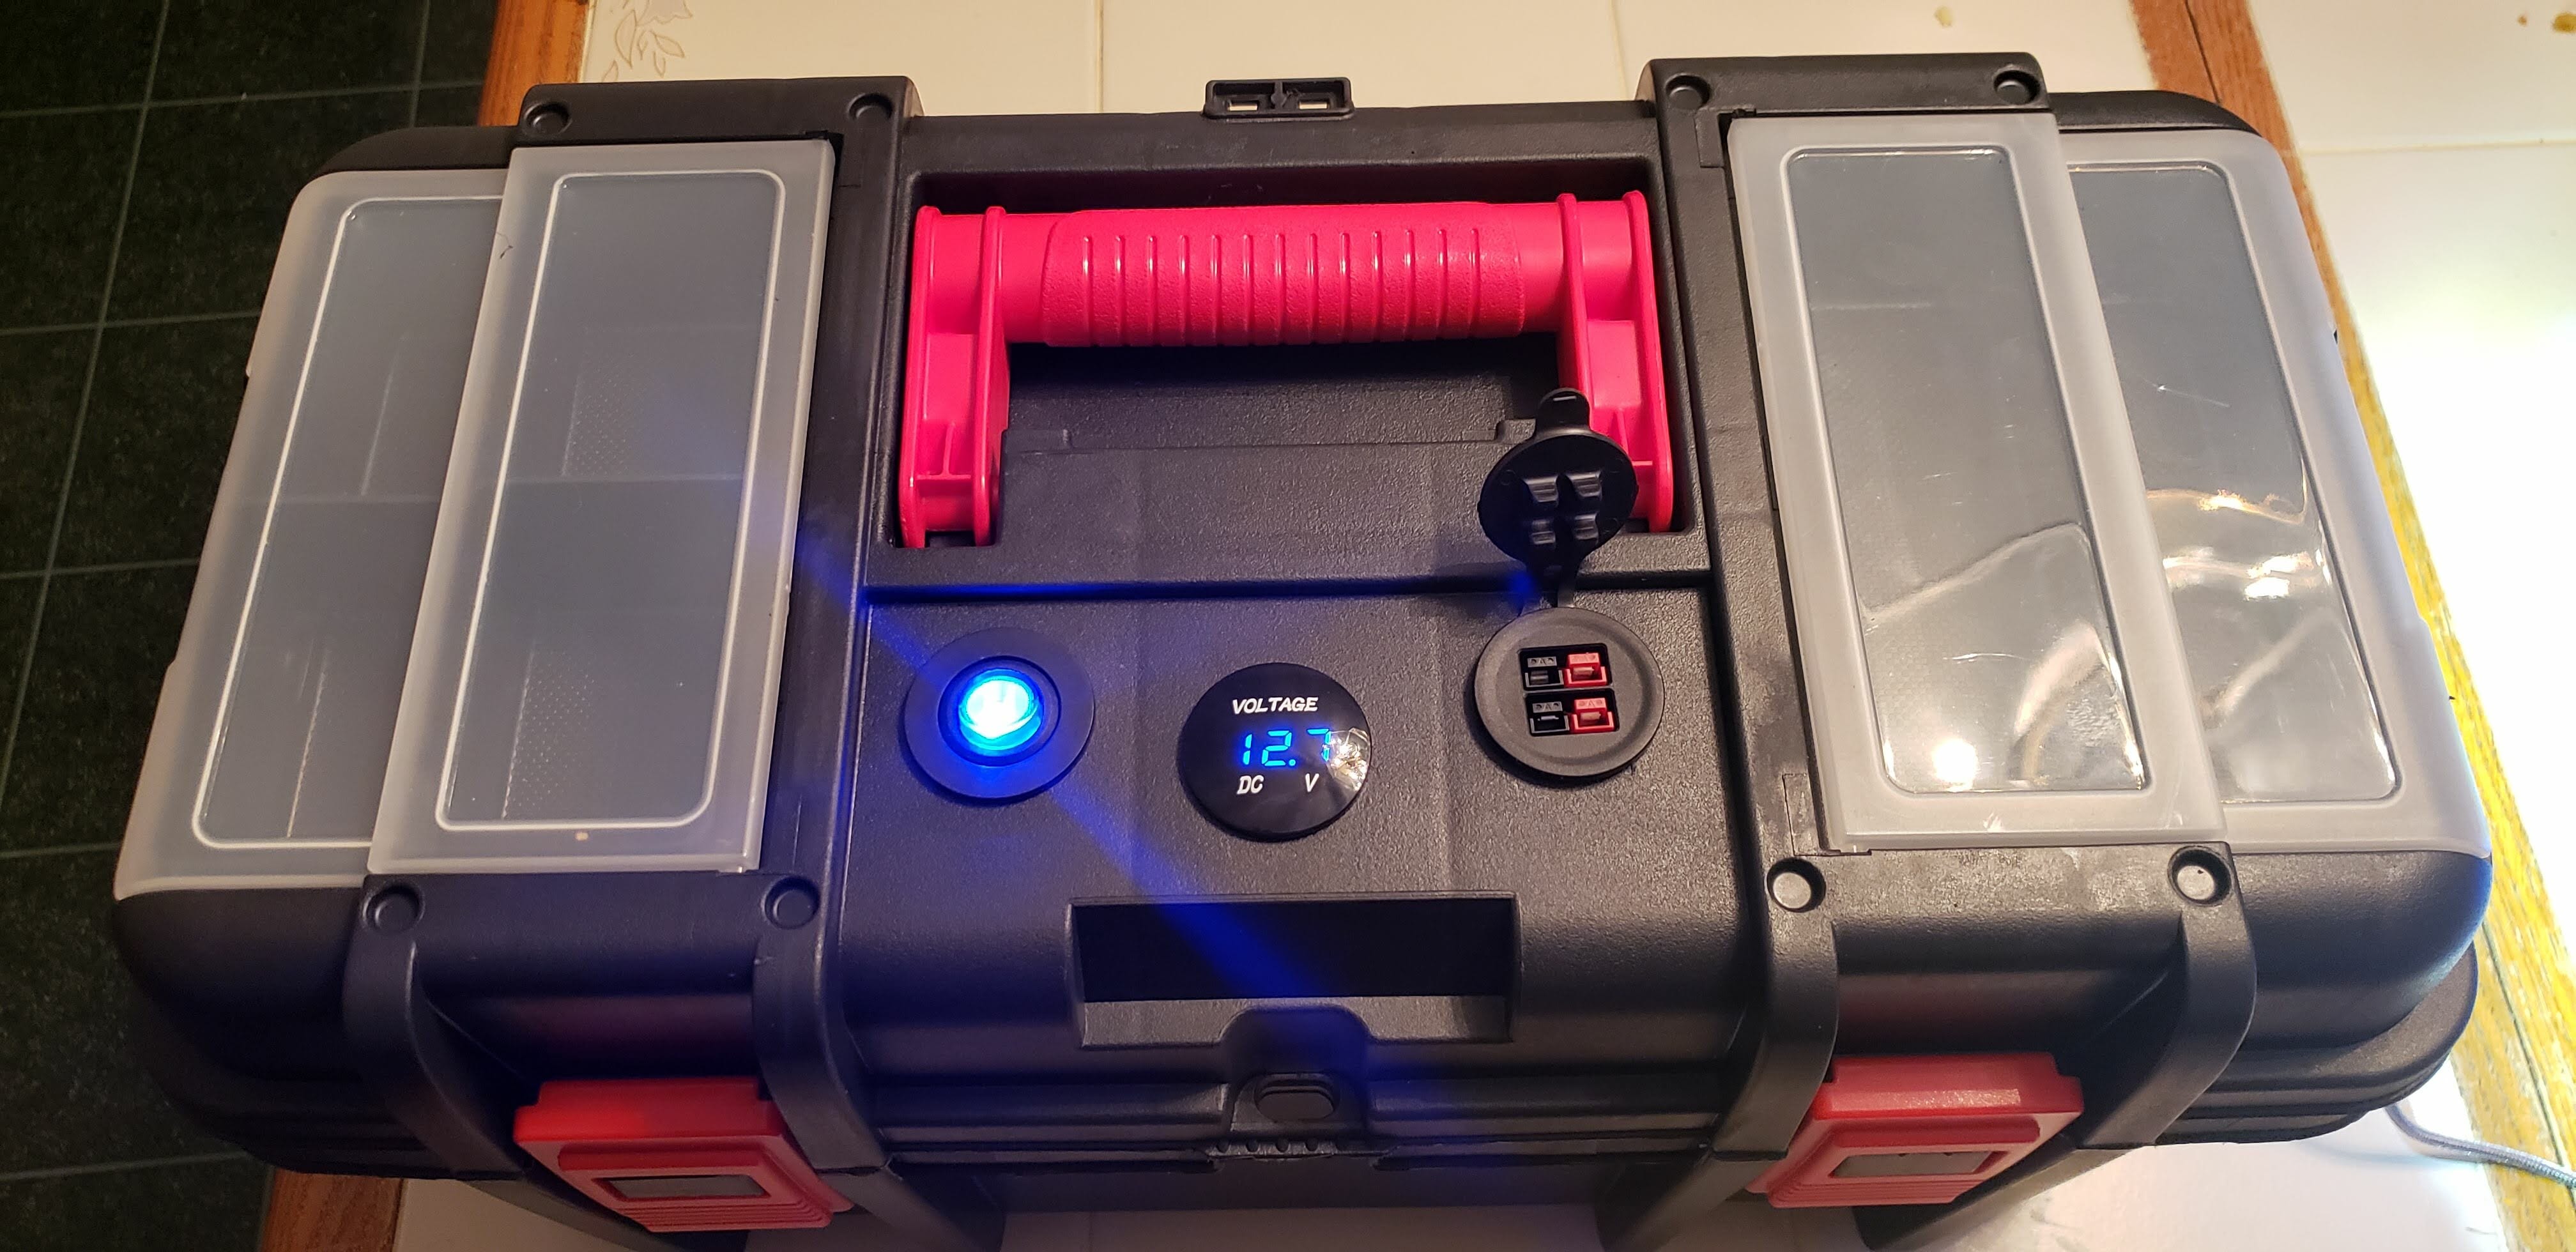
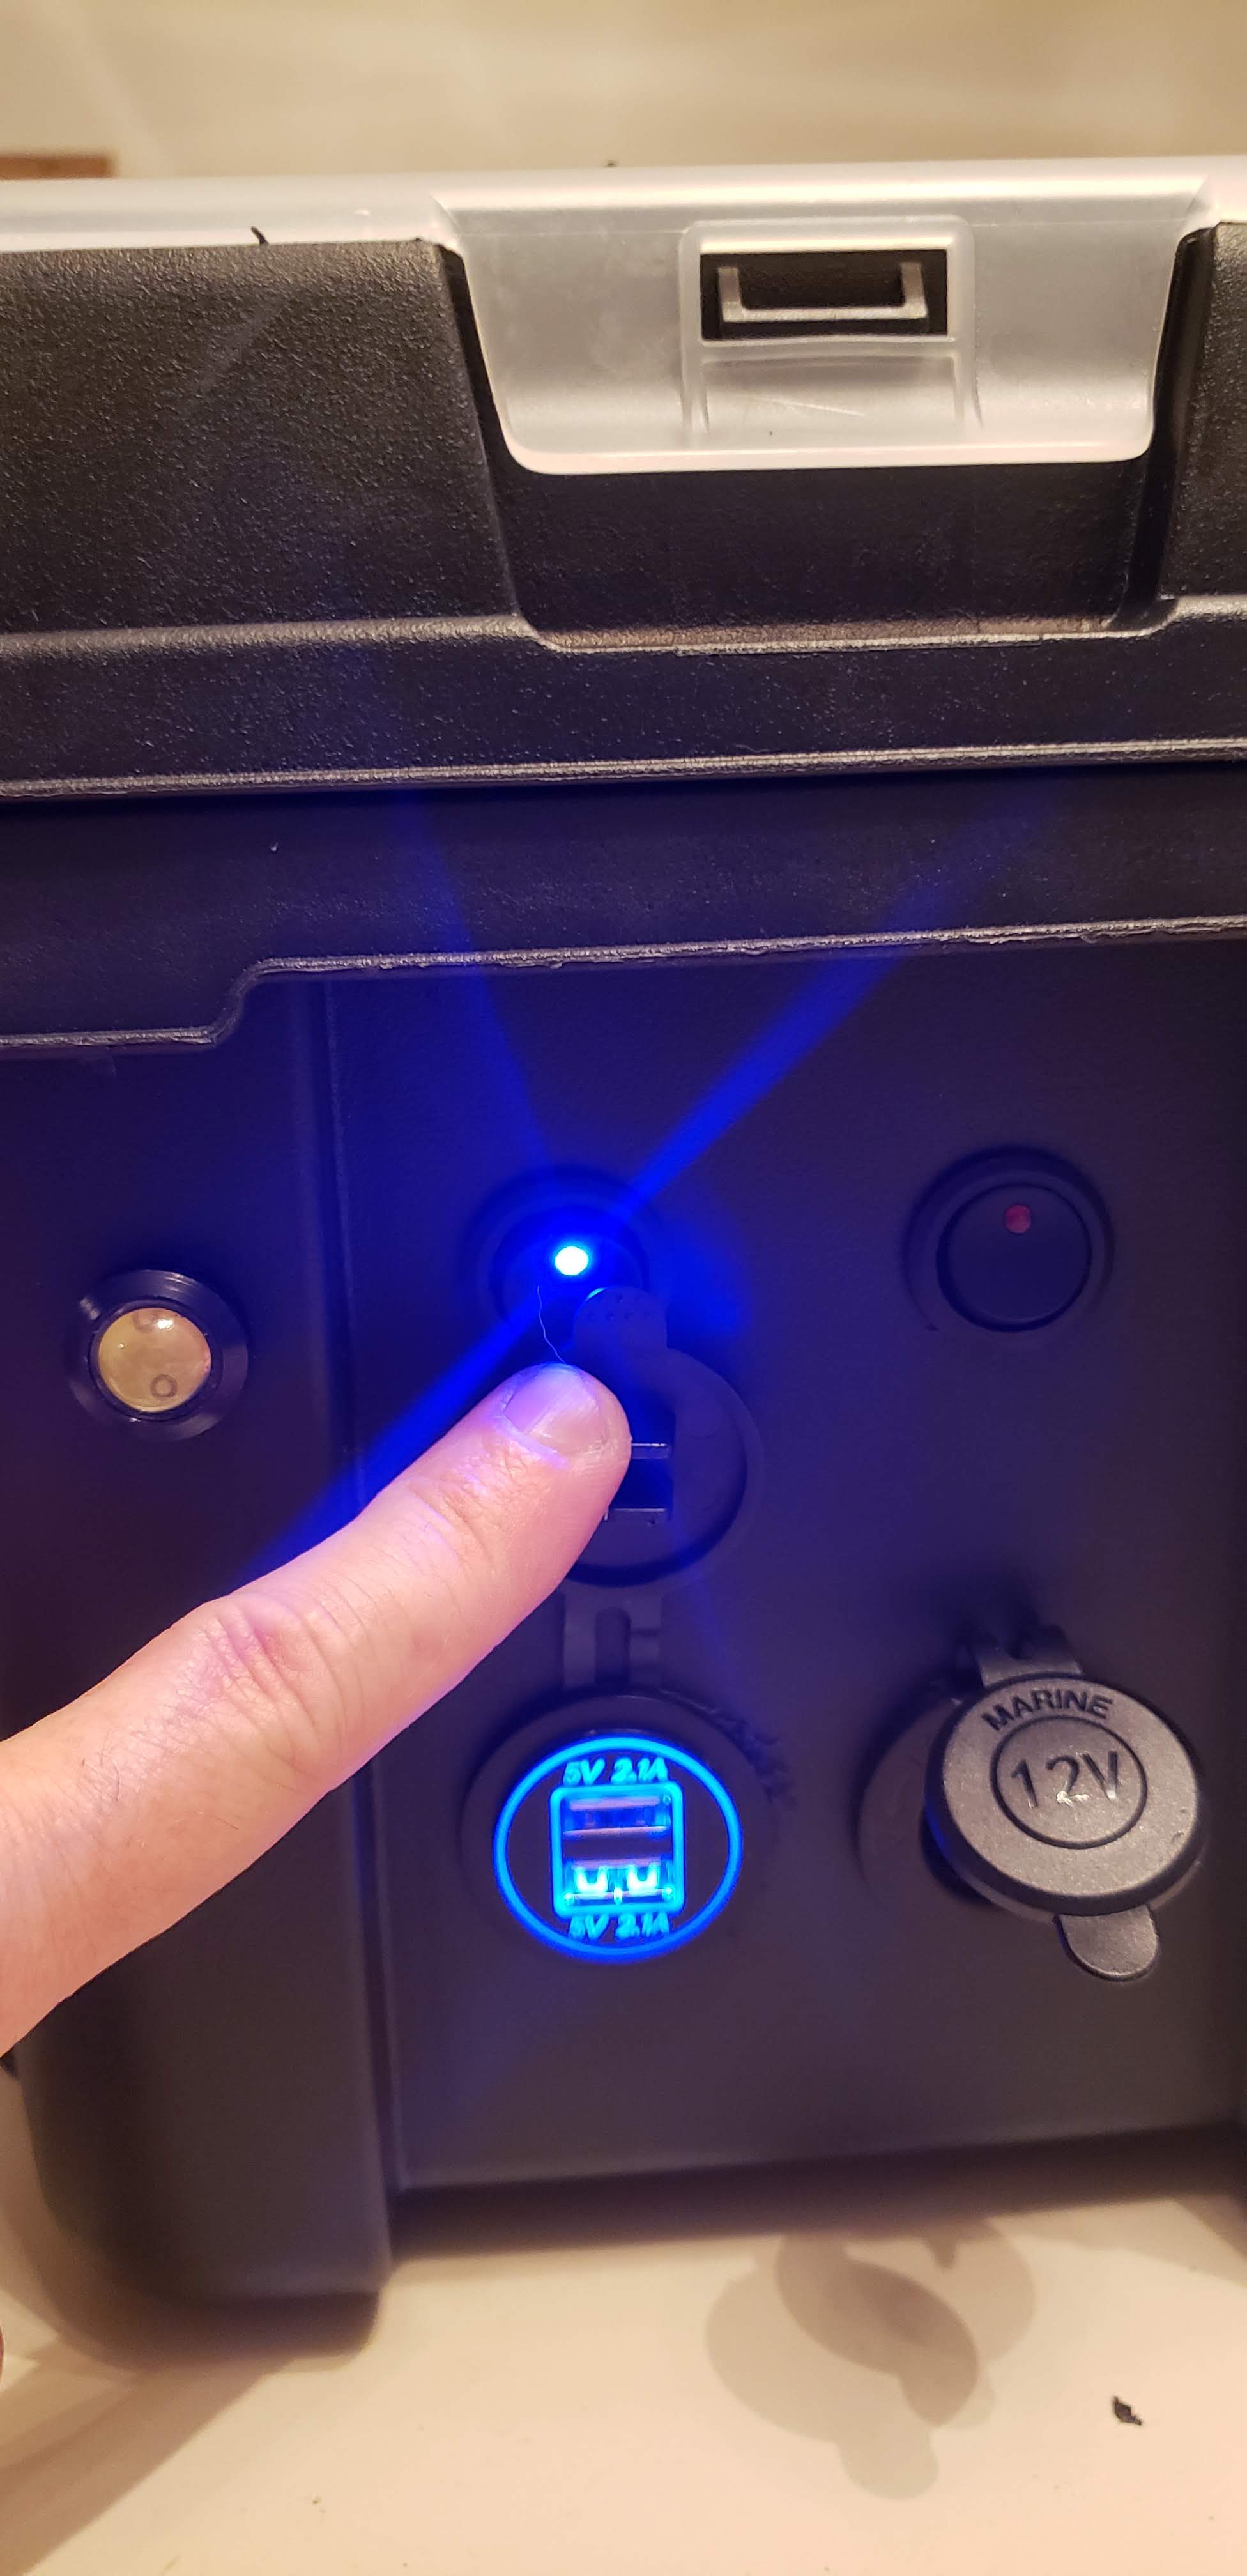
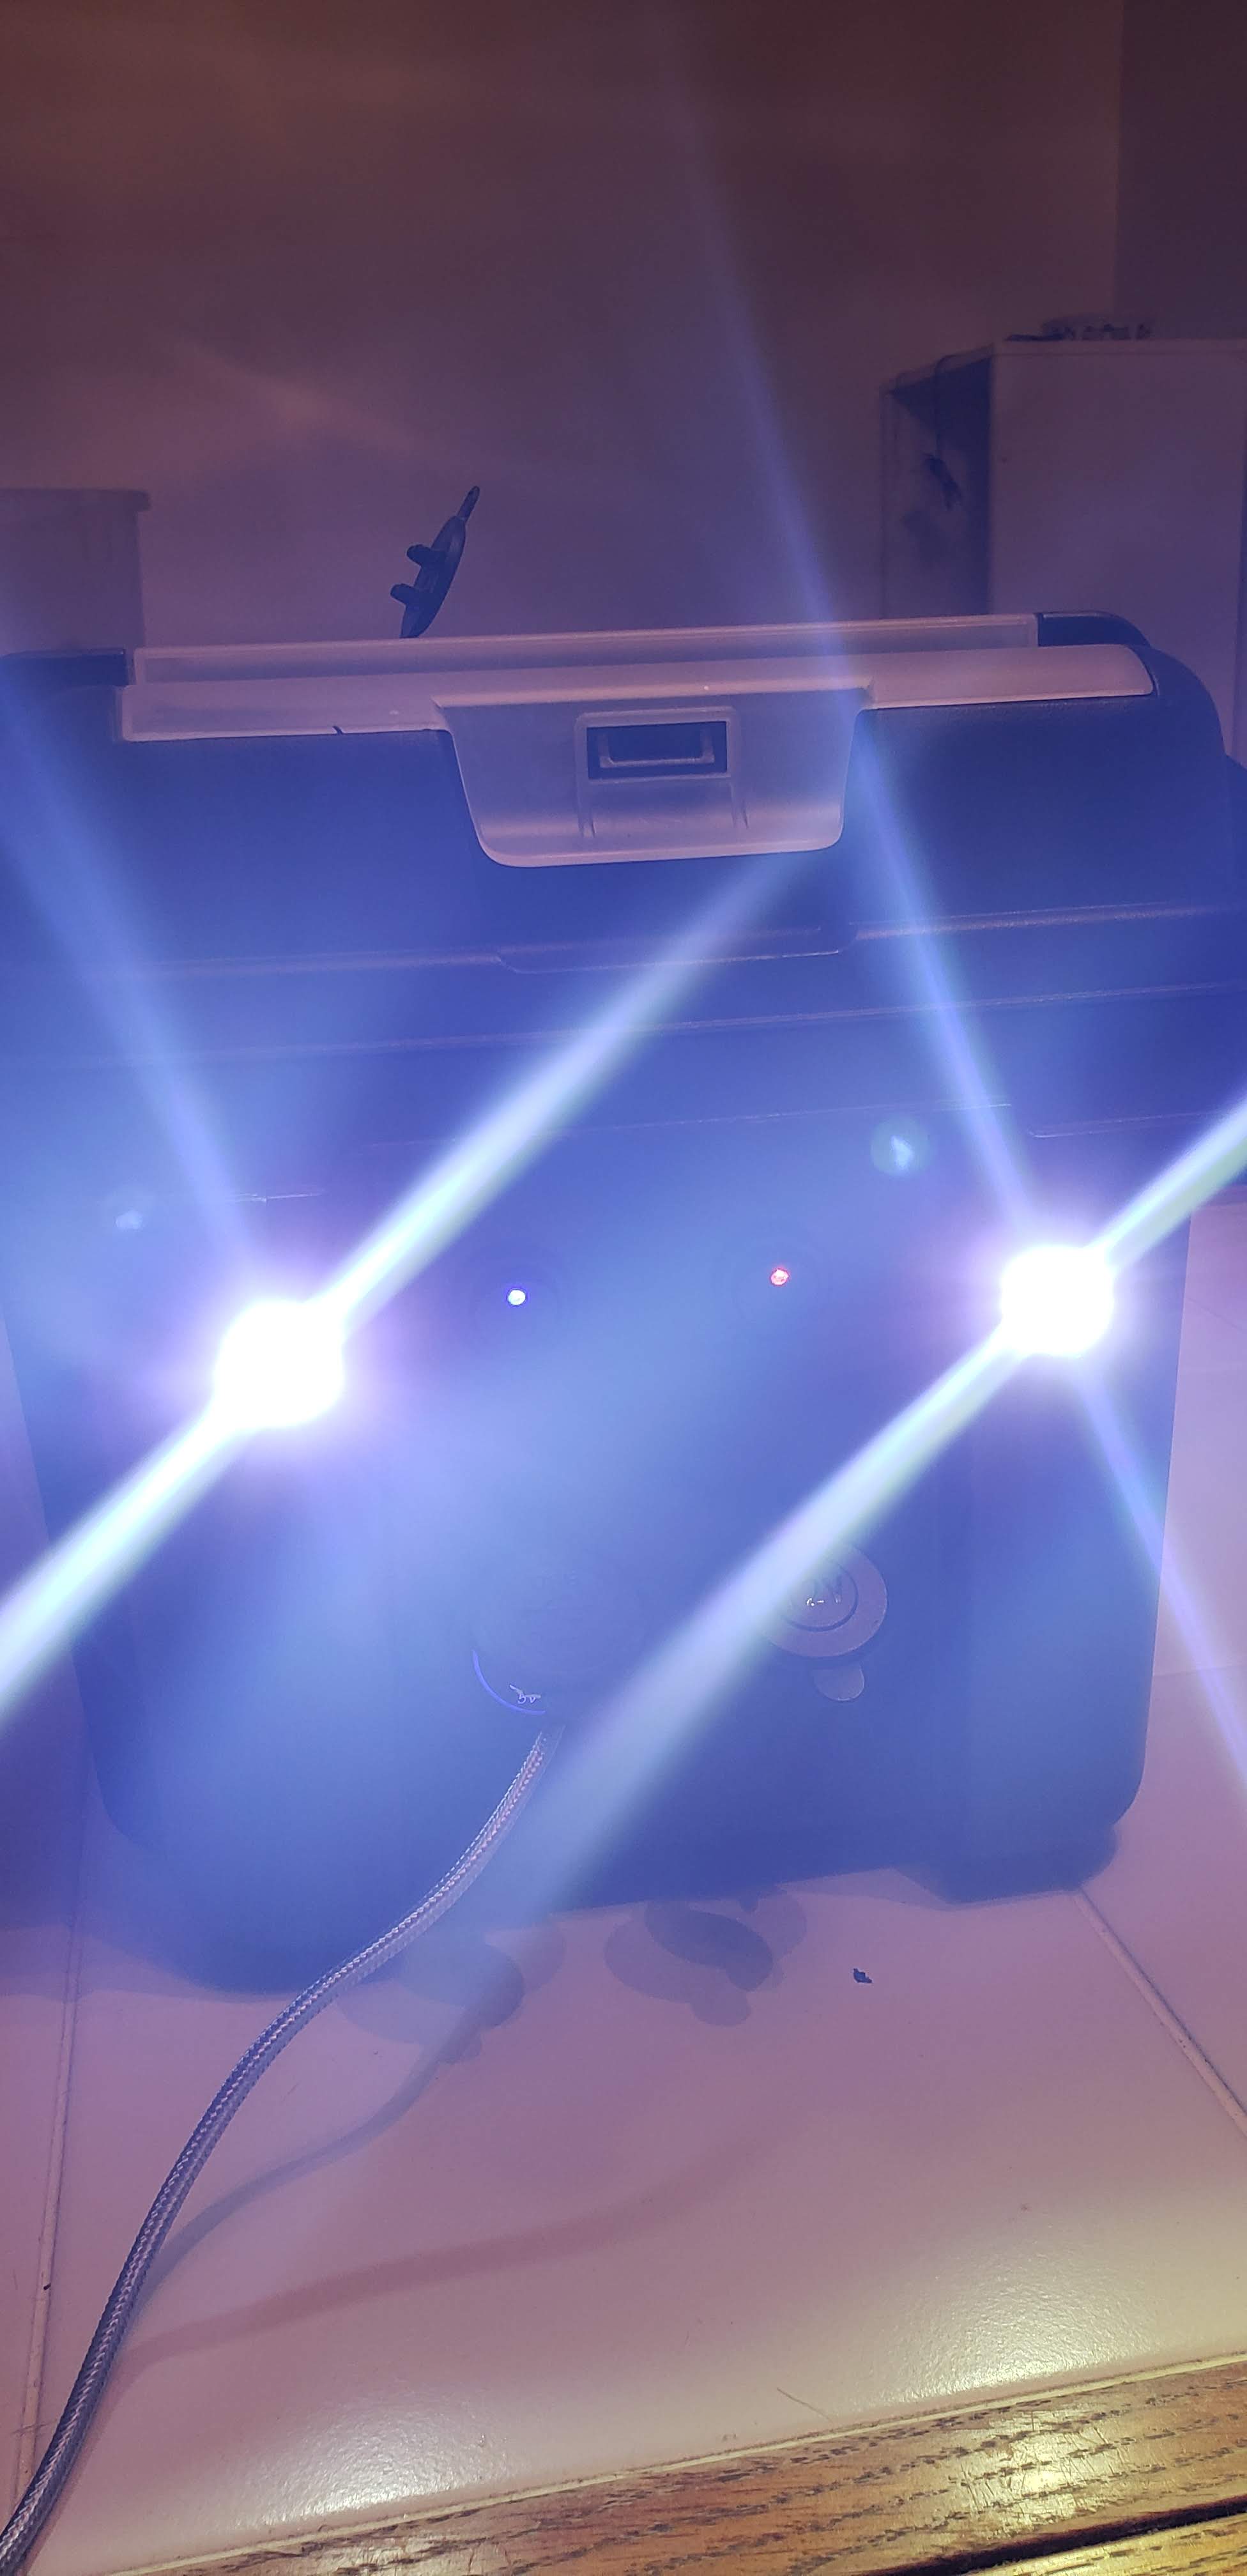
The components I have on the box are a volt meter in the center of the lid along with a master switch for power and a 2 port power pole outlet to plug in a radio. On the front side of the box I have two small switched LED lights, a port with two 2.1 amp USB chargers and a cigarette lighter adapter. All of the power runs through a fuse box. I used Velcro to attach the fuse box to the inside of the lid of the box.
Fuse BoxFuse Box Attached
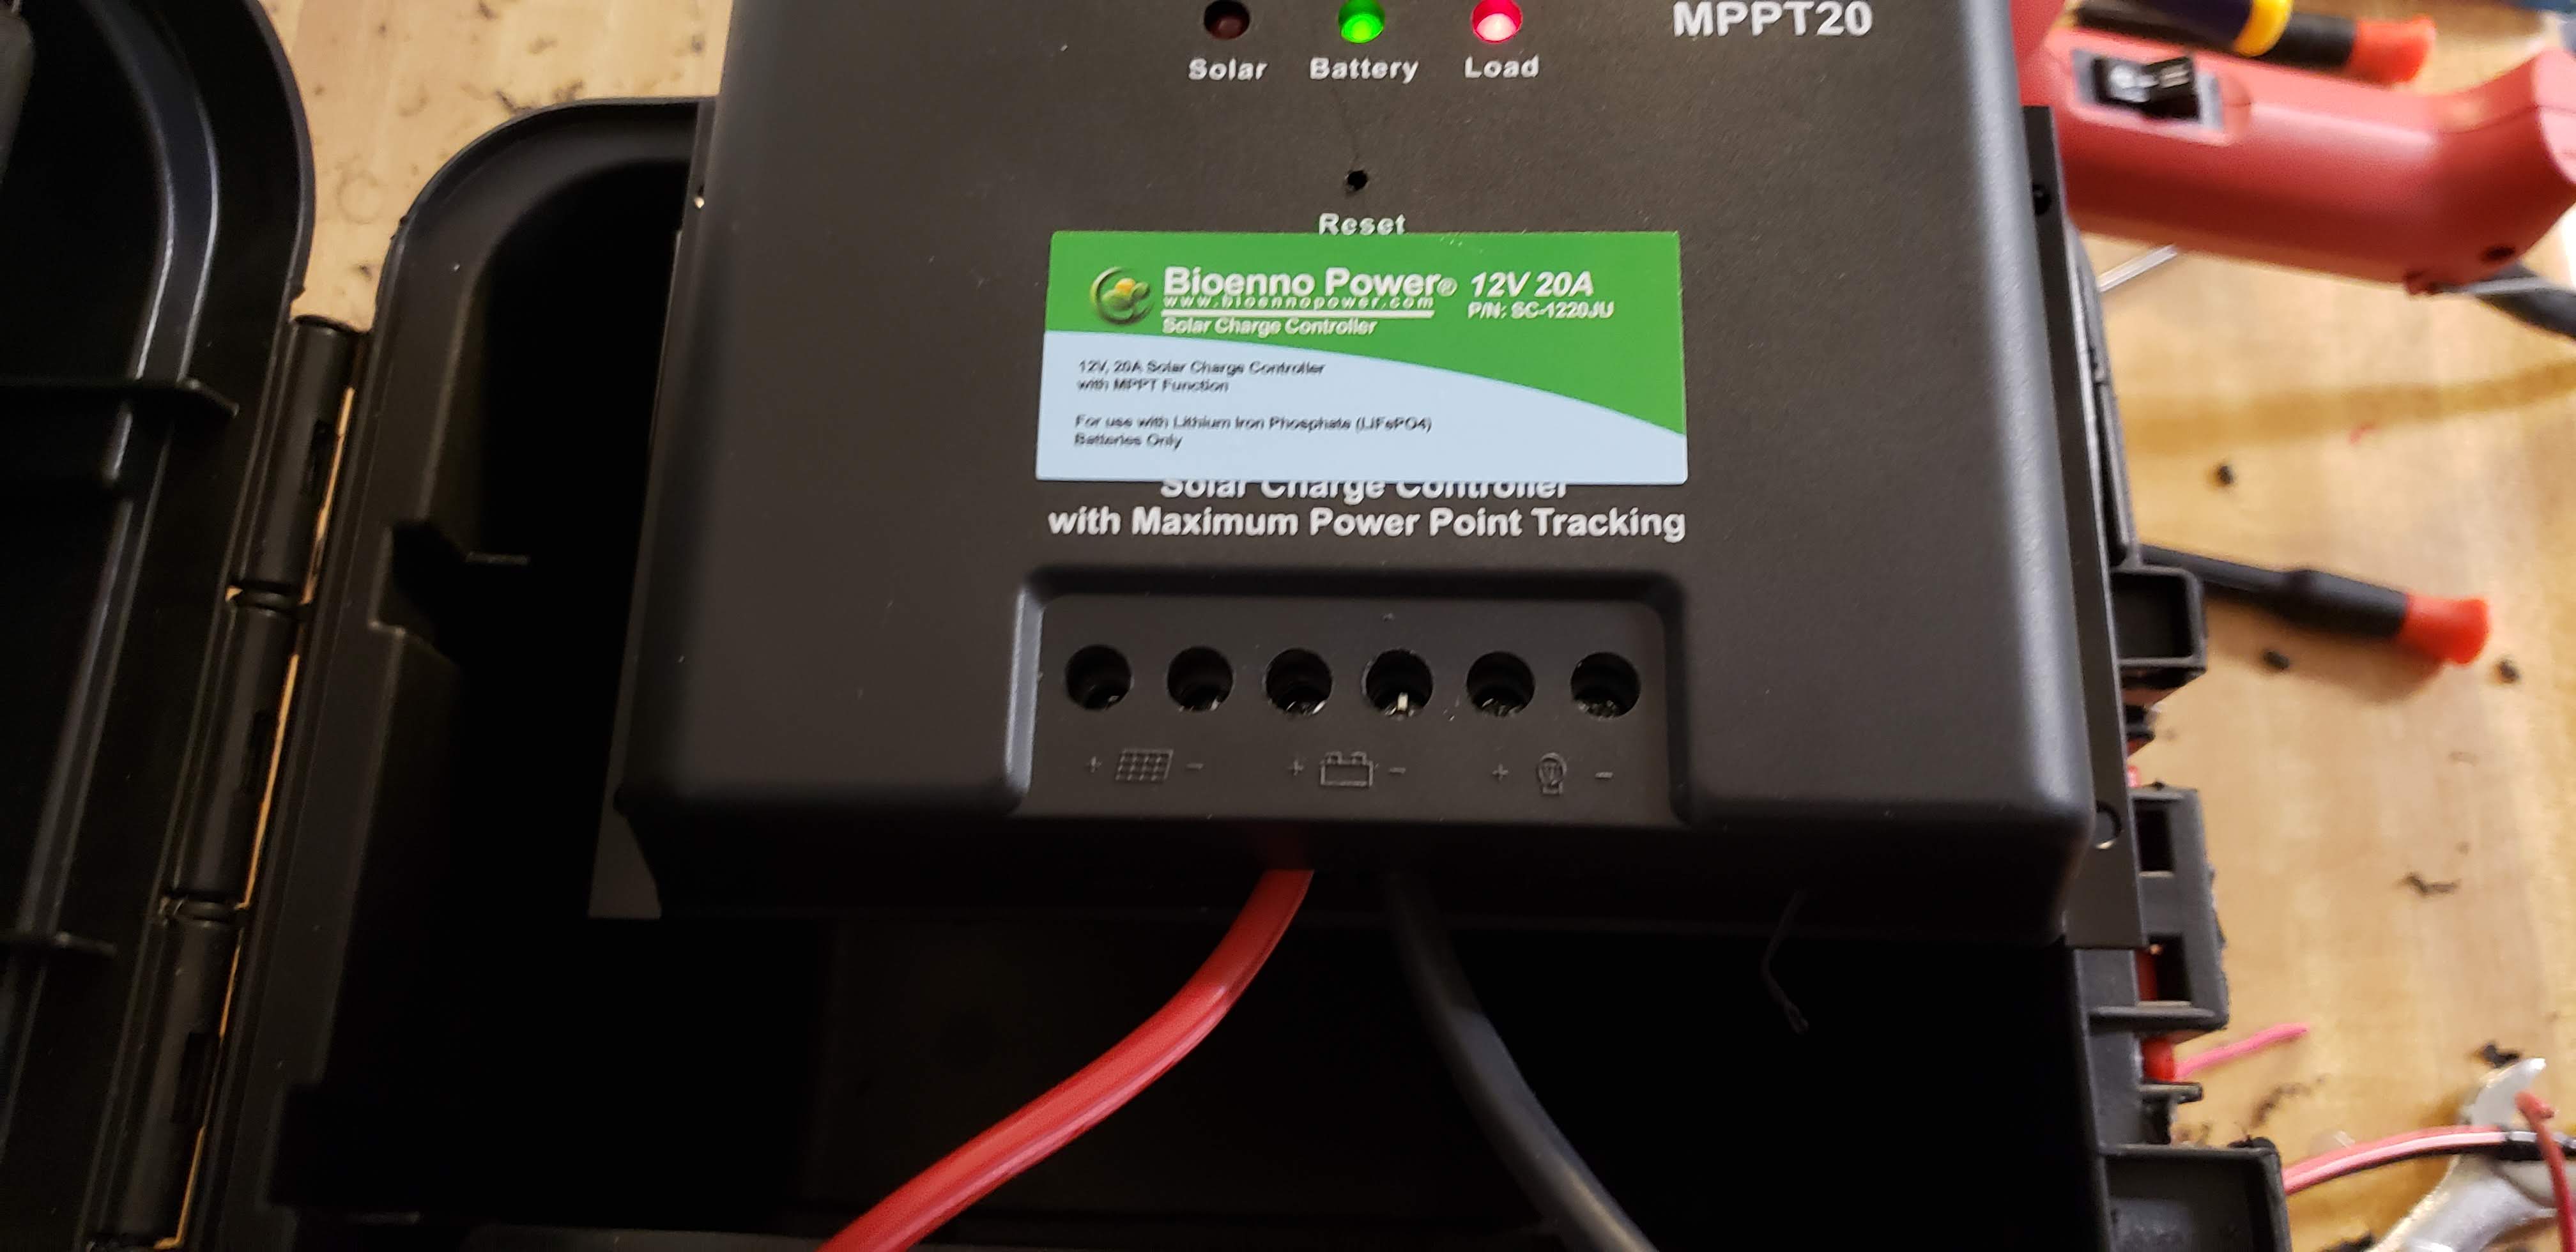
Once all the components were drilled and put in place I put the Bioenno Solar Charge Contoller in the box. I attached this with Velcro to the battery so that I can easily remove it when I want to go out for lighter portable activations.
Solar Charge Controller
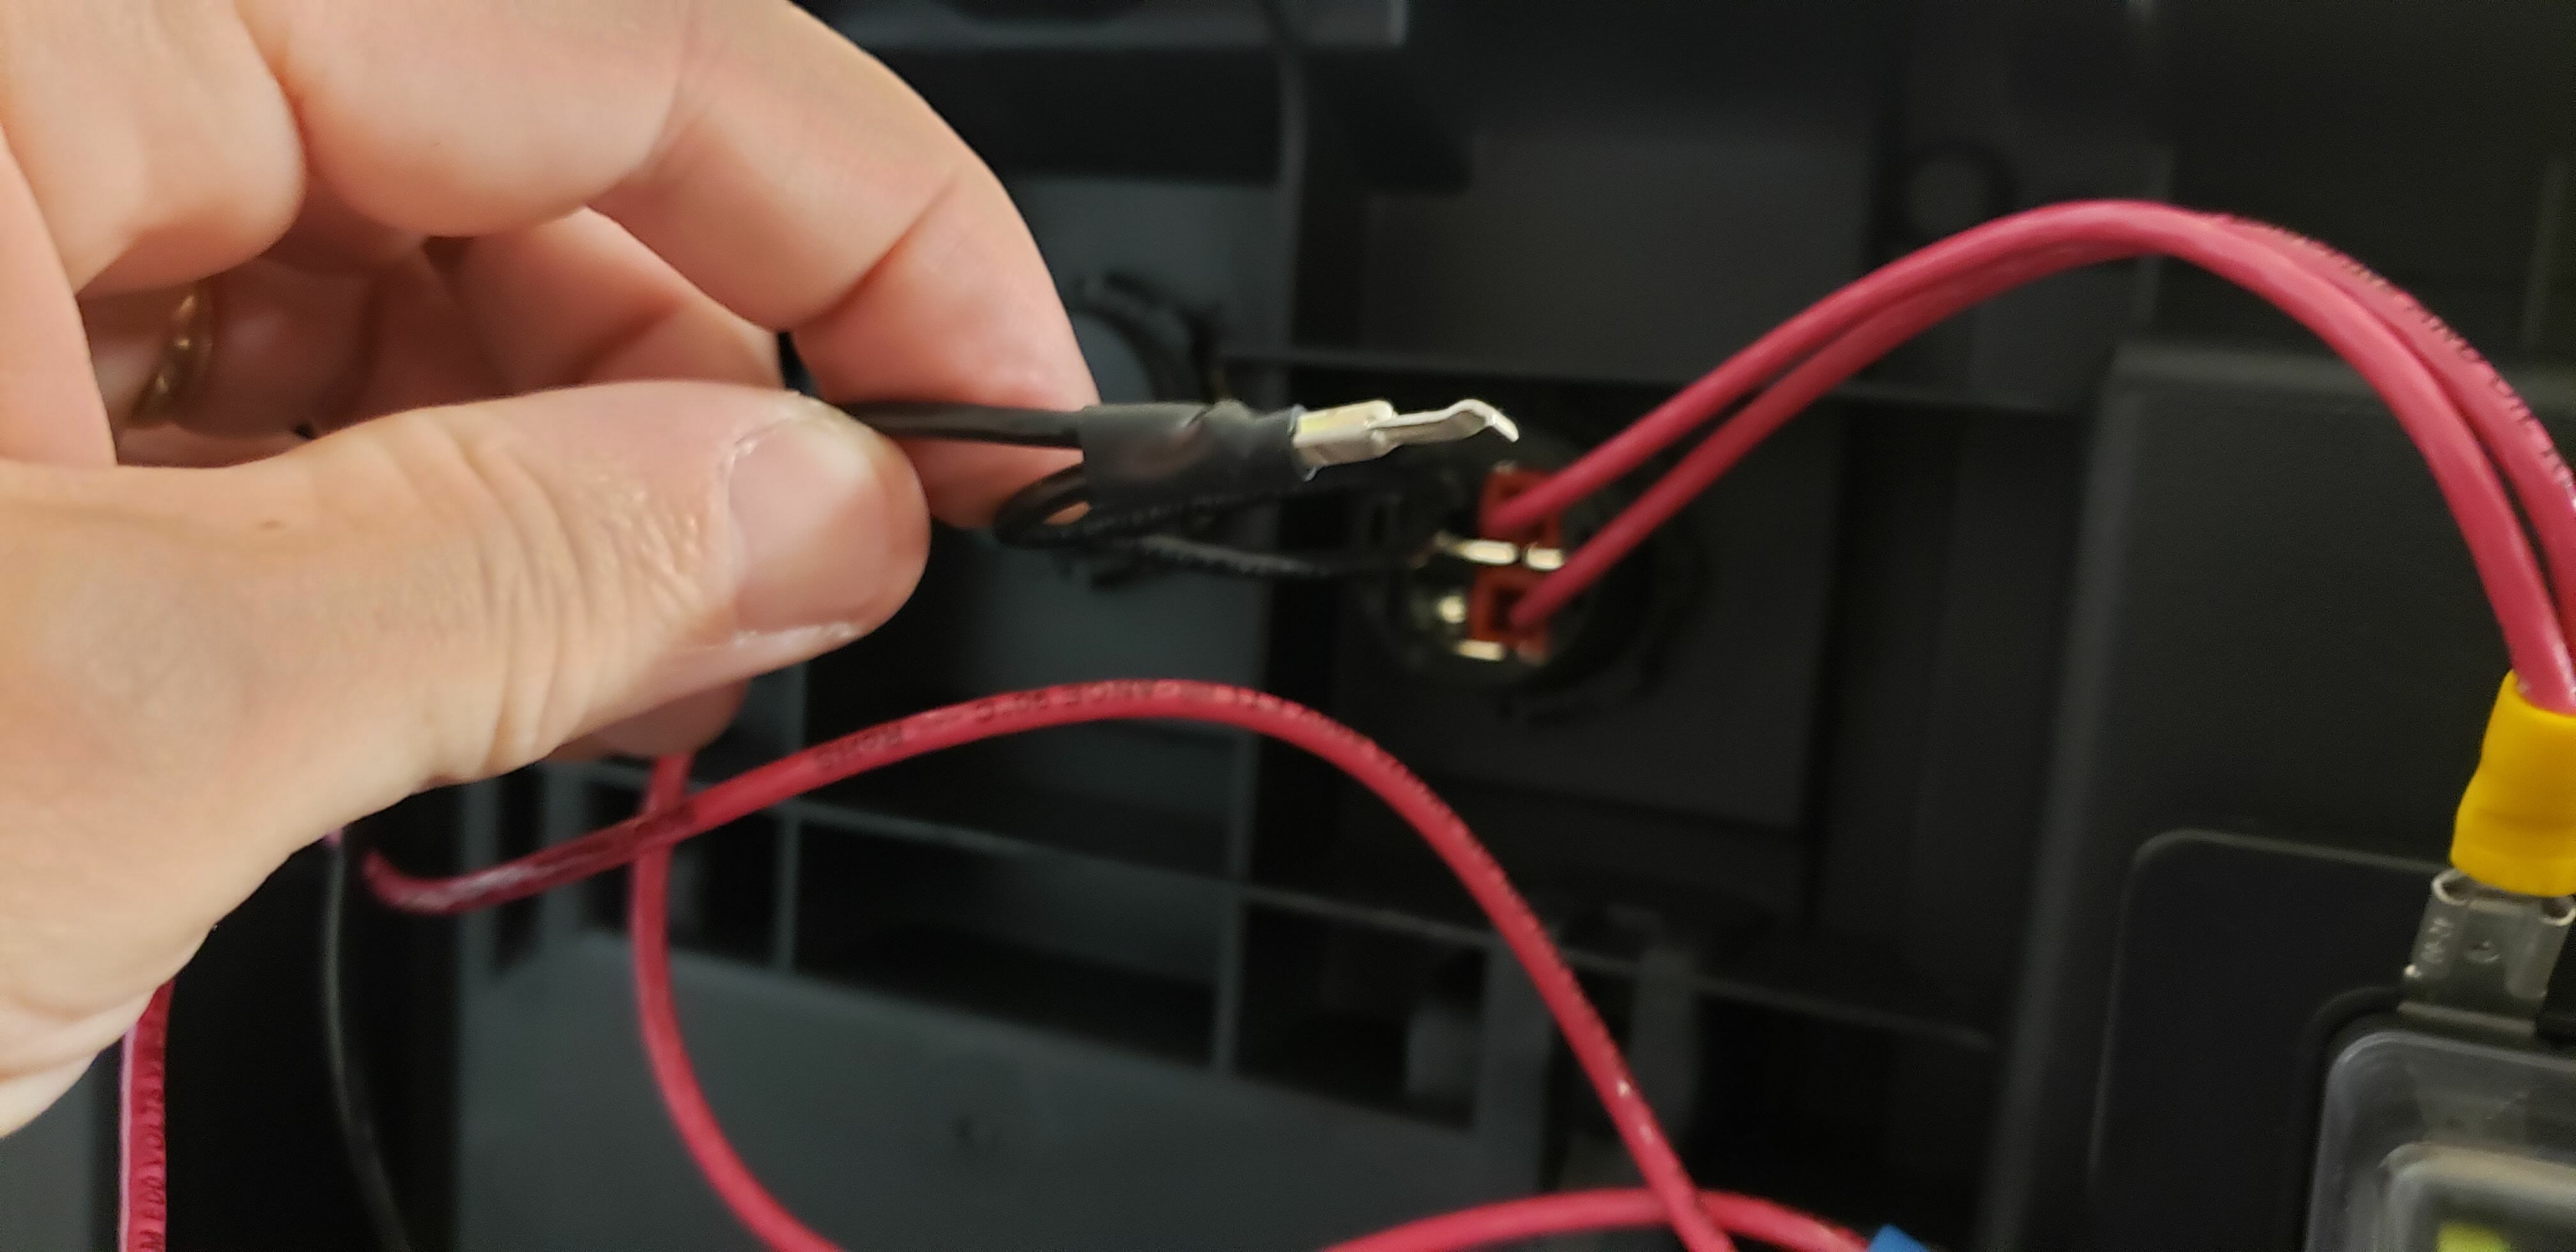
The hardest part was the wiring and it wasn’t really hard, just a little time consuming. I linked all the negatives together with spade connectors and wired all the positives to the fuse box. The power pole connection was probably the most difficult.
Power Pole Connection
With the wiring complete I quickly tidied it up and tested out all the components and… it worked! I’m very happy with how it came out and can’t wait to get out and do POTA now! Something that’s not showing is the input for the solar charge panel. I’ve got a power pole connector that will attach the solar panel to the solar charge controller. I’d like to get another connector to run through the box. As it is now I have to open the lid to charge the battery. I’m also thinking about adding a strip of LEDs around the edge of the lid for some additional light at night.
Battery Box Completed
Let me know what you think. Any suggestions as to how to make this better are also welcomed!
Front of Batter Box with switched powerBattery Box with LEDs
The new Icom IC-9700 transceiver has begun shipping and we’ve recently added one to our Satellite Station. The addition of the new radio completes a key part of our Satellite Station 4.0 upgrade plans.
IC-9700 Display and Waterfall – Working FO-29
The new Transceiver features a Spectrum Scope and several useful satellite features….
We received our new IC-9700 Transceiver and have it set up and working with our Satellite Station. The integration of the new radio with our software and other elements of our Satellite Station went smoothly and we expect to use the new radio with our portable satellite station at Field Day and our upcoming License Classes. You can read more about our early experiences with the new radio via the link above.
To keep this light, we’ll use titles of Rock’N’Roll songs to theme the sections in this article. I’ve included links to the music videos so you can play them in the background while you read – this might be more fun than my article…
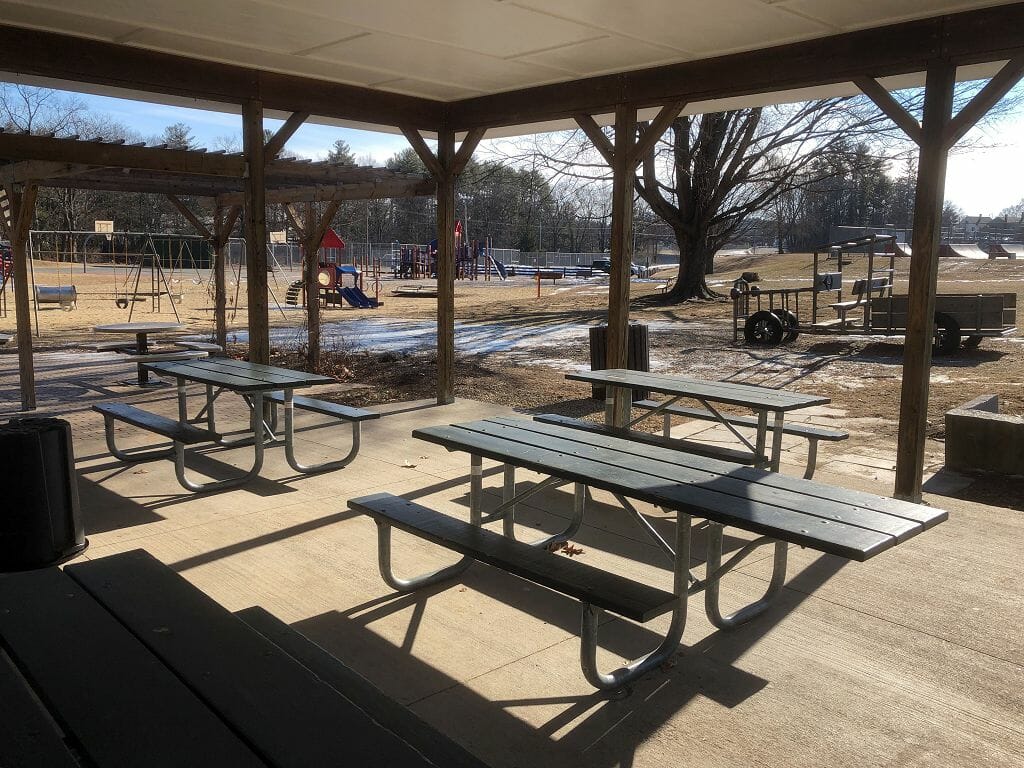
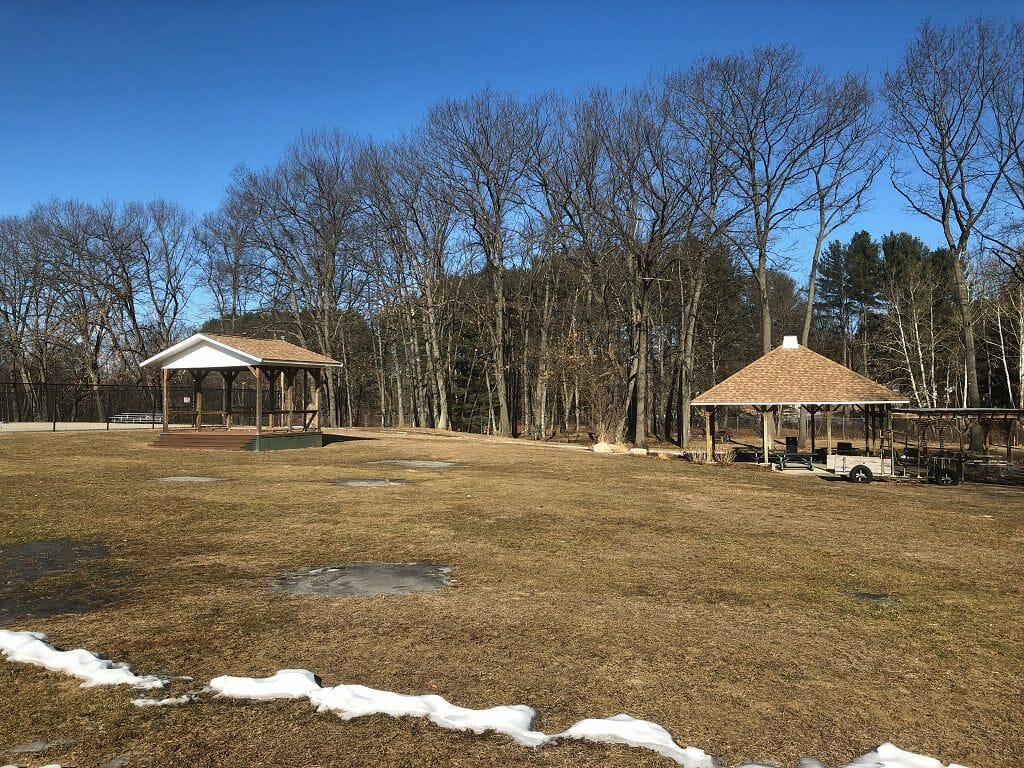
Several months ago, Craig N1SFT suggested that we do Winter Field Day (WFD) as a means to practice our Emergency Communications (EMCOM) skills and to get additional practice setting up our towers and antennas. Craig further suggested that we operate from Keyes Memorial Park in Milford, NH due to its public location, large open area, and availability of an open pavilion that could be used to construct a temporary outdoor shelter. Jerry K1OKD, Charlie W1CBD, Dave K1DLM, Mike, K1WVO, John KB1EEU, and I joined Craig to form what became the core of our 2019 Winter Field Day Team.
Early on, we met with the Milford Town Board to secure permission to operate in the park overnight and we began holding weekly calls to develop our plans. Early on, we decided to operate four all-mode stations and to cover all of the non-WARC bands from 160m through 2m and 70cm. We felt that this arrangement would make us competitive with the top stations in Winter Field Day over the past several years.
Winter Field Day Site and Antenna Plan
Jerry and Craig created a Site Layout and Antenna Plan. It was a challenge to fit antennas for so many bands into the limited space. All of the feedlines would lead back to the Pavillion which we planned to enclose with tarps and heat.
Winter Field Day Station Plans
Jerry and I put together the station plan shown above. The idea was to have 4 stations which we could operate on any band from 80m – 10m and to have two of these station with special capabilities for either 160m or 6m and above. The 6m+ station would use our portable satellite antennas to enable us to earn the Winter Field Day satellite bonus as well as be able to make FM and weak signal contacts on the 2m and 70cm bands,
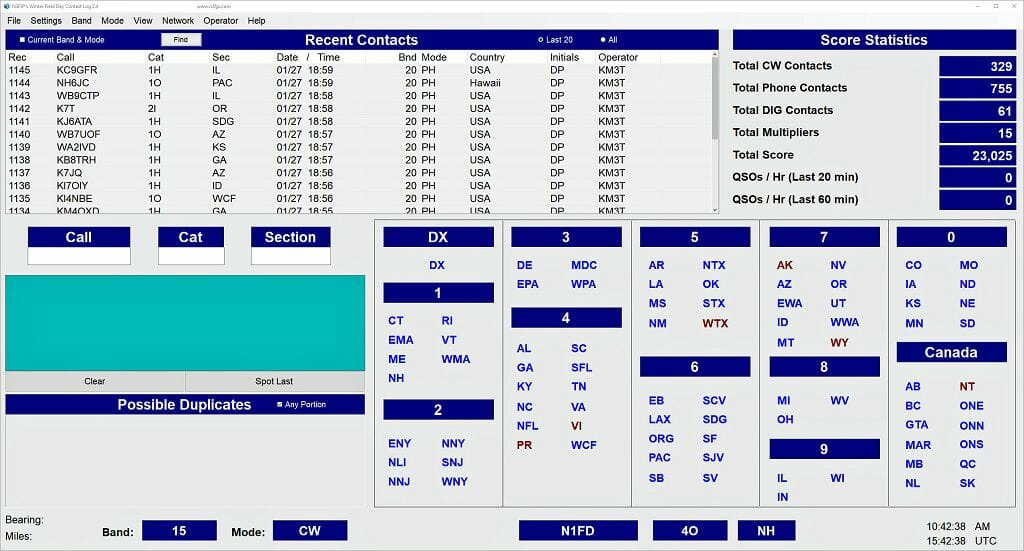
RBOG Antenna SystemN3FJP Winter Field Day Logger during our Station Test and Training Session
We always try to incorporate some new things into each of our Field Day plans. The addition of the 160m was a big one for us this time. We decided to build a 160m dipole for our Transmit antenna and a 160m Reversible Beverage On The Ground (RBOG) antenna for receive. You can read more about our 160m antenna system and its installation and test here.
We also opted to use the N3FJP Logger for Winter Field Day. This logger supports WFD and has many of the core features of the N1MM+ contest logger that we use for Summer Field Day. Networking is simpler with this logger and the learning curve associated with it is not as steep. We held a training session the week before WFD where many of our operators had a chance to use the N3FJP Logger with our WFD stations and supporting gear and software. Everyone seemed to master the new logger quickly.
With all of our preparation complete, we arrived at Keyes Memorial Park on Friday and began setting up at 2 pm. One of the first things we tackled was the construction of a temporary shelter around the Pavillion in the park.
Give Me Shelter – Putting Up Tarps
The weather can be pretty brutal here in New England in January and we began by putting up tarps to serve as a windbreak.
Our WFD Shelter – A Construction Marvel
The process took several hours but it was very effective when complete. Thanks to John and Craig for leading the charge on this excellent piece of work!
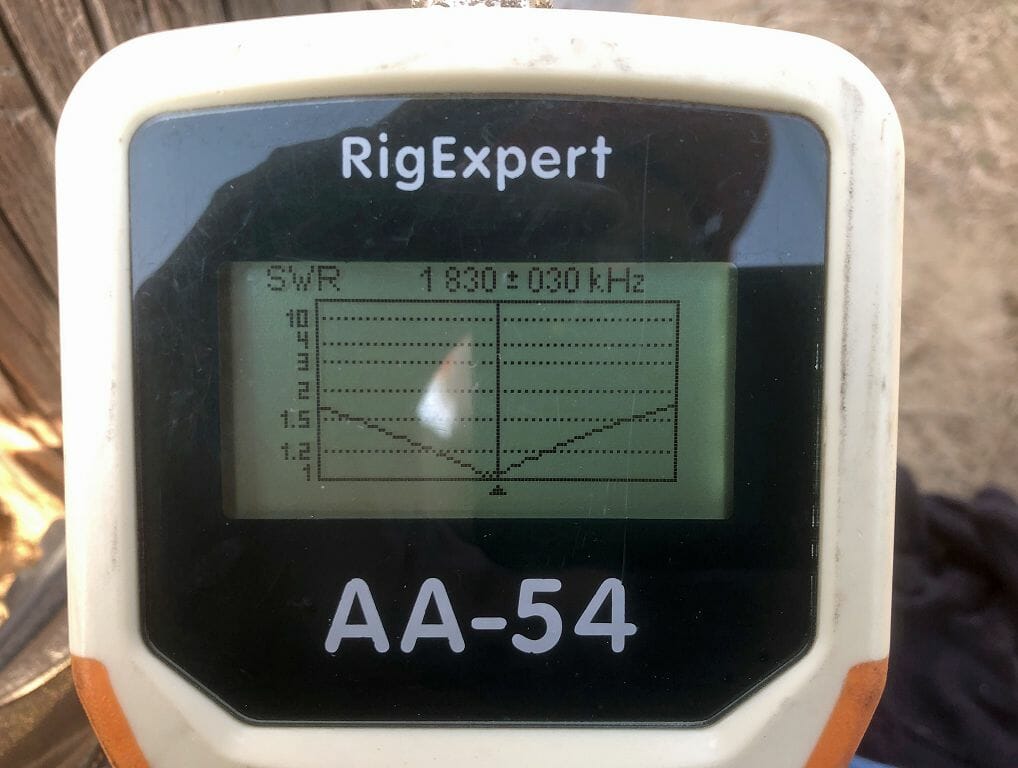
The first order of business for the Wire Antenna Team was to put up a 50 ft guyed mast and hoist our new 160m transmit dipole antenna up.
160m Tx Dipole SWR After Tuning
Due to its size, we had to tune this antenna on site. The final tune-up worked out great and the antenna provided over 60 KHz of usable Tx bandwidth on the 160m band.
160m RBOG Receive Antenna
The Wire Antenna Team also put up a 160m Receive Reversible Beverage On The Ground (RBOG) Antenna next. This antenna requires good grounds at both ends and is 180 ft long. The grounds were enhanced with three 50 ft radials at each end and the antenna was feed using 300 ft of 75-ohm flooded coax. You can read more about this antenna here.
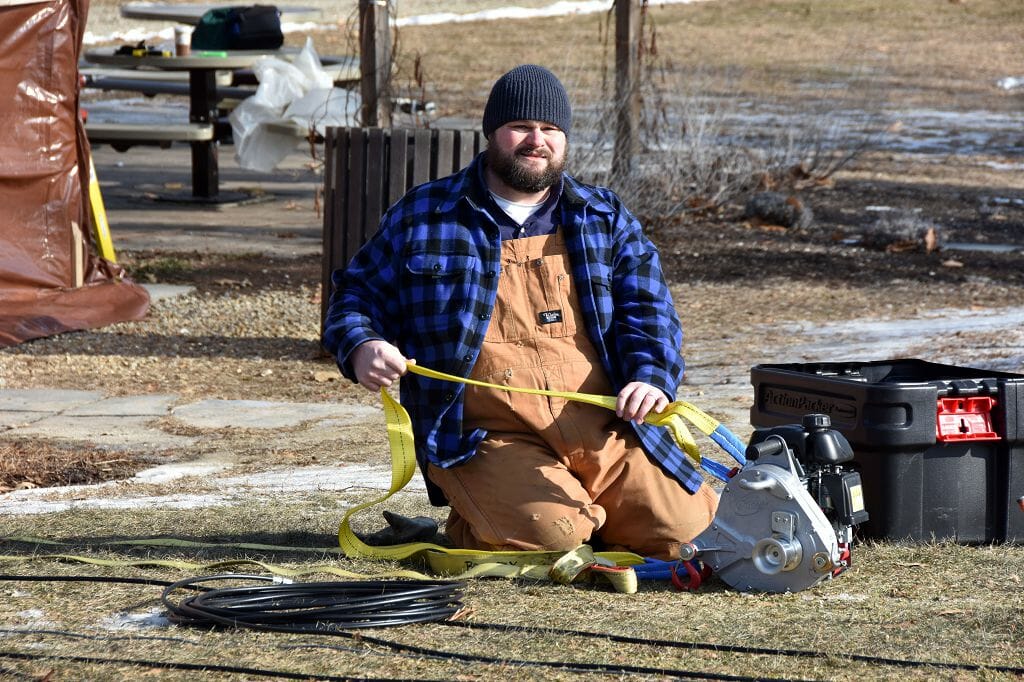
The Craig N1SFT, Hamilton K1HMS, Brian W1BP, and Mike K1WVO were the core of our Tower Team and they spent the afternoon on Friday putting the tower, Triband Yagi, and the wire antennas for 80m and 40m together.
Craig Rigging the Tower Lift System
We used a gasoline powered winch and associated rigging to lift the tower. Craig spent some time to rig and secure the winch in preparation for lifting the Tower.
Brian W1BP and Mike K1WVO handled the assembly and checkout of our TX-38 Triband Yagi which covers the 20m, 15m, and 10m bands.
Craig Your Feet Go There…
A lot goes into properly and safely assembling a complex antenna system like our falling derrick tower and the Tower Team used the entire period from 2 pm until dark to ready our tower to go up.
Our Tower Going Up
One of the first things that we did on Saturday was to raise the tower. The picture above shows the tower being lifted using a falling derrick. The tower consists of 40 ft of Rohn 25g tower and includes the TX-38 triband yagi on a rotator and two wire antennas for 80m and 40m on a sidearm.
Tower Is Up and Guyed – Wired Antenna are Being Anchored
The final step was to adjust all of the tower guys to ensure that the tower was level and secure. With this done, the ends of the two wire antennas were anchored to create inverted-V dipoles for 80m and 40m. The 80m antenna is made from uninsulated copper wire and it has two dangling jumpers which can be left hanging or wrapped around the antenna to allow it to be used for either CW/Digital or SSB operation on the 80m band.
We Choose To Go To Winter Field Day and Do The Other Things Not Because They Area Easy But Because They Are Hard…
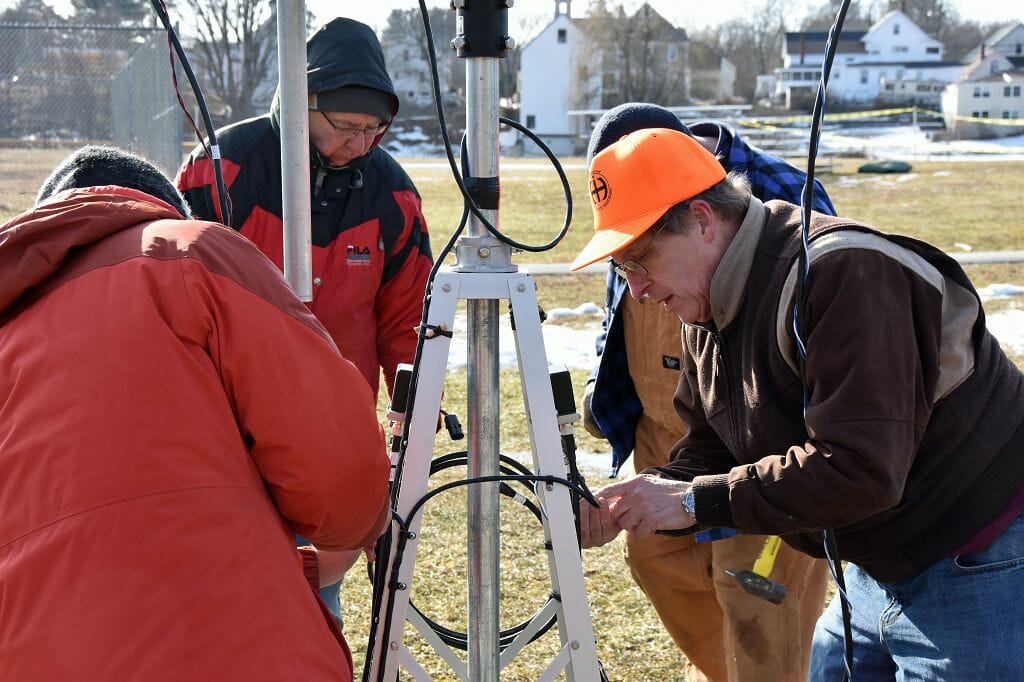
Satellite Antenna Assembly
With the HF antennas complete, we turned our attention to the Satellite/2m/70cm weak signal antennas. We have used this antenna system in several portable operations in the past and it went together quickly.
Completed Satellite, 2m, and 70cm Antennas
These antennas are computer controlled and feature tower mounted preamps and switchable circular polarity. The package makes satellite and other contacts relatively easy.
Folks call 6m The Magic Band because one never knows when or how it will open. Many dedicated 6m operators listen every day to noise because They Don’t Want To Miss A Thing on 6m.
Jamey AC1DC led the way on our final antenna for Winter Field Day – a 3 element 6 m yagi on a 30 ft mast. This antenna can be pointed by rotating the mast at its base.
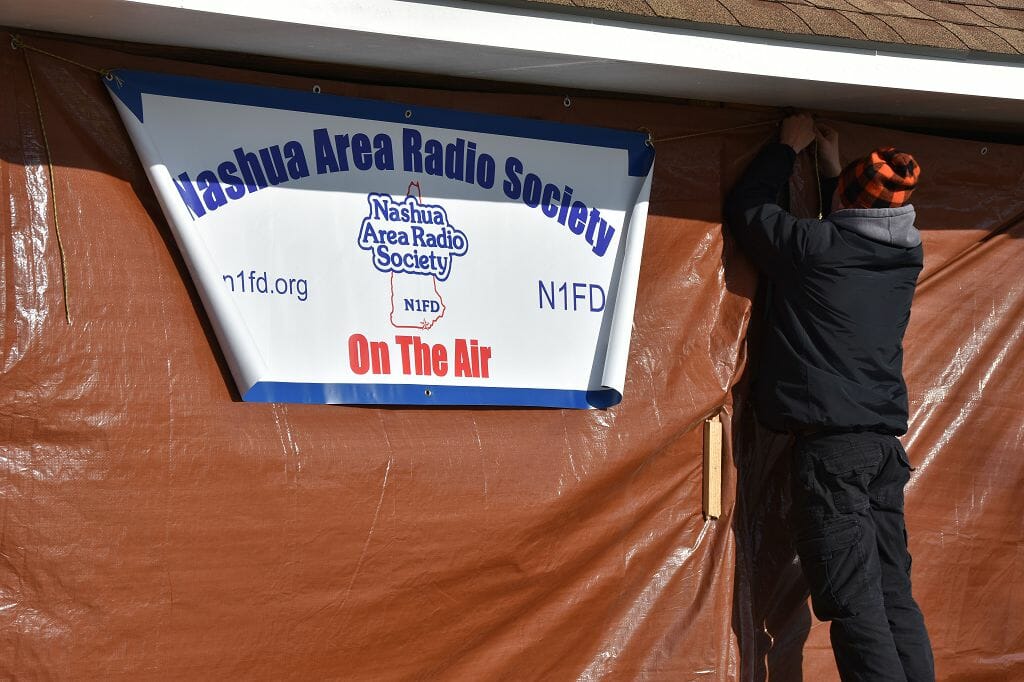
Nashua Area Radio Society Colors
With all of the setup outside done, we put up our Nashua Area Radio Society On The Air banner and headed inside.
We Come From The Land Of The Ice And Snow From The Midnight Sun…
With most of the outside work on antennas done, we finally came inside to connect the feedlines from our antennas to the filter system and the radios. We did a careful checkout of the SWR of each antenna as we integrated it into our station.
Filters and Antenna Switching
Here’s a better view of the filter system that we used. The single feedline from the TX-38 triband yagi is fed through a triplexer which allows radios on 20m, 15m, and 10m to simultaneously use the Tribander. Each antenna path also passes through a bandpass filter to isolate the associated radio from Tx interference and overload damage from the other radios in the setup. Coaxes from each of the four radios in our setup can be connected to the filter associated with an available antenna and band. This made for easy reconfiguration of our station as the band conditions change.
Mike K1WVO Checking Our Station
With everything up and connected, we took a little time on Saturday morning to check out our station and ensure that everything was working as planned. With this done, we were ready for Winter Field Day to begin!
With everything ready to go, we took time out to have a nice lunch and relax before operations began. Craig and others took the time to pick up food for the feast and he and others cooked us hot meals throughout the setup and operating period. THANK YOU CRAIG!
We had a great operator team on station throughout the 24-hour Winter Field Day period.
Abby AB1BY and Jamey AC1DC Operating
Abby AB1BY and Jamey AC1DC started out on 40m SSB and they were the early QSO leaders!
Bill AB1AV and Dave KM3T Operating
Dave K3MT and Bill AB1AV stated out on 20m CW and produced an amazing string of CW contacts from the very start of operations.
Dennis K1LGQ Operating SSB?!!?
What? Dennis K1LGQ on 80m SSB Phone? Yes, it is true. The amplifier at his home QTH has made him a different Ham… After a run on 80m SSB, Dennis changed over to 160m CW and quickly discovered just how well our 160m Tx and Rx antenna systems performed. He was producing a nice rate of QSOs on 160m from about 4 pm well into the early evening.
AB1OC Operating
The first order of business for me was to secure our satellite bonus. The needed satellite contact was completed about 15 mins into the operating period. With this done, I began working the high bands, 6m, 2m, and 70cm in search of contacts and multipliers.
The Heaters Were Popular…
We had a mix of propane and kerosene heaters in our makeshift shack and these were popular spots for visitors and those looking on.
I have the highest respect for the folks who hang in all night at Field Day and during contests. This is tough work and it really shows the dedication of those who do it.
Operator Night Shift – The Most Interesting Hams In Amateur Radio…
Here’s one of our overnight operator teams. They kept our station going all through the night on Saturday.
These are the most interesting Hams in Amateur Radio…
These folks were also very, very N1FD – Number 1 Frozen to Death…
Operations continued right up until 2 pm on Sunday. We had some excitement with our logs and some other minor glitches but overall the operation went very smoothly and our equipment performed great.
So how did we do? Extremely well I think. All of the hard work to build a great station and operate it very hard is evident in our Winter Feild Day results.
Some highlights include:
We made a total of 1,146 contacts during the 24-hour operating period
We worked 48 of the 50 US States
We worked all but 6 ARRL sections in the US and Canada
We worked 14 Countries
We had an amazing 329 CW, 756 Phone, and 61 Digital Contacts!
We turned in a solid performance with 15 multipliers
Our 160m portable antenna system worked amazingly well. We made 134 contacts on 160m using just 100W including one to Missoula, MT – a 2,100 mi contact.
Our final claimed score (after removing duplicates) was:
Total QSO Points – 1,484
Power Multiplier (100W or less) – 2
Band-Mode Multiplier – 15
Score from QSOs – 44,520
Outdoor Bonus – 1,500
No Commercial Power Bonus – 1,500
Definitely Not At Home Location Bonus – 1,500
Satellite Contact Bonus – 1,500
Final Claimed Score – 50,520
Our top operators included:
Operator
Call Sign
QSOs
% of Total QSOs
Jamey Finchum
AC1DC
214
19
Dave Pascoe
KM3T
198
17
Dave Merchant
K1DLM
118
10
Bill Noyce
AB1AV
116
10
Fred Kemmerer
AB1OC
111
10
Abby Finchum
AB1BY
100
9
Other Operators Combined
---
857
25
Here’s a breakdown of our contacts by Band and Mode:
With the operating period over, we began the process of taking all of our equipment down and packing it up. This is always a sad time for me as I know that we’ll have to wait several months before the fun begins again.
As If We Were Never There…
I went back to the park on Monday after Winter Field Day to take one last look around. As is always the case, it is as if we were never there.
It is a great testament to the skill and ingenuity of Amateur Radio operators in general and NARS members in particular that we are capable of pulling off a major emergency communications setup, test, and takedown such as we did this past weekend.
Thank you to everyone who contributed to a fine job well done and to the many, many special memories that we shared. And a special thanks to Charlie W1CBD whose amazing photography made this article possible.
We use cookies to ensure that we give you the best experience on our website. If you continue to use this site we will assume that you are happy with it.