Every January Meeting we hold Project Night, where members bring in and share recent homebrew projects that they have built. This year’s Project Night was full of interesting projects built by our members.
Member Projects
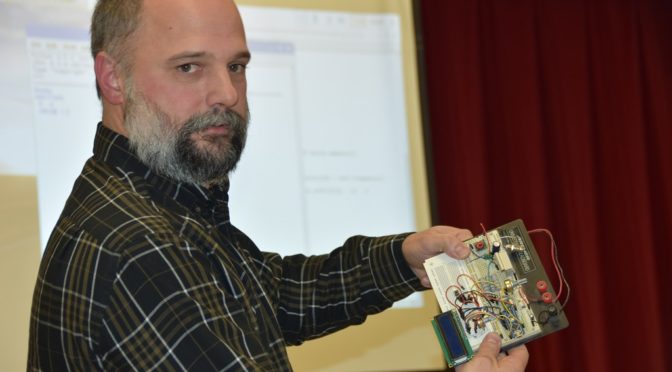
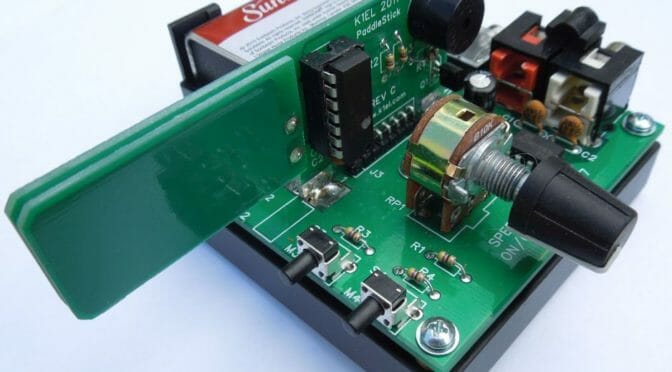
Scott NE1RD Kits
Our Programs Chairperson, Scott, NE1RD led it off by showing us some kits he had built, including the K1EL PaddleStick Keyer that we will be building for the February Tech Night.
Bob KB1TEK – QRP Kits
Bob, KB1TEK brought some QRP kits that he had built.
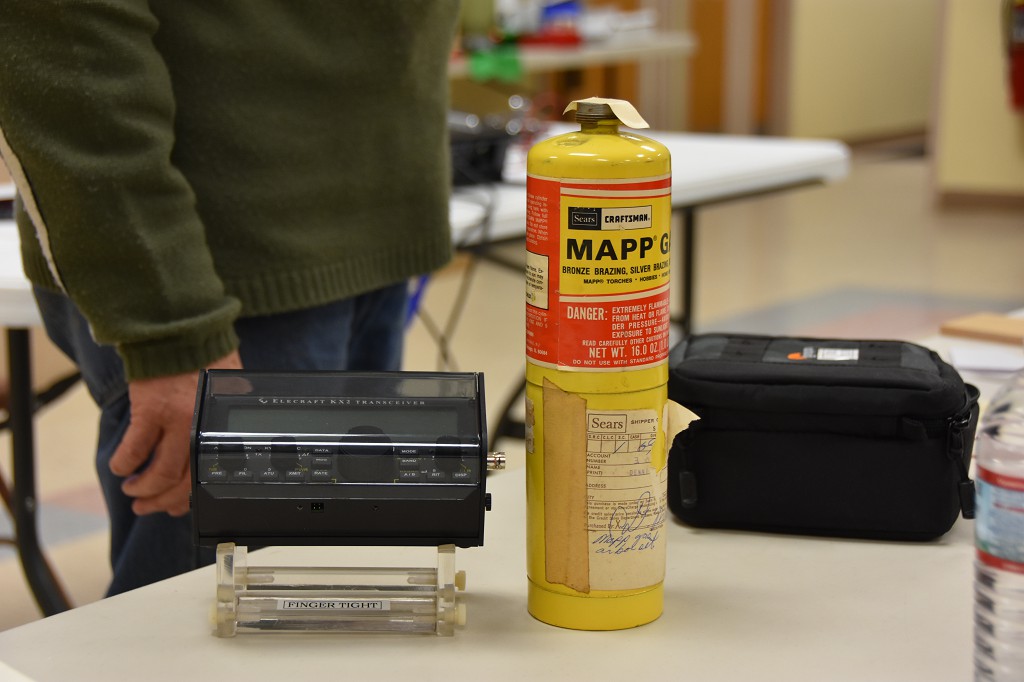
Dave K1DHP – VLF Detector
Dave, K1DHP showed us the VLF Detector that he built.
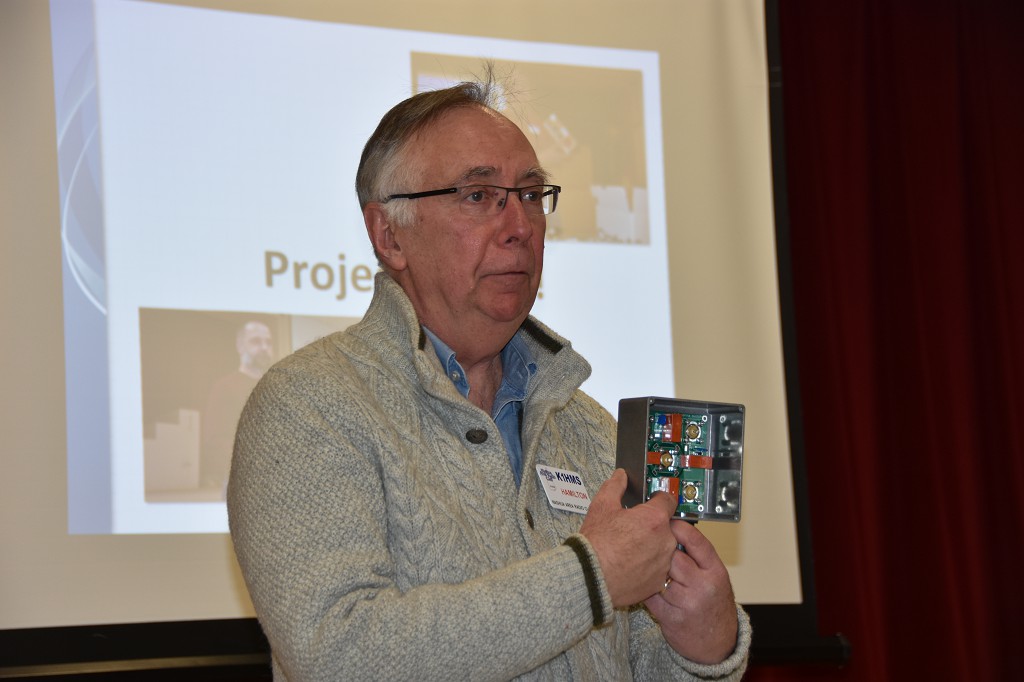
Hamilton, K1HMS – Antenna Switches
Hamilton, K1HMS brought Antenna Switches that he had built.
Dave K1DLM – Heakthkit
Dave, K1DLM showed us a Heathkit that he plans to build.
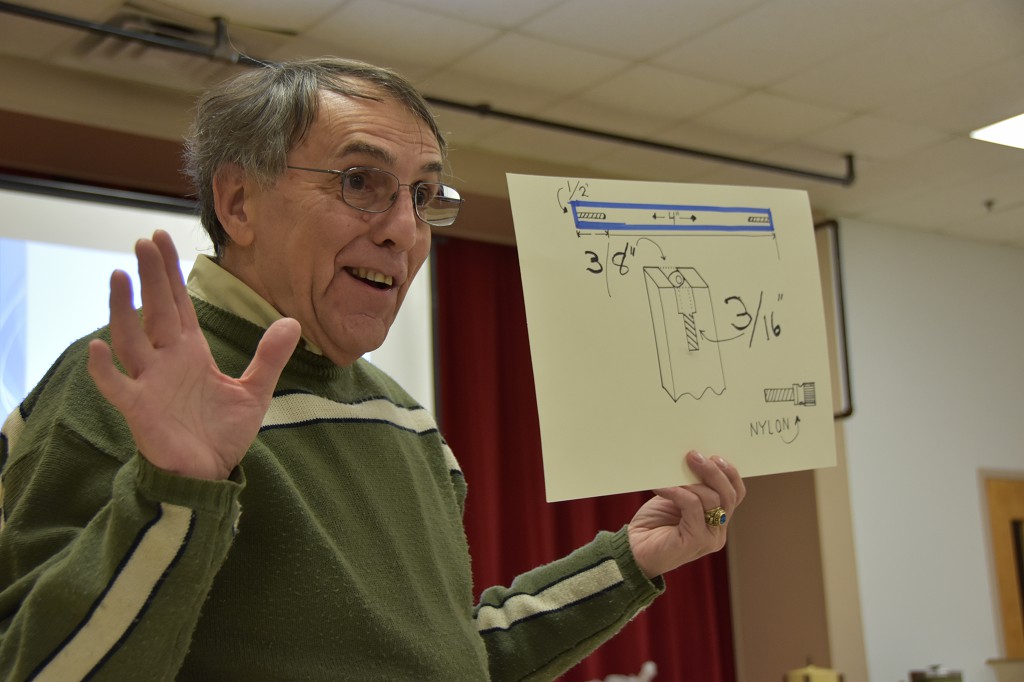
Dennis, K1LGQ had another explosive presentation when he showed us a KX2 stand that he built.
Dennis hows plans for his KX2 Stand
Fred AB1OC – Low-Band Match
Fred, AB1OC brought an 80m band matching system that he will install in order to make our 80m delta loop be resonant across the band. He has programmed our MicroHam system to automatically have the box switch the matching system as we tune through the 80m band. I’m looking forward to using this to get the last 20 80m contacts for my 5 Band DXCC!
Anita AB1QB – CW Pi
I (AB1QB) demonstrated a Raspberry Pi project that I built over the holidays. It is called a Morse Code Virtual Radio. When you hook up a monitor and a straight key to the Raspberry Pi, it will decode what you key in. This was a big hit with the kids who visited us for ARRL Kids Day.
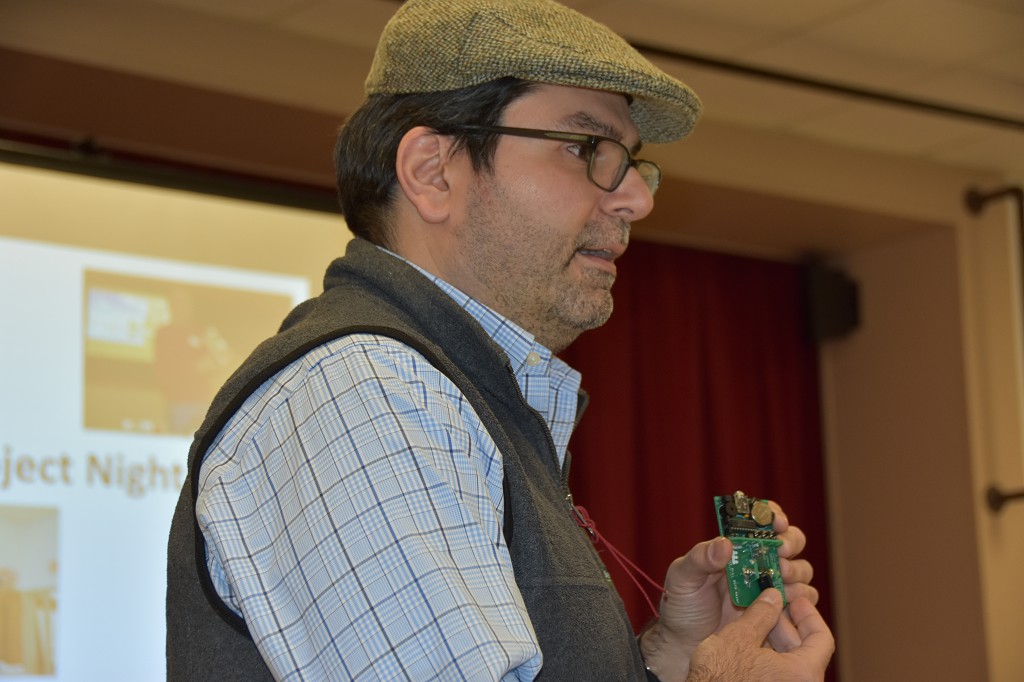
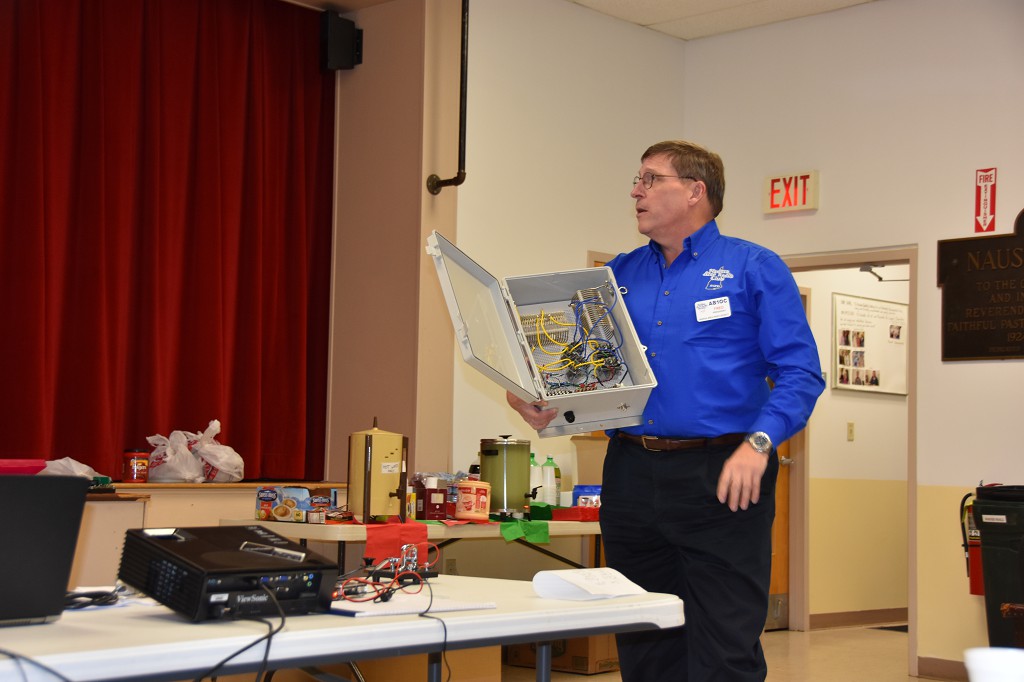
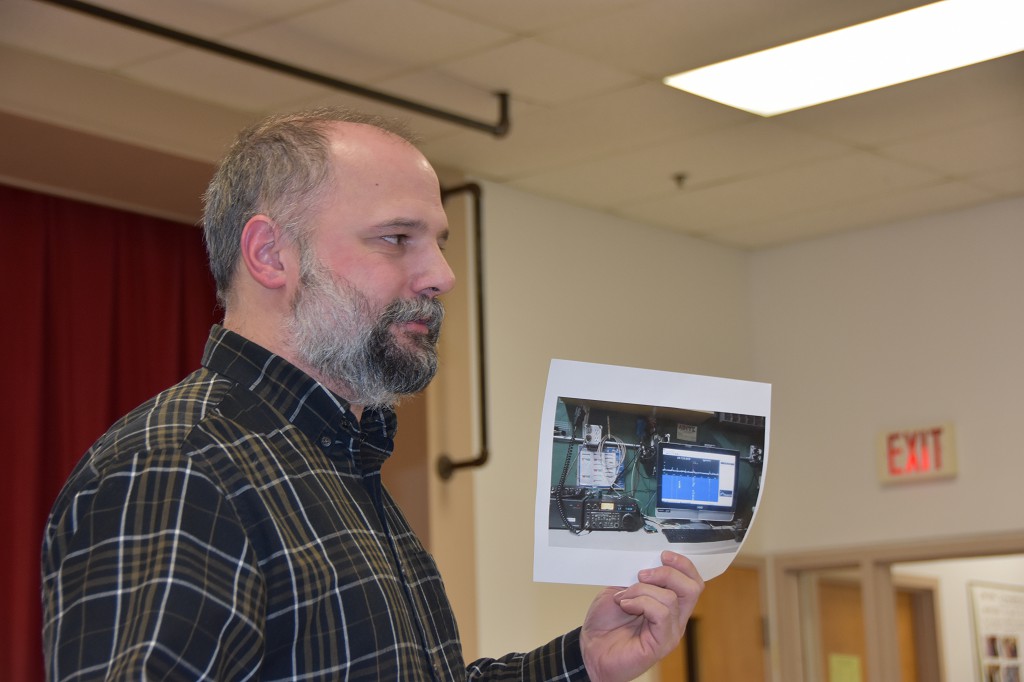
Mike, AB1YK – Panadapter
Finally, Mike, AB1YK brought in a number of projects that he has done including a Panadapter and a CW Generator.
Anita AB1QB - CW Pi
Scott NE1RD Kits
Mike AB1YK - Panadapter
Mike AB1YK - CW Generator
Hamilton K1HMS - Ant Switches 2
Hamilton K1HMS - Ant Switches 1
Fred AB1OC - Low-Band Match
Fred Ab1OC - Low-Band Match 1
Dennis K1LGQ - KX2 Stand 2
Dennis K1LGQ - KX2 Stand 1
Dave K1DLM - Heakthkit 2
Dave K1DLM - Heakthkit 1
Dave K1DHP - VLF Detector
Bob KB1TEK - QRP Kits 2
Bob KB1TEK - QRP Kits 1
Overall it was great to see all of the projects that our members have been working on. The gallery above contains more pictures from Project Night.
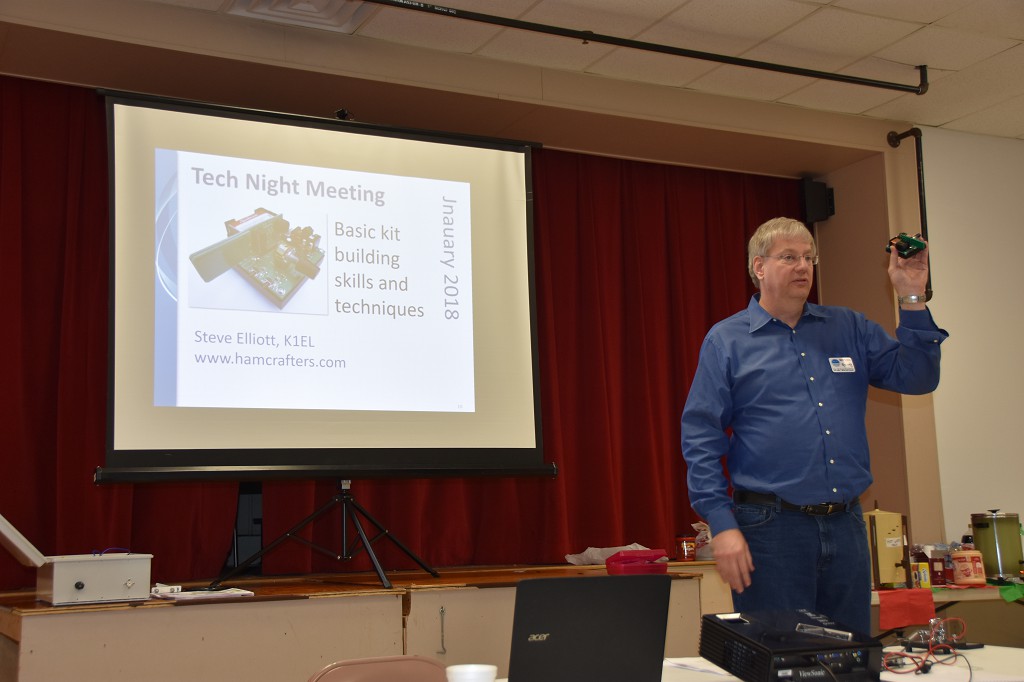
January 9, 2018, Tech Night meeting will feature Steve Elliott, K1EL, the owner of www.hamcrafters.com and the designers of the many amazing kits Hamcrafters offers. Steve will discuss aspects of kit design and building, including the PaddleStick CW Keyer that will be built during our February 13 Tech Night.
You can order your kit online, or buy one directly from Mr. Elliott after his presentation. (Mr. Elliott will bring a limited number of kits for purchase.) The PS2B kit is $59 (cash). We will be looking for a rough count of those interested in purchasing this kit during the regular members meeting on January 2.
Don’t miss out on the fun. This is a great little kit, and you’ll have a great tool to practice CW or to get on the air. Shoo away those wintertime blues by heating up a little solder with friends. See you there!
If you’re like me, then you try to be judicious with your $$$. Ideally, it would be great to spend $ and get the highest quality in return. But, the world does not work this way. So, if I am going to spend $$$ (on a scale of $, $$, and $$$), I want to make sure not only am I obtaining quality, but also multi-functionality. In other words, it’s easier for me to spend more money when I feel like my purchase is not exactly a swiss-army knife but also not a one-trick pony.
I could be wrong, but antenna analyzers kind of feel like a one-trick pony to me. When I first strung up my Buckmaster 7-band OCF dipole, I borrowed the RigExpert AA-30 from Greg W1TEN, in order to measure the VSWR, since I wasn’t thrilled about spending $200 for the analyzer. Especially because I would rather put that money towards a Heil headset and foot pedal (to be ordered for Xmas 2017).
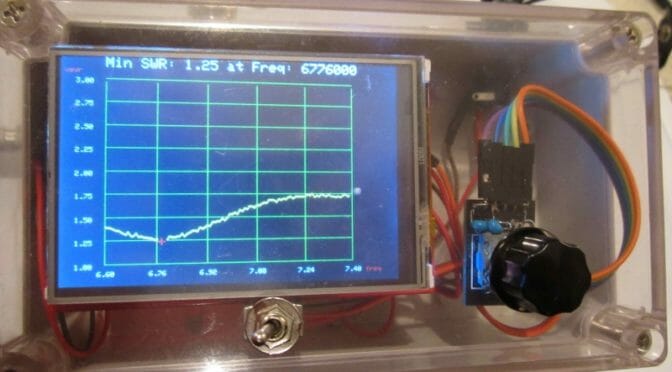
At the October Board of Directors (BoD) meeting, Fred AB1OC mentioned that in the Nov 2017 issue of QST, there was an article entitled “Build Your Own Arduino-Based Antenna Analyzer” by Jack Purdum W8EEE and Farrukh Zia K2ZIA. The attractive thing about this design is the authors quote a price point of $50. The major components are comprised of an Arduino, AD9850 Direct-Digital Synthesizer (DDS) board, and TFT display. Additionally, on the main website, one can also download the associated software to load on the Arduino. So, this leaves the user with the experience and satisfaction of homebrewing a really useful component for the shack. There seems to be a lot of documentation on the assembly, parts, etc. so this makes it relatively easy for the user.
Completed assembly of analyzerView of Arduino, PCB, and components for analyzer
A downside is that the number of components required seems to be somewhat large as seen from Farrukh’s website which could potentially be overwhelming if you are just beginning. The authors also quote that one helpful component is purchasing their own custom PCB for the job itself. Though this is not essential, it may aid in the build.
Having not built this yet, I would say this would be an intriguing build for someone. I would certainly like to tackle it and have added it near the top of my to-do list since it seems like it can be accomplished within a weekend.
A Cheaper Alternative?
After I read the article, I emailed Mike AB1YK to let him know about it. He replied with yet another option in the form of a PDF by K6BEZ who claims to accomplish the same feat in < $50. Definitely attractive! It’s built on the same premise: AD9850 DDS board, Arduino, etc., but seems to use fewer components. Instructions also seem to be located here.
Some pitfalls of the build from the PDF link provided above:
I located some Yahoo forums discussing that the analyzer as spec’d out did not seem to work for some builders. It’s unclear if the schematics were incomplete or if it’s due to another reason entirely.
The build does not seem to be that much cheaper. For instance, the PDF lists the AD9850 DDS as being $4 on eBay. Having looked there myself, as well as on Amazon, the going rate seems to be in the neighborhood of $18-$19. Given this, along with looking up some of the other items in the bill of materials, the price point seems to approach $50 pretty quickly.
If I endeavor upon this, I will be sure to document and write another article about it. If someone attempts the “cheaper option”, I would be interested to hear how well it works.
We use cookies to ensure that we give you the best experience on our website. If you continue to use this site we will assume that you are happy with it.