The Nashua Area Radio Society was a major part of the New England HamXposition 2019 @ Boxboro again this year. We added some new things including:
- Ham Bootcamp – an activity to help Hams to get on the air
- An HT Programming Clinic
- An Expanded Kit Building Activity – which included a new antenna kit
- Forum Presentations about the ISS Crew Contact we did with Hudson Memorial School and our Road To Becoming Club Of The Year
- Updates to our Satellite and HF GOTA Stations and Activities
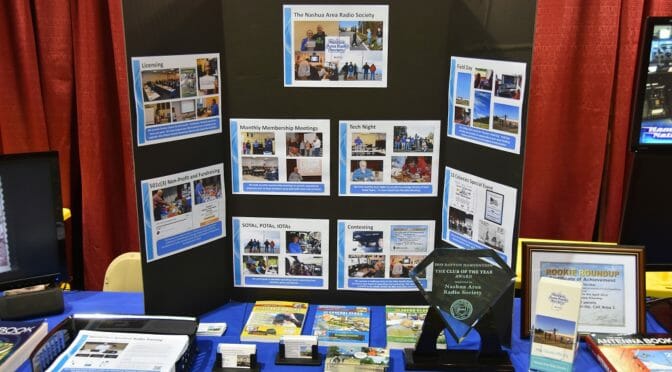
Amateur Radio Expo Display
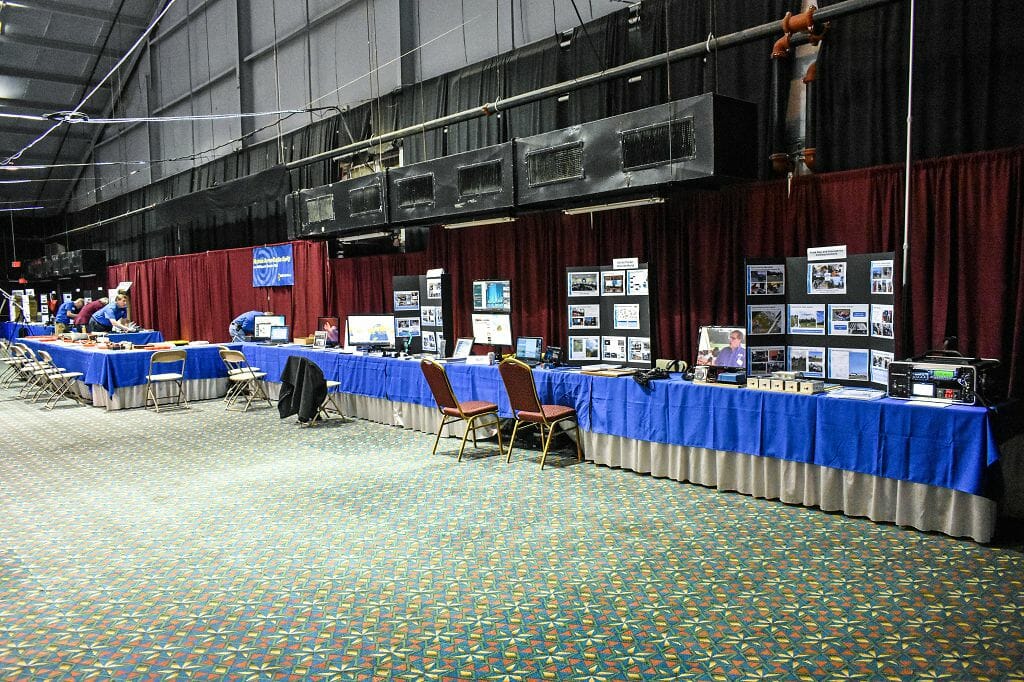
Our Expo display grew a bit this year to include an HT Programming Clinic. We also updated several of our display elements to add more hands-on activities.
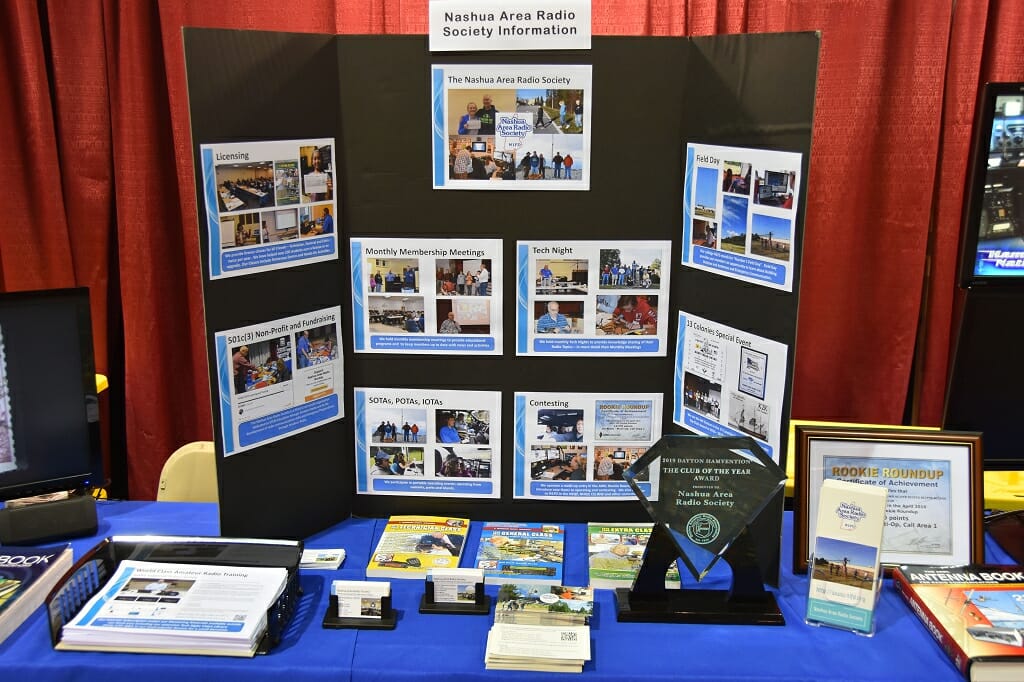
In particular, we added information on our training programs and the associated Internet Subscription that we launched earlier this year. We also added video and other content from the ISS Crew Contact that we did with Hudson Memorial School late last year.
More Photos from our Amateur Radio Expo Display
Ham Bootcamp
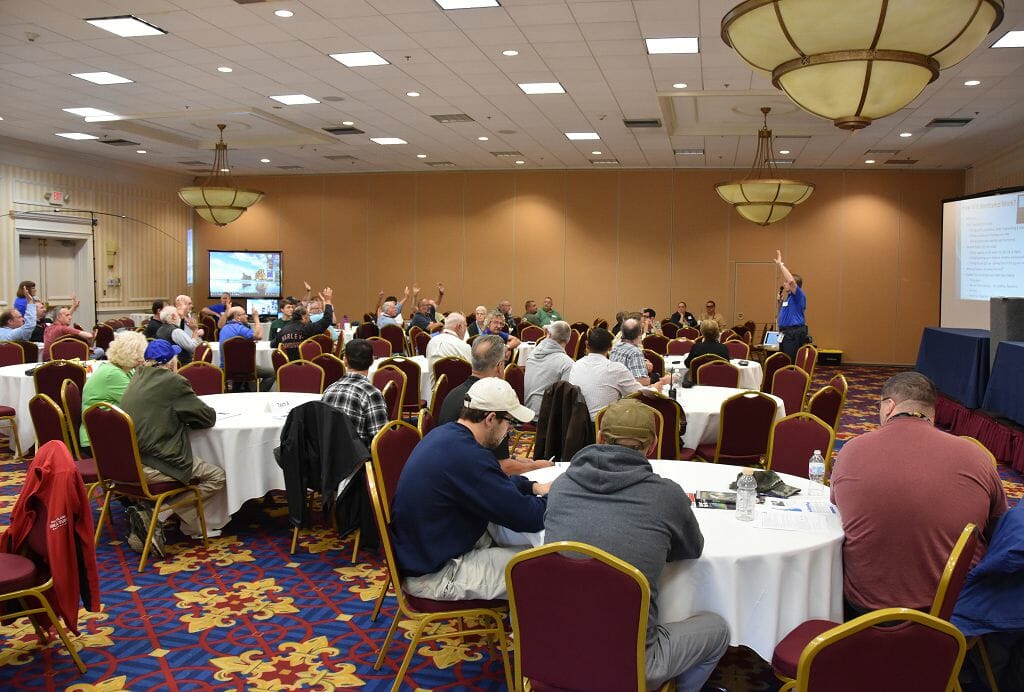
Our main new activity at HamXposition 2019 was Ham Bootcamp. We had a total of 57 folks join us on Saturday morning for 9a – noon to learn about how to put together a station and get on the air.
Bootcamp consisted of two tracks – one for Techs/Perspective Hams and one for Generals. Both were popular with the group pretty evenly split between the two.
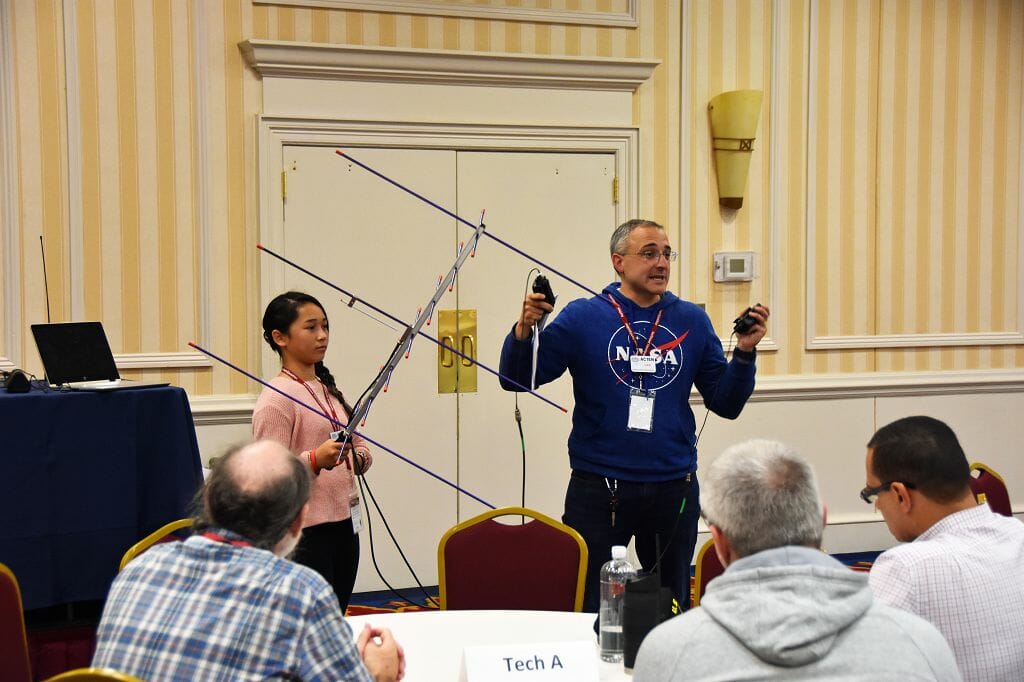
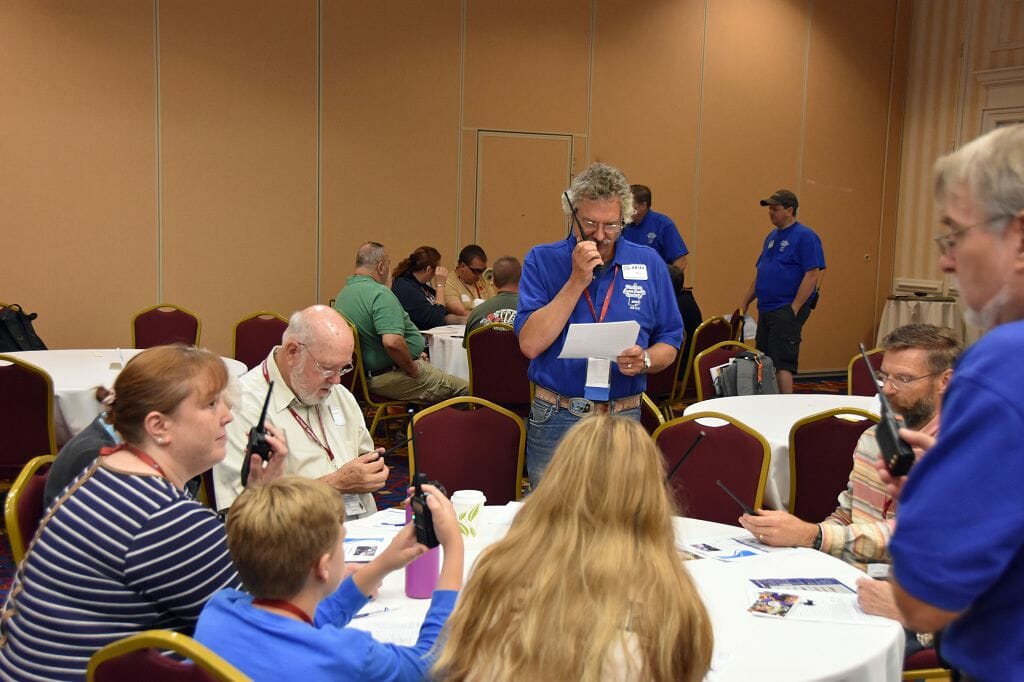
Bootcamp included a number of demonstrations and hands-on activities. The photo above shows Dan, AC1EN and Mackenzie, KE1NZY explaining how to get started with Amateur Radio Satellites. The Tech track included:
- How to pick an HT and a simple, effective antenna
- How to program your radio
- How to get started with EchoLink
- How to make a QSO – this activity involved having Bootcampers checking into and participate in a practice chat net using HT’s
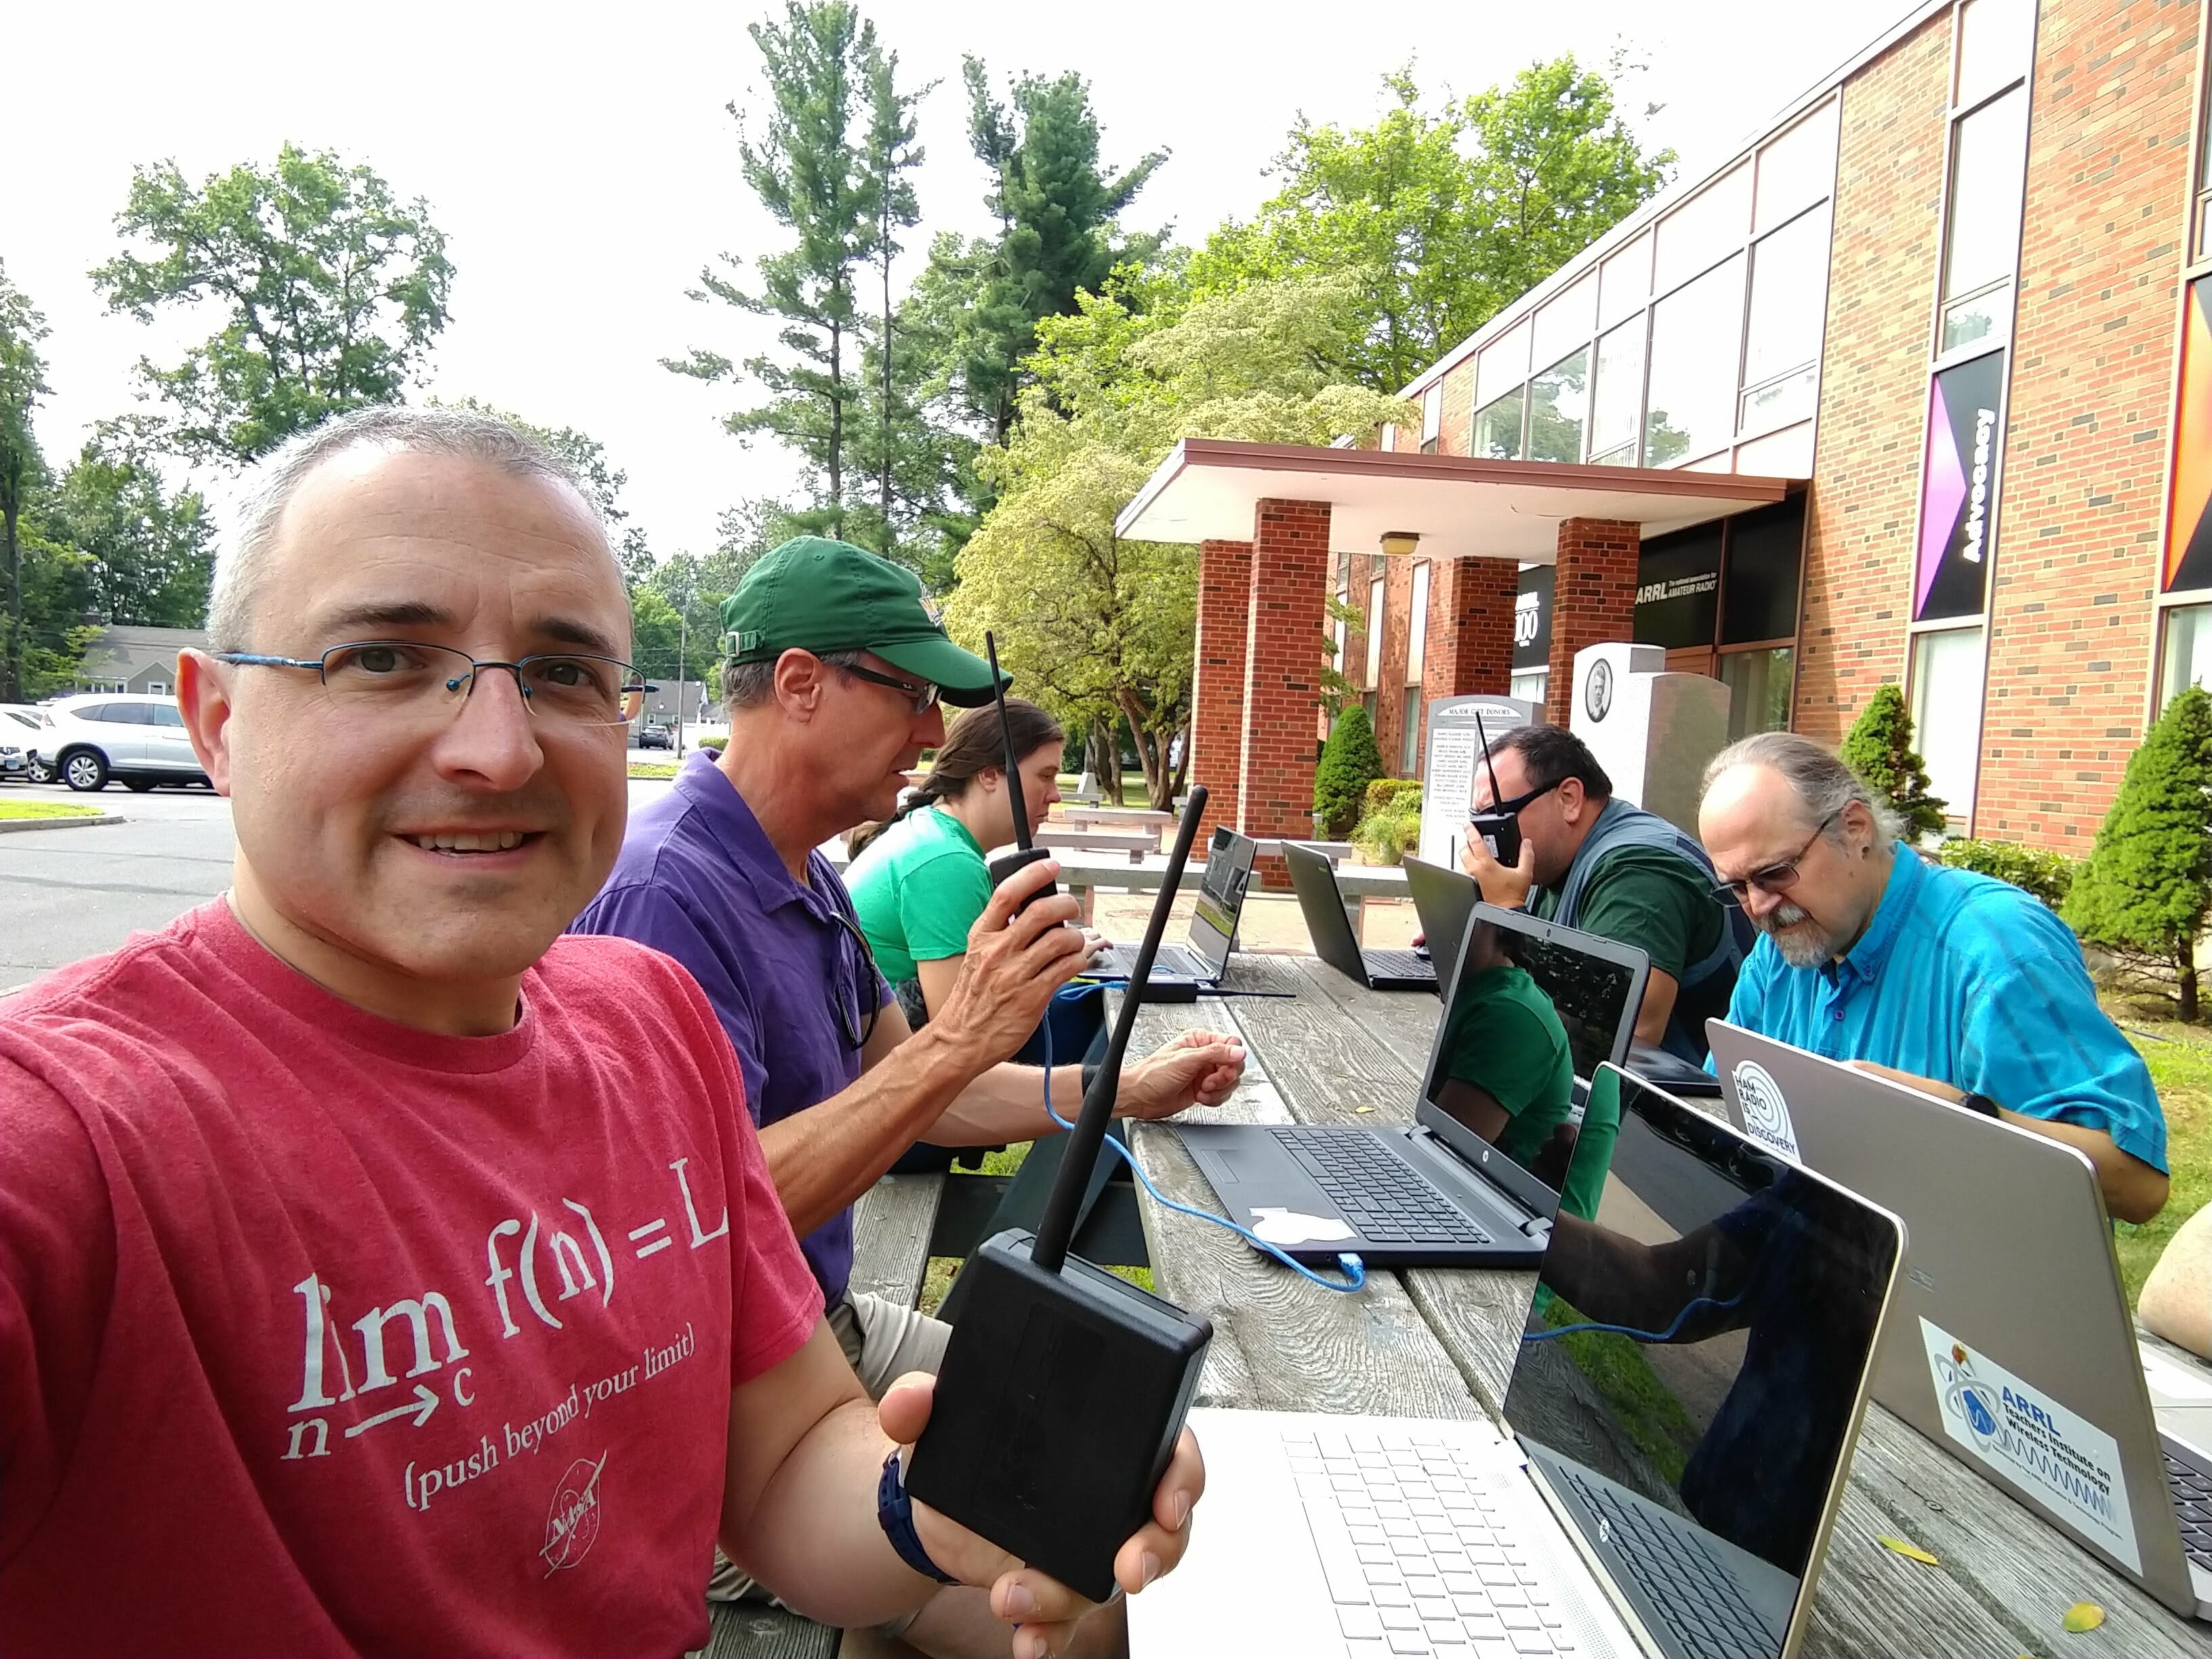
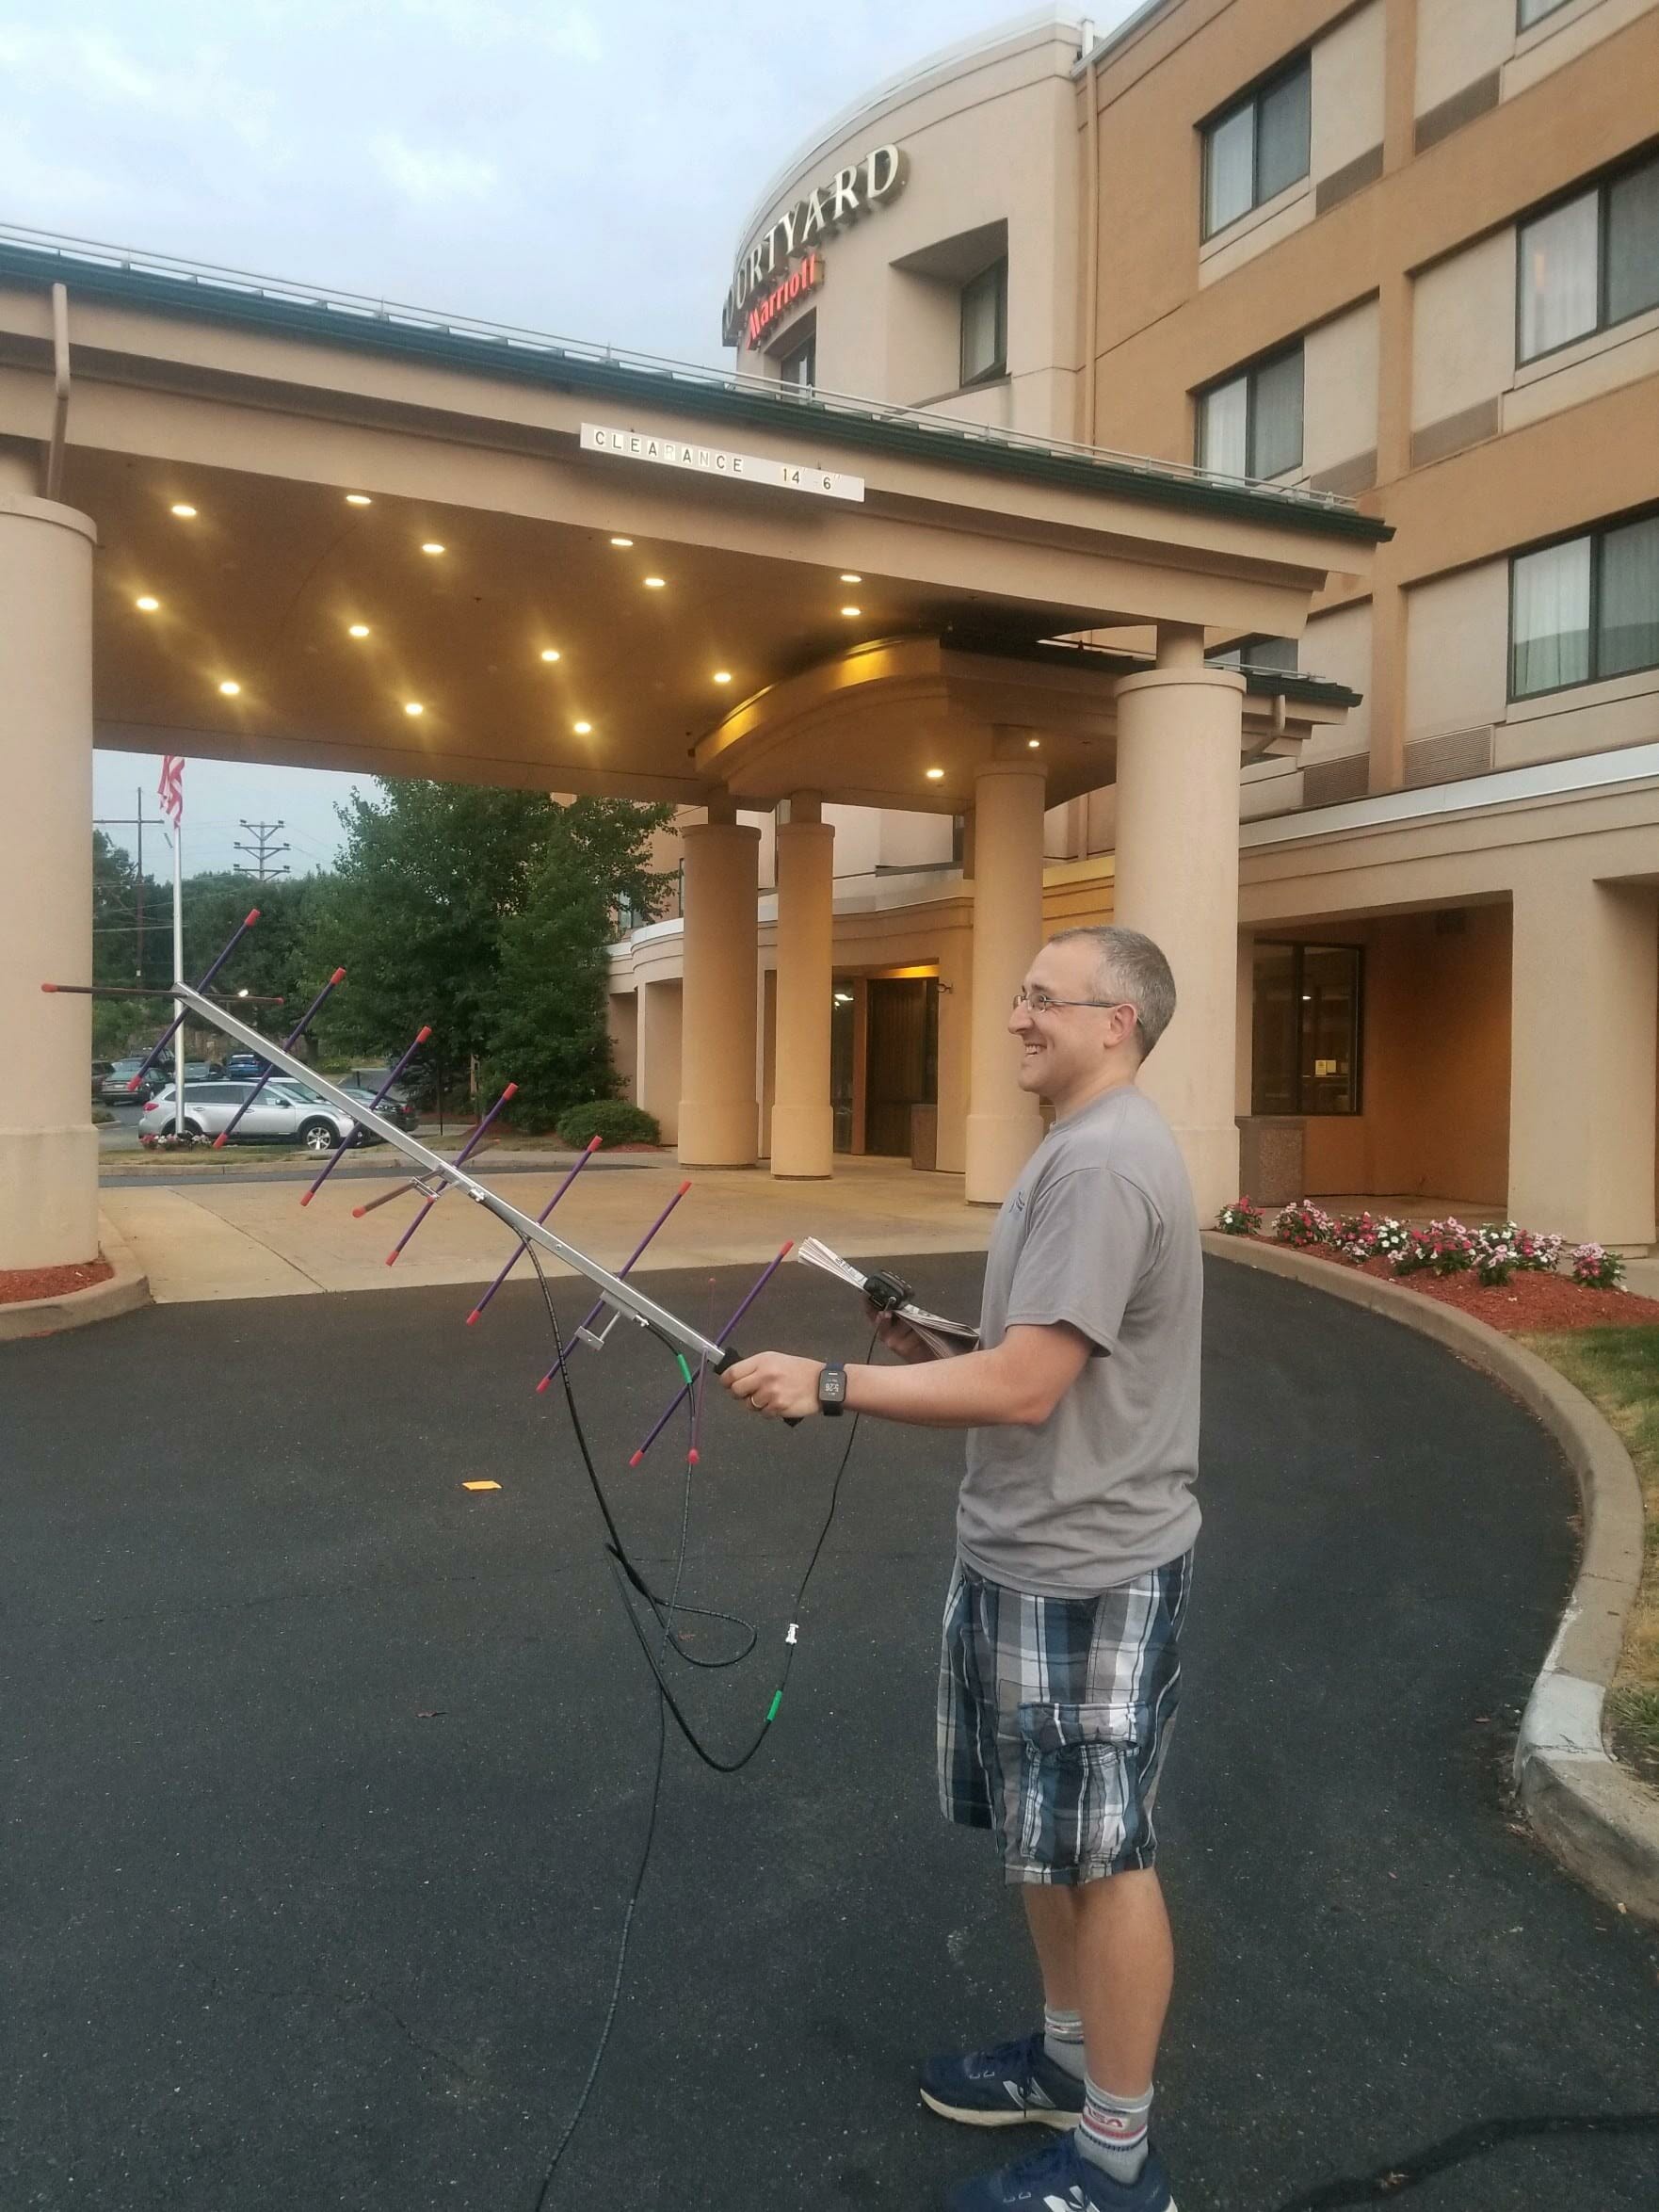
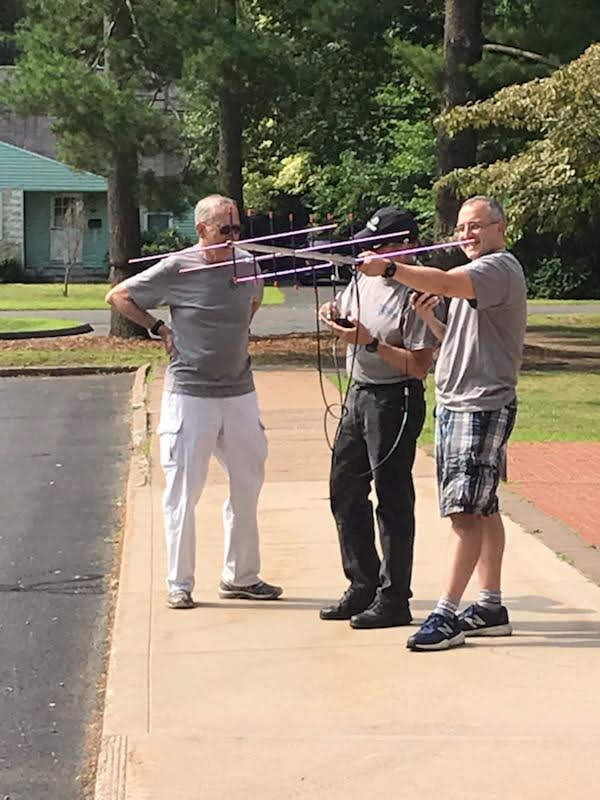
- How to get started with Fox Hunting and Amateur Radio Satellites
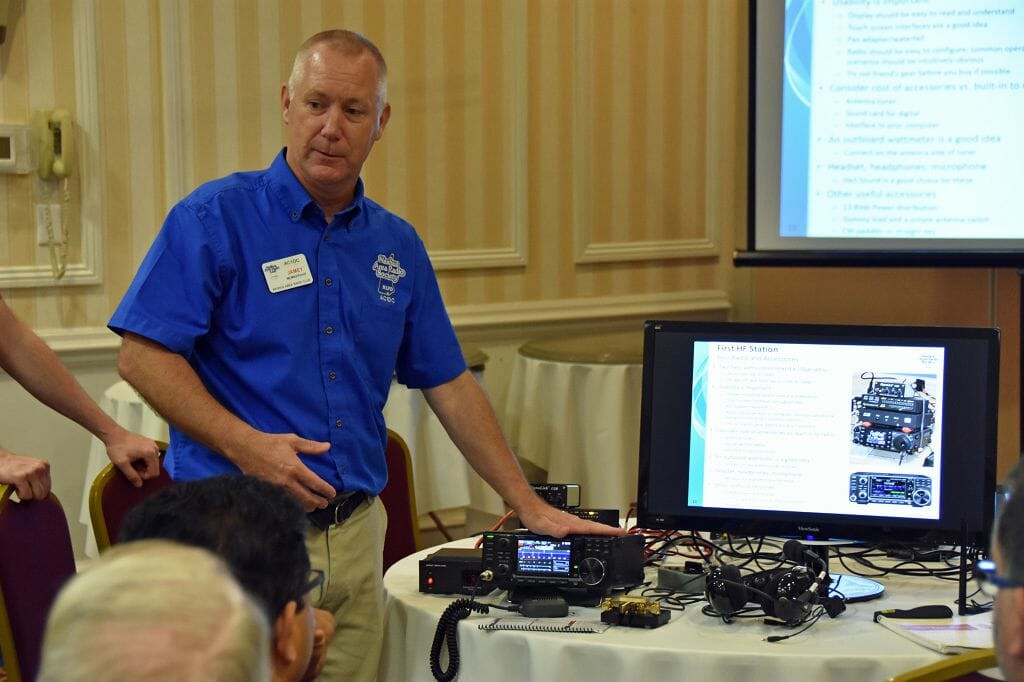
Jamey AC1DC, Anita, AB1QB, Abby AB1BY, and Jerry K1OKD covered how to put together a first HF station as part of the General Track. They built a working HF station at Bootcamp and used it to explain and demonstrate making contacts using SSB, CW, and Digital (FT8). The activities in the General track included:
- How to put together a basic HF station for SSB, CW, and Digital (FT8)
- How to make a QSO on the HF bands
- How to pick a simple HF antenna and put it up safely
- Operating portable (gear and antennas) – especially important for Hams in HOA and other antenna restricted situations
- How to find and work DX and how to QSL
- How to go about learning CW
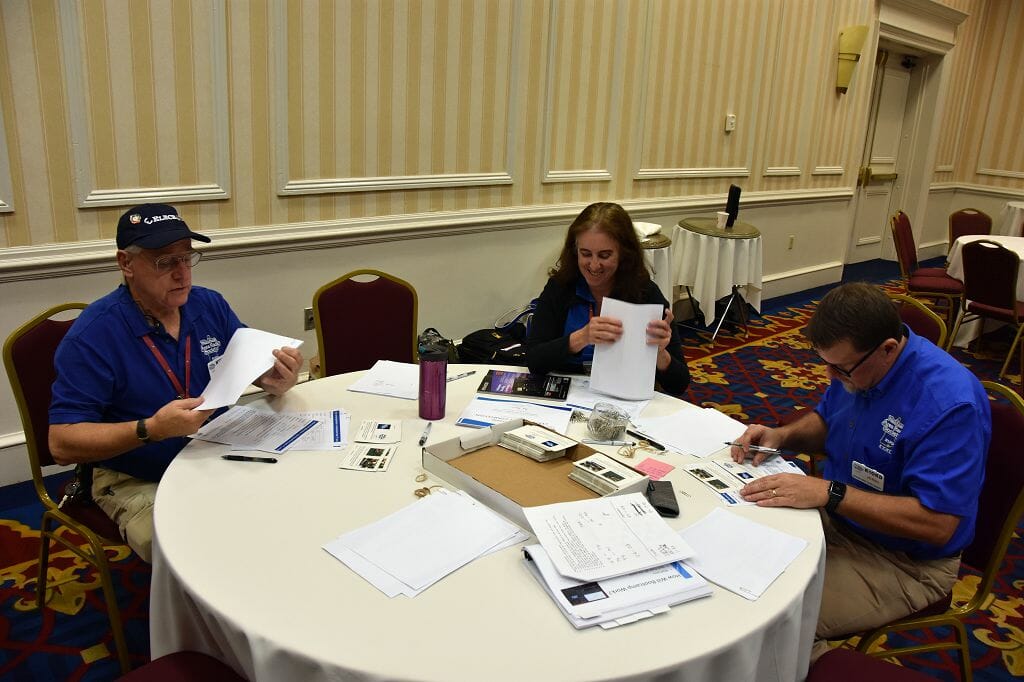
Jerry K1OKD, Andrea KC1JDX, and Patrick W1YTT handled registration and put together a nice graduation package that was personalized for each Bootcamp participant.
We closed Bootcamp with some information on how to go about earning a license or an upgrade along with a walking tour of the vendor area, our expo display, and our GOTAs. This gave folks a chance to ask some additional questions about gear and Amateur Radio activities that they were interested in.
More Photos from Ham Bootcamp
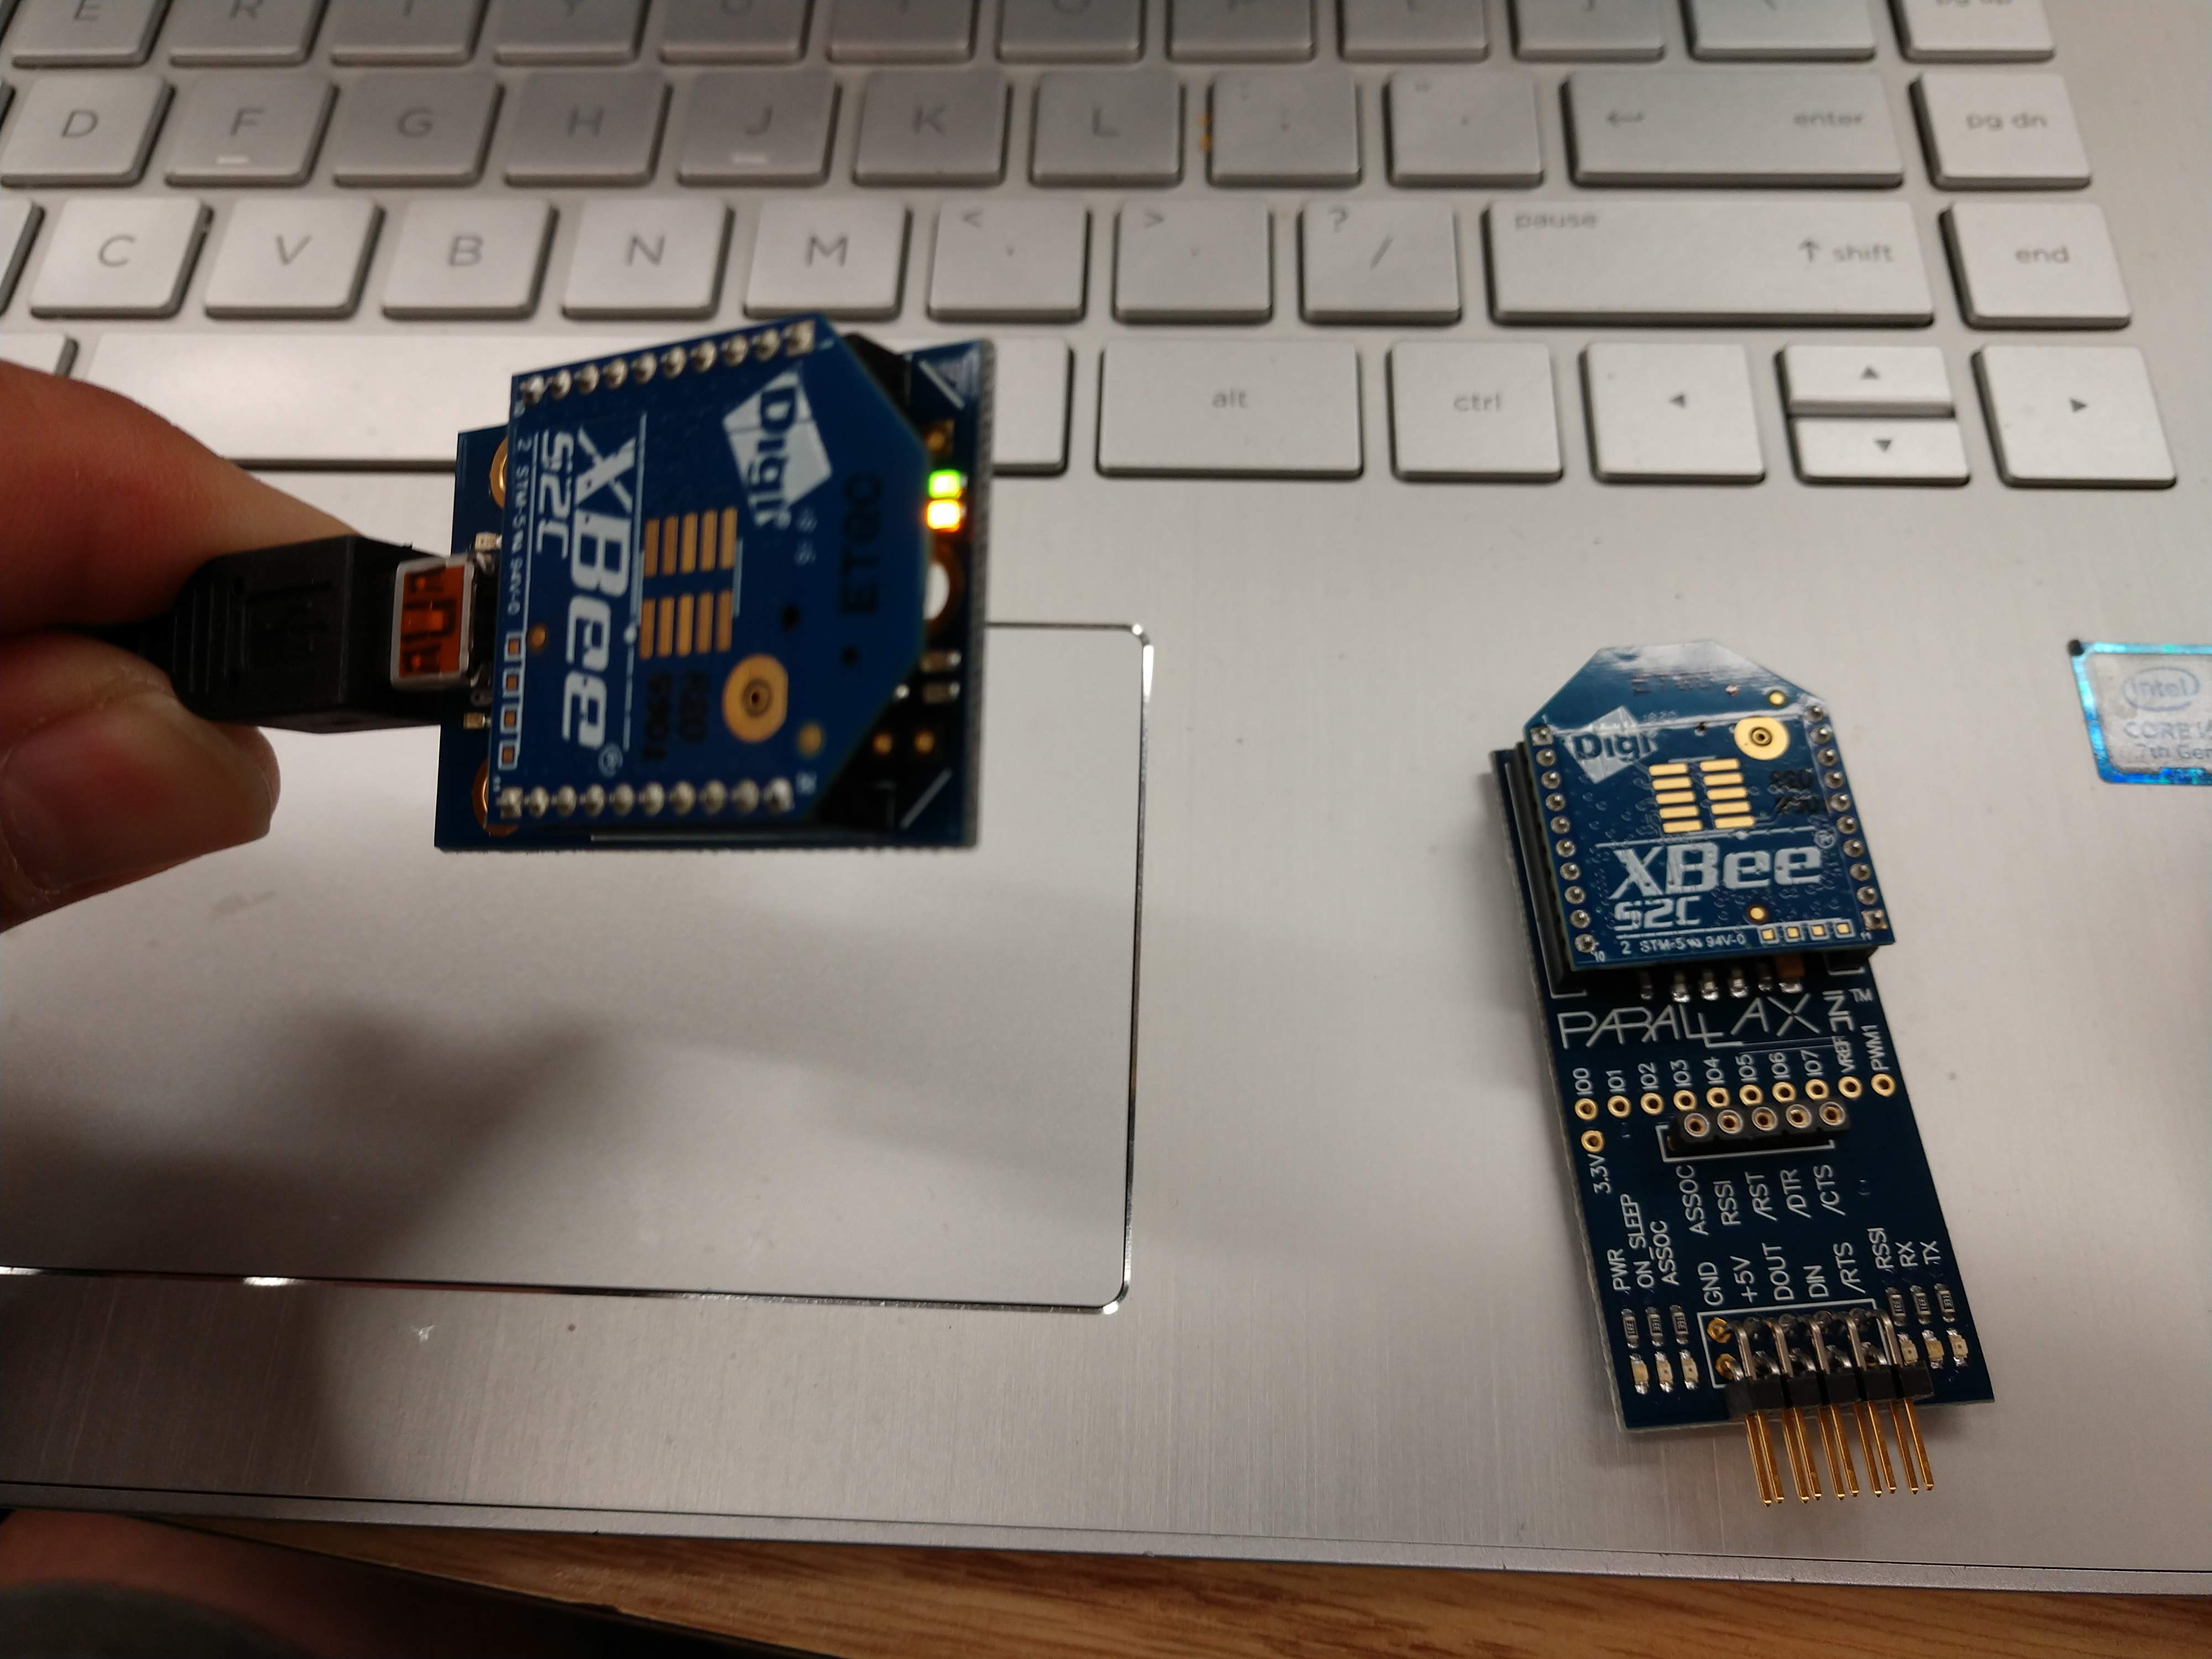
Kit Building
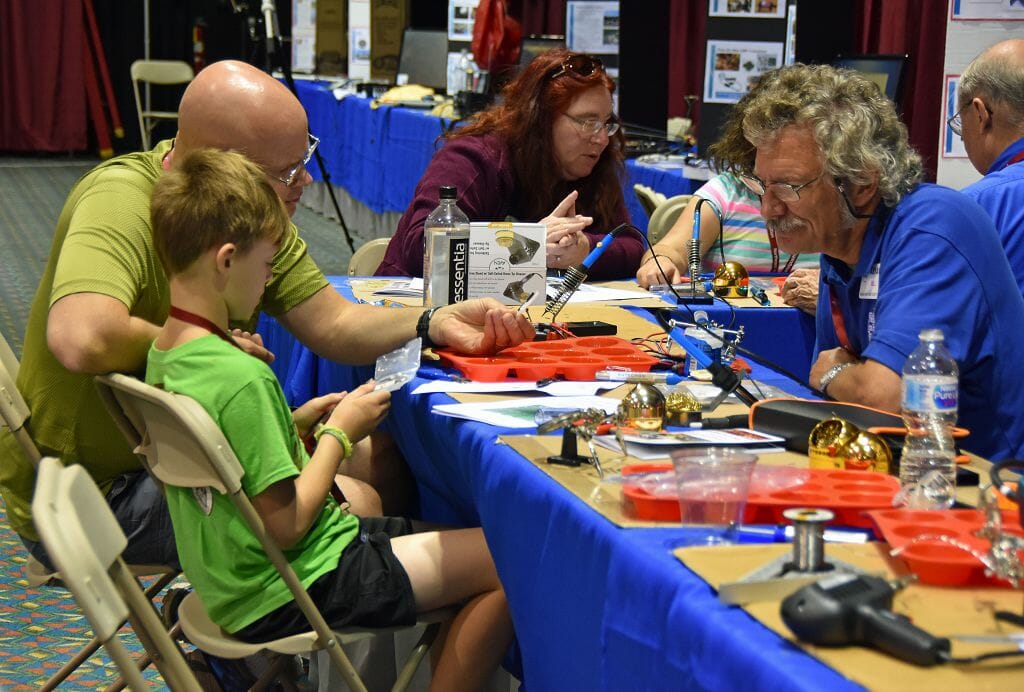
Our Kit Building activity was popular again this year. We build a total of 34 kits during the weekend. Our mentors help the builders learn to solder and to complete their kits. Our Morse Tutor kit was back again this year and was very popular with our builders.
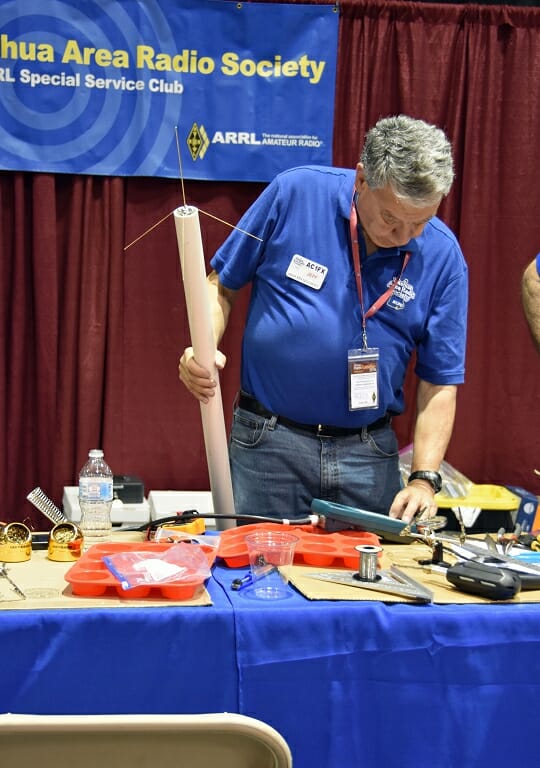
We added a new kit this year – a 70 cm Ground Plane Antenna. We helped folks assemble the new antenna kit at the show and our mentors helped builder tune up their completed antennas. The new kit was very popular and we’re planning to add a 2m Ground Plane Antenna kit for our next kit build.
More Photos from our Kit Building Activity
GOTA Stations
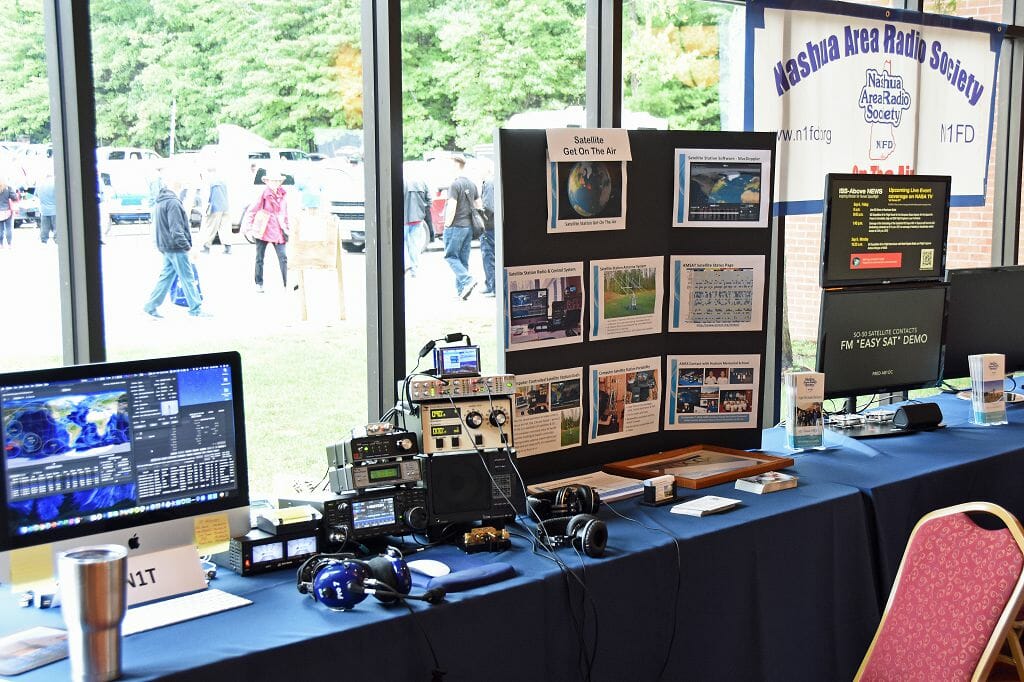
Our GOTA stations were popular again this year. Our GOTA stations served several purposes including:
- A chance for folks to get on the air and make HF and Satellite Contacts
- A chance to learn how to build stations and operate them
- An opportunity to generate on-air interest in youth outreach via our N1T special event operations
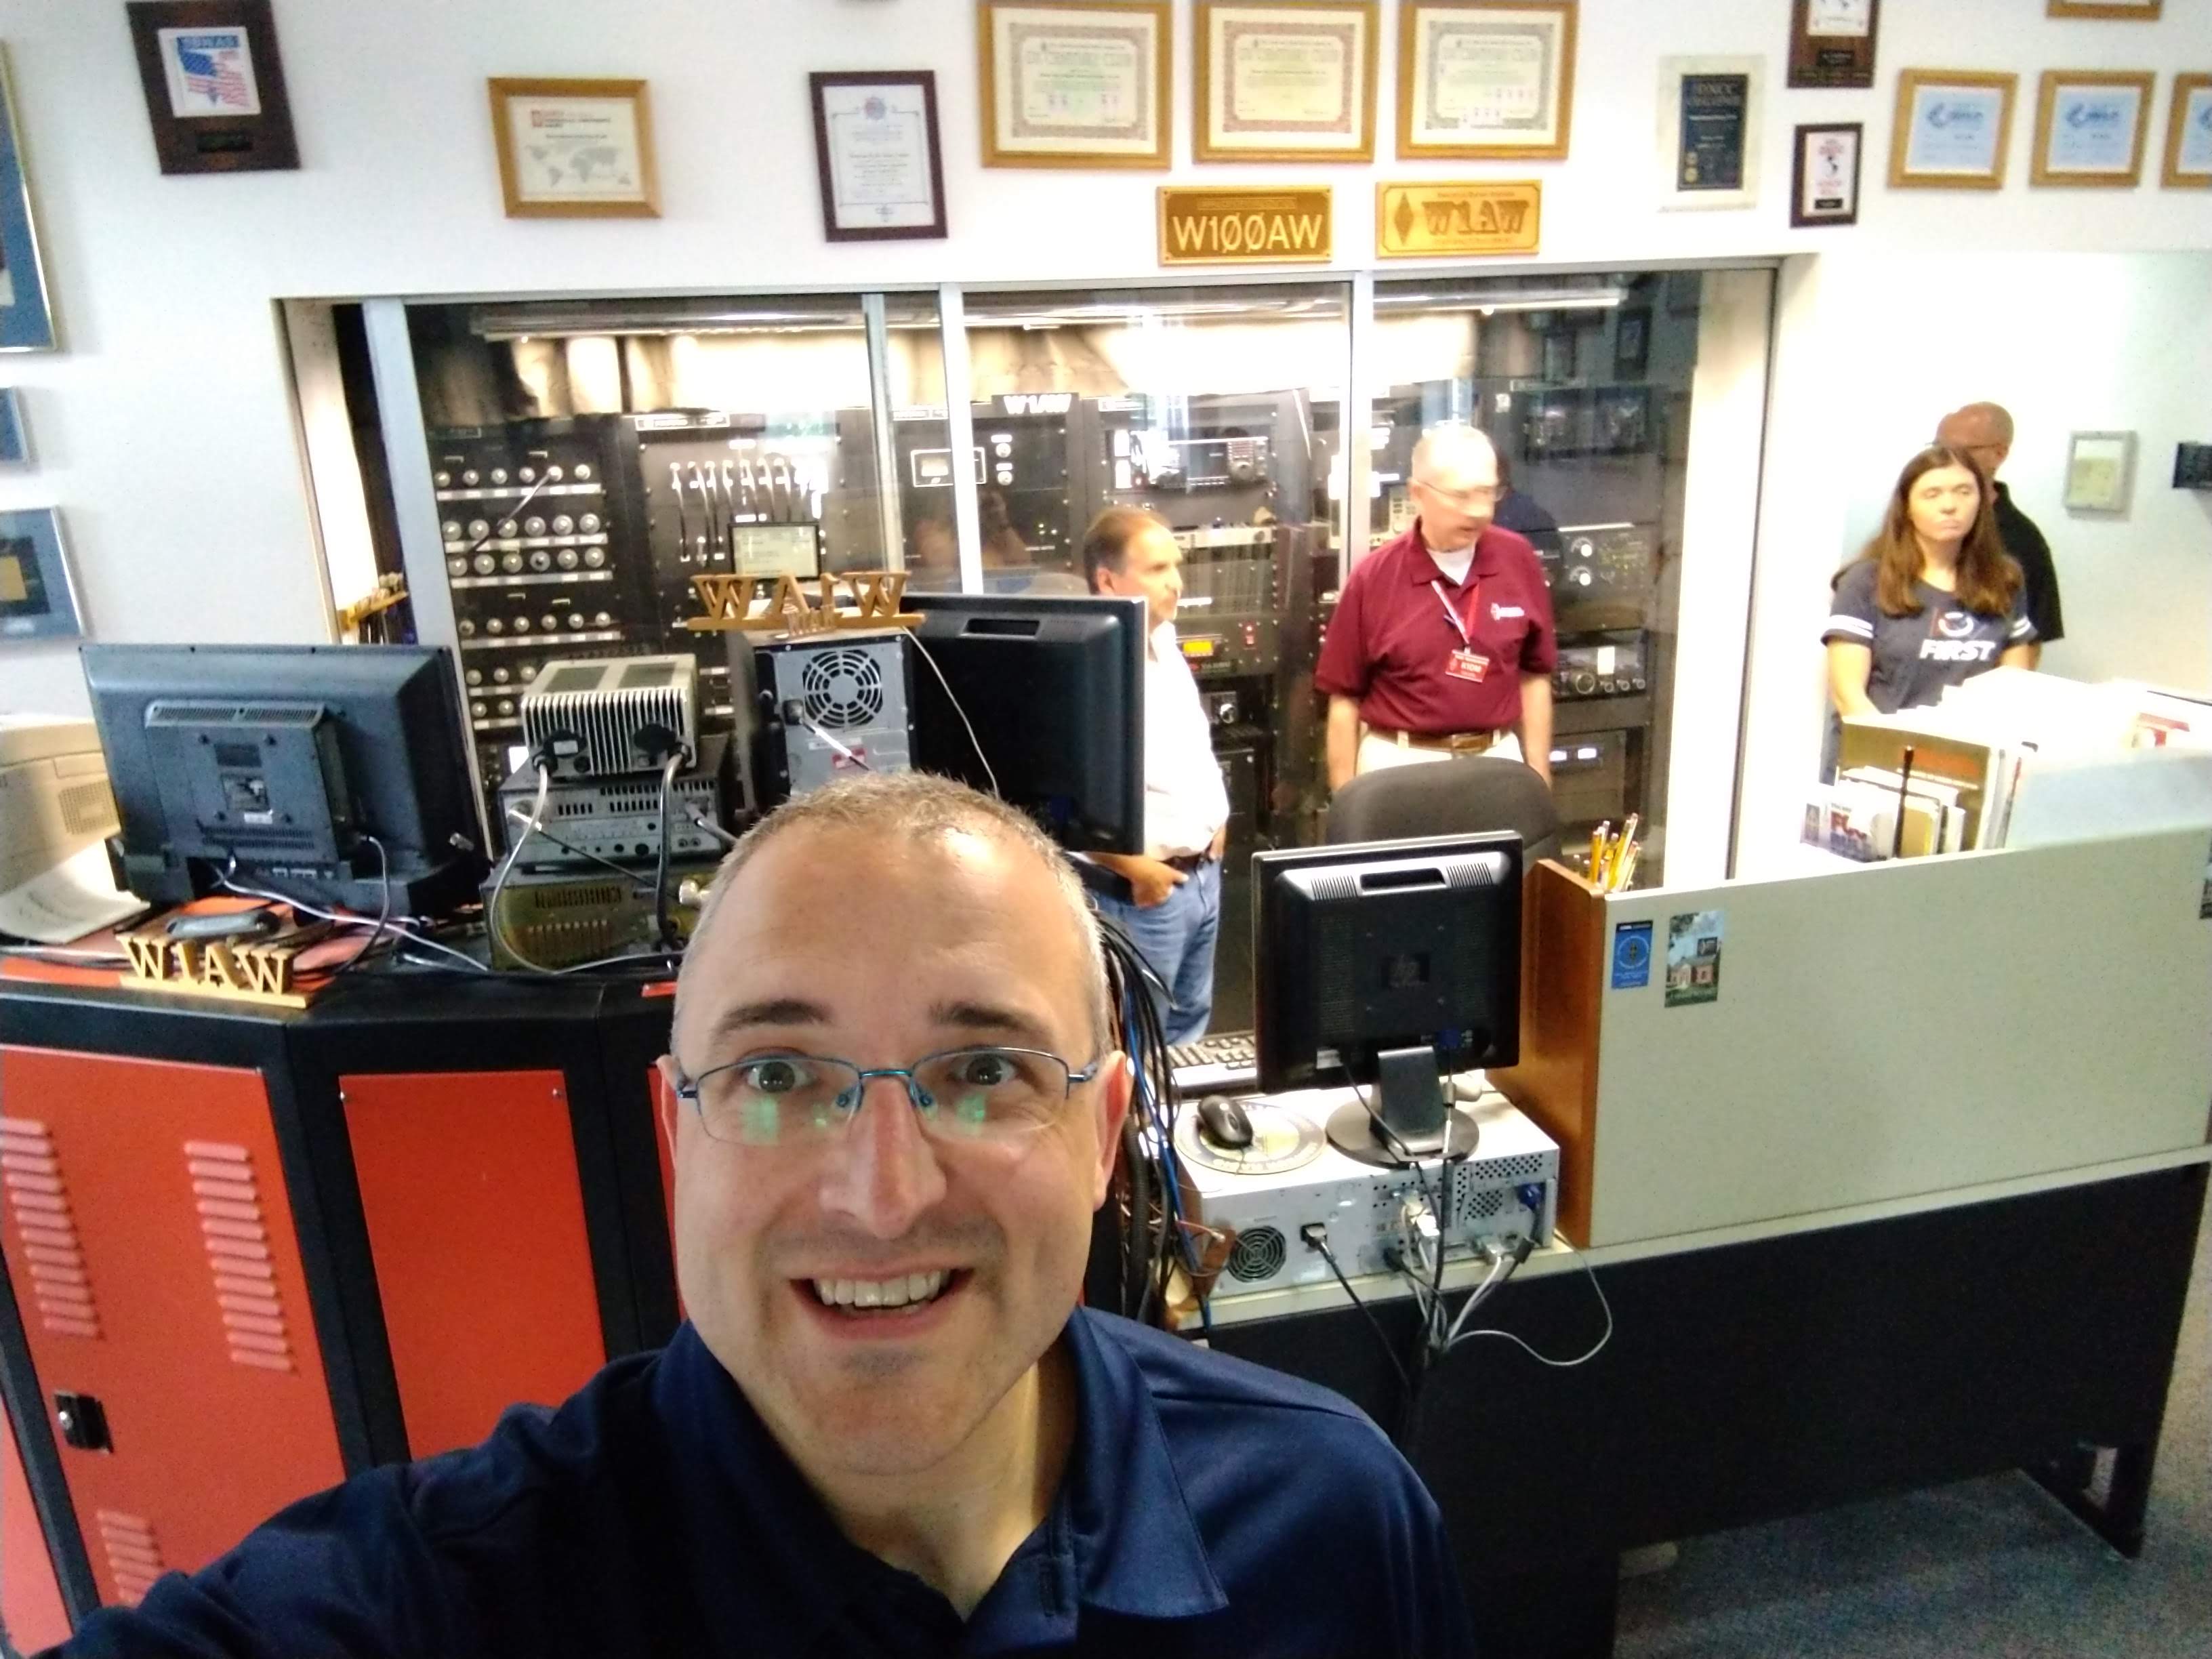
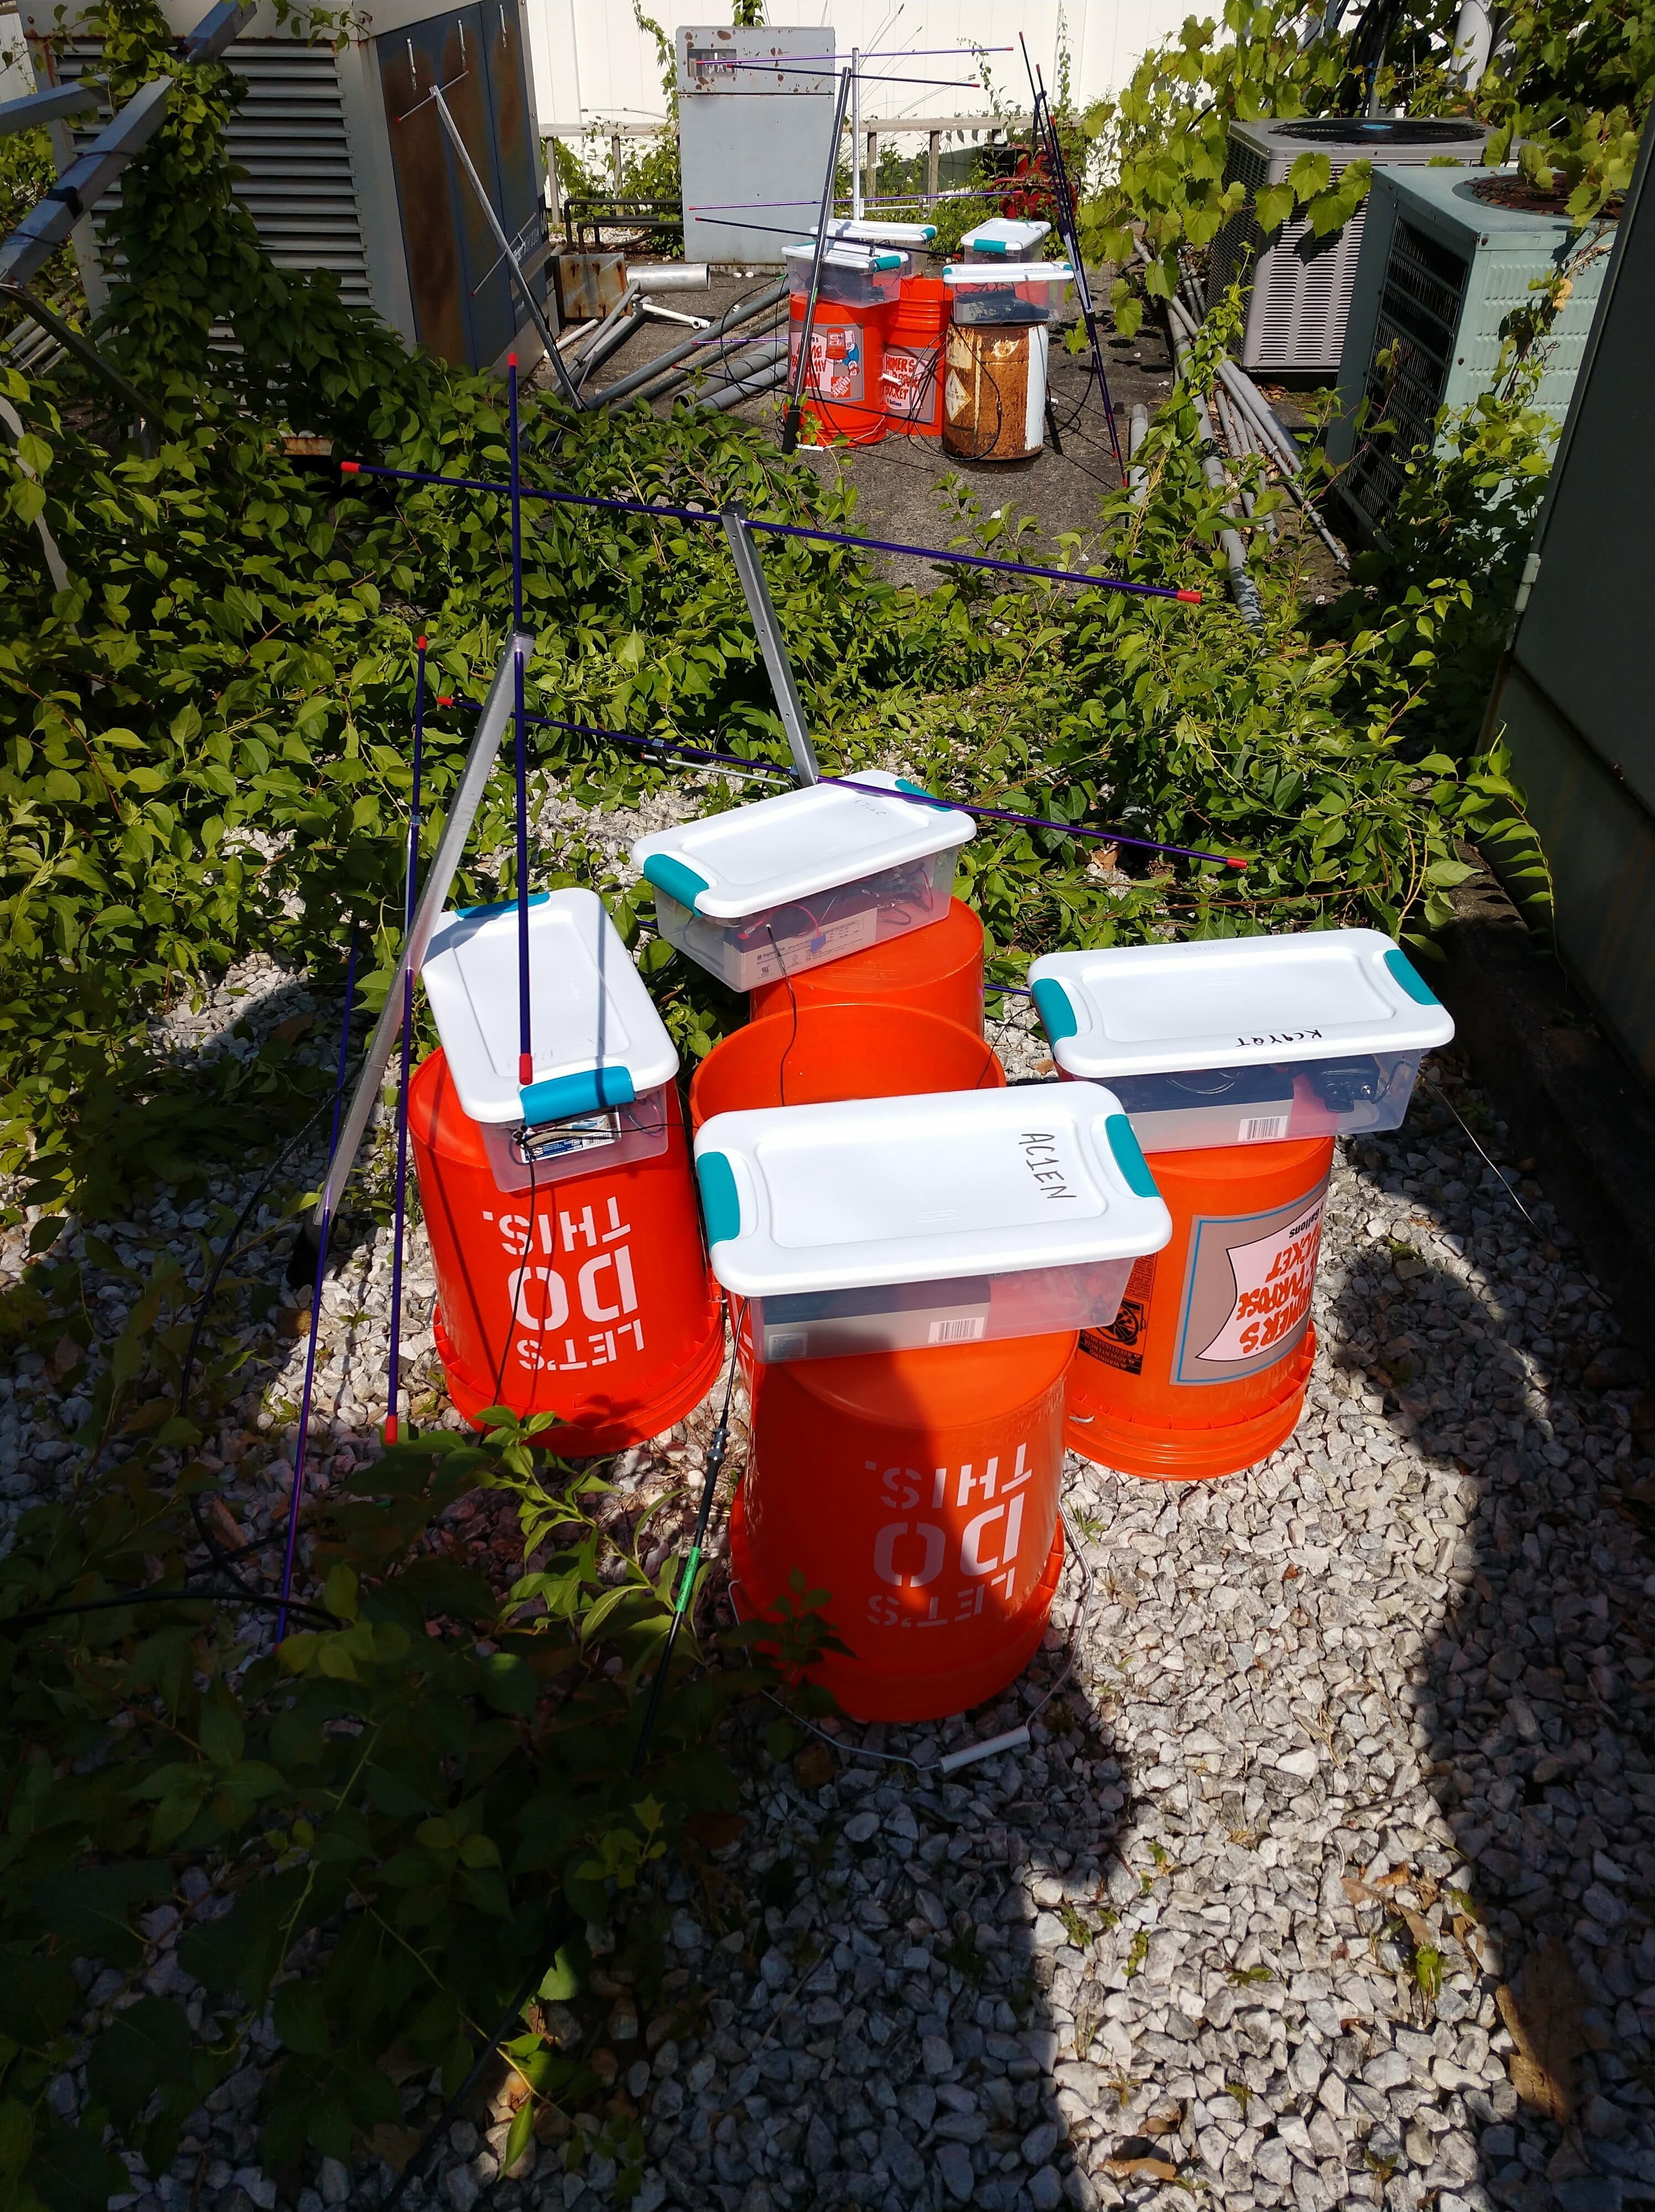
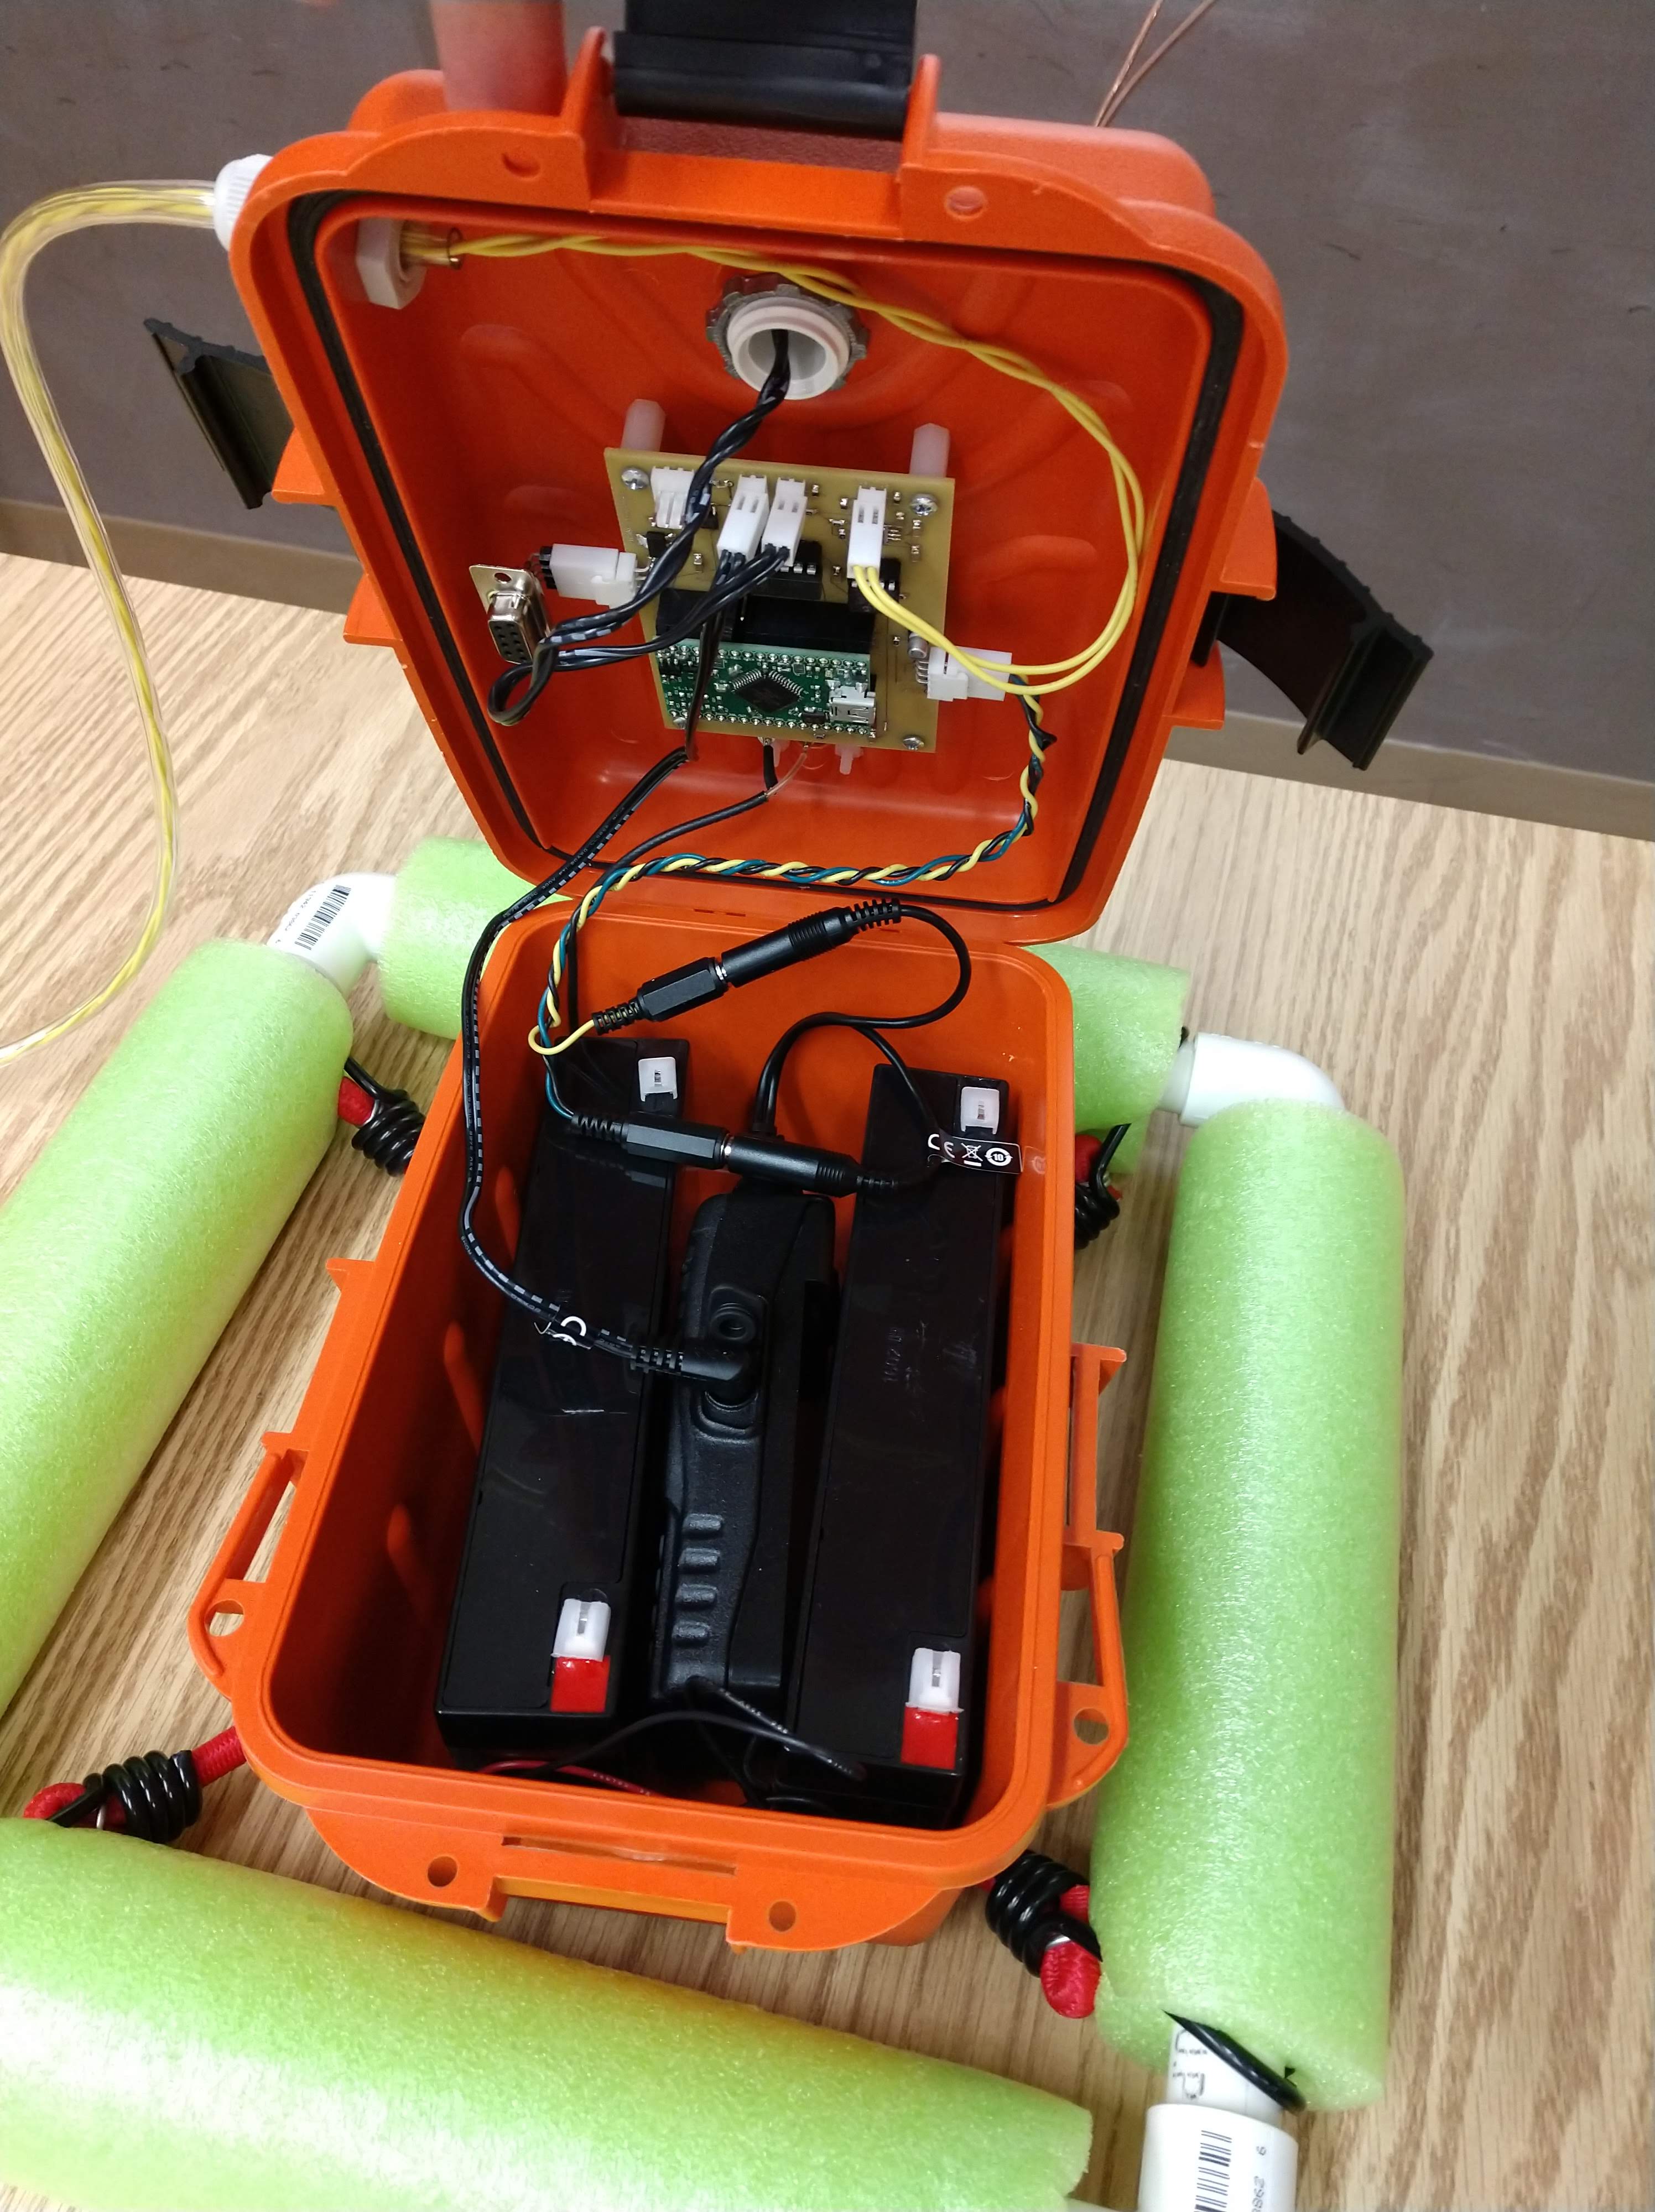
We updated our Satellite GOTA Station to include the new Icom IC-9700 transceiver and a more portable antenna system.
There was lots of interest in Amateur Radio satellites and the computer-controlled ground station that we had at HamXposition.

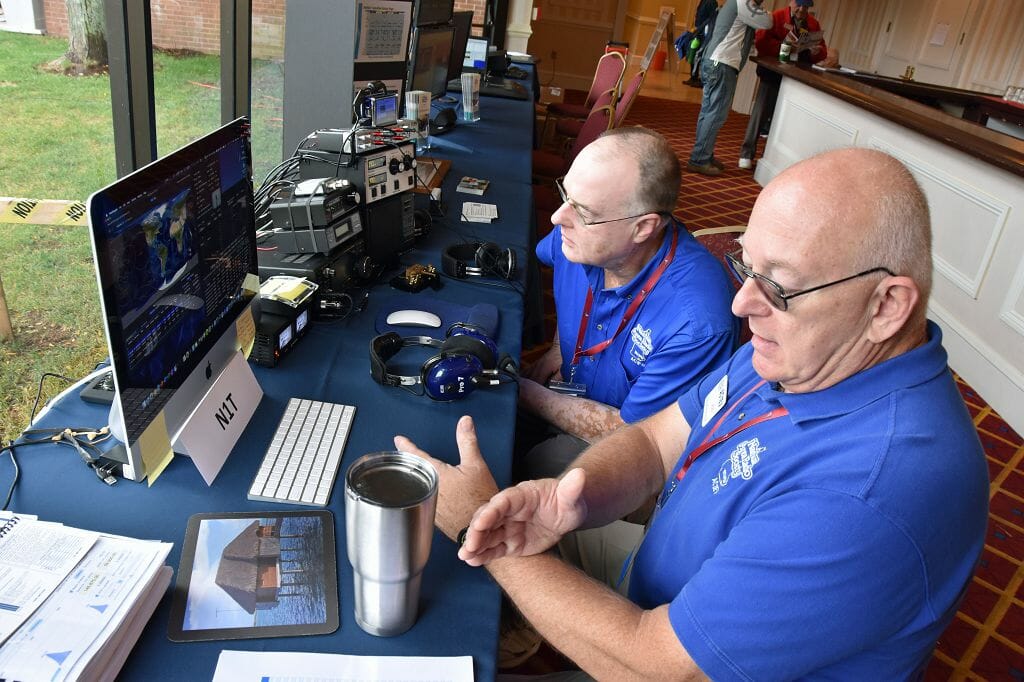
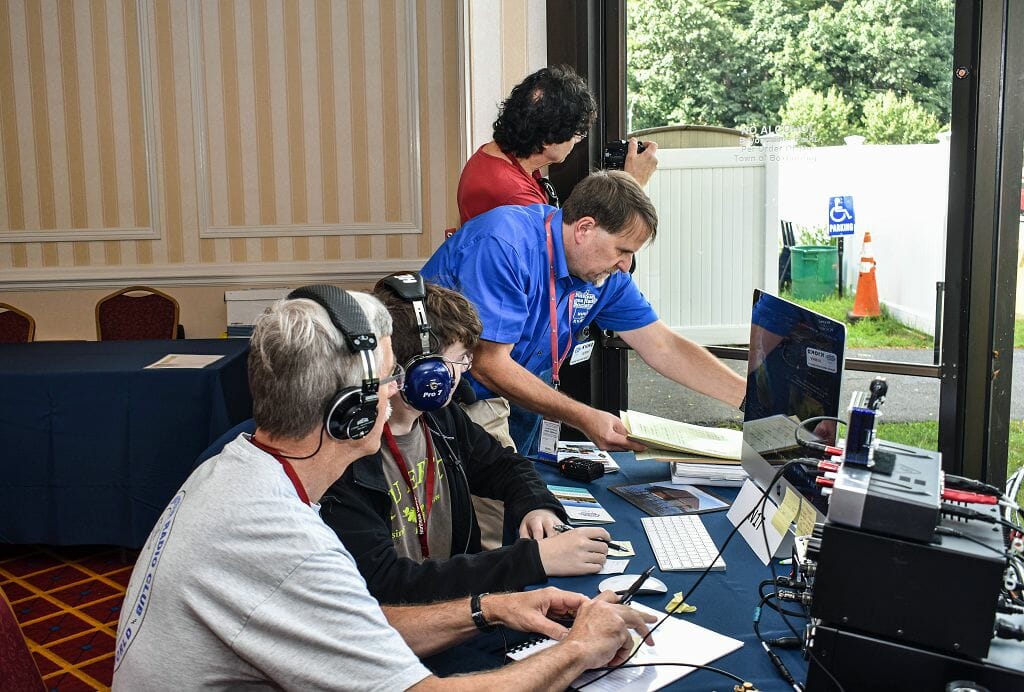
Our HF GOTA station was also popular and we used it to make most of our contacts as N1T.
Our GOTA stations helped to spark interest in Satellite Operations, DX’ing, and HF in general. We secured the N1T special event call (Youth Outreach at HamXposition 2019) again for use with our GOTA stations. We made a total of 303 contacts as N1T during HamXposition.
More Photos from our GOTA Stations
Forum Presentations
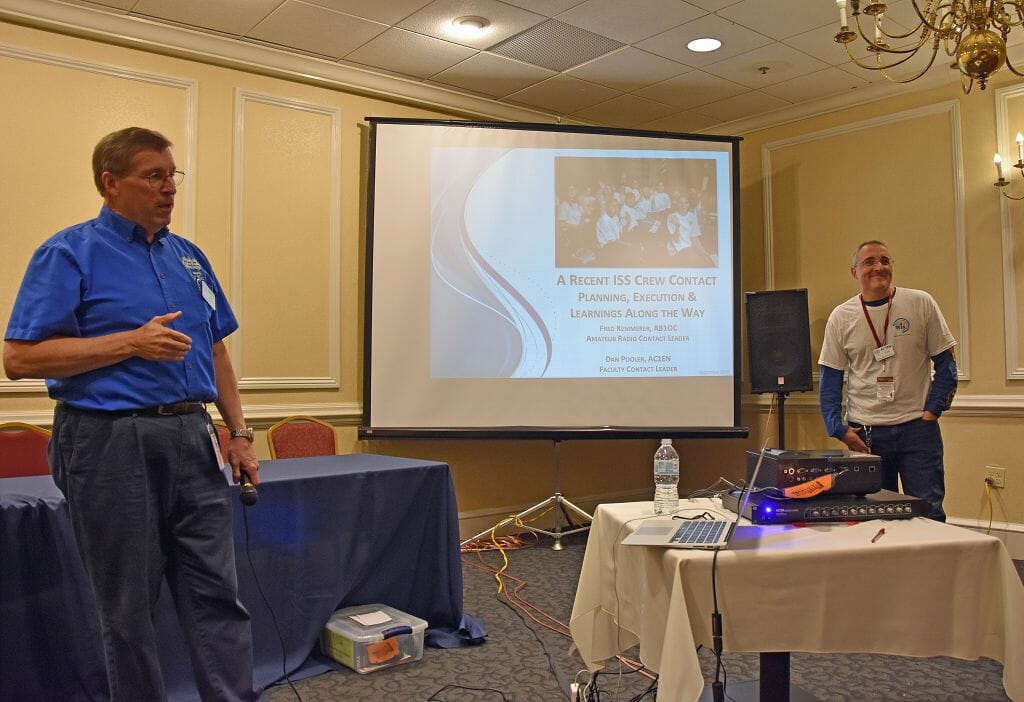
We provided two presentations as part of the Forum Program at HamXposition 2019:
- A Recent ISS Crew Contact – Planning, Execution, and Learnings Along The Way
- The Road to Club Of The Year – The Nashua Area Radio Society Story
You can view a copy of these presentations via the links above.
Thank You NARS Members!
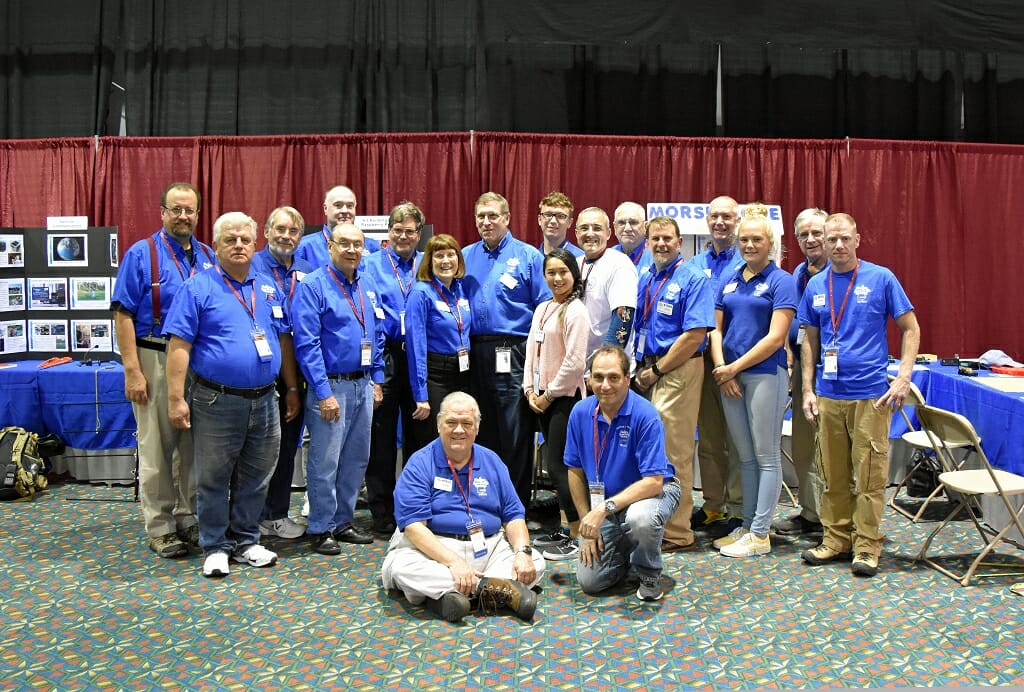
It would be impossible for us to provide a set of activities as extensive as these without a lot of support from our members. The NARs team at HamXposition 2019 consisted of over 30 volunteers who contributed to planning, preparation, and operation of our activities at HamXposition.

A very big THANK YOU to everyone who helped make our contribution to HamXposition a success! Also thanks to Charlie W1CBD and Bob K1OLD, our roving photographers, for all of the great pictures featured in this article!
Additional Photos from HamXposition 2019
Fred, AB1OC