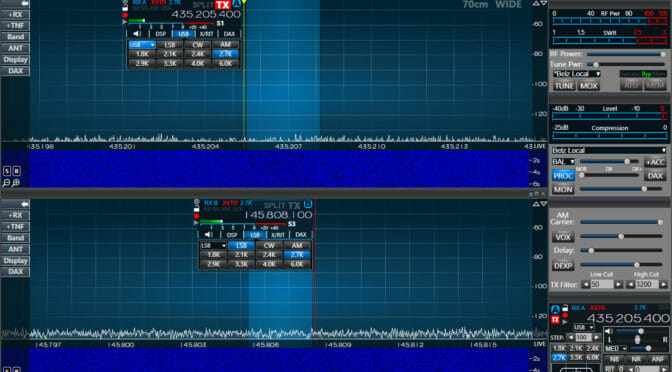
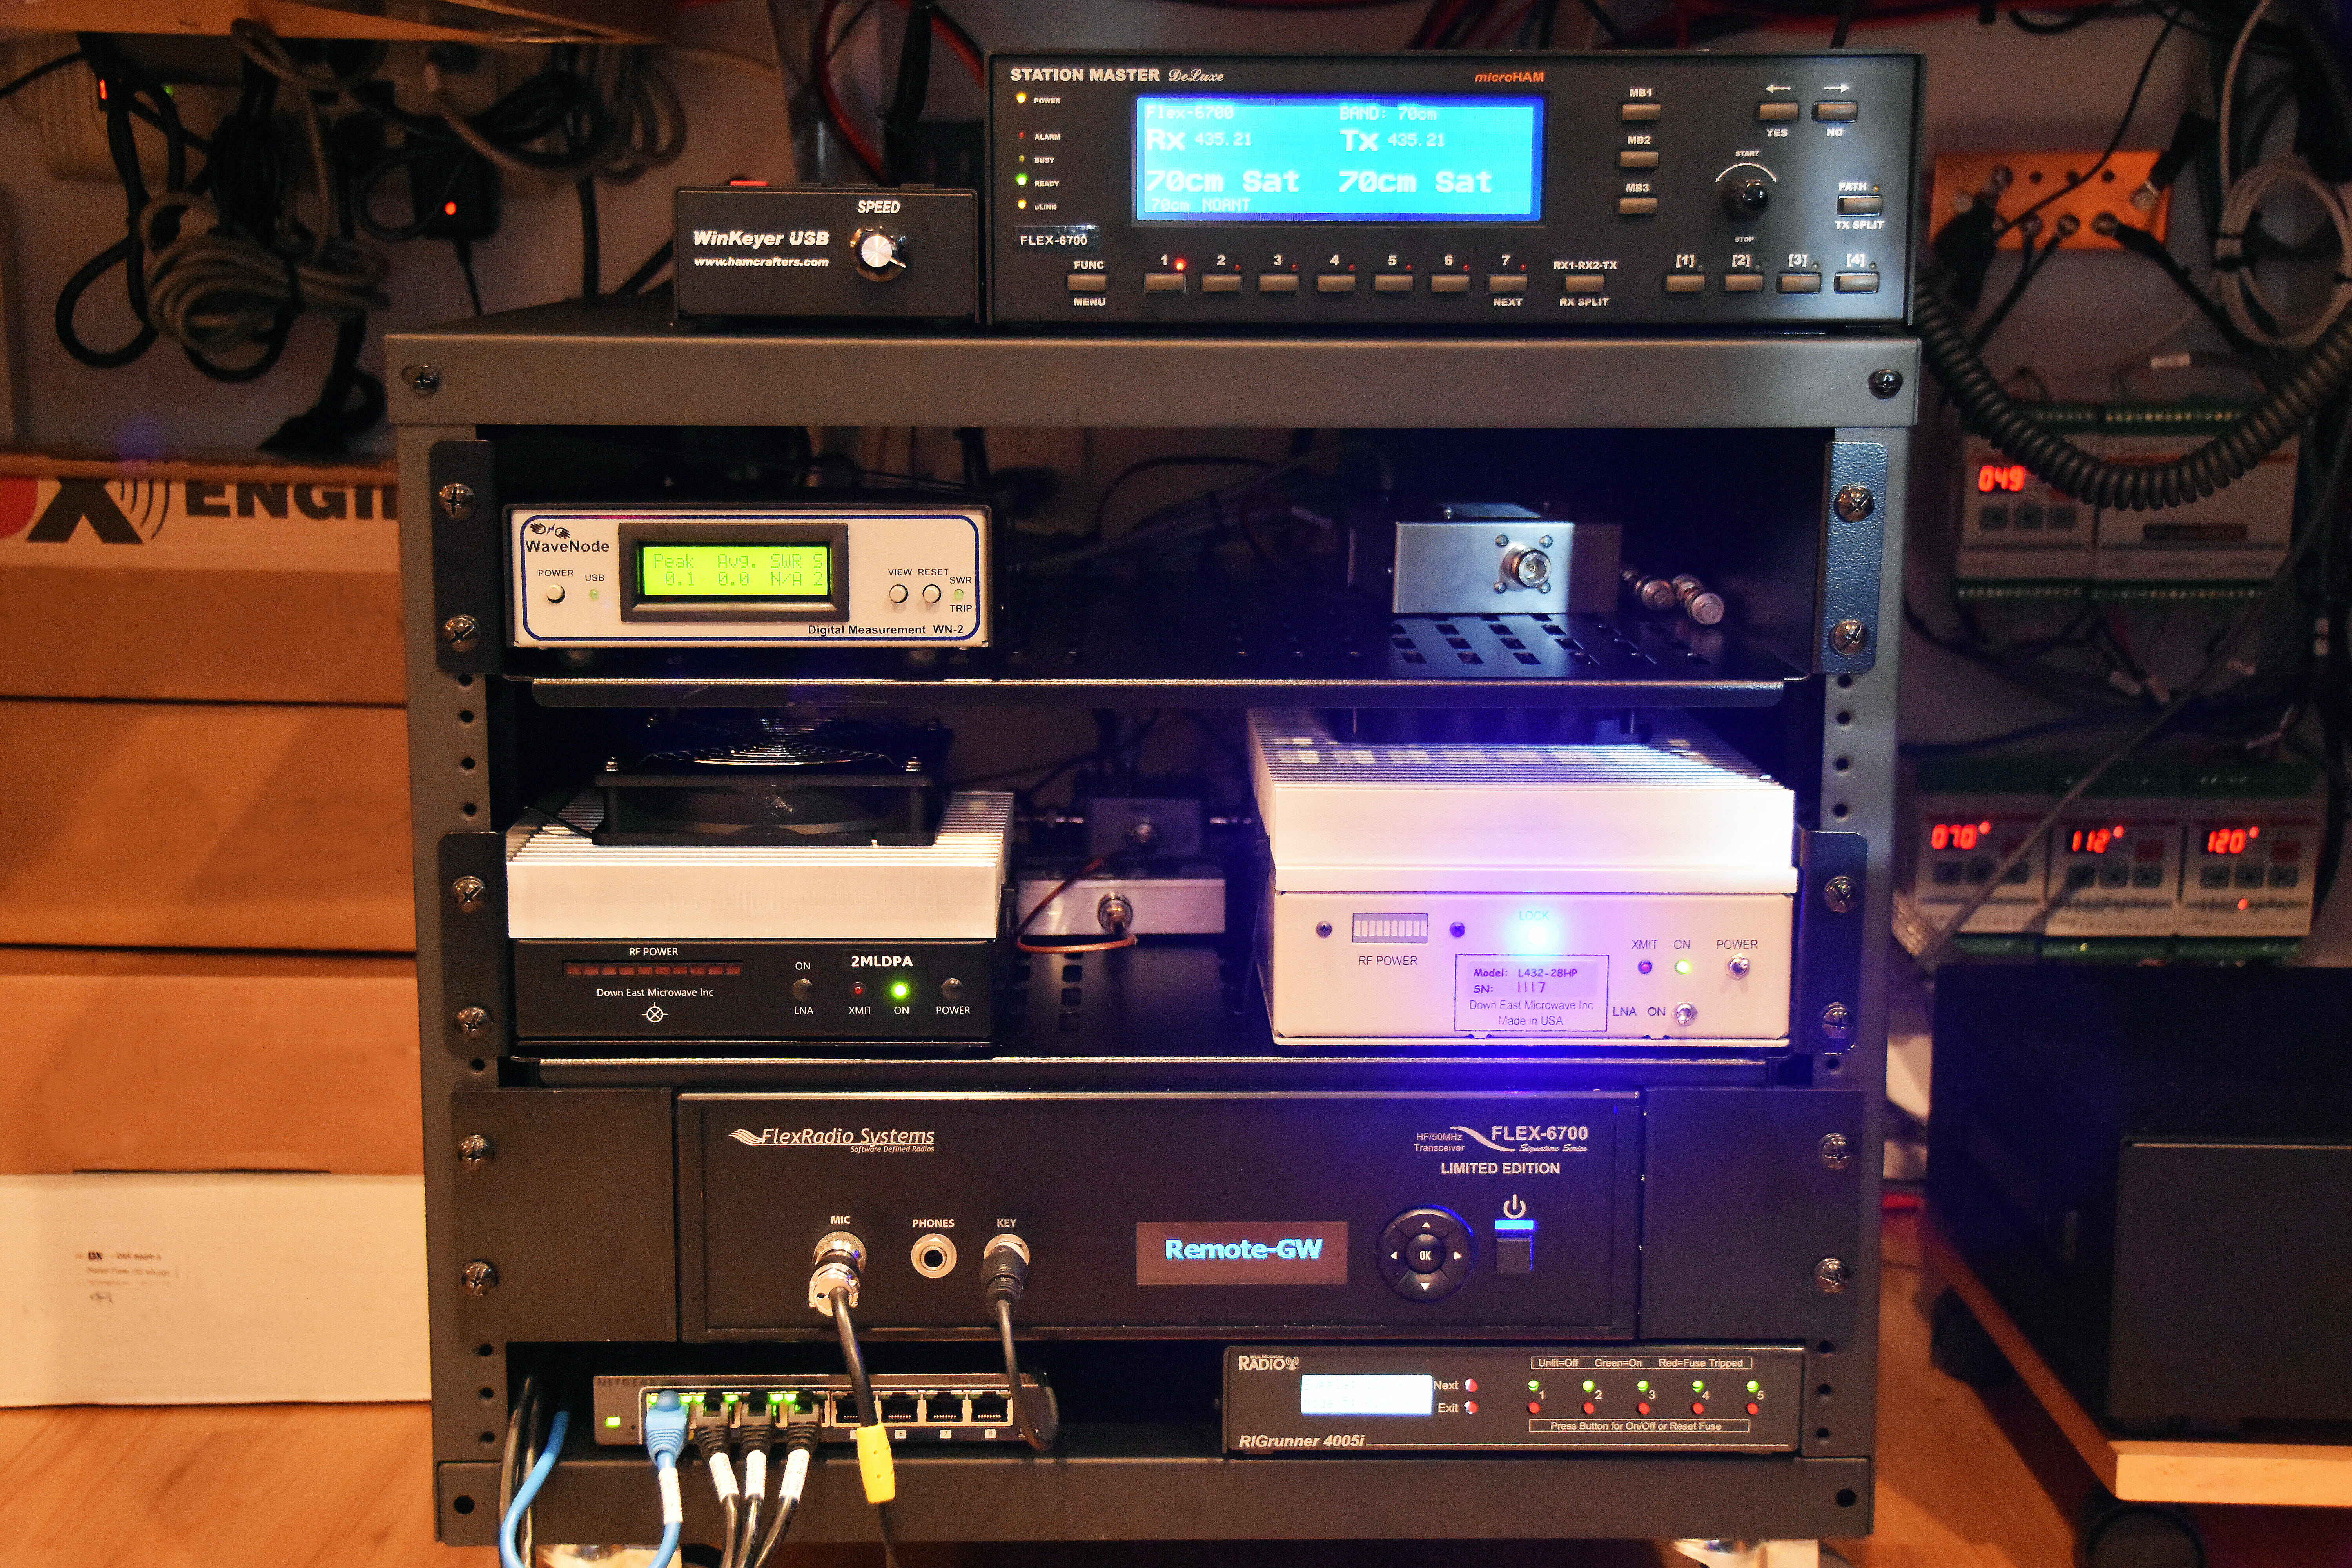
A major part of our plans for Satellite Station 4.0 includes the ability to operate our home satellite station remotely over the Internet. We’ve been using our Flex-6700 Software Defined Radio as a Remote Operating Gateway on the HF Bands and 6m for some time now. Our latest project is to upgrade our Remote Operating GW to include SDR satellite transceiver capability on the 2m, 70cm, and 23cm bands…
We’ve completed hardware upgrades and repackaging of our Remote Operating Gateway to allow it to be used for satellite operations. The article (link above) explains what was involved in upgrading our Flex-6700 SDR to include SDR Satellite Transceiver capability on the 2m, 70cm, and 23m bands. The project includes:
Addition of a 2m Amplifier, a 70cm Transverter, and a 23cm Upconverter to our Flex-6700 SDR
Provision for the addition of the 5GHz and 10 GHz satellite bands in the future
Local and remote monitoring of power output and SWR
Use of the Flex-6700 GPS Disciplined Oscillator for locking of frequencies on all bands
Enhanced remote power and station controls which provide station management via the Internet
Repackaging of the system in a rack mount enclosure that can be placed under our operating desk
The next stage of our SDR Satellite Transceiver project will be to add the software components needed to control the Flex-6700/SmartSDR combination to make satellite contacts.
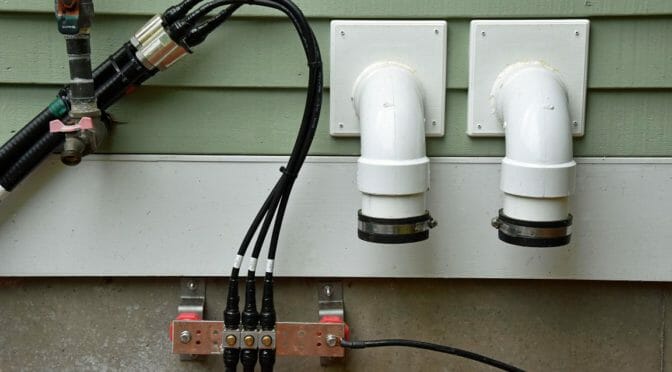
We recently completed the finishing touches on our new VHF and Satellite Tower. The first step was to install a second set of entry conduits into our shack and a new ground block for our satellite antennas…
Our Tower is finally complete! We’ve added an additional entry into our shack for coax and control cables and we’ve installed 7/8″ hardline coax cables to reduce losses in our 6m, 2m, 70cm, and 23 cm feedlines. You can see some photos and details of this part of our project via the link above.
We are working on upgrading our Flex-6700 SDR based Remote Gateway to include Satellite operation. Stay tuned for an article on this part of our project.
This Christmas I bought a 28 watt solar panel and MPPT charge controller from Bioenno. I haven’t had much time to use it until recently with the weather getting warmer. I’ve been able to use this with my 7.5 amp hour battery which will power the KX2 for quite some time. I’ve also been watching a lot of videos on YouTube about portable power boxes and I thought it would be nice to have something a little heftier for car camping or portable activations that I wasn’t carry gear very far.
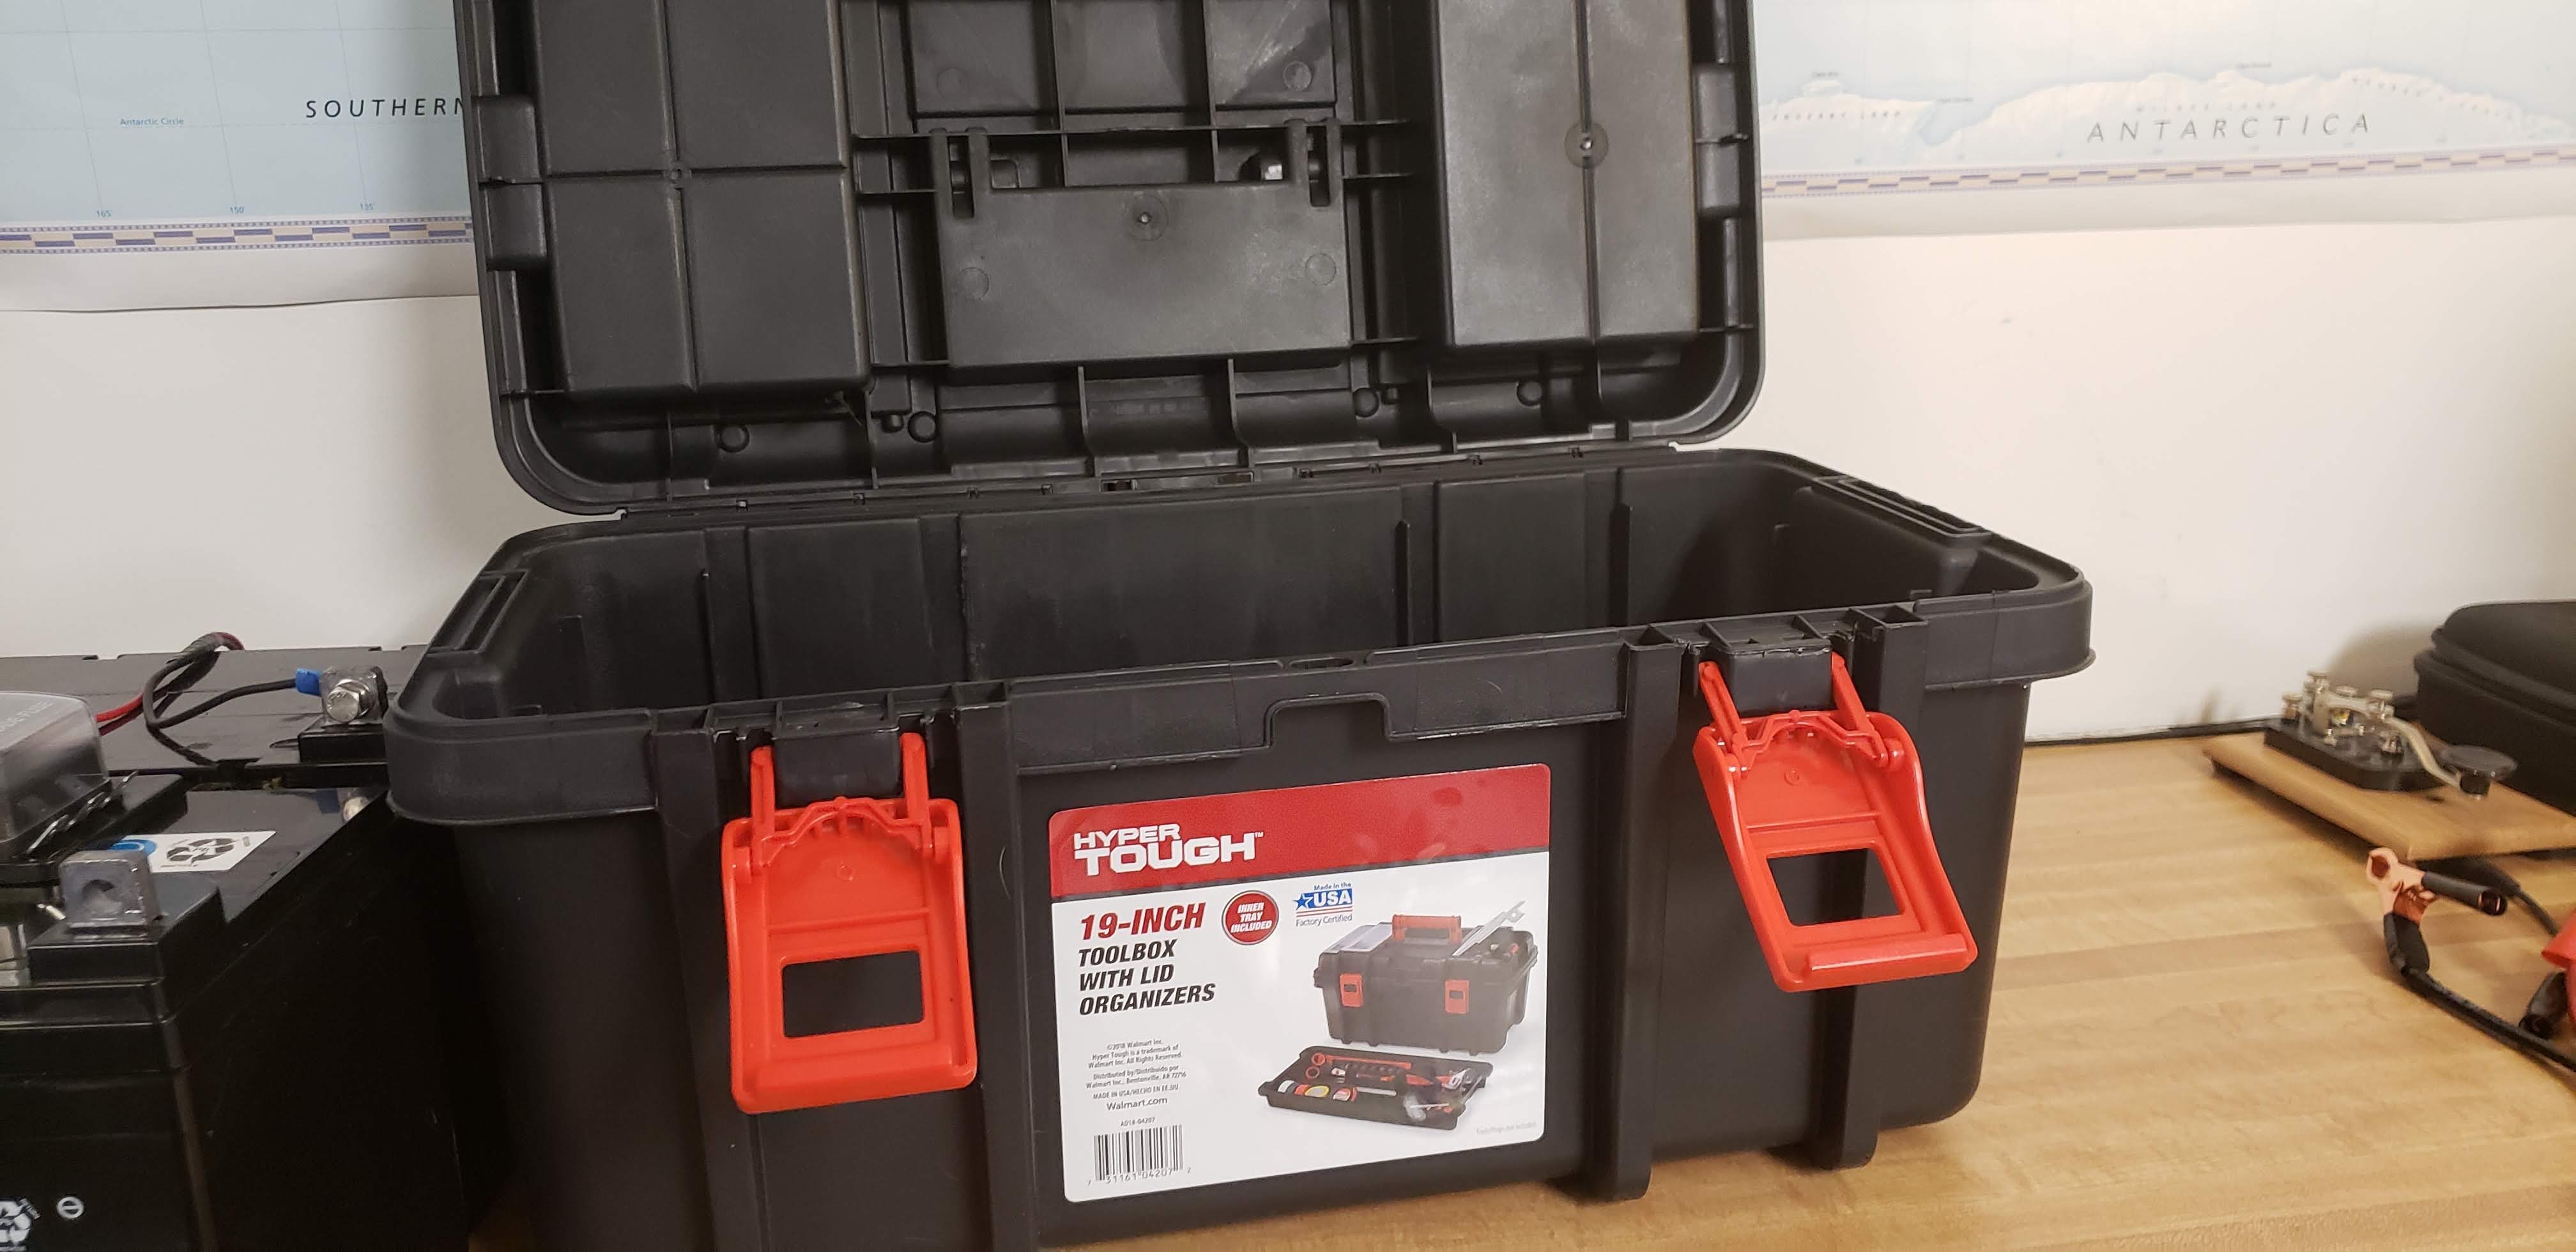
This past week I finally got to work on it. I started with a HyperTough 19 inch tool box from WalMart for the battery box. I have two 12-volt, 35 amp hour AGM batteries from Harbor Freight that fit in the box nicely with a little extra room so that everything can be inside the box.
WalMart Tool Box to be used as the battery box
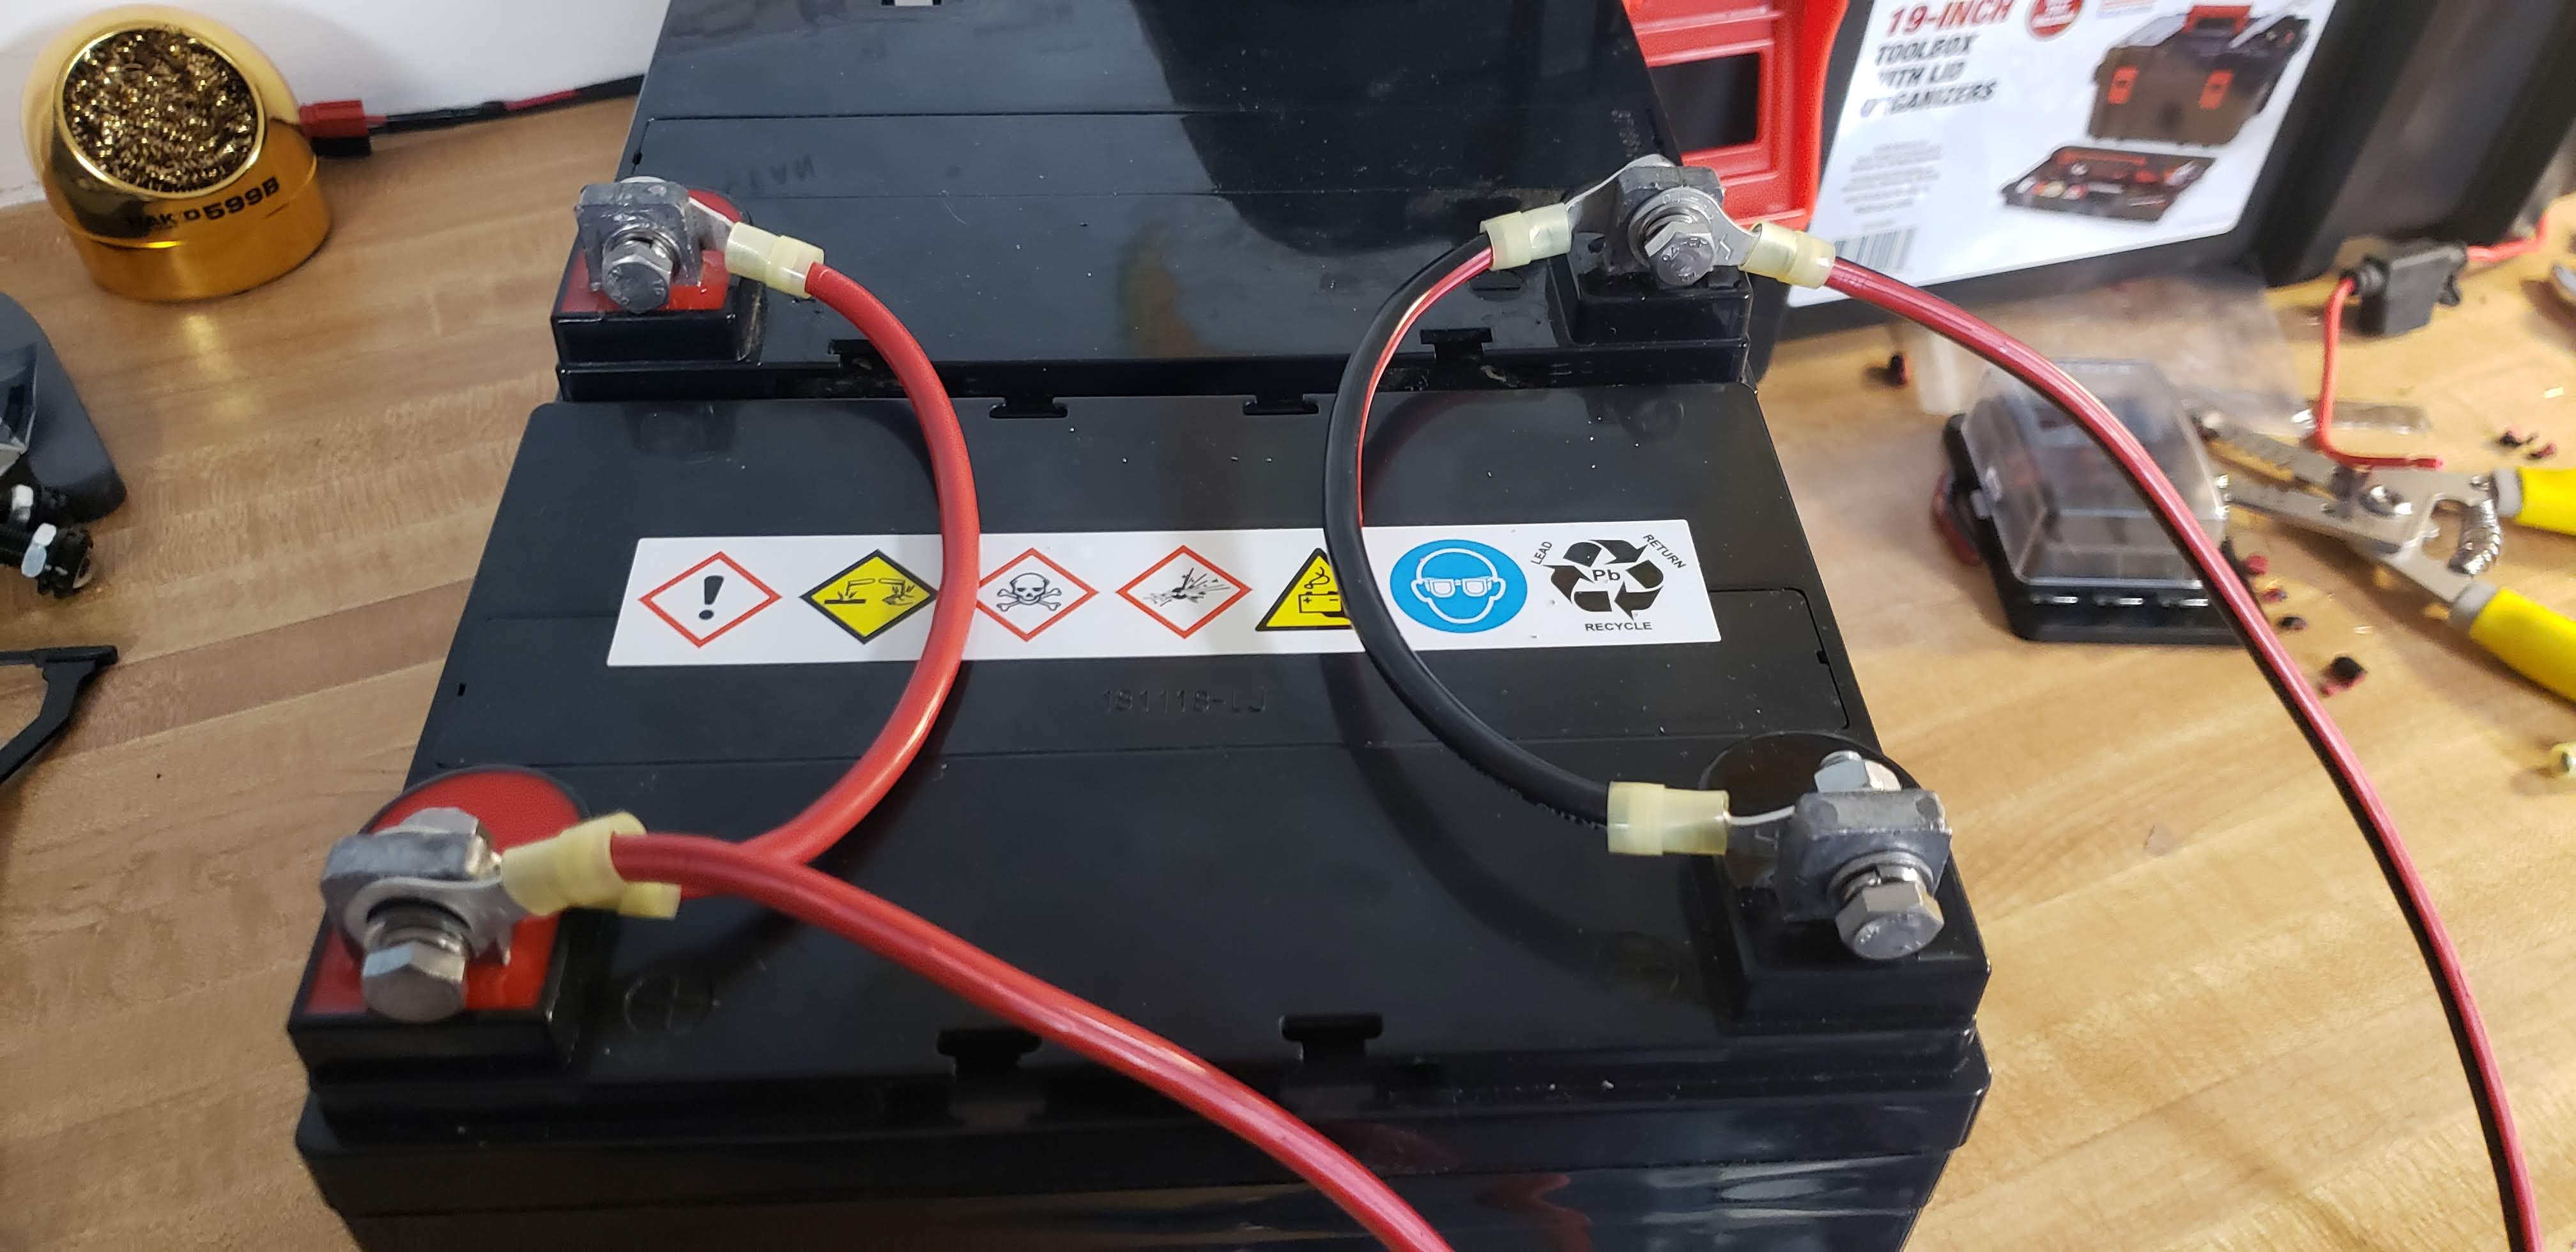
I wired the two batteries in parallel to give me 12-volts and 70 amp hours. I read that the AMG batteries do not emit any hydrogen gas so I did not put any vents in the box (yet).
12 Volt, 35 Amp Hour Batteries wired in parallel (12 volts, 70 Amp Hour)
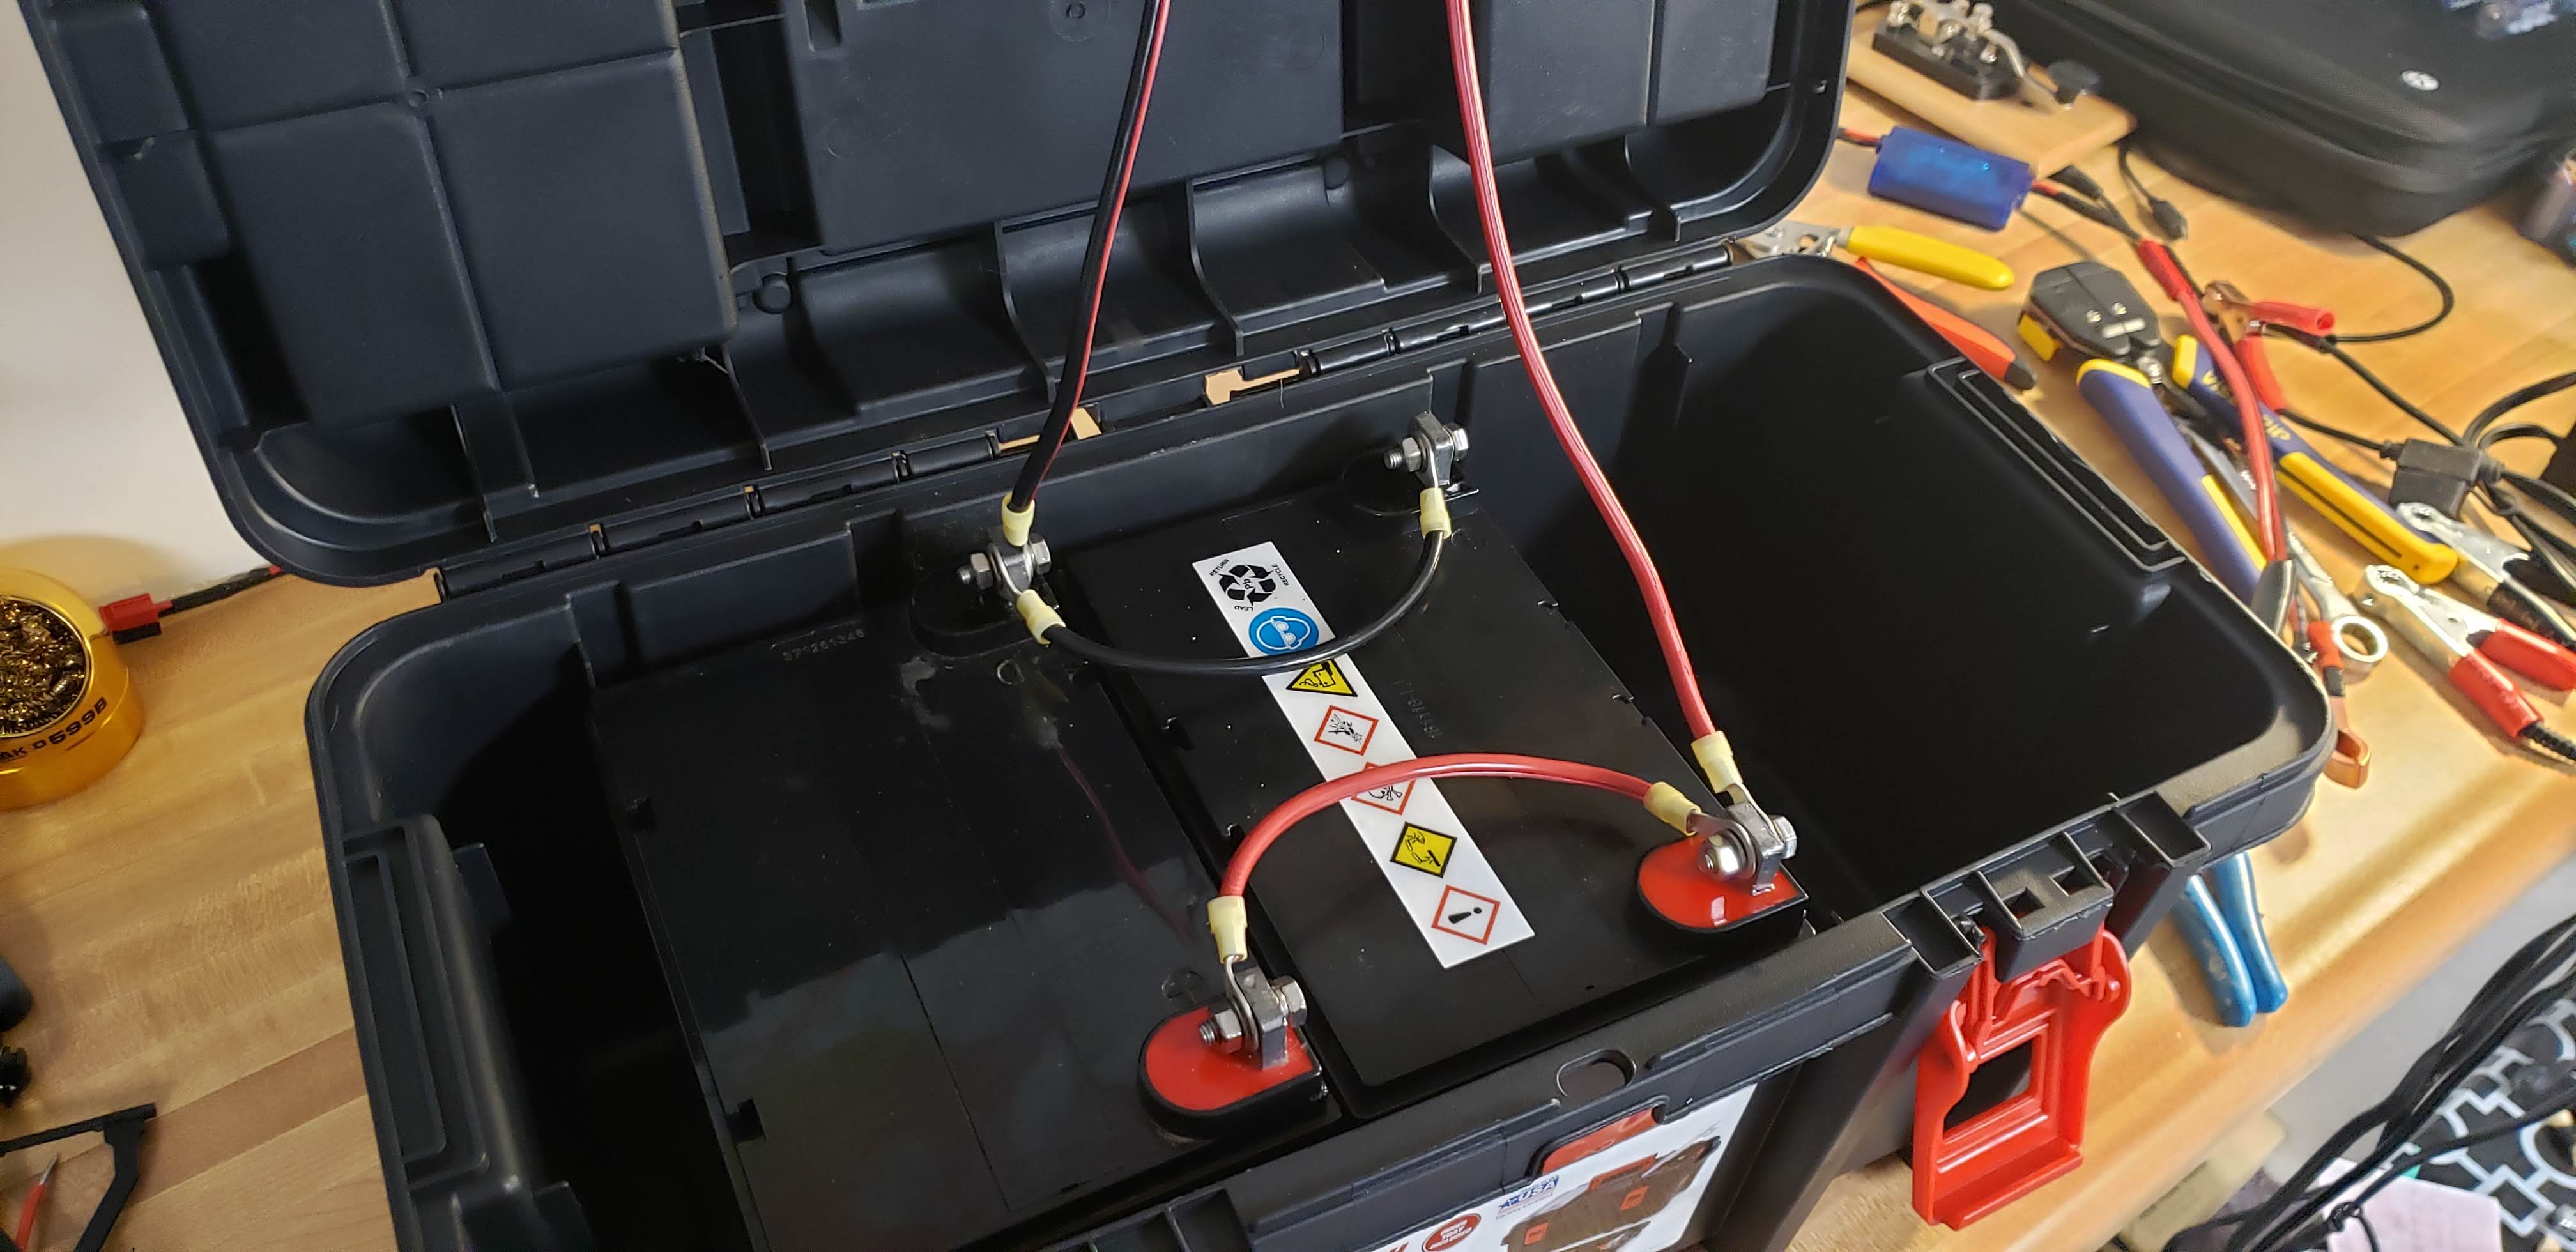
Once the batteries were wired in parallel they fit perfectly in the box! I originally had planned on putting a small computer fan on one end to use as an exhaust and put in venting holes as well, but did not do this after reading more about the AGM batteries.
The batteries fit nicely in the box!
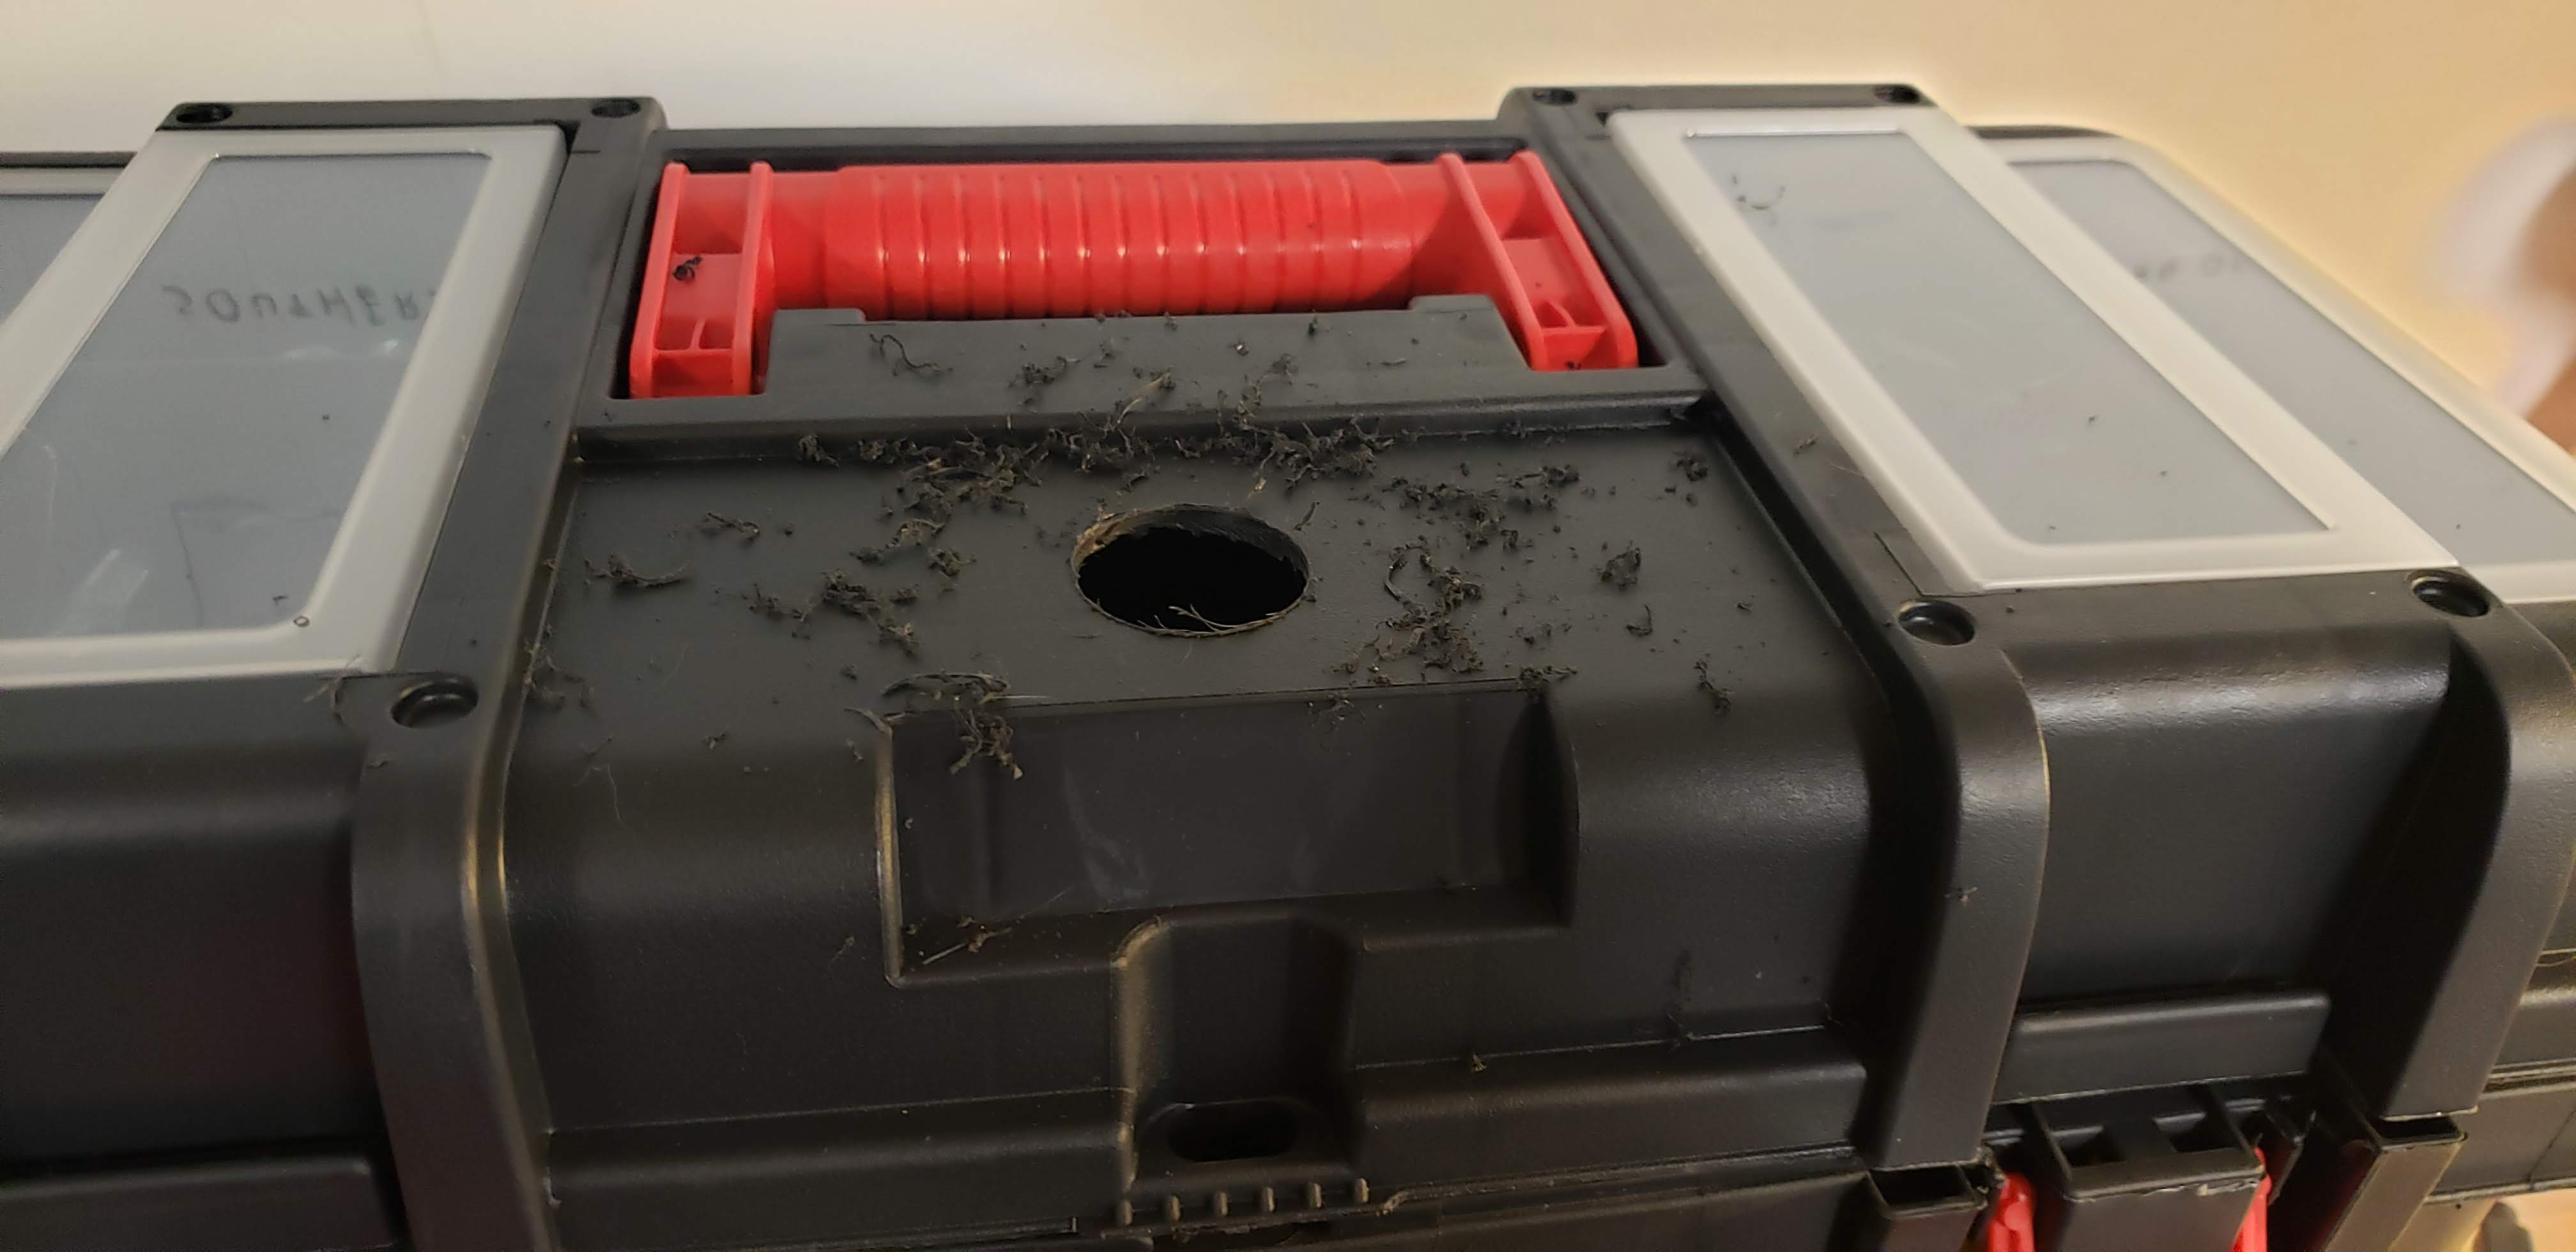
I took ideas from a bunch of different YouTube videos that I watched to try to fit what I wanted for the box. I started laying out where I wanted everything on the box and started drilling holes.
Laying out components
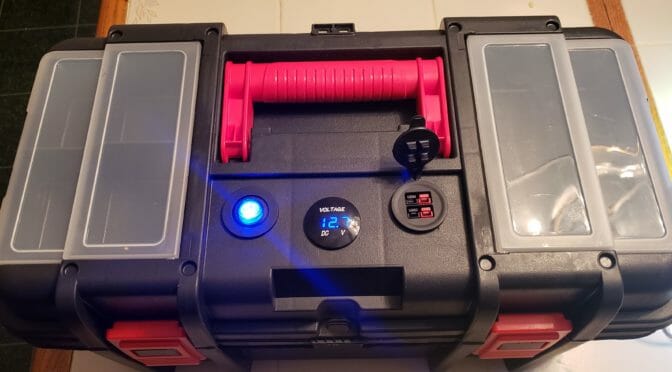
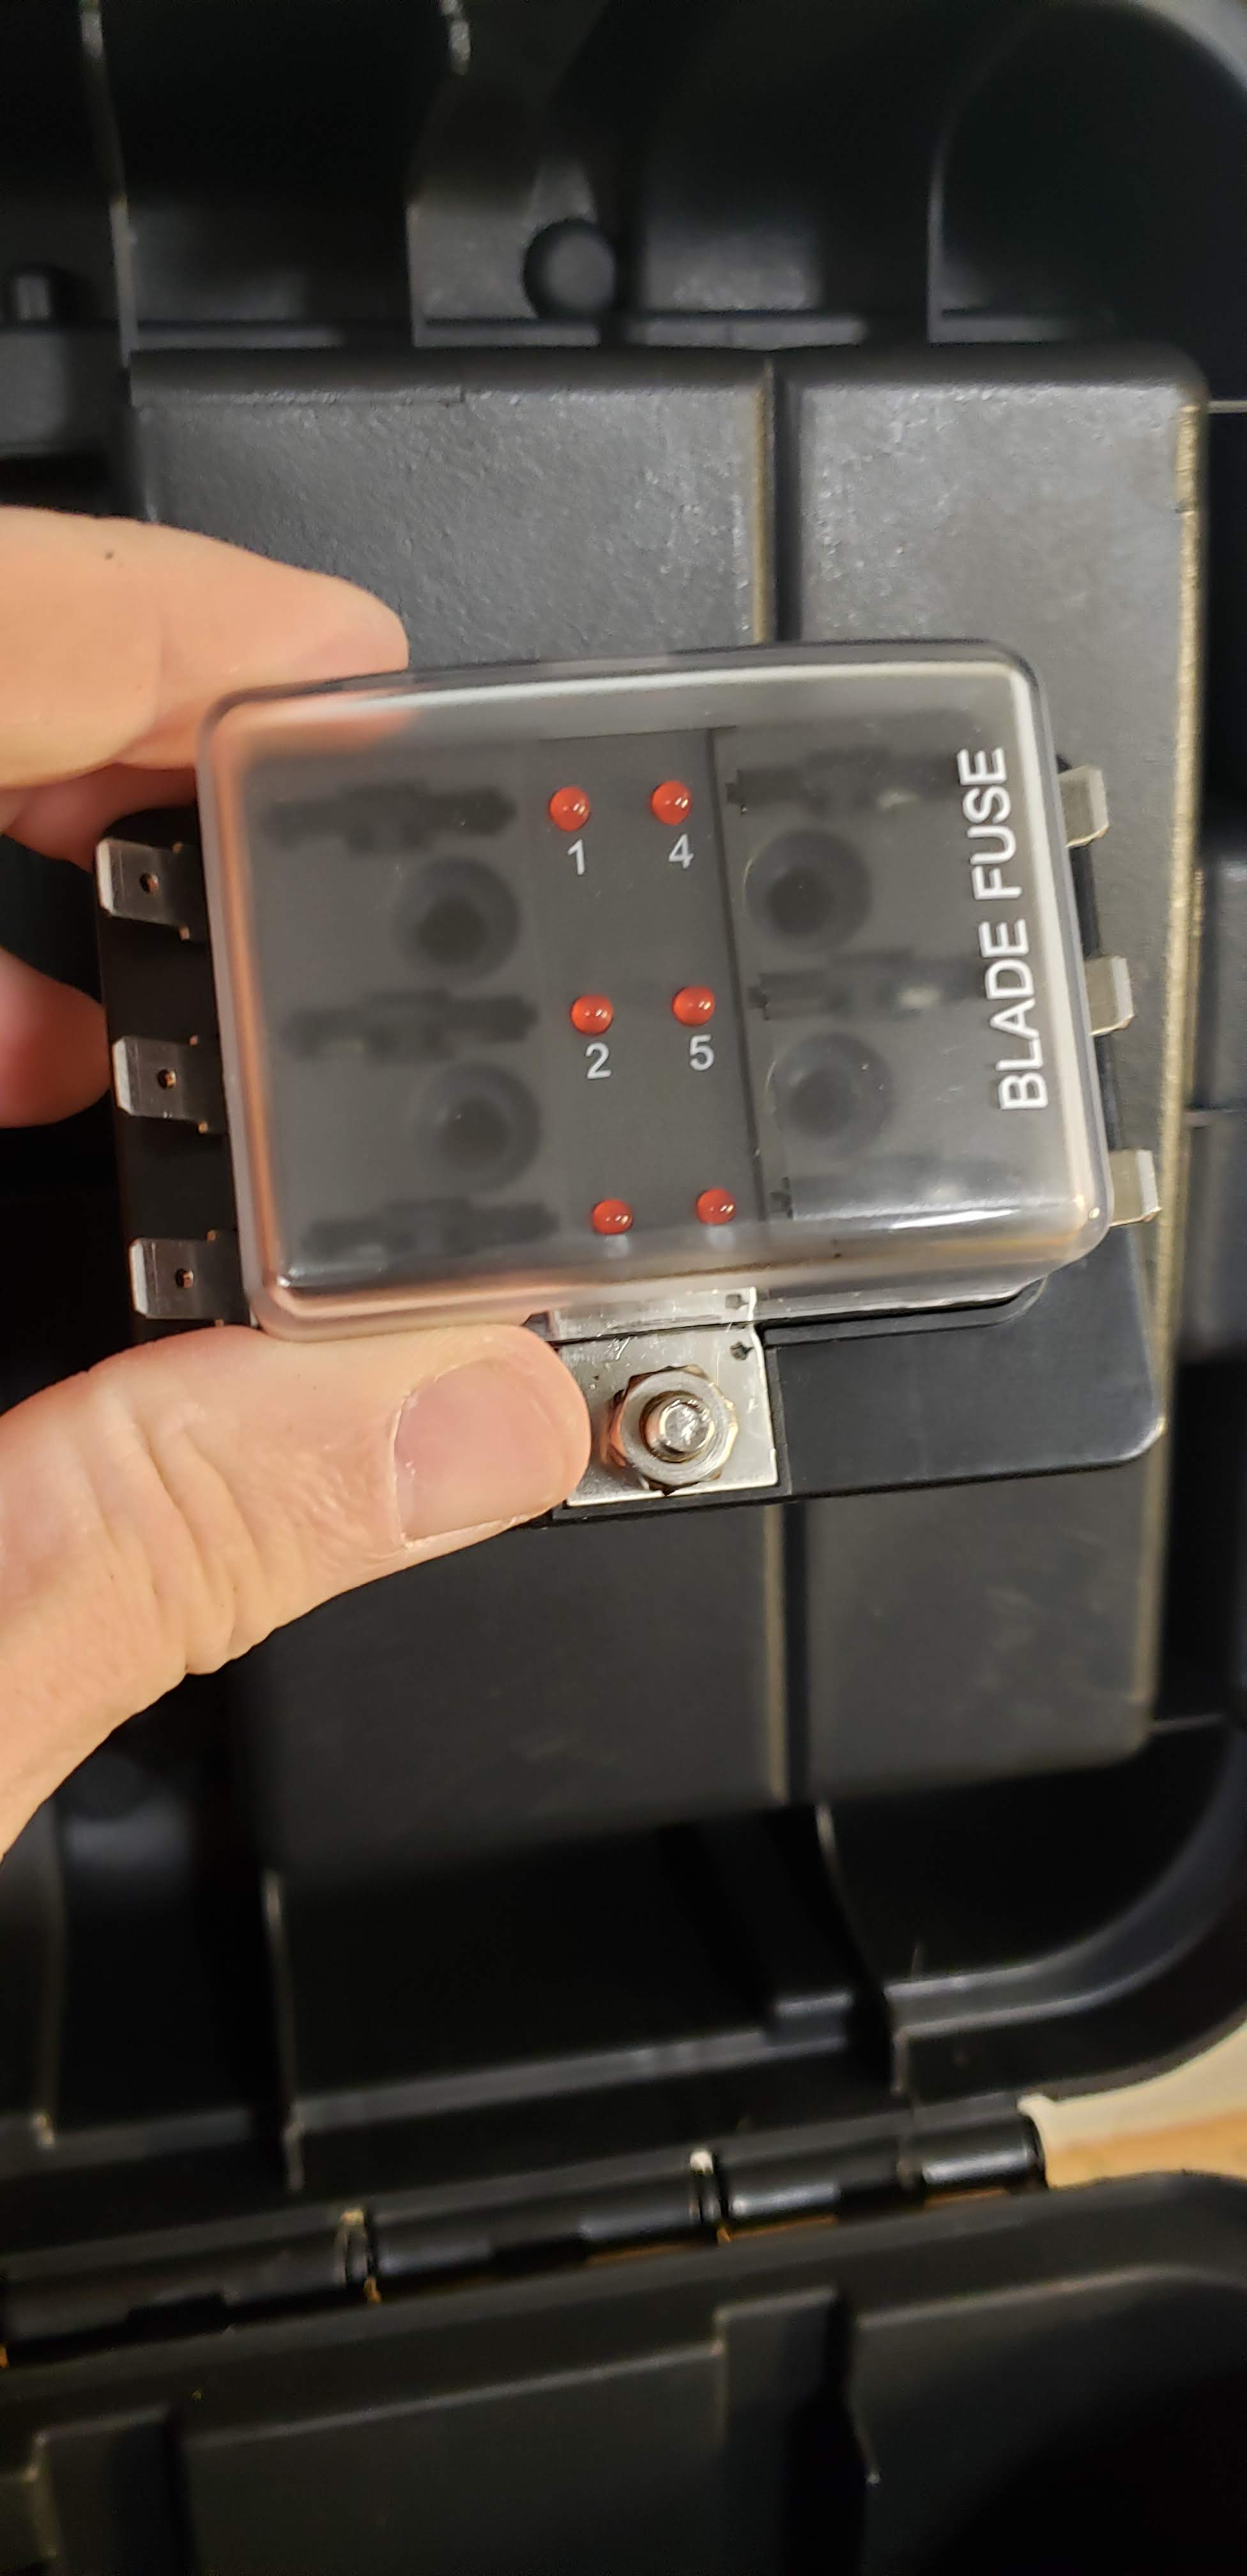
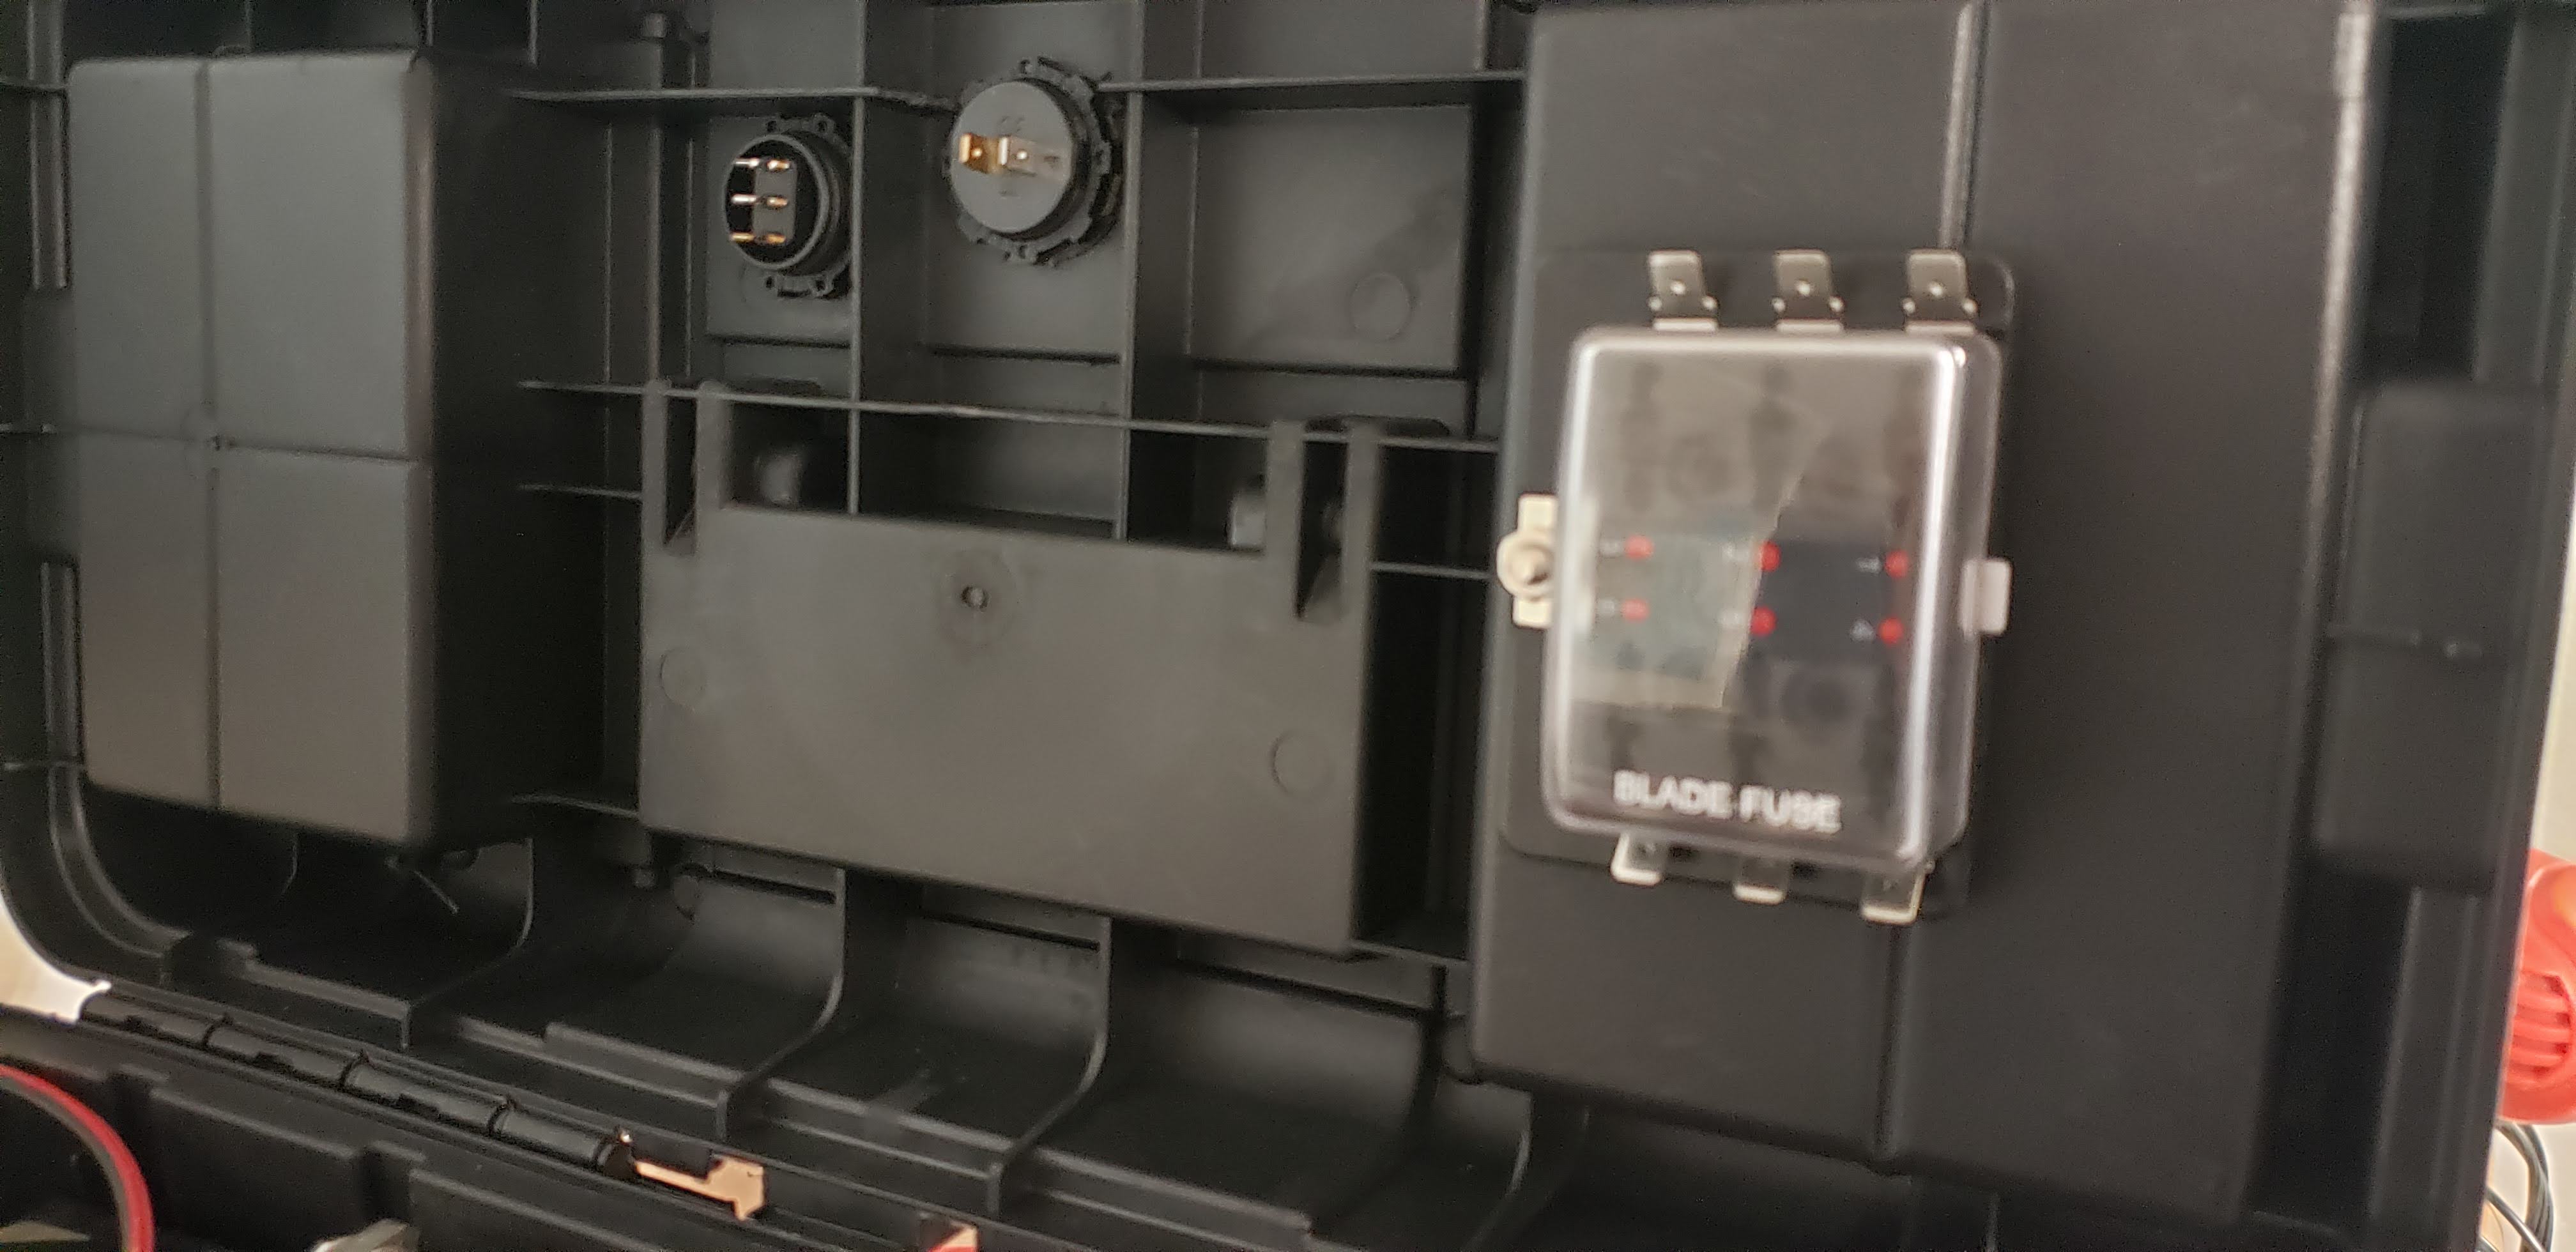
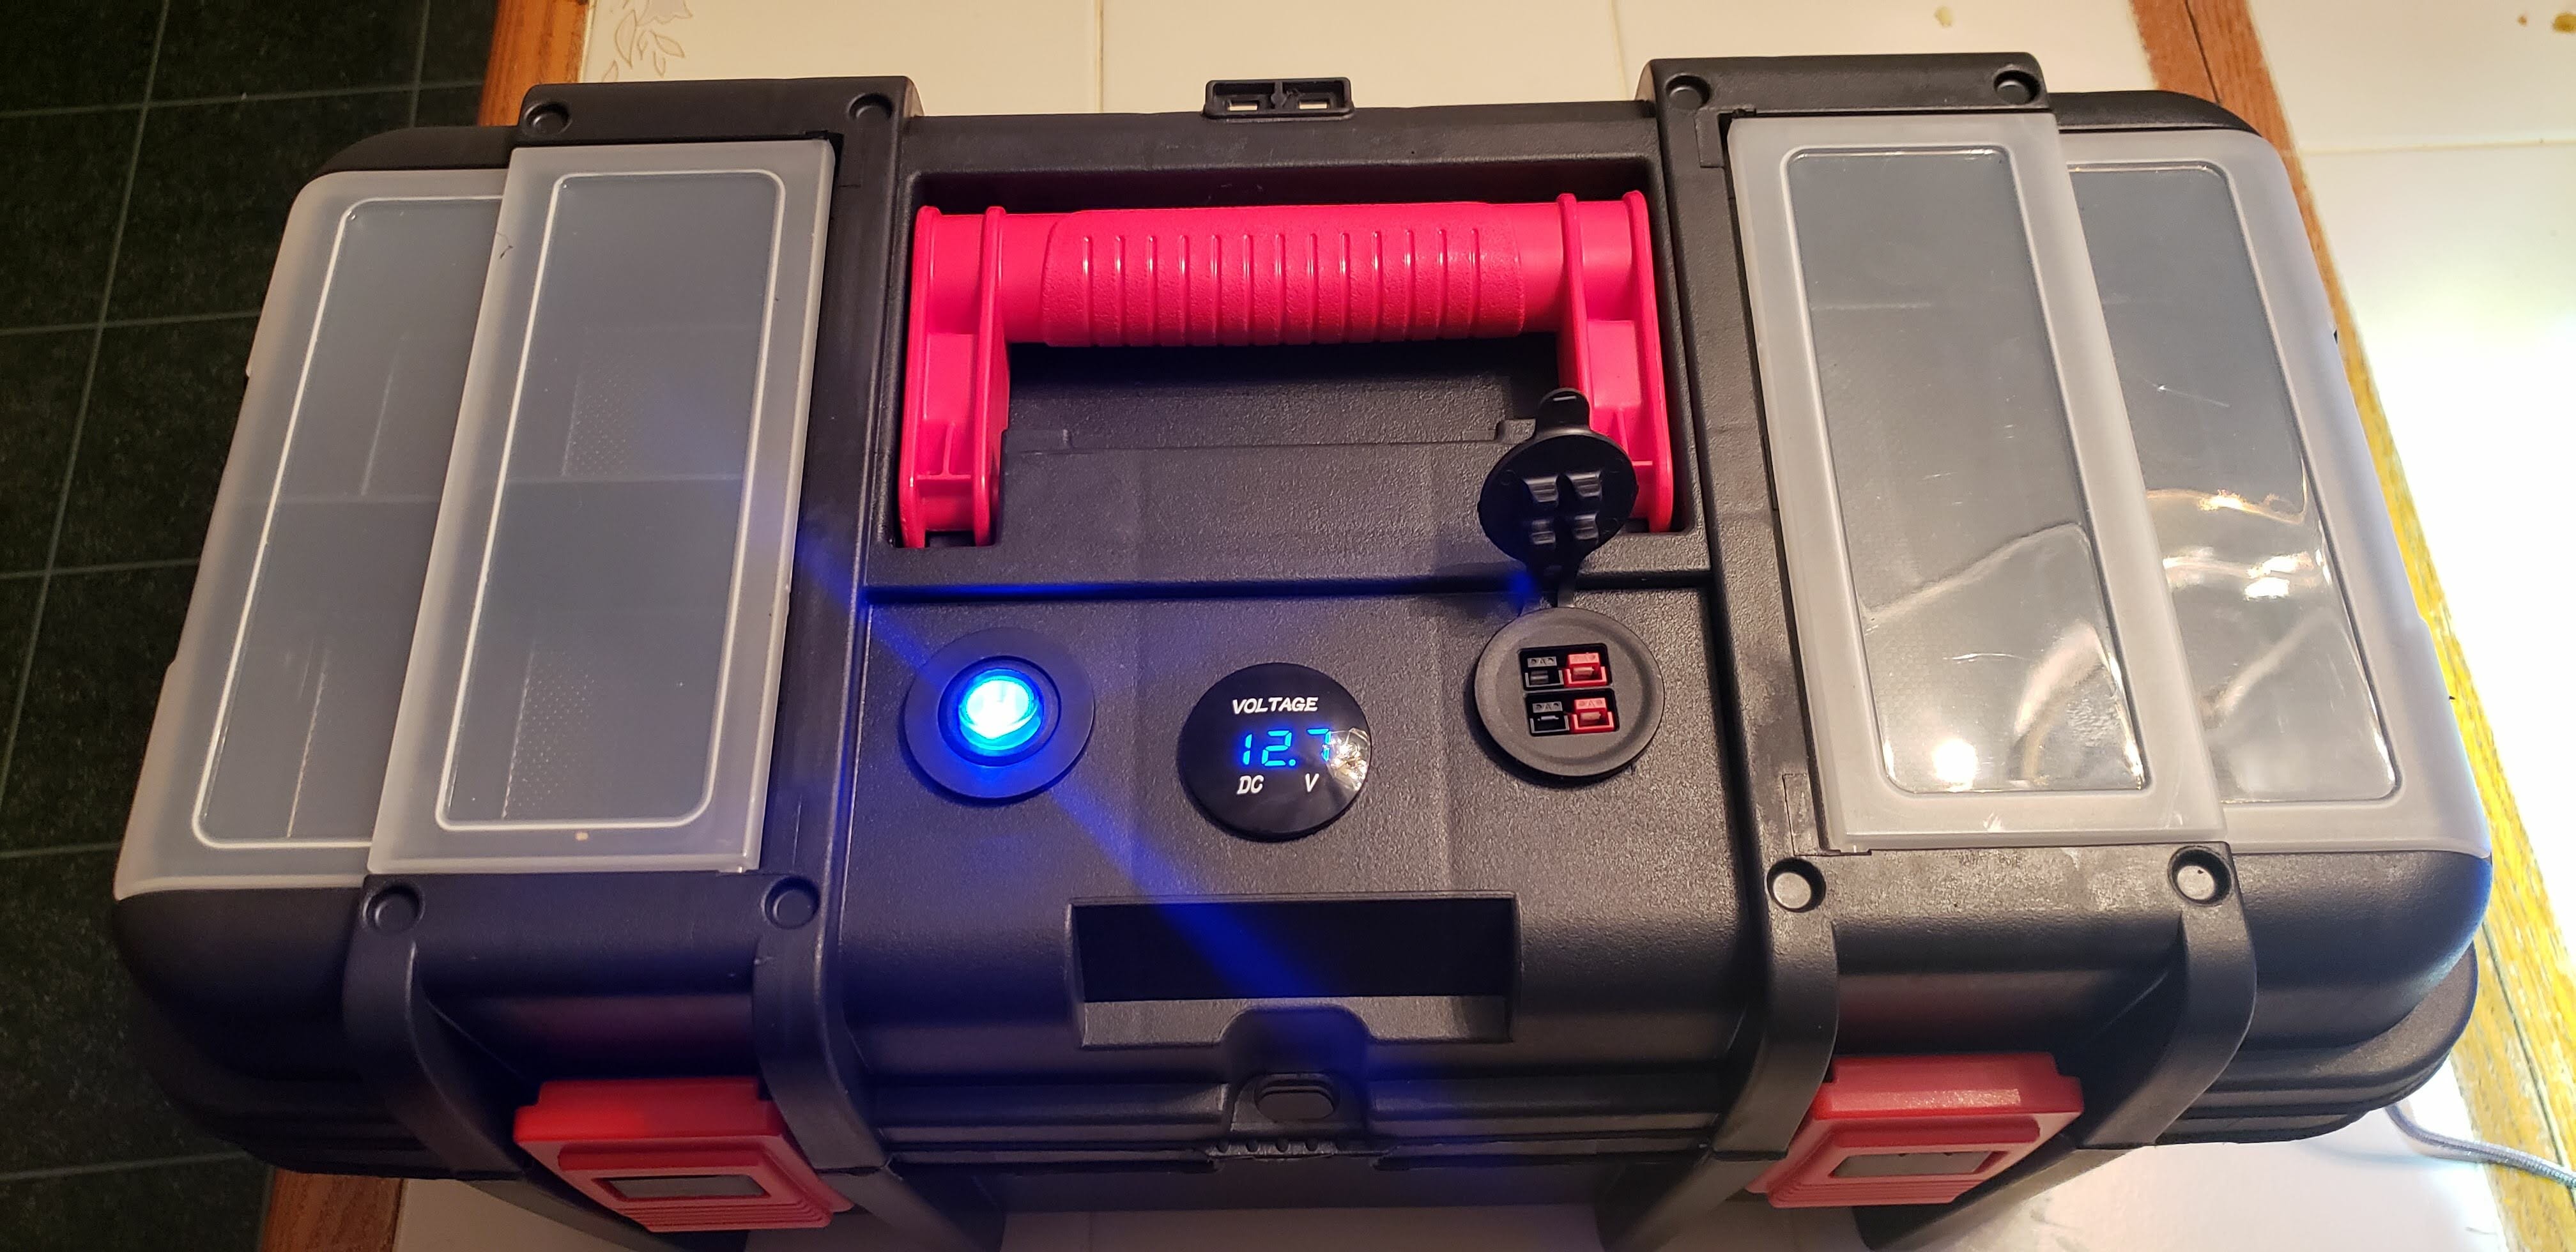
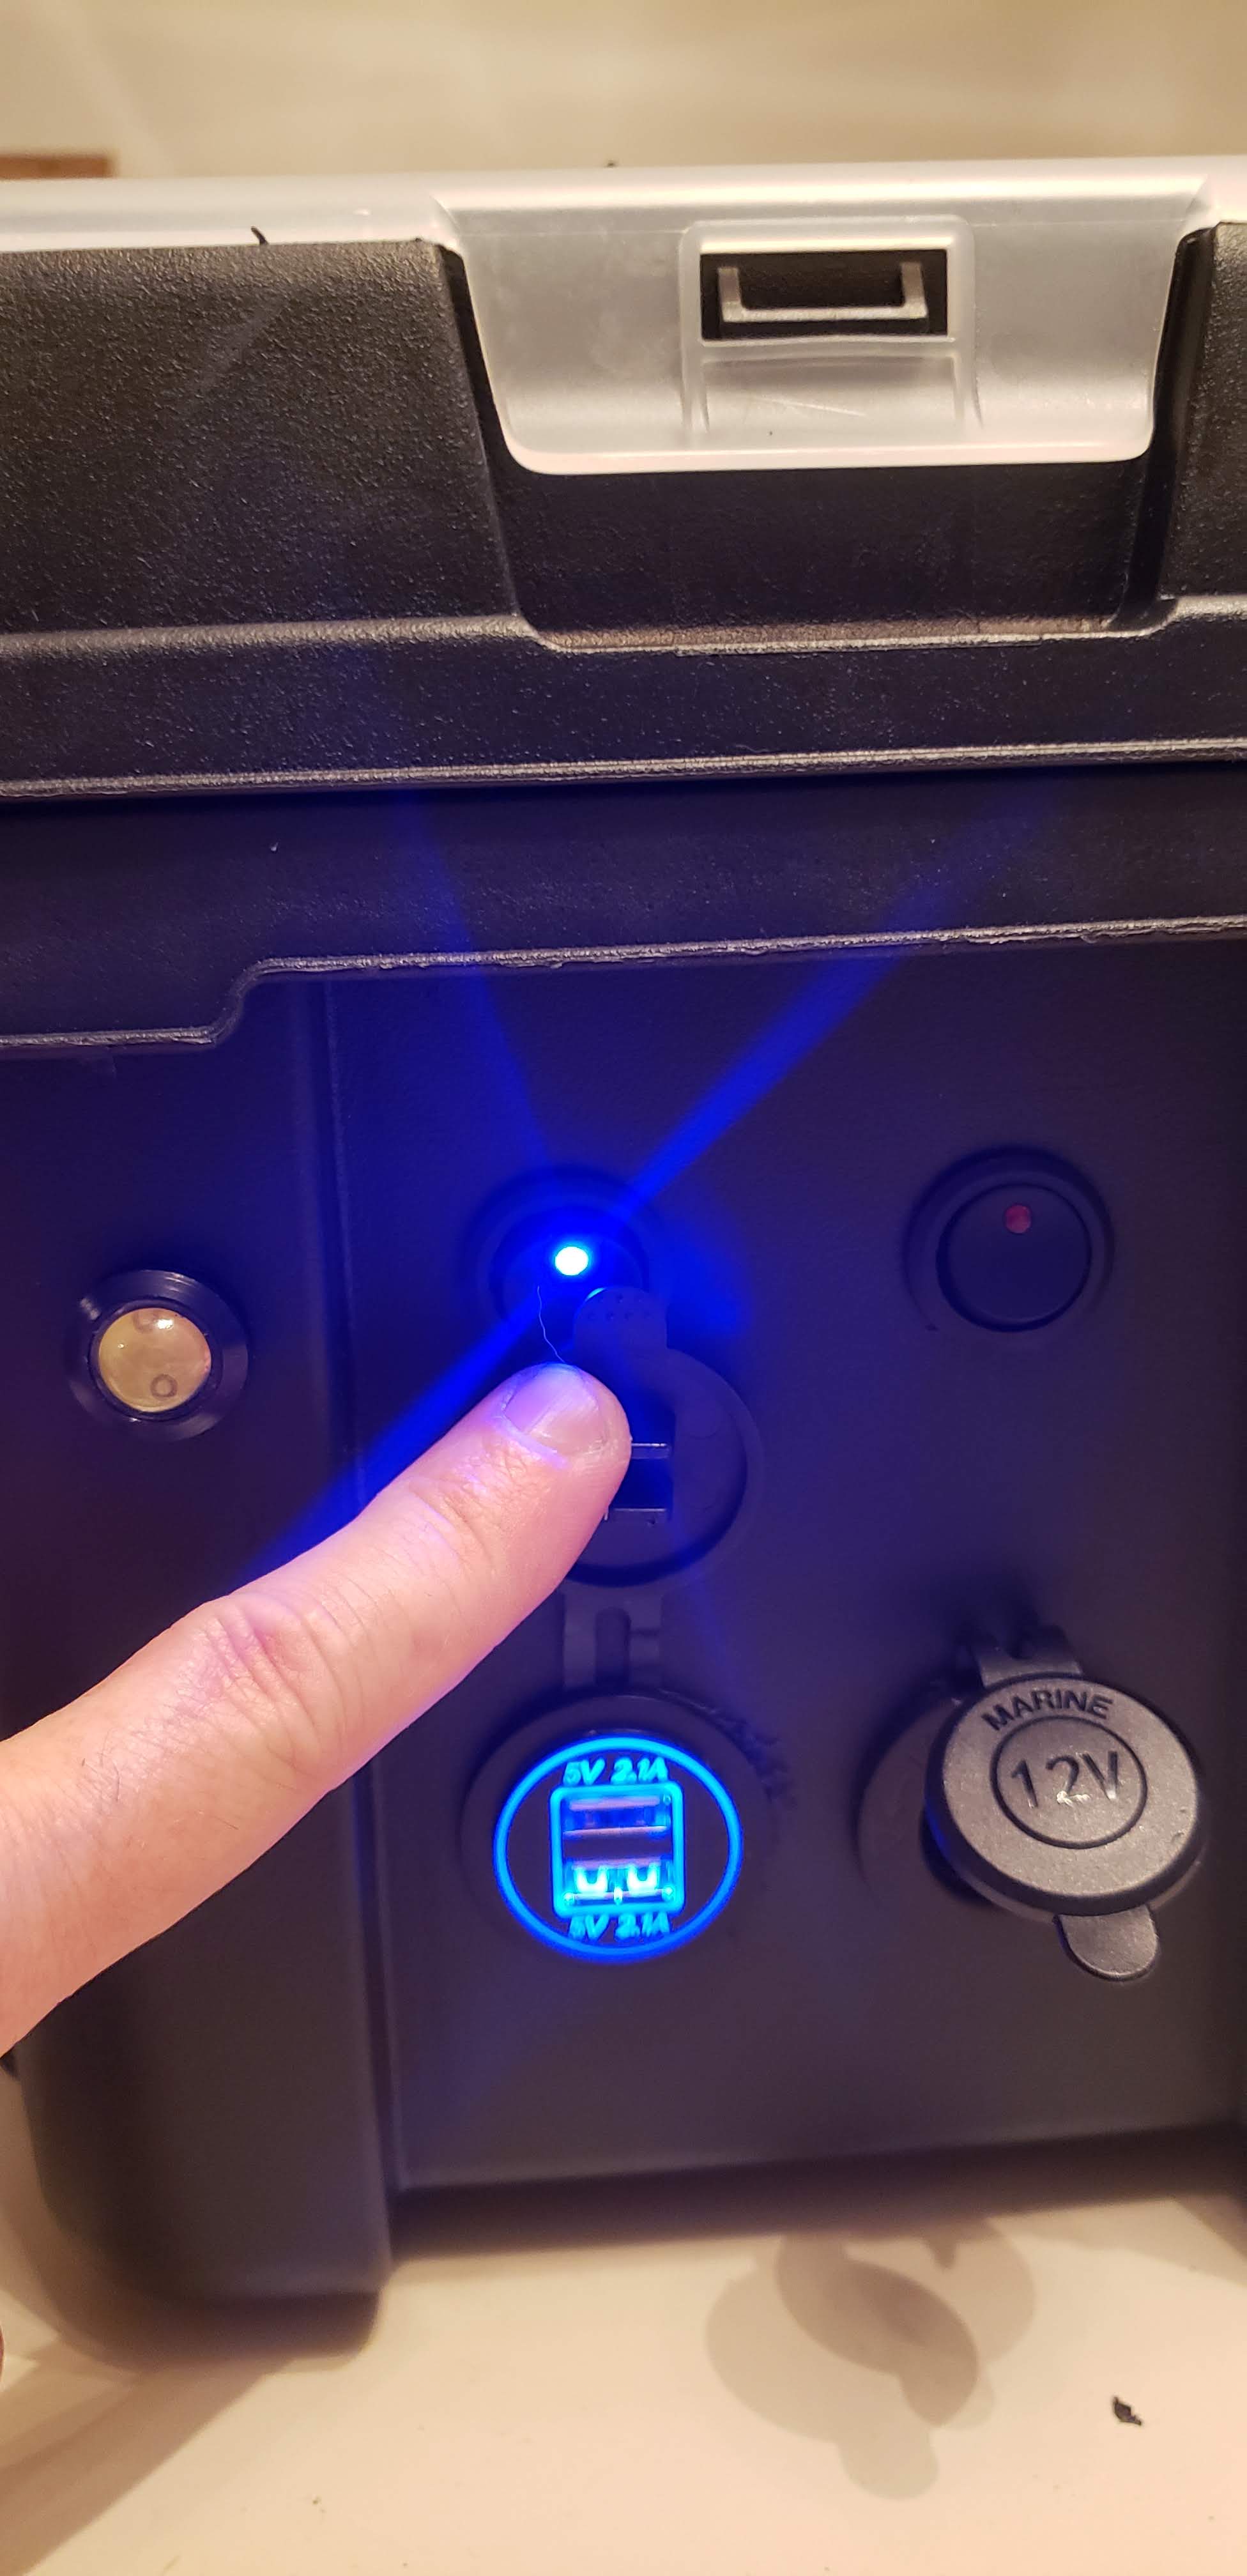
The components I have on the box are a volt meter in the center of the lid along with a master switch for power and a 2 port power pole outlet to plug in a radio. On the front side of the box I have two small switched LED lights, a port with two 2.1 amp USB chargers and a cigarette lighter adapter. All of the power runs through a fuse box. I used Velcro to attach the fuse box to the inside of the lid of the box.
Fuse BoxFuse Box Attached
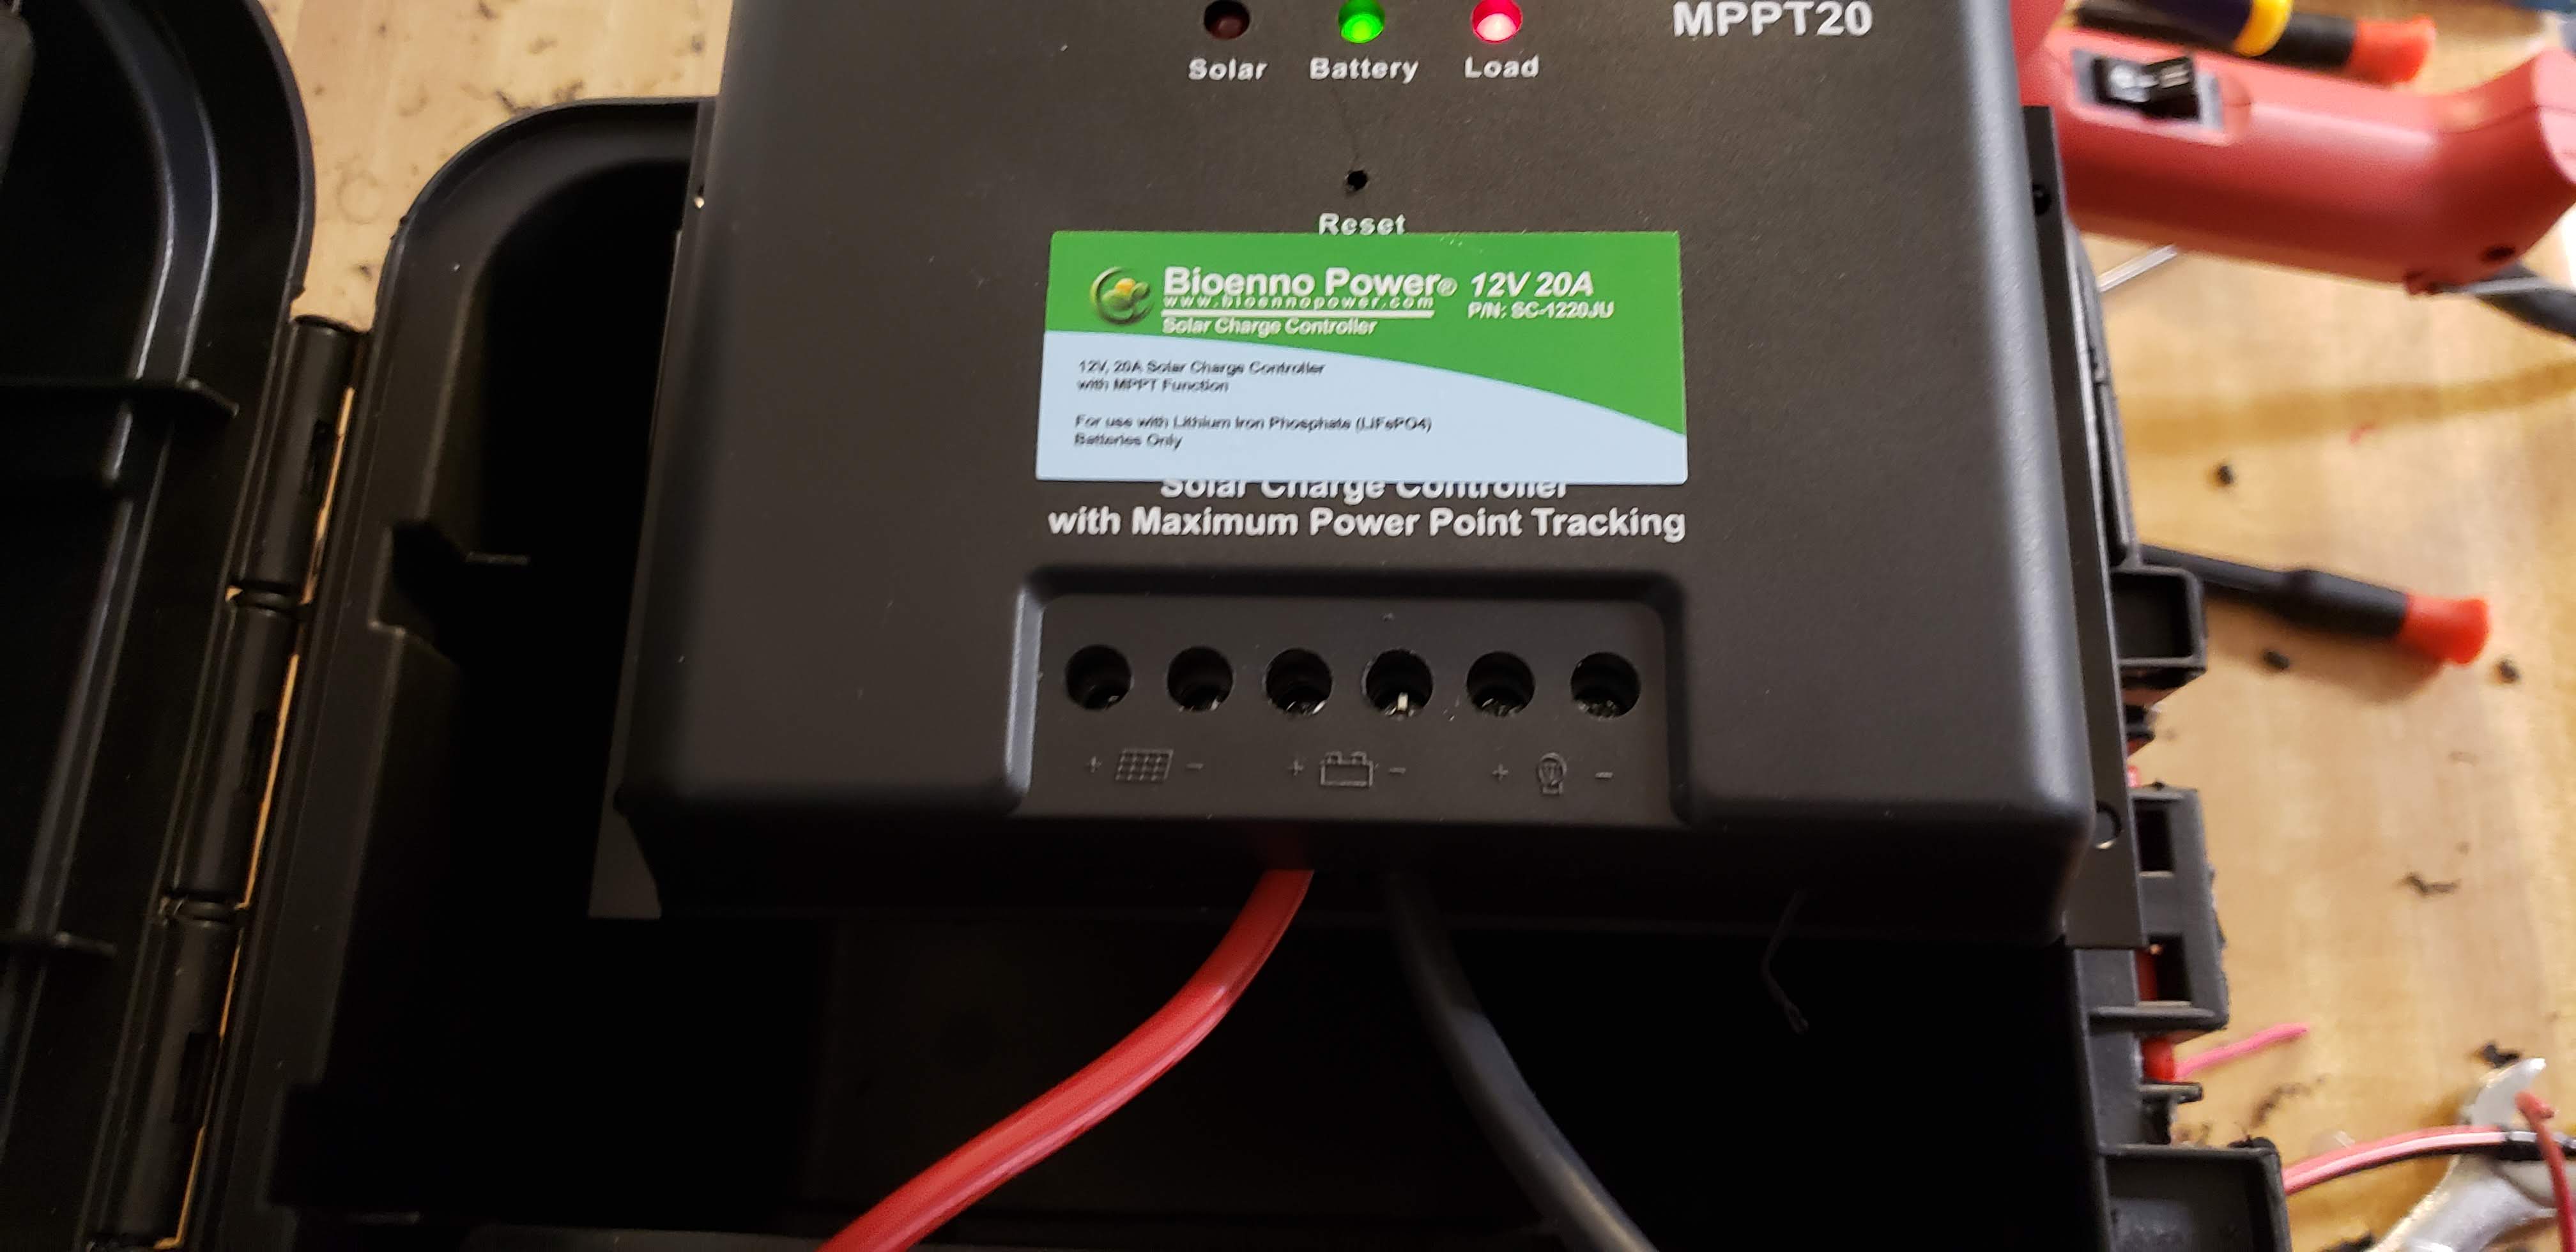
Once all the components were drilled and put in place I put the Bioenno Solar Charge Contoller in the box. I attached this with Velcro to the battery so that I can easily remove it when I want to go out for lighter portable activations.
Solar Charge Controller
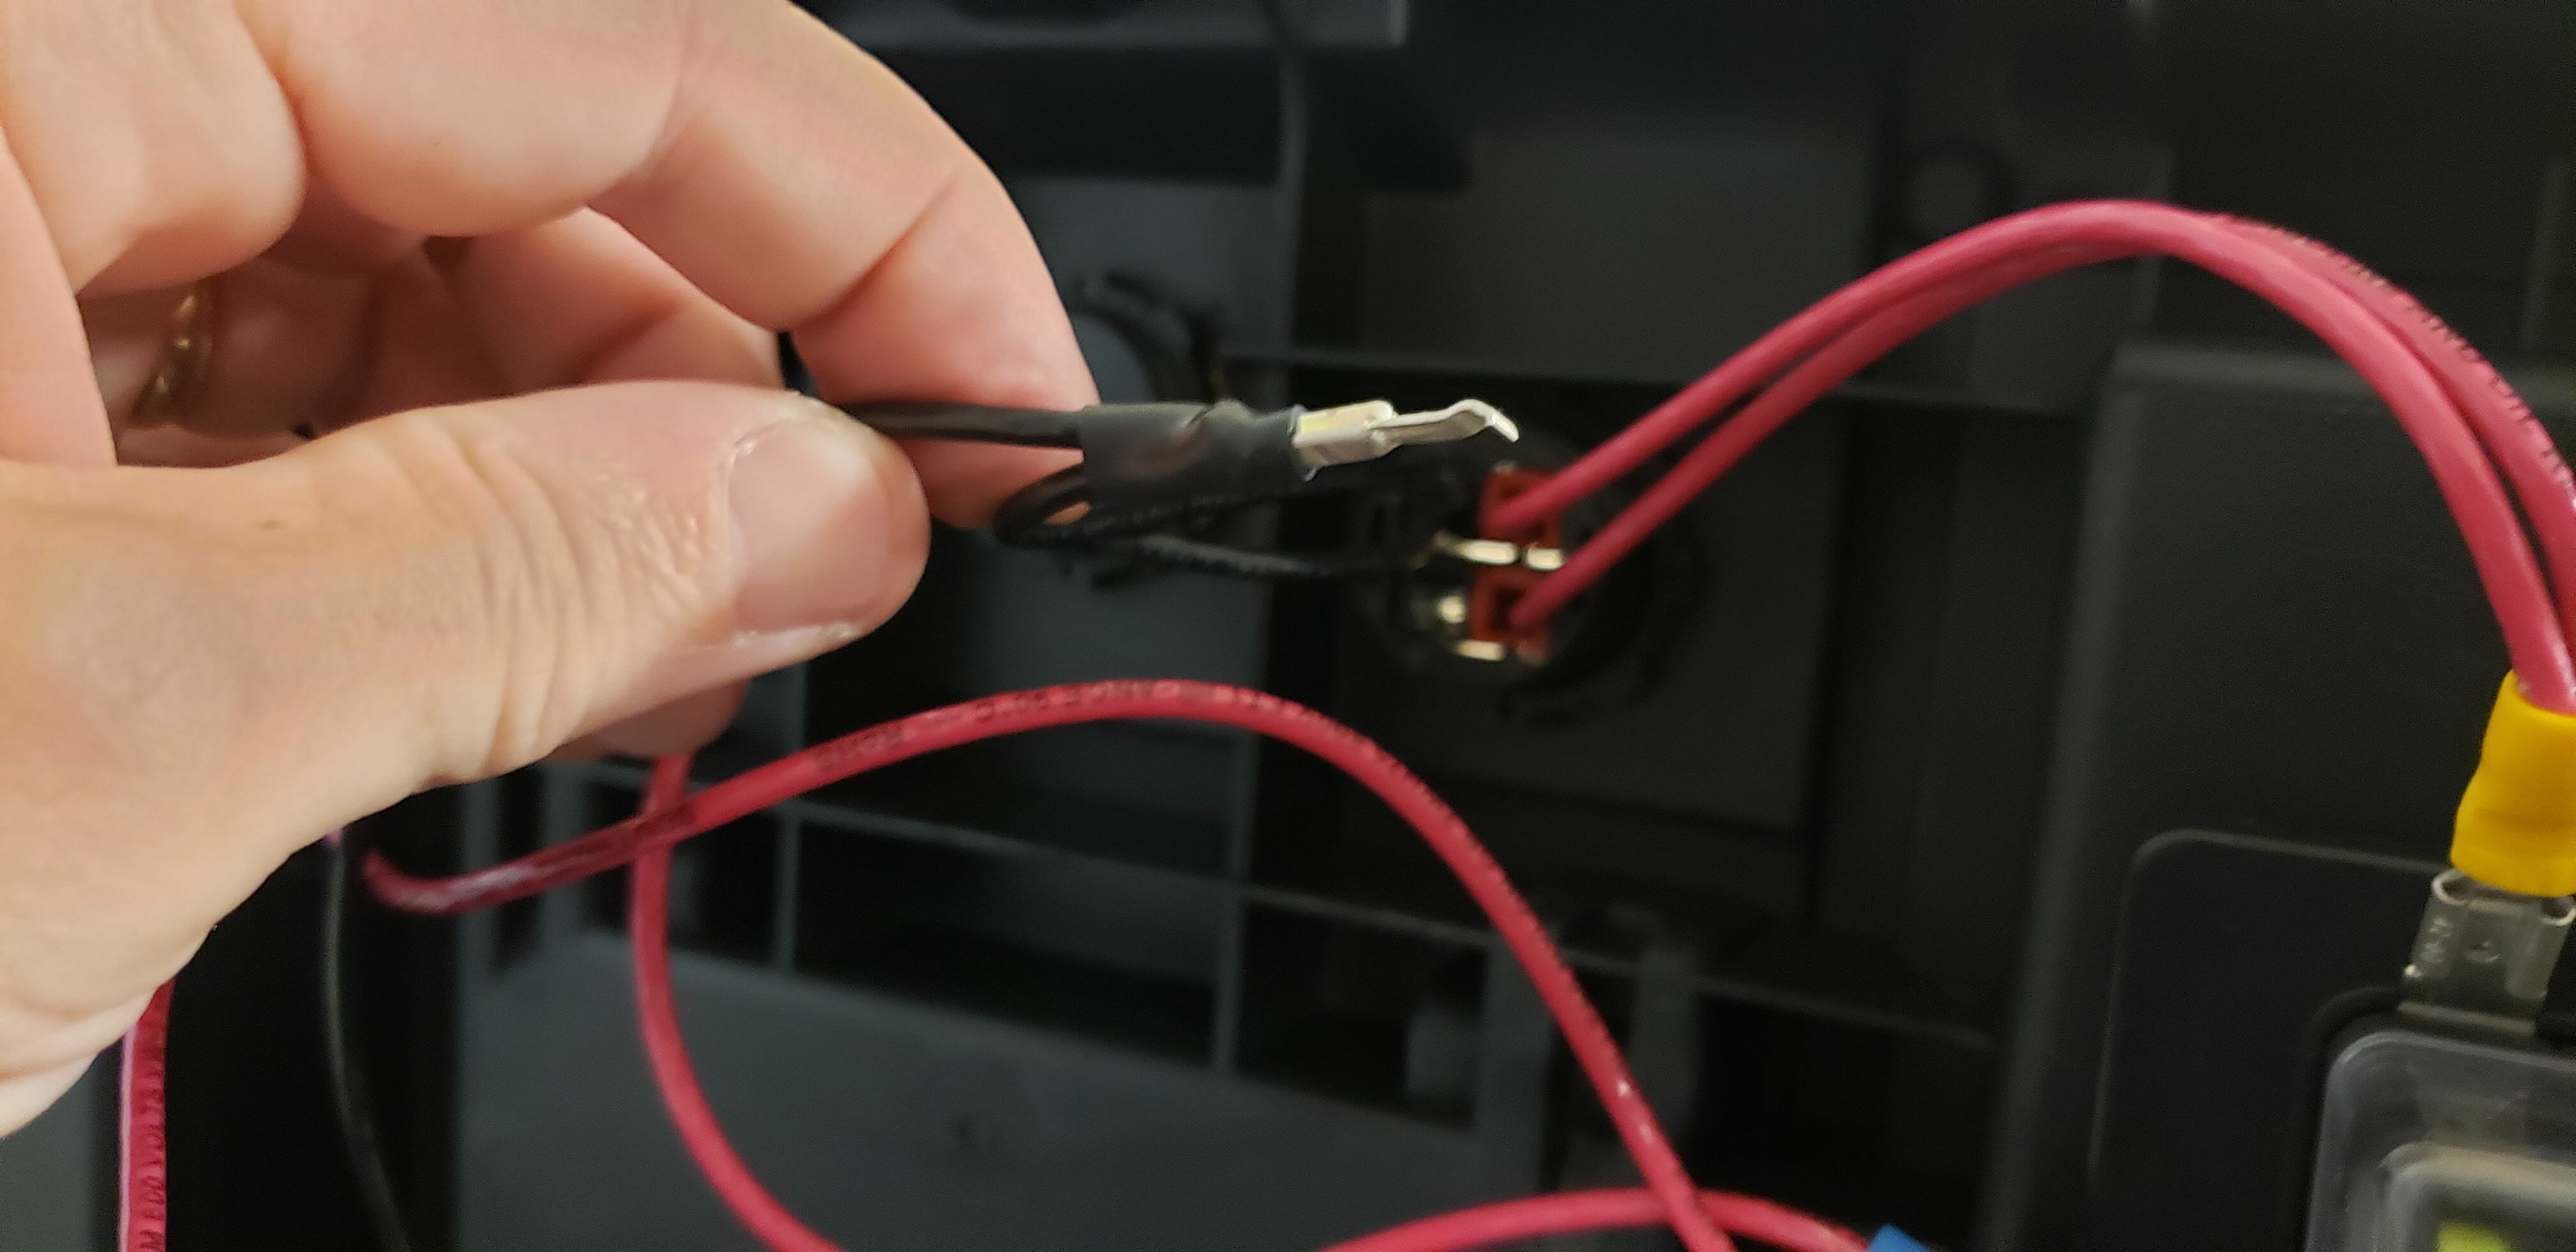
The hardest part was the wiring and it wasn’t really hard, just a little time consuming. I linked all the negatives together with spade connectors and wired all the positives to the fuse box. The power pole connection was probably the most difficult.
Power Pole Connection
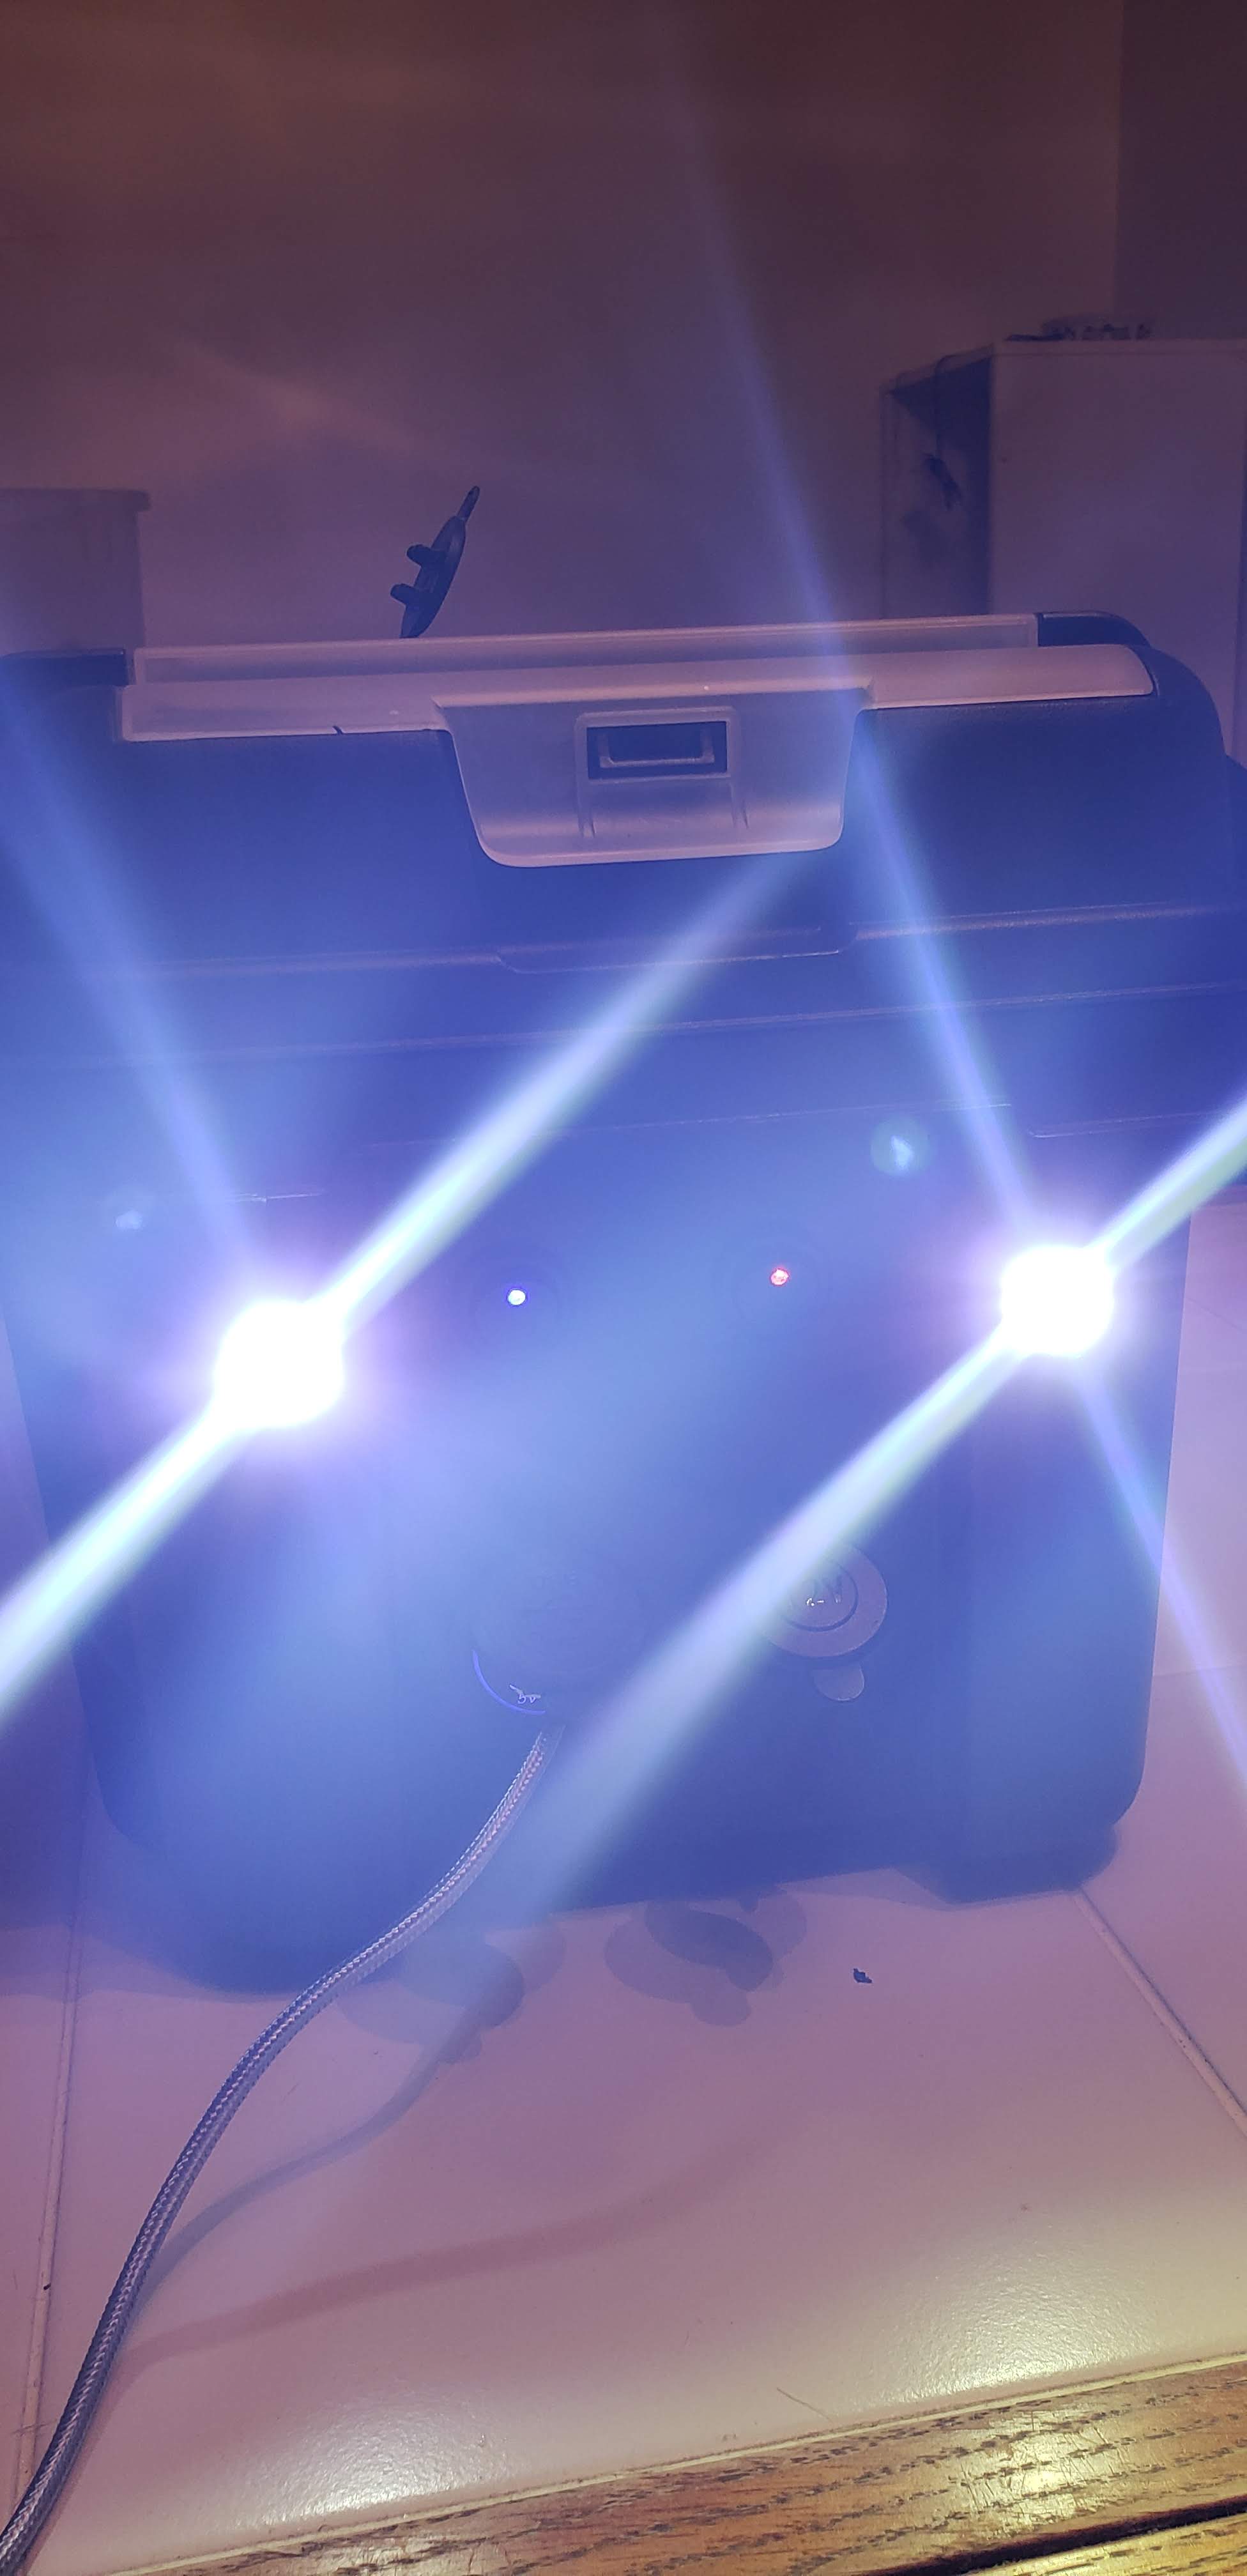
With the wiring complete I quickly tidied it up and tested out all the components and… it worked! I’m very happy with how it came out and can’t wait to get out and do POTA now! Something that’s not showing is the input for the solar charge panel. I’ve got a power pole connector that will attach the solar panel to the solar charge controller. I’d like to get another connector to run through the box. As it is now I have to open the lid to charge the battery. I’m also thinking about adding a strip of LEDs around the edge of the lid for some additional light at night.
Battery Box Completed
Let me know what you think. Any suggestions as to how to make this better are also welcomed!
Front of Batter Box with switched powerBattery Box with LEDs