Category Archives: Homebrewing

Articles and other information related to Homebrewing, station building, kit building, and other custom Ham Radio projects.

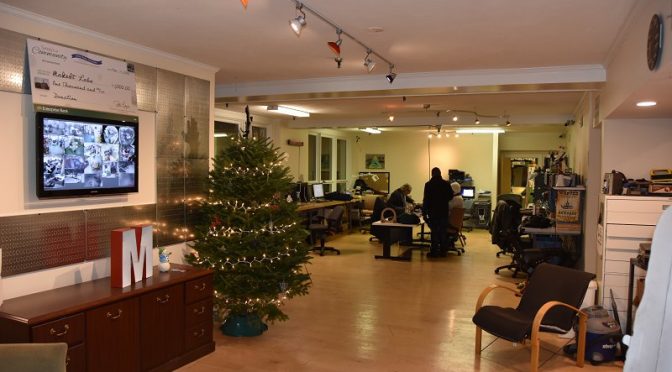
Amateur Radio at MakeIt Labs

On Saturday, January 28th the Nashua Area Radio Club (Nashua ARC) will be hosting a special event for Interested kids, parents, and friends in the community about the joy of amateur radio at MakeIt Labs in Nashua from 9:00 am – 3:00 pm. You may drop in at any time and stay as long as you like to participate! Among our activities, you can:

Get-On-The-Air Station (GOTA)
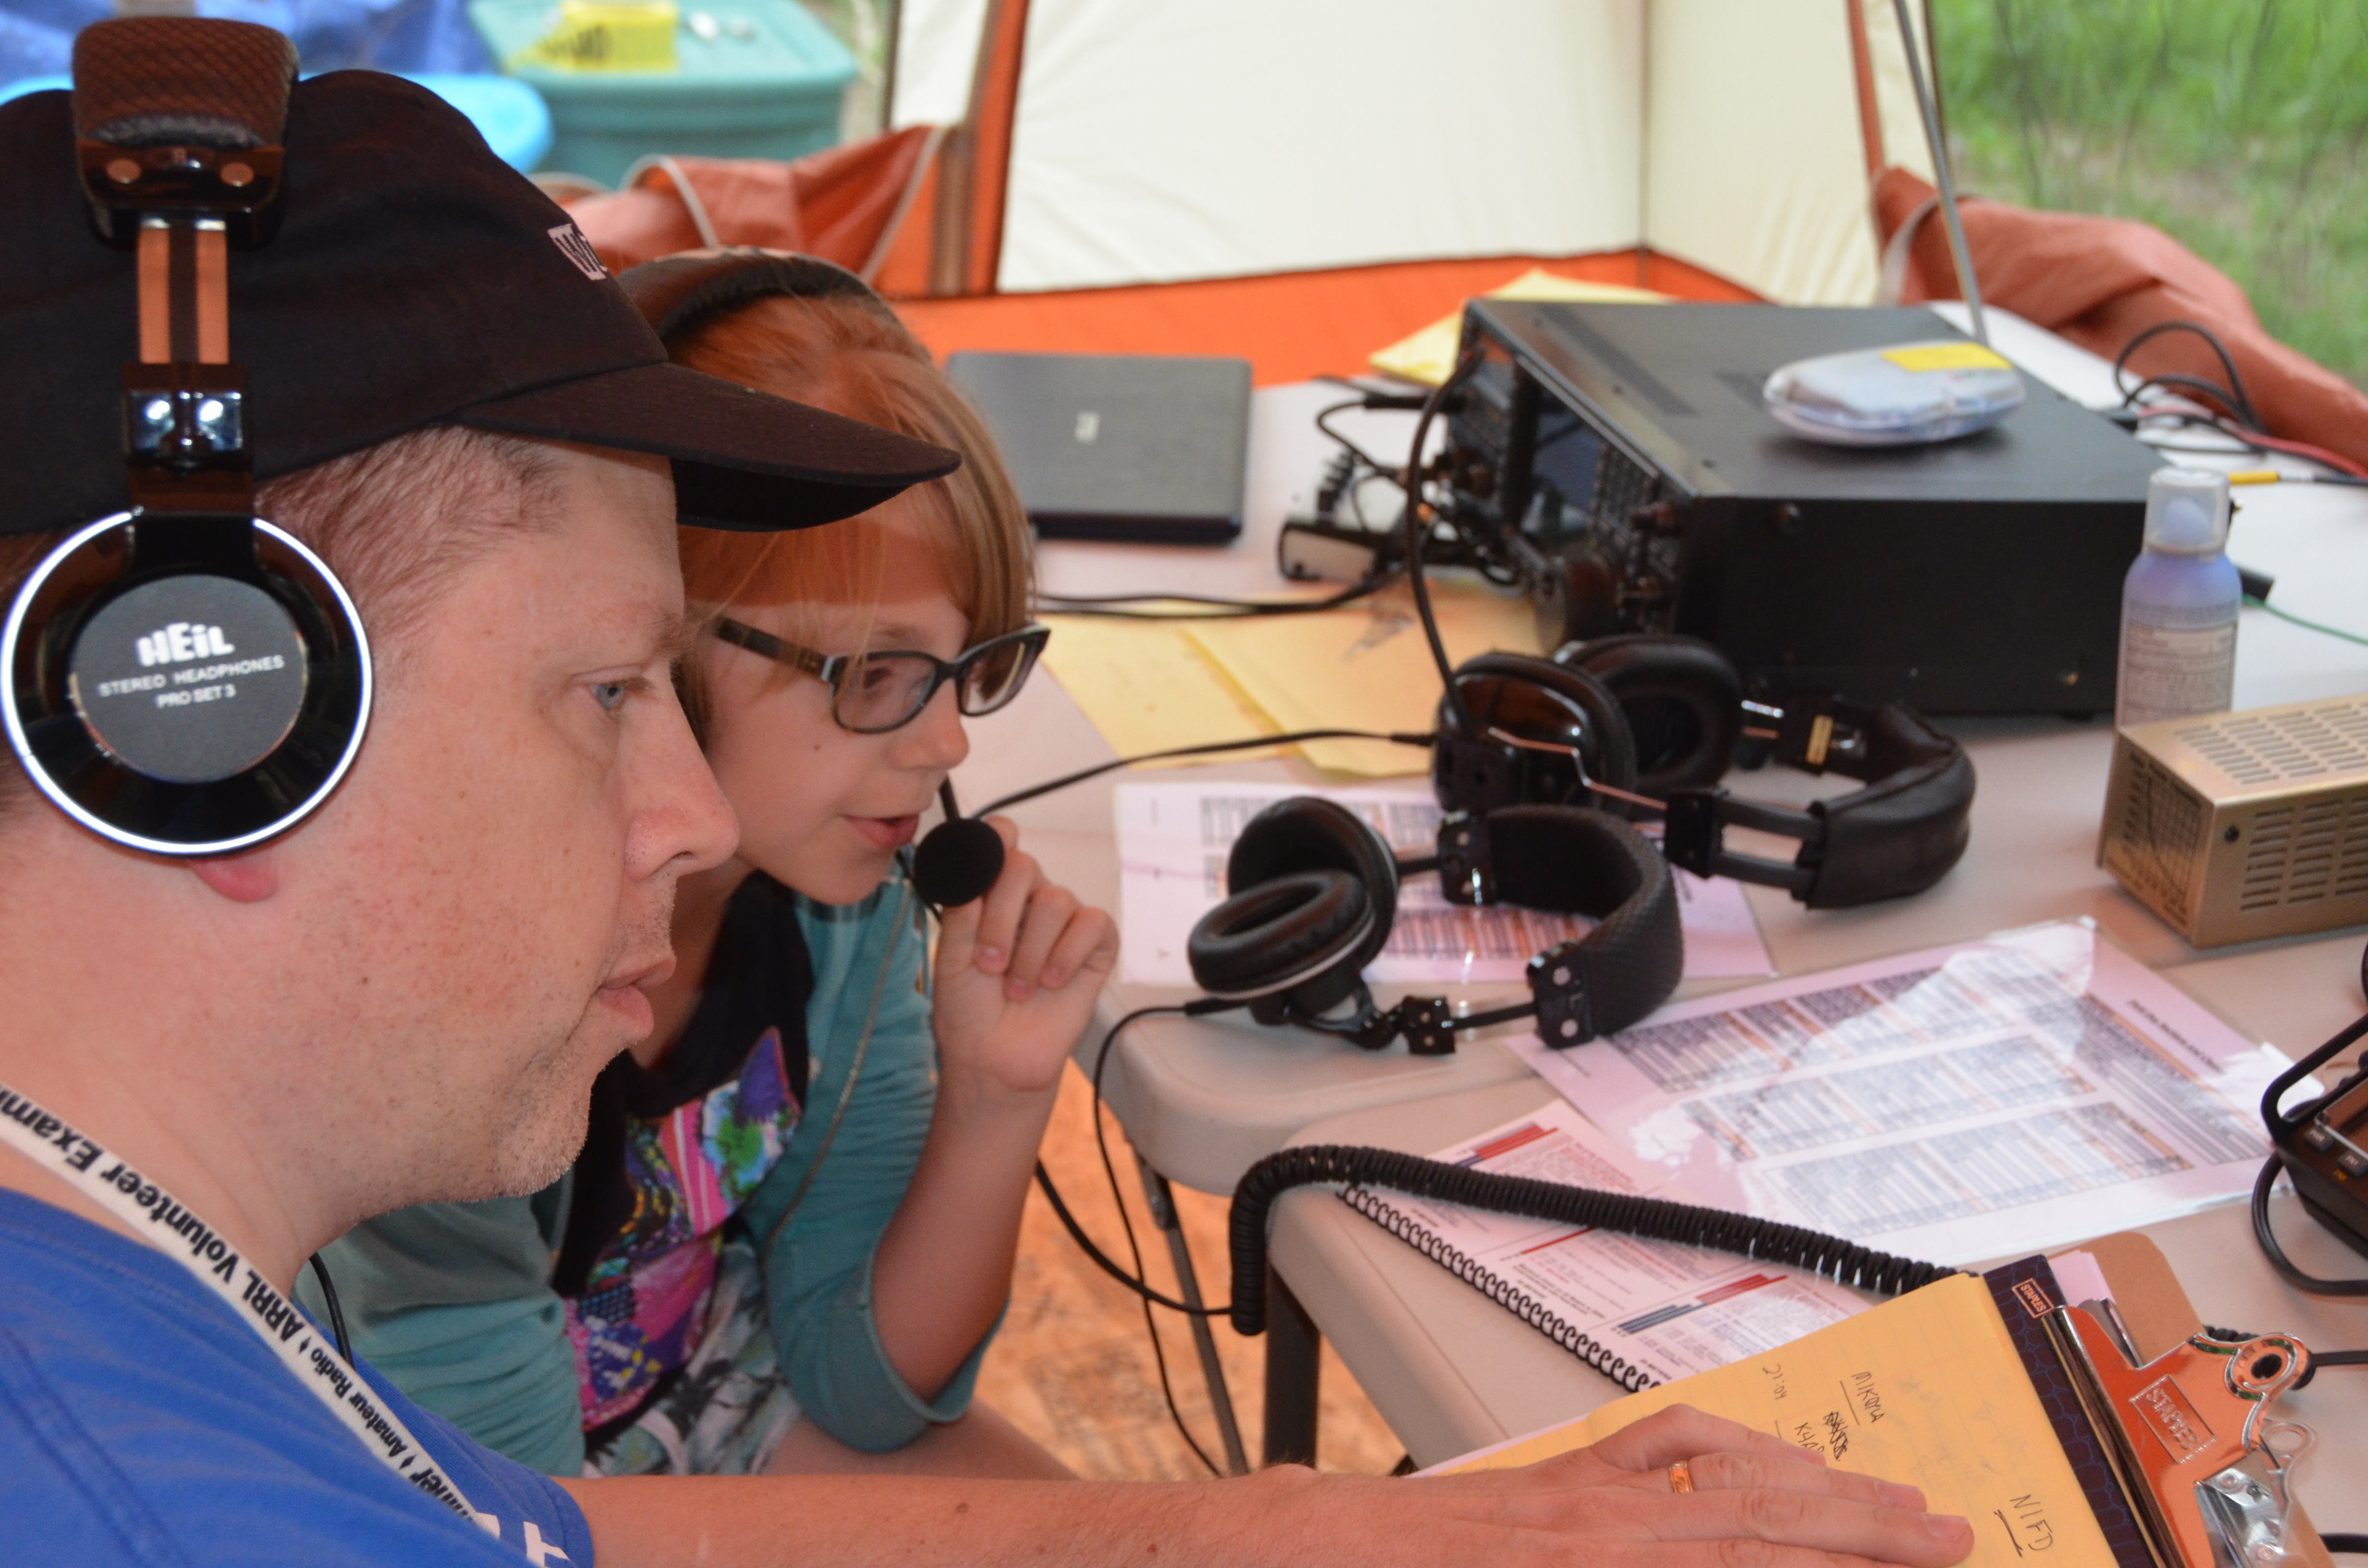
Ham Radio GOTA StationThis is amateur radio at its best and what it’s known for! We invite you to get on the air and make a contact (we call them QSO’s — pronounced: cue-so) somewhere in the world! You might be able to make a new friend in Germany or even Japan! Making contacts sits at the heart of amateur radio and is an activity that brings people together. So don’t be shy, step up, and hit the push-to-talk button!

Satellite Station Display

AMSAT LogoThe Radio Amateur Satellite Corporation (AMSAT) began in 1969 to foster amateur radio participation in space research and communication. Currently, AMSAT groups help advance the state of the art in space science, space education, and space technology. Come learn about what components go into constructing a station capable of contacting a satellite and what antennas, and smart phone apps, operators use to keep a pulse on the satellite location.

Digital Amateur Television (DATV)

DATV Transceiver RackNot only are amateur radio operators granted privileges to transmit speech, but we also can send fast-scan data such as TV signals! Many operators have experimented with how to homebrew their own fast-scan TV stations, and our club president Fred (AB1OC) and our member Skip (K1NKR) have chosen to use construct a station which uses a Raspberry Pi (RPi) with an Arduino shield to sit at the heart of the transceiver. The RPi is the brains of the TV which runs Linux and among other things is responsible for sequencing, transmit/receive control, automatic VSWR monitoring, and a touch-screen controlling interface to configure and operate the system. Learn about what it takes to build and operate one of these stations. We may even be able to make a contact! More information can be found at https://stationproject.wordpress.com/category/amateur-television/.

Kit Building with Nashua ARC
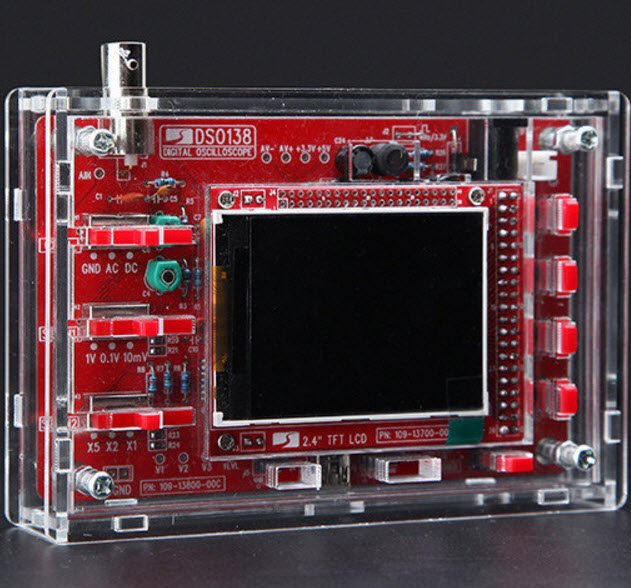
Oscilloscope KitThe Nashua ARC holds kit-building nights were both inexperienced and experienced members homebrew in a relaxed, learning environment. In the past, we have built Pixie QRP (low-wattage) kits transmitting Morse Code on the 40m amateur band. But, on February 18 from 1 – 5 pm, First Church in Nashua, Nauss Hall, we will build the digital oscilloscope kit DSO138 (shown to left). This kit comes with a clear acrylic case to protect it, build instructions, and among its specs has a 1 Msps sampling rate, 12-bit accuracy, 200 kHz bandwidth (good for audio signals), capable of freezing the waveform display, and comes with a 1Hz / 3.3V test source. We invite you to join us and will bring some kits with us. More info can be found on our website at https://www.n1fd.org/2016/03/27/inexpensive-diy-digital-oscilloscope-kit/.

We hope you will join us for our event! Please bring friends, family, but most importantly we want you to have fun and enjoy this hobby with us!!

Contact Information

Brian Smigielski (AB1ZO): [email protected]
Jamey Finchum (KC1ENX): [email protected]
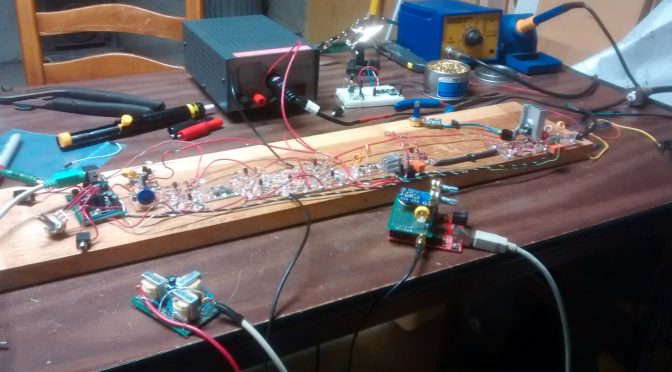
First Homebrew Contact on my Scratch Built BitX20 SSB Transceiver

About a year ago I decided to build an SSB transceiver for making contacts with other amateur radio operators on the HF bands.  I was given good advice from both Bill and Pete from the SolderSmoke Podcast to start out with a direct conversion receiver then go with the BitX20 as a first SSB rig.  I am very happy that they gave me that advice and I would agree that the BitX is not a good first project.

After getting all the proper adjustments made and confirming proper operation with a dummy load it was time to put this rig on the air (I don’t need a case)!   I tried calling CQ using SSB voice but no one came back.  I then decided to add some relays and other modifications to allow digital modes.

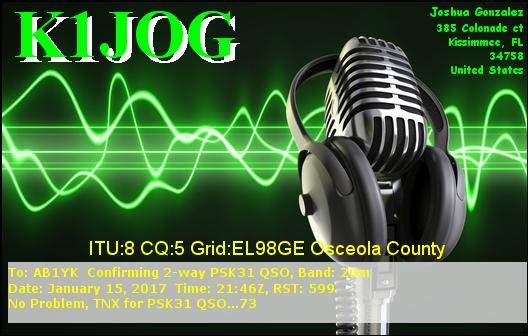
On January 15, 2017, at 21:46z I answered a psk31 CQ from Josh K1JOG in Kissimmee, FL.  Little did he know that he would be making history (maybe just for me) in my first home brew QSO.  Below is his eQSL card to me.

BitX20 First Contact QSL
Thank you, Josh K1JOG for the contact!

If you are interested in scratch building this rig you can follow the photo link  below:

BitX20 Homebrewed Transceiver
BitX by Ashhar Farhan, VU2ESE

Ashhar Farhan also sells a BitX40 at http://www.hfsigs.com/

The units he has built in India are almost ready to put on the air.  You build the case/box or just go open board style!  You can’t beat the $59 price for a rig!

Below are some photos of my project:

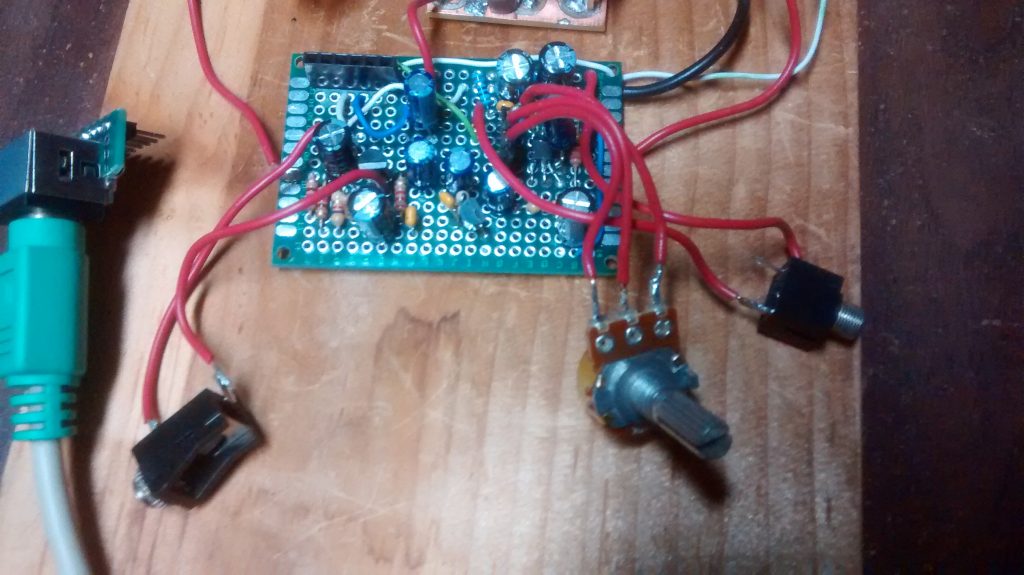
BitX20 Mic amp on the left LM386 audio amp on the right
Mic amp on the left LM386 audio amp on the right

A good place to start is the Audio “end”.  I built mine using perf prototype board.  FYI the 10k ohm resistor on the mic amp needs to be 39k ohm for proper bias.

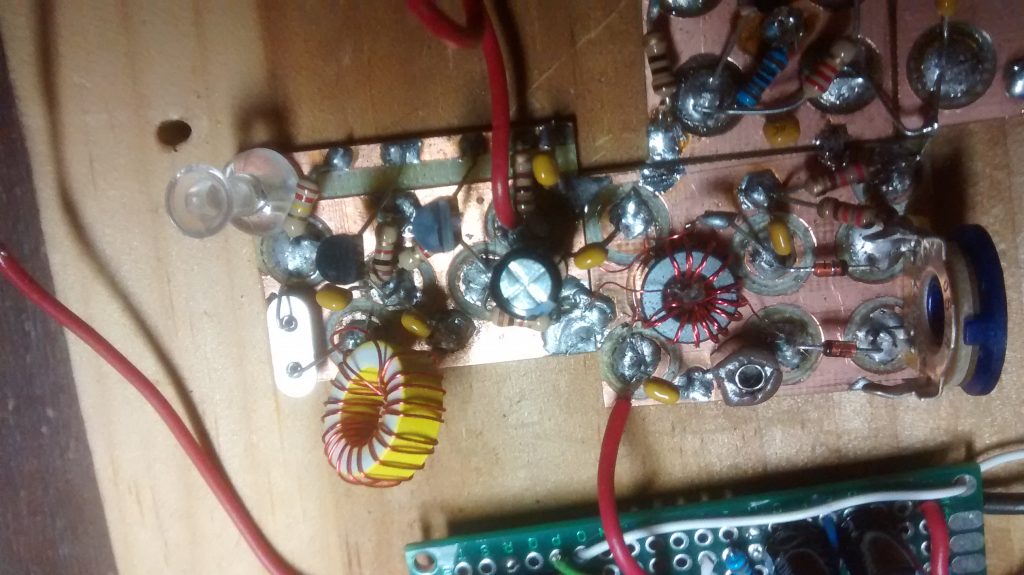
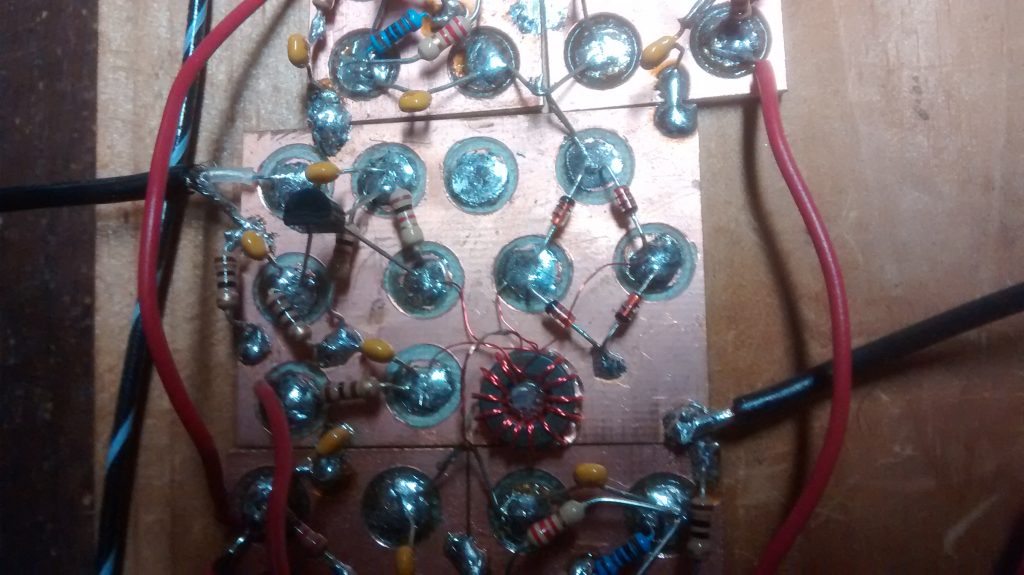
BitX20 Balanced Modulator
Balanced Modulator

On the balanced modulator, I used a mystery toroid core because I have a bunch of them and they did not cost much!

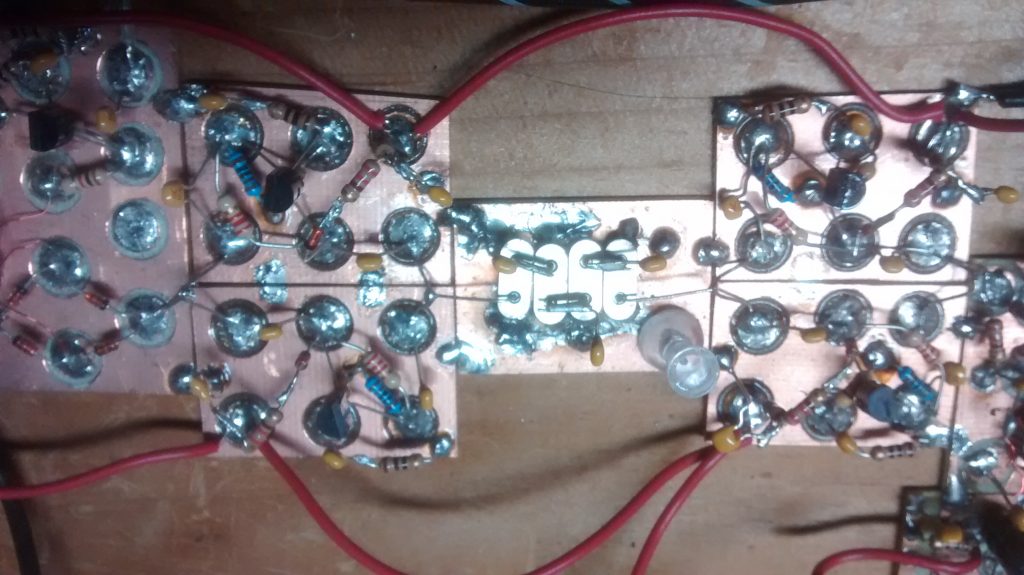
BitX 10 MHz crystal filter
10 MHz crystal filter

In this photo, you can see some transmit and receive amplifiers and the crystal filter.  I built some test equipment and used a frequency counter to make a matched set of crystals.

BitX20 Mixer circuit
Mixer circuit

The mixer circuit is shown here with some coax to the left that is from the VFO.

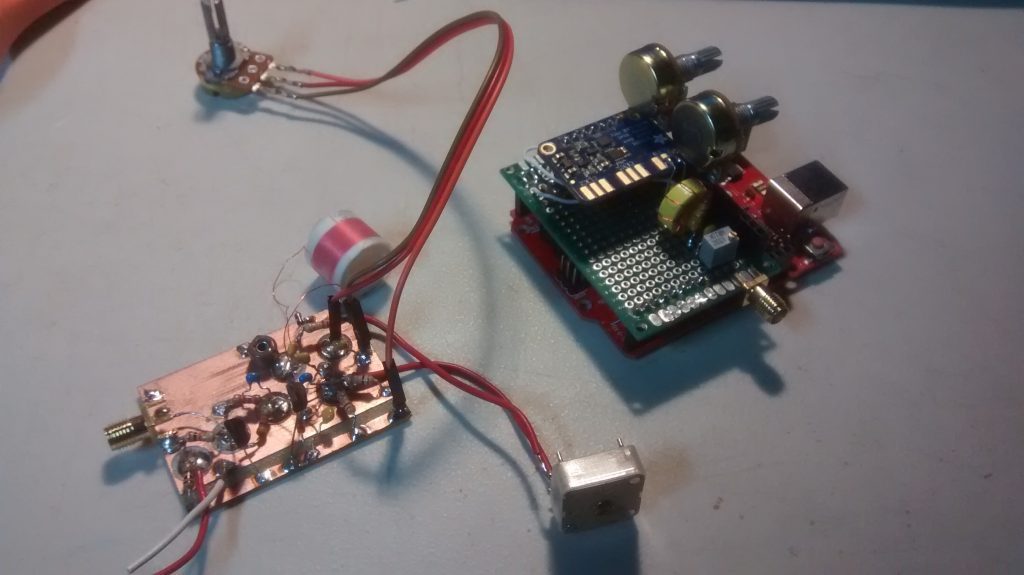
BitX20 VFO
Original VFO design on the left. Filtered SI5351 clock generator on the right

You can see the benefit of building small modules.  With SMA connectors, I can quickly swap out the VFO “soul” of this rig!  No more drift with the SI5351 chip! I ordered mine from Adafruit. I added a small LC filter to the output to make a nice sine wave.  I am not sure it is needed.

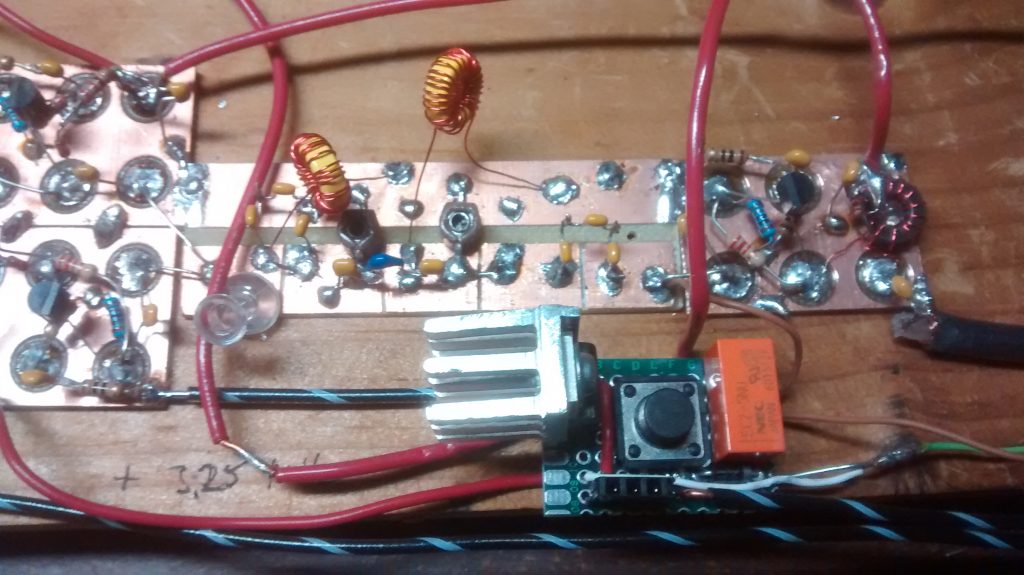
BitX20 Bandpass Filter
Band Pass Filter by Pete N6QW

Now I had trouble with the original band pass filter.  I’m not sure why but a quick google search on 20m band pass filter and I found a replacement circuit on his website.  When I told Pete about this he sent me a new updated design to try.  My PTT relays are 5v so the small heatsink is for the voltage regulator.  I also included diode protection for the replays.

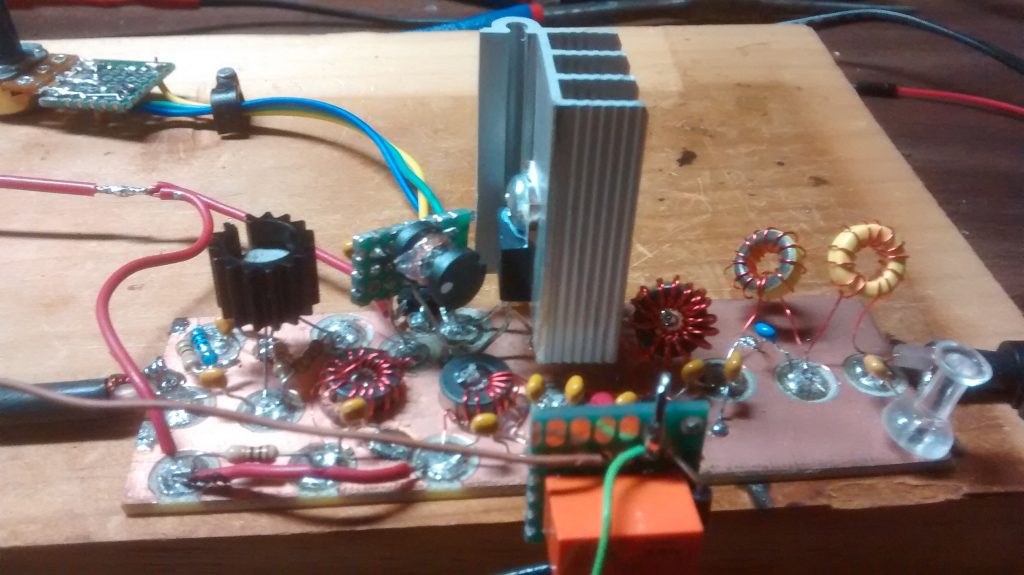
BitX20 Power Amplifier
Irf510 power amplifier

The IRF510 is more of a switch and not designed for linear RF amplification but it is cheap and works great for QRP.  They have different bias requirements from one unit to the next.  That is why you carefully set the bias level with a trim pot.  The large heat sink was part of an old high power LED driver that died.  I used T37-6 toroid cores for the low pass filter on the right. The 2nd relay was needed to prevent the output of the IRF510 feeding back into the original PTT switch and back into a nasty loop.

I am not sure if this rig will ever get a case or future modifications but I do know that I would like to see if I can make more contacts with it.

I would like to end this article with a quote I very much like from a video with Rev. George Dobbs, G3RJV

“Radio construction is rather like a pilgrimage where the journey is often more important than the destination”.

73,

Mike,  AB1YK

The DX Alarm Clock – Part 1: Raspberry Pi Software

I have been an Amateur Radio Operator for 5 years and my favorite thing to do is chase DX. As a new Ham, it was always a thrill to work a new DXCC, but now that I have over 280 DXCCs and over 1000 band points, it is a little more difficult to find a new one. Add to that the fact that I am trying to get a DXCC in 80m and 160m., which are usually open when I am asleep. I created the DX Alarm Clock as a way to get notified that there is something new on the air when I am not down in the shack.  This article will talk about how I developed the software for the DX Alarm Clock.  Part 2 will talk about building the Raspberry Pi-based Hardware and loading the OS.

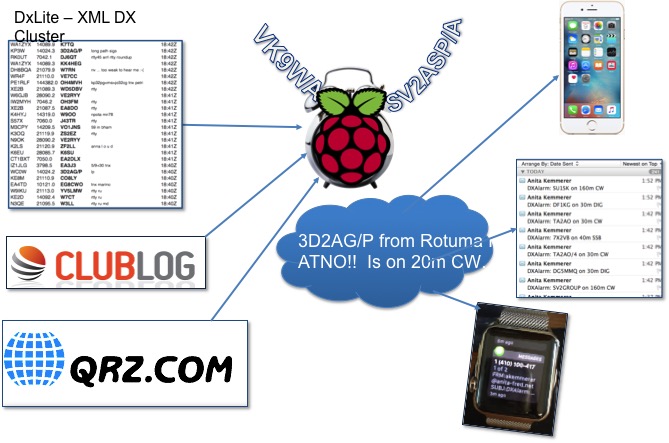
DX Alarm Clock Architecture

The DX Alarm Clock is a Python software program running on a Raspberry Pi that gathers data online about my log and what is on the spotting network and uses that data to alert me when there is a “new one” on the air.

Ham Radio Raspberry Pi Project - DX Alarm Clock Architecture
DX Alarm Clock Architecture

The ClubLog website provides a light DX Cluster website called DXLite, which has an XML Interface. The DX Alarm Clock uses this interface to get the current spots. The software uses the Developer API from ClubLog to get a JSON matrix of all DXCC entities by band indicating whether I have worked, confirmed, or verified each band entity. The software loops through all of the spots returned by DXLite and looks each DXCC up in the JSON ClubLog matrix. I also use the QRZ.com XML Interface to get additional information for each callsign that is spotted, like the state.

User Interface

Ham Radio Raspberry Pi Project - DXCC Configuration Screen
DXCC Configuration Screen

The DX Alarm Clock uses Tkinter/TTK for the GUI.  I used the Notebook widget to create a multi-tab GUI.  There is a tab for configuring filters for DX Entity. The user can choose all New DXCCs, as well as specific bands and nodes to provide alerts for.

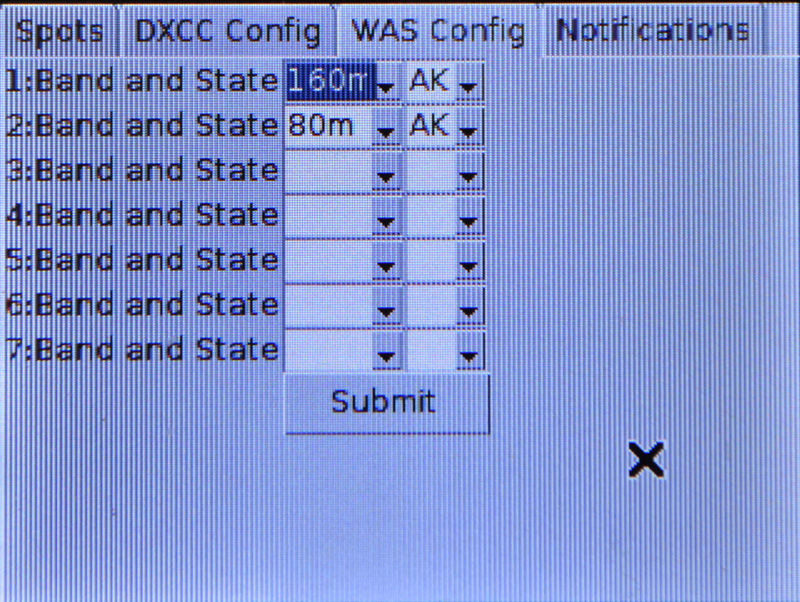
Ham Radio Raspberry Pi Project - WAS Configuration Screen
WAS Configuration Screen

There is another tab for configuring filters for WAS. ClubLog has no log look-up capability based on US State so the WAS filter lets you create a list of States and associated bands to provide alerts for.

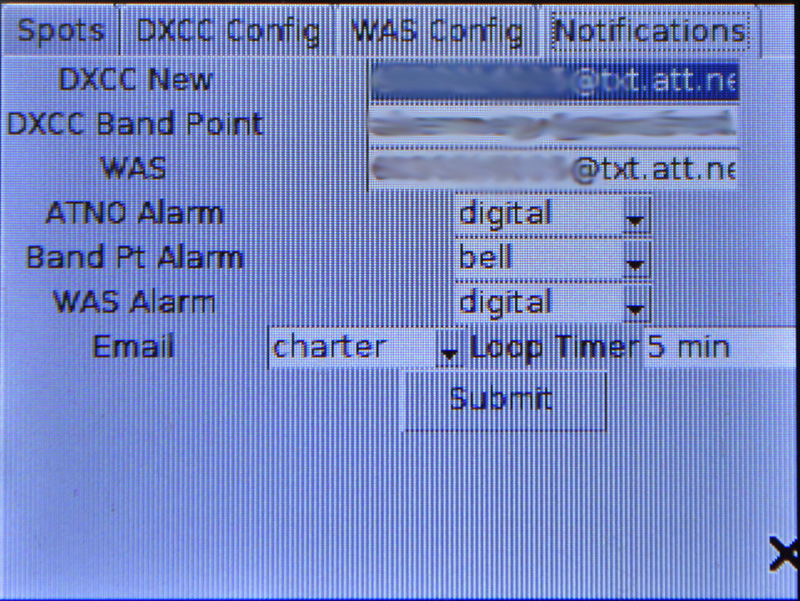
Ham Radio Raspberry Pi Project - Notification Configuration Screen
Notification Configuration Screen

The Notification tab allows the configuration of what notifications the user would like to receive. The user can specify a separate email address for New DXCCs, New Band Points, and New US States. This allows alerts to be sent to email accounts or as SMS texts. You can also configure the sounds the DX Alarm Clock itself makes to “wake you up” when that ATNO or new Band Point is spotted.

DX Alarm Clock Alerting

The DXAlarm clock wakes up every 5 minutes and gets the latest spots from the DXLite Cluster. It checks each spot against the ClubLog log and if there is a match based on the configure filters, it sounds the alert, and then speaks the alarm, giving you the Callsign, DXCC Entity, Band, and Mode.   A simple text-to-speech package called flite (festival-lite) was used to implement the speech on the Raspberry Pi.

Ham Radio Raspberry Pi Project - Alert Screen
Alert Screen

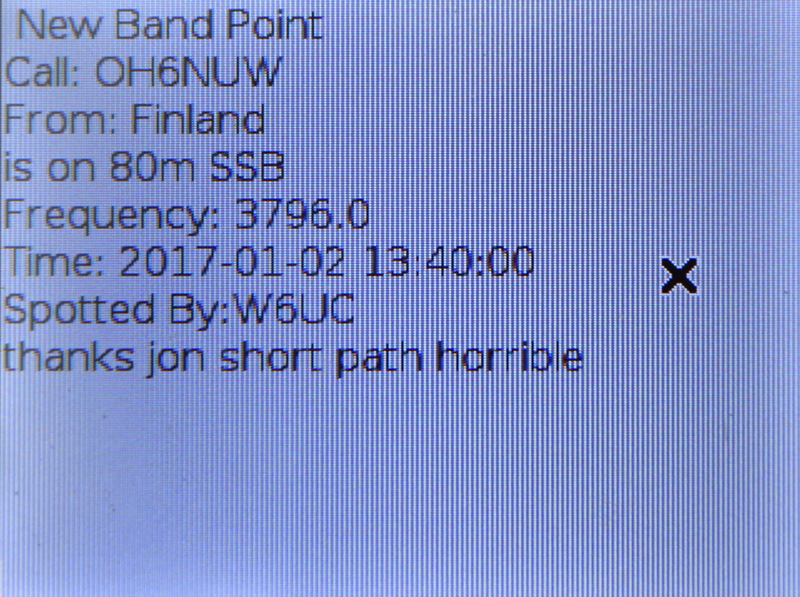
It also puts a message with these details and the Frequency, UTC Date/Time, Spotter and Comment on the display.

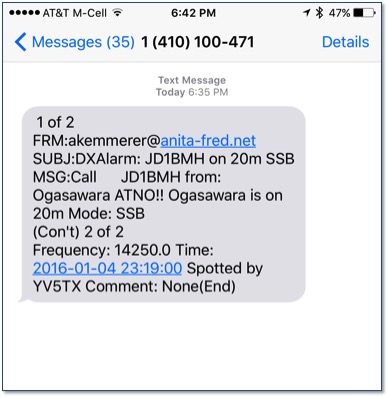
Ham Radio Raspberry Pi Project - Text Notification to iPhone
Text Notification to iPhone

Additionally, it sends this information as an email to the configured email address, which results in a text or email.


Ham Radio Raspberry Pi Project - Apple Watch Alert
Apple Watch Alert

I can even get the alert on my Apple Watch.

Ham Radio Raspberry Pi Project - Filtered Spots Display
Filtered Spots Display

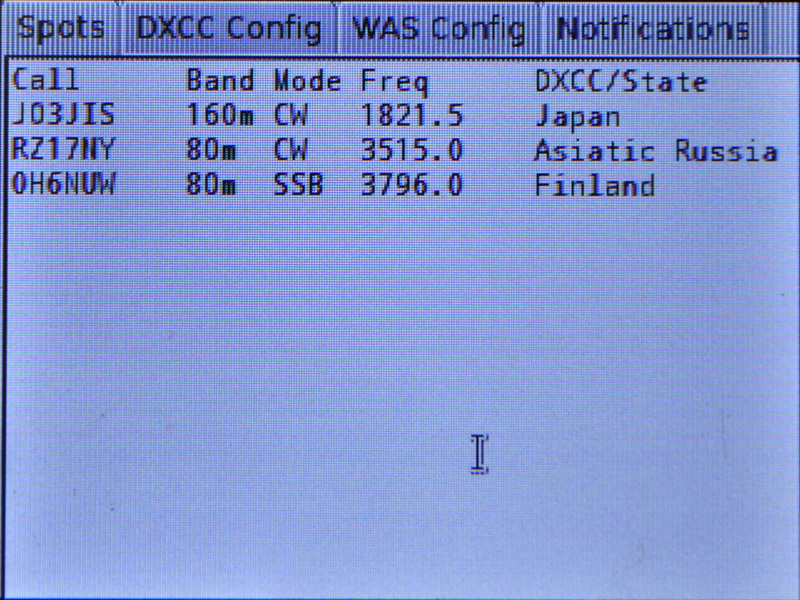
Once all spots are processed, it keeps a running list of all spots that resulted in alerts on the main screen. Spots are aged out if they do not recur over time.

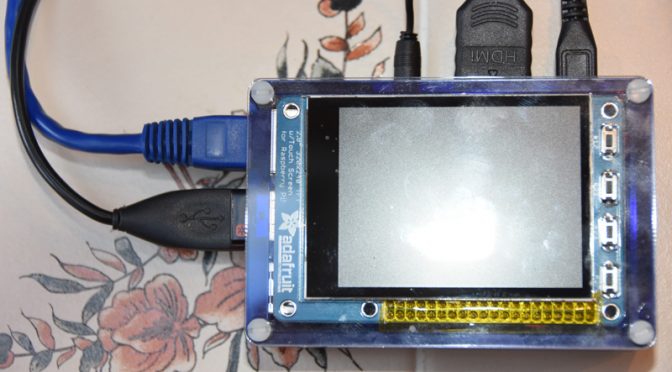
Ham Radio Raspberry Pi Project - DX Alarm Clock Hardware
DX Alarm Clock Hardware

The DX Alarm Clock just alerted me that ZC4SB is on 20m – that’s an ATNO!  Got to go down to the shack and work him!    Stay tuned for Part 2 of this post on the DXAlarm Clock Raspberry Pi-based hardware and on setting up the Raspberry Pi OS.

Anita, AB1QB

Radio Amateurs Developing Skills Worldwide