Category Archives: Homebrewing

Articles and other information related to Homebrewing, station building, kit building, and other custom Ham Radio projects.

Small Software Defined Radios – Part 2: Software

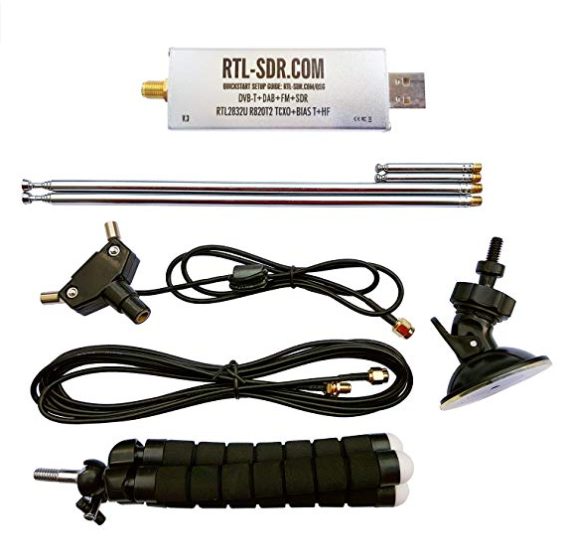
Small software defined radios have never been more affordable. Free and Open Source Software (FOSS) makes integrating one of these radios into your shack easy. This article is a follow-on to the SMALL SOFTWARE DEFINED RADIOS ~ PART 1 article on hardware published last month.

Basic Tuner and Pan Adaptor

Most of us will use one of these SDRs with our computer (instead of creating a Raspberry Pi or other small computer for a dedicated solution). This section will give you some ideas for your Macintosh, LINUX, or Windows PC. There are many offerings for each of these application areas. I can only cover a  few here.

CubicSDR is a cross-platform and open-source software-defined radio application. This runs on Macs, LINUX, and Windows (both 32 and 64-bit versions). A screenshot for this application appears at the top of this article. The software supports about a dozen types of radios including the little RTL-SDR radio mentioned in the other article.

With CubicSDR you can see a spectrum view of a frequency range and listen in on the signals tuning with frequency, bandwidth, and modulation type (FM, AM, etc.). This is a great program to try if you are new to SDRs.

GQRX

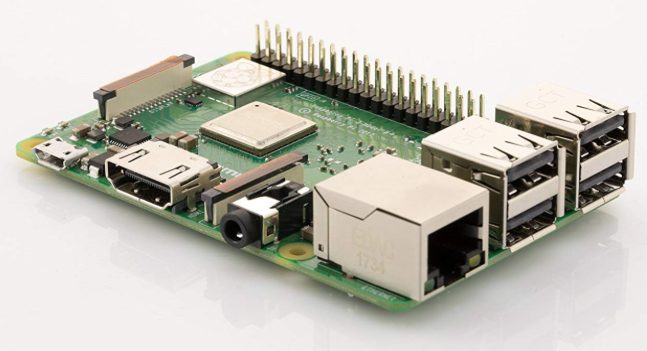
Gqrx SDR is an open software application for SDRs that is available for LINUX and MacOS X. If you want to run on a Raspberry Pi this is a good place to start.

Watching Airplanes

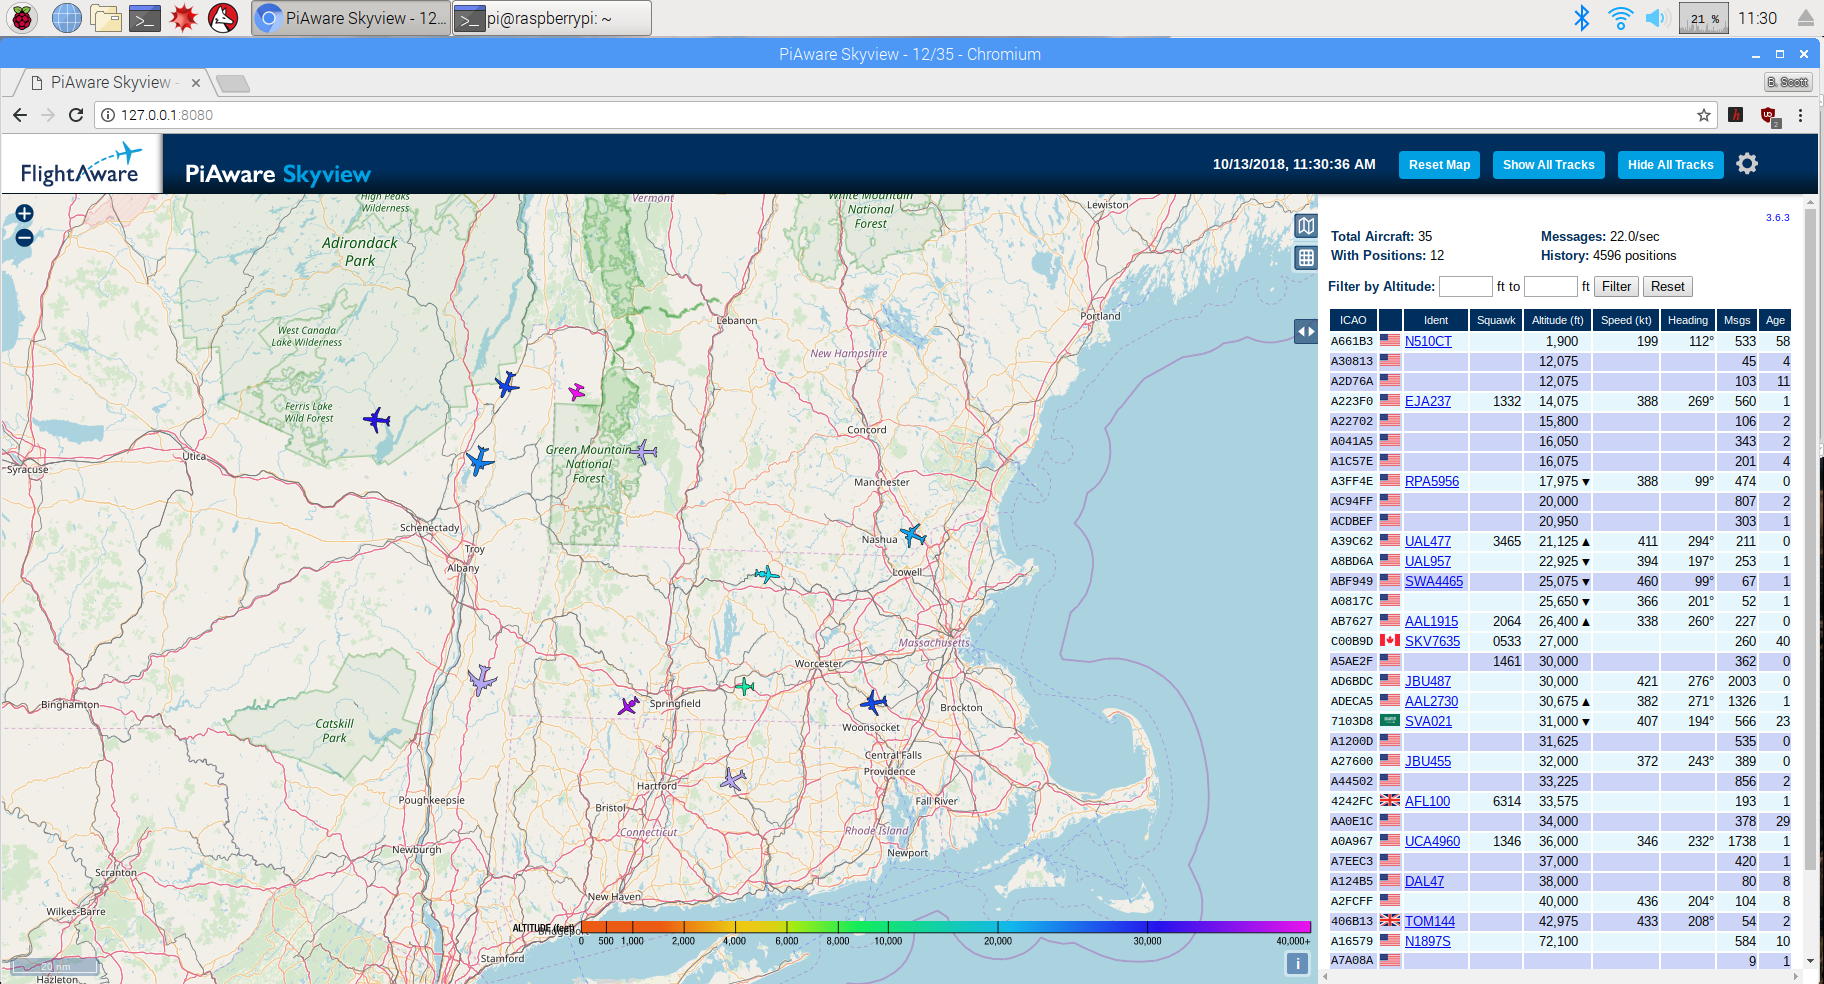
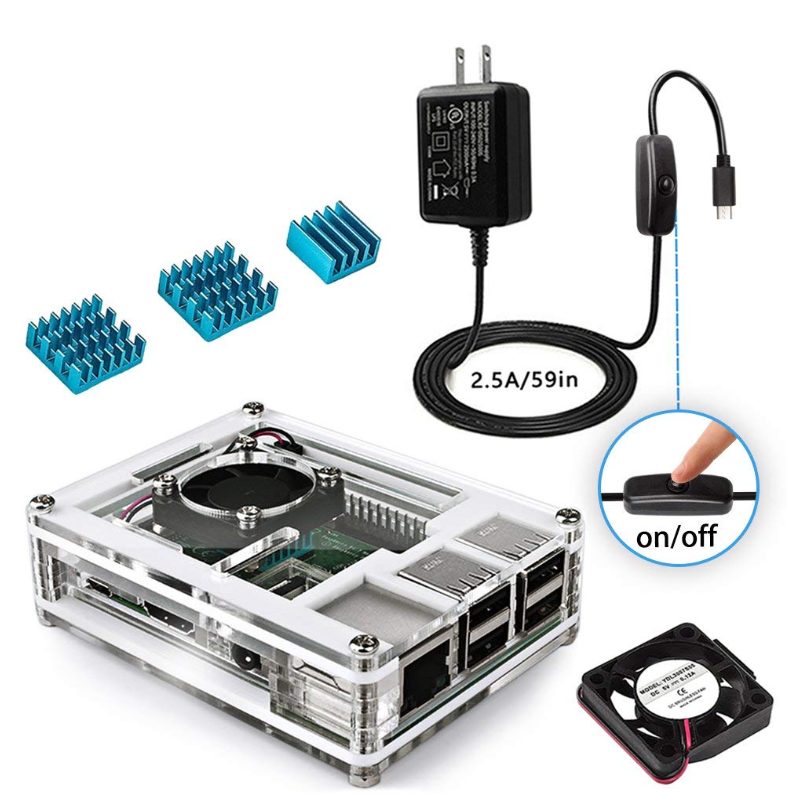
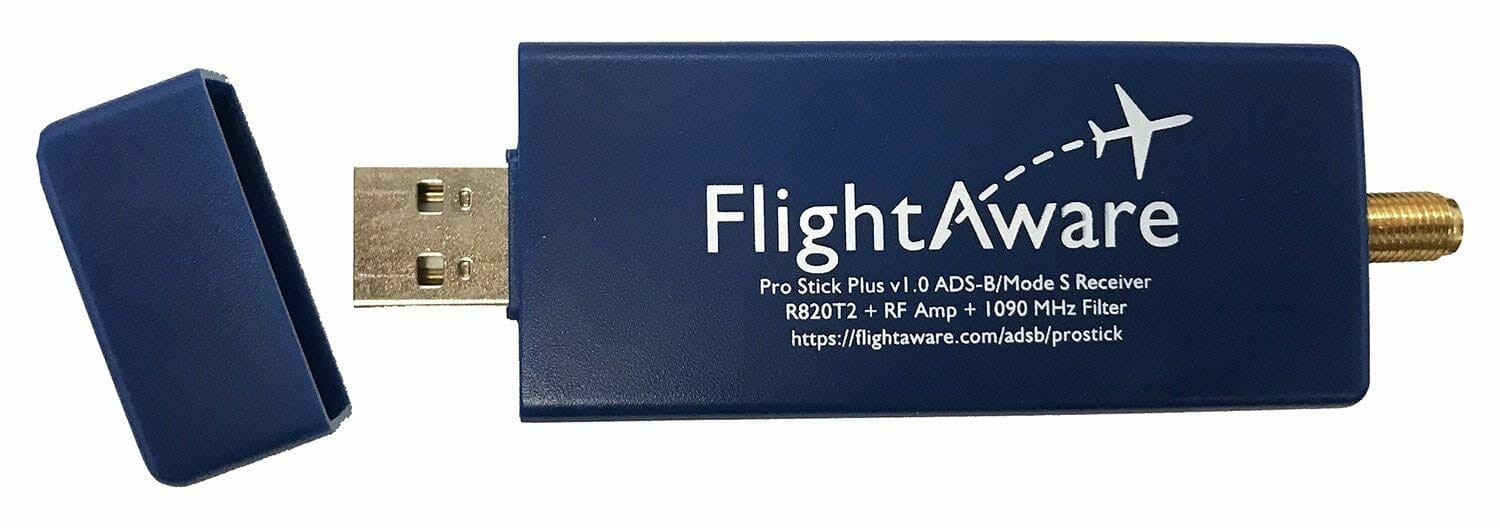
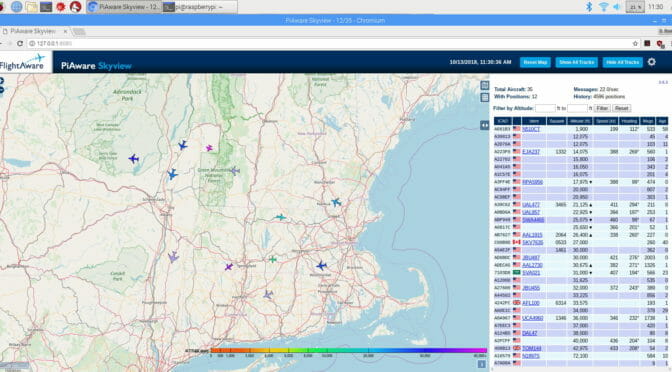
One of the really fun things that can be done with these inexpensive SDRs is tracking aircraft data. FlightAware has a package that can be installed on a simple Raspberry Pi computer that will not only monitor transmitted data on 1090 MHz, but will also upload that data to the FlightAware servers. This crowdsourced data is then used to drive their Apps. Piaware produces a display like the above (this is a screenshot from my setup). This is a standalone project that can be completed for less than $100.

There is a version of this called dump1090 that is open source and the original program that FlightAware enhanced. The RTL-SDR website has a write-up for this using Windows. Macintosh users can visit Black Cat Systems for Cocoa1090.

Just the tip of the iceberg

These programs are a great place to start, but there are many more offerings available. My advice is to get things working with something simple, then try one of the more elaborate programs.

I hope to see everybody at the December 11, 2018 Tech Night where we’ll apply all this to radios you bring. See you there!

# # #

Small Software Defined Radios ~ Part 1: Hardware

There are some exciting things going on in the software defined radio (SDR) world. In December (2018) I’ll be doing a Tech Night SDR workshop encouraging everybody to get familiar with these little gems. Use this article as a shopping guide to prepare for that meeting.

The SDR Stick

The workshop will concentrate on the USB stick style SDR. The most popular is probably the RTL-SDR unit based on the DVB-T TV tuner and the RTL2832U chipset. Sure it can be used to decode digital TV, but some innovative soul recognized that it could also be a general purpose receiver with a range of about 25 MHz to 1.5 GHz. Figure 1 shows that USB device along with a kit of handy parts to get started. This is available from Amazon here for about $28.


Figure 1. The starter kit for the RTL-SDR

 Figure 2 shows the circuit board inside the little dongle.


Figure 2. Inside the RTL-SDR stick

With this and your computer you can have a bunch of fun and learn about pan adapters, SDR tuners, and even watch for aircraft data.

Antennas for the Sticks

The starter kit comes with collapsable whips, a suction cup mount, a small lightweight tripod mount, and feed line. You can do quite a bit with just these parts. If you wanted to use this for a particular purpose (like monitoring aircraft) you can get an antenna specifically for that band or frequency. For example, this antenna is used for doing ADS-B aircraft monitoring. It is available from Amazon here for $8.


Figure 3. ADS-B monopole

Then again, you can make your own antennas easily enough for this purpose or others. See another article I wrote Homebrew ADS-B Antenna for Airplane Tracking for more information on that.

It is possible to use an existing antenna as well. The RTL-SDR dongle accepts an SMA type connector. A converter from SMA to BNC can be handy. Amazon has a set of two here for $11. See Figure 4.

Figure 4. SMA to BNC connectors

No Computer? No Problem!

An excellent way to explore these small SDR devices is with an inexpensive Raspberry Pi computer. I recommend getting one of the higher end models of these single board computers with a little extra horsepower. Processing SDR signals takes a lot of CPU power and that generates heat. My first Raspberry Pi unit was underpowered and it overheated within minutes. I’ve switched to a newer and faster model that handles the task easily. And, I’ve put it in a case with a small fan to increase airflow. See Figures 5 and 6.

Figure 5. Raspberry Pi 3 B+ motherboard

Figure 6. Kit with case, power supply, and heat sinks

These two items are available from Amazon. The Raspberry Pi 3 B+ board is $39 here. The kit that includes a case, fan, heatsinks, and power supply can be found here for $16.

Amplifier

A small device called an MMIC is a broadband RF amplifier that can bring signals up 30 dB. One of these is available on Amazon mounted on a board with two SMA connectors (in and out) here for $11. See Figure 7.

Figure 7. MMIC amplifier for RTL-SDR use.

You’ll also need a jumper to go between the amplifier and the SDR. An SMA to SMA jumper (set of 2) is available here for $4.59. See Figure 8.

Figure 8. SMA-SMA jumper

Aircraft Tracking

If you enjoyed the aircraft tracking talk given in the regular meeting by Thomas R Kavanaugh, KC1ELF, then you might be interested in the SDR stick sold by Flight Aware specifically designed for this purpose. It has an amplifier built in, and a filter centered around the ADS-B frequency. It is available here for $20. See Figure 9.

Figure 9. The SDR bundled solution for flight tracking

Smile!

Don’t forget to use the Amazon Smile feature when buying your equipment to support NARS!

Next Time

I’ll cover software options for these SDR sticks in the next installment. I hope you’ll purchase an SDR kit and bring it to the Tech Night meeting in December. It is a workshop intended to help everybody get something running. See you there!

Homebrew ADS-B antenna for airplane tracking

Flight Tracking

December will bring Thomas Kavanaugh, KC1ELF, for a presentation on Plane Tracking with ADS-B. This is something you can do in your own shack for very little cost if you’re willing to do a little work. Mr. Kavanaugh will provide us with a great overview in December’s General Meeting, and I’ll follow that up with a Tech Night RTL-SDR Workshop where we’ll make, among other things, a software defined radio to receive ADS-B signals.

In this article I’m going to show you how to make an antenna for ADS-B using just a little coax with a BNC connector, a bottle cap, a little wire, and a hot glue gun.

Designing an antenna for 1090 MHz

ADS-B is transmitted on 1090 MHz. For most of us, that frequency range is outside our experience. Fear not. Everything you know about making a dipole still works for this. The frequency is 1080 MHz so the length of each side of the dipole should be 234/1080 = 0.217 feet, or 2.6 inches. Not very big!

An antenna that small needs to have something solid to hold it to the coax. Below is my solution. I cut two wires to a little more than 2-1/2 inches in length. Then I took a plastic bottle cap and drilled holes for coax through the top and the two wires on the side. Figure 1 below shows this partially assembled.

Figure 1. Coax to dipole wire connections.

I began with a short coax jumper fitted with two male BNC connectors. I just cut one of the connectors off and fed the bare end through the top of the bottle cap. Then I soldered the short wires to the center conductor and braid of the coax. It was a tight fit in there, and the braid of this coax really didn’t like to be soldered, but the final connection was good enough to proceed.

Finally, we want to fix all these connection into something solid. For that I used a hot glue gun to partially fill the bottle cap. This is shown in Figure 2 below.

Figure 2. Connections potted with hot glue

Installing the antenna

ADS-B transmissions are vertically polarized so it is important to hang the dipole with the elements in a vertical orientation. Here’s an earlier prototype of mine hanging in my attic. Just a single brass hook (and a zip tie) was all it took to get the antenna installed. See Figure 3.

Figure 3. Installing the antenna for vertical polarization.

Looking Ahead

I’ll be doing an article on building a Raspberry Pi computer capable of doing flight tracking later this month. It will need an antenna like this to work, though, so here’s your chance to do your homework early!

Radio Amateurs Developing Skills Worldwide