

The ARRL has published the 2020 Field Day Results in the December 2020 Issue of QST.
Field Day 2020 Rule Changes
Due to the pandemic, the ARRL made two rule changes this year. The first is that stations in category 1D could contact other 1D stations. The second is that individual submissions could specify a club affiliation and scores would be aggregated by club.

NARS held several activities to help members operating in Field Day to earn bonus points toward their scores. A virtual site visit via Zoom with Gary Gasdia (father of member Ryan, KC1KJS), who is a member of the Hudson School Board and Community Emergency Response Team Members Patrick, W1YTT, Joe, AC1BG and Dan, W1MUZ helped members with bonus points. Sterling, AK1K, trained us all and hosted a messaging net to help us get the messaging bonus. These bonus points helped to increase our score.
Field Day 2020 Scores
Thanks to all of our members who submitted their scores for the Nashua Area Radio Society, our efforts resulted in a total club score of 14,952. From a quick scan of the line scores published by the ARRL and back of the envelope calculation, we placed in the top 3% of all clubs!

We had a total of 16 members contribute their scores toward our aggregate club score:
| Call | Name | Operators | Class | Power | Total |
|---|---|---|---|---|---|
| AB1QB | Anita Kemmerer | AB1QB, AB1OC, KC1IMK, AB1BY | 3E | Low | 3930 |
| AK1K | Sterling Eanes | AK1K | 1E | Low | 1762 |
| NE1RD | Scott Andersen | NE1RD | 1B1B | QRP | 1300 |
| W1XMM | Brian Quick | W1XMM | 1E | Low | 1278 |
| N1CEO | Peter Dabos | N1CEO | 1E | Low | 1218 |
| NF1H | Andrew Wuelfing | NF1H | 1D | Low | 958 |
| AC1EV | Jon Turner | AC1EV | 1E | High | 914 |
| W1YCZ | Matt Truland | W1YCZ | 1E | High | 838 |
| K1BRM | Jim Lajoie | K1BRM | 1D | Low | 506 |
| NU1T | Jorgen Dahl | NU1T | 1D | Low | 502 |
| W1AKI | Aron Insinga | W1AKI | 1D | Low | 446 |
| KC1IMK | Keith Sangillo | KC1IML, KC1IMK | 1D | Low | 390 |
| KC1IML | Mark Sangillo | KC1IML, KC1IMK | 1B2 | Low | 388 |
| AC1FX | Jeff Lalmond | AC1FX | 1D | Low | 214 |
| W1TED | Ted Trost | W1TED | 1E | Low | 194 |
| KC1DXL | Anthony Rizzolo | KC1DXL | 1D | Low | 114 |
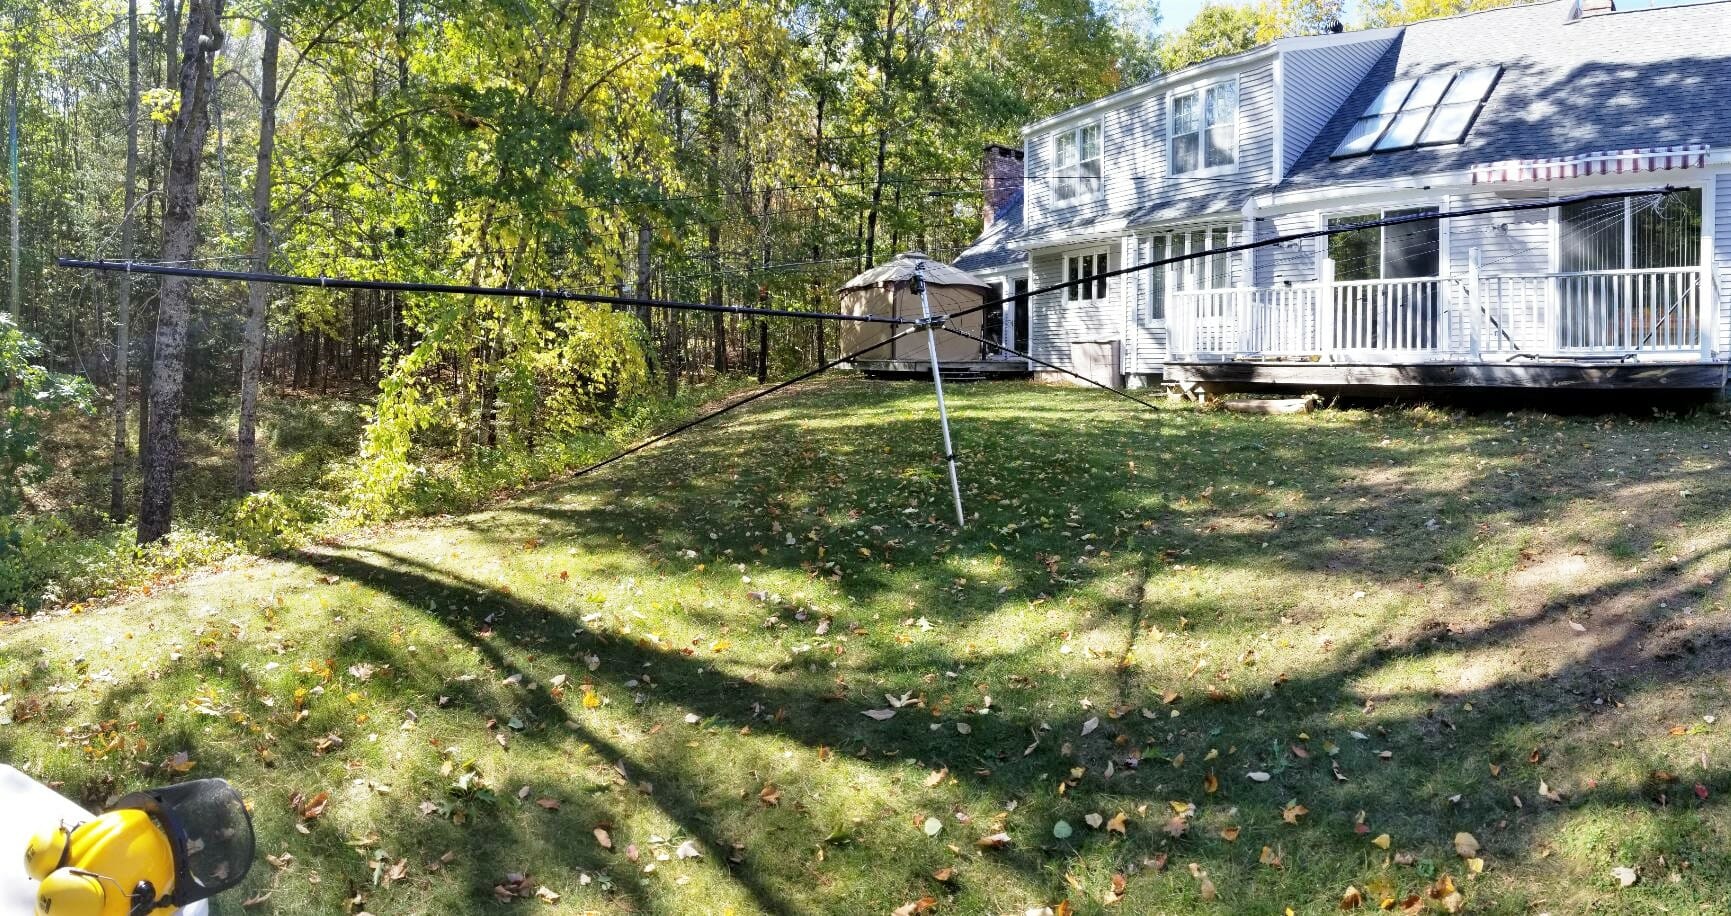
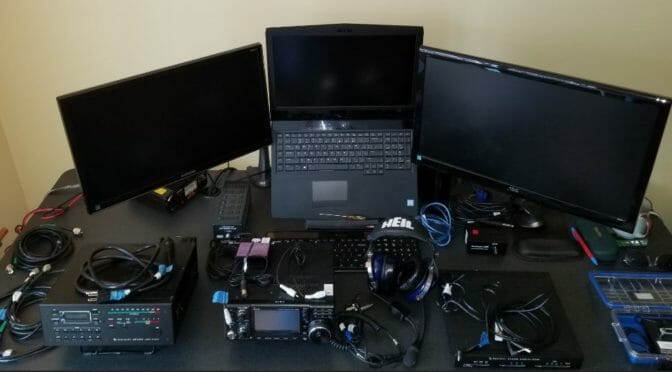
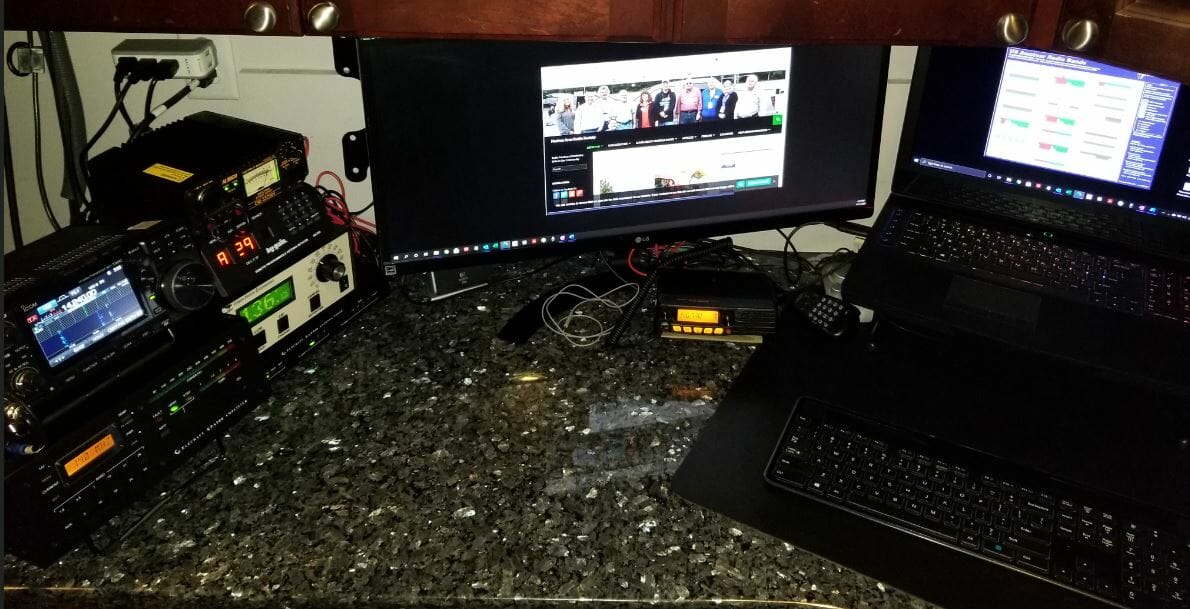
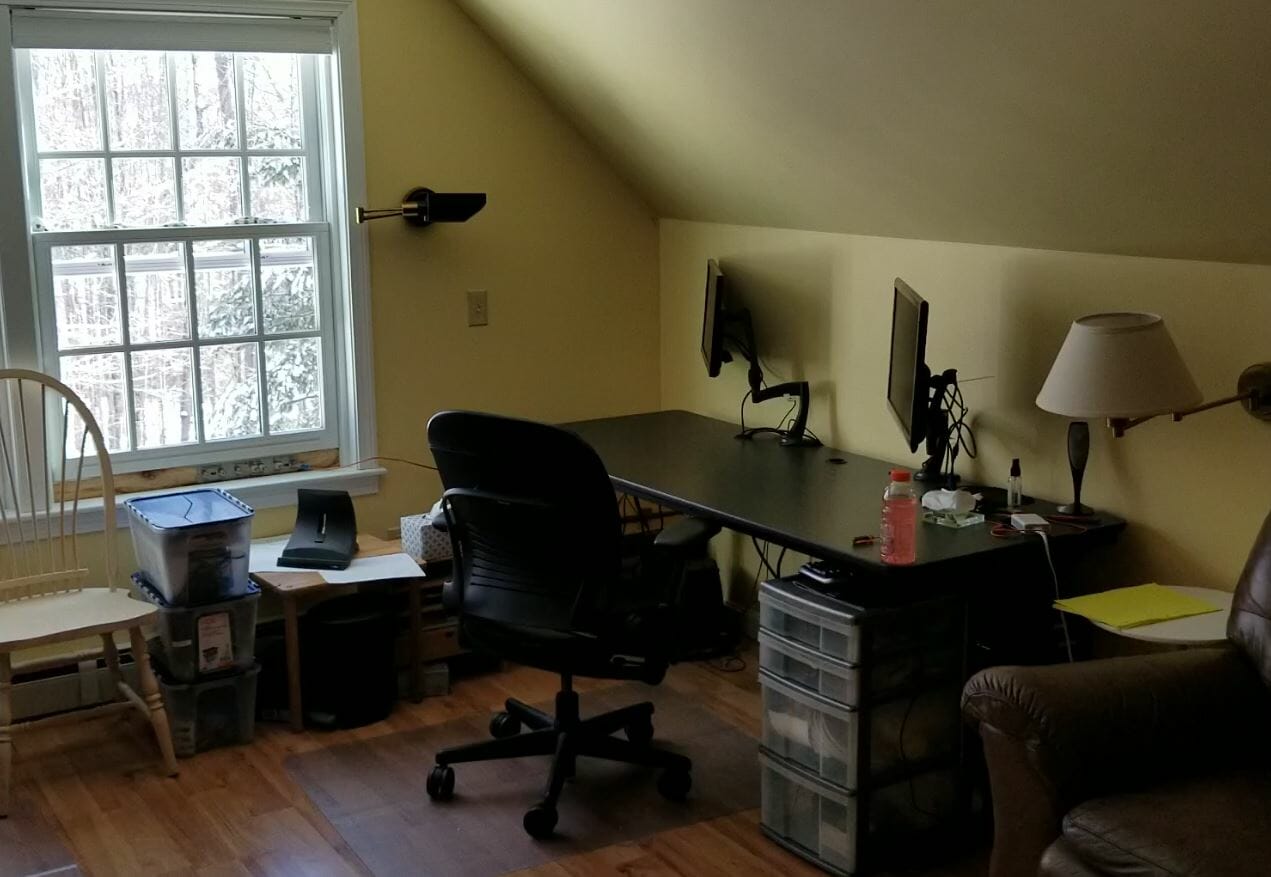
To learn more about our members Field Day 2020 operations, see the field day articles on our blog.
To review the ARRL Results Article, visit the ARRL Web site at https://contests.arrl.org/ContestResults/2020/Field-Day-2020-FinalQSTResults.pdf
To search the 2020 ARRL Field Day score database, visit http://www.arrl.org/results-database and select 2020 ARRL Field Day from the drop down box.
Winter Field Day 2021
Winter Field Day is coming up on January 30-31. Similar rule changes have been made due to the pandemic. If you are interested in operating on Winter Field Day, review and reply to Craig, N1SFT’s post in the Field Day Forum. Also, plan to join our January Membership Meeting, where Craig will talk about Winter Field Day.
Anita, AB1QB

