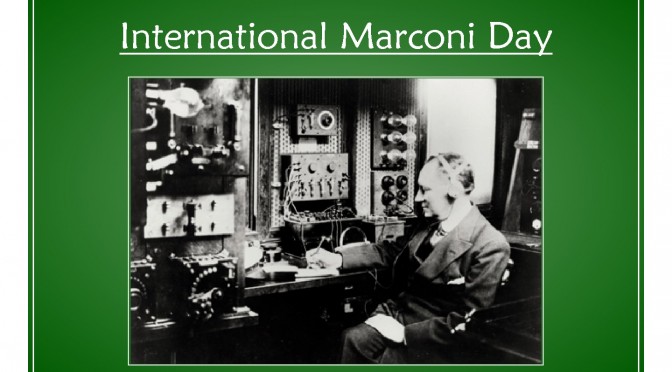
The next KM1CC on-the-air event will be April 23, 2016, 0000 UTC-2400 UTC for International Marconi Day and NPOTA (SS03).
KM1CC, the Marconi Cape Cod Radio Club, partners with Cape Cod National Seashore for Marconi related events. Marconi’s Wellfleet, MA USA wireless station is listed as a National Landmark on the National Register of Historic Places (1975) and is now part of the Seashore. Weather permitting, KM1CC will set up a temporary ARS inside the park’s old Coast Guard Station, Eastham.
Follow KM1CC on Facebook and dxsummit.fi for frequency updates for both CW and SSB operations.
Frequency plan- we will switch bands as conditions change and to respect other operators.
15 M 21.360 SSB 21.035 CW
17M 18.160 SSB 18.080 CW
40M 7.130-7.260 SSB 7.035 CW
30 M 10.110.CW
20M 14.260 SSB 14.035 CW
80M 3.660-3.860 SSB 3.535 CW
160 M TBA SSB TBA CW
DMR 2 M VHF Digital FM 4FSK
Digital Mobile Radio
I have been asked to help operate on DMR and HF. We will operate on the World Wide, North America and TAC310 talk groups on DMR.
So you’ve gotten your Technician License or your General upgrade – how do you get a station on the air? This was the topic of our recent Tech Night. The following are some thoughts to get you started. If you are a new Technician, the first thing to ask is – “What do I really want to do on the air and where will I be doing it?” Here are some common answers to this question:
I spend a lot of time commuting in my car or truck and I’d like to pass the time talking with other HAMs
I will mostly be operating from my home and I want to rag chew (chat with other HAMs) and check-in to emergency, ARES and/or other nets
My plans are mostly be doing parade and other HAM activities in the field and I need something that is portable
Approaches for Tech Operators
In all of these scenarios, you will be using a combination of FM Simplex and Repeater operation on the 2 m and 70 cm bands.
Mobile 2 m/70 cm FM Radio in a Vehicle
If the first case is you, then you’ll want to install an FM mobile rig and antenna in your car or truck. You’ll also probably want to permanently mount a simple 2 m/70 cm antenna on your vehicle.
Base 2 m/70 cm Radio with APRS Display
If the second case is your prime operating scenario, then your choices in radios probably are along two main paths. A 2 m/70 cm radio or a dual purpose HF and 2 m/70 cm capable “all in one” radio. You might take the second approach if you already have or are planning to get your General Class or Extra Class license. A 2 m/70 cm ground plane style vertical antenna that you can mount outside or perhaps in your attic would be a good choice. You might also want to consider a radio that does D-STAR or another Digital Voice mode. There are some large worldwide nets that use digital plus internet linking to reach a large population of HAMs.
HT with Improved Antenna
If the third case is you main operating mode, then you probably want a quality HT with a good antenna. The rubber duck antenna that comes with most HTs will provide relatively weak performance. A quality 5/8 wavelength antenna and a spare battery for your HT will be a good way to go.
Approaches for General Operators
OCF Dipole and a 2 m/70 cm Antennas
If you’ve received your General Class license and want to do HF, your biggest decision will your antenna antenna. This topic is pretty broad and we’ll cover it in more detail at our Tech Night. I usually recommend a simple wire antenna to get started. A 20m dipole mounted either horizontally or vertically is often a good first choice. It’s inexpensive and can be put up at most QTHs in a day or less.
Moving up from here, a 40m delta loop or a multi-band OCF dipole also make great starter antennas depending on your space and what you want to do. If you cannot mount an antenna outside, you may be able to mount a modest dipole in your attic or use a portable antenna system like the Buddipole that you can set up to operate and then take down.
Basic HF Station with PC
Radio choice is also a broad topic which we will cover at our Tech Night. I would recommend a starter HF radio or a good used one (with help from an experienced HAM to select and check out). Your radio should be a 100W unit and cover all of the HF bands from 80 m – 10 m at a minimum. QRP radios (5 – 10W) are usually not a good choice for a first station. Making contacts at this power level with simple antennas can be challenging. It’s also good to have a radio which can do 6 m if that works out for you.
I highly recommend that you include digital mode capability in your first HF station. Digital modes such as PSK and RTTY provide a great way to learn to make contacts on the HF bands. Also, these modes work very well for making DX contacts with 100W and simple wire antennas.
I hope that this will get you started thinking about how to set your first station. Please come to our next Tech Night session to learn more. You can ask questions and get the benefit of experienced folks in our club. We can help you with these choices. We can also help with installing radios, antennas and getting on the air.
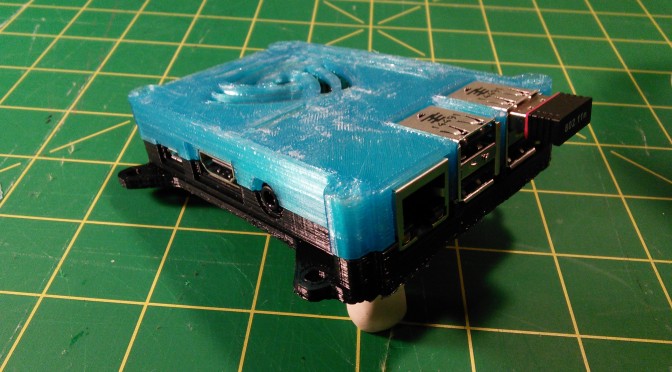
In a previous article, I wrote about jumping into 3D printing for fun and home-brewing. I decided I wanted to try printing a custom case for my Raspberry Pi 2 Model B that I found on Thingiverse. I chose one that had VESA mounting tabs with 75mm spacing in order to mount to the back of an older LCD monitor I had laying around. I am doing this to create a dedicated computer for running my M3D 3D printer.
Custom Cases for Raspberry Pi found on Thingiverse.com
I’m printing the case you see above on the left. There are other upper case options for mounting mini-fans should you need to provide extra cooling for your Raspberry Pi. And if you are handy with one of the many 3D modeling software packages out there, you can mod this case (or any case) to fit your specific needs.
PRINTING THE CASE LOWER
I acquired a spool of black PLA filament (Hatchbox) from Amazon.
While not specifically branded by M3D, I wanted to try other sources because the Hatchbox brand was less expensive on the order of 2.8:1 than the M3D branded filament. I was taking a chance because I am learning that getting the temperature right for a brand not tested by the printer manufacturer can be tricky. I did have issues of the print starting to lift off the print bed (M3D is non-heated). But I recovered from that by tacking down the corner with a hot glue gun. Maybe this would have printed better on a heated print bed or if I would have controlled the surrounding temperature better.
Almost completed lower Raspberry Pi caseCompleted Raspberry Pi case lower
Back of case showing “raft” before removal and cleanup
Cleaned up lower ready for test fit
Fits like a glove!
PRINTING THE CASE UPPER
Given the experience I had with printing with the Hatchbox filament, I wanted to see how printing the case upper would be using the M3D filament. I just chose one of the other M3D filaments to contrast the black lower. The printer’s program calculated this to be a 14 hr print. But, the output is looking good for far–no lifting of corners or warping.
About 12 hours later… DONE!
Print completed for the RasPi case upper
After removing the raft and cleaning up stray flashing (inside)
After removing the raft and cleaning up stray flashing (outside)
Fits great! Just need to figure out the case screws.
As mentioned earlier, I wanted to print the case version with the VESA mounting tabs on the back of a monitor. In this case, they needed to be 75mm spacing. Aligned nicely!
This was a fun project. While not a perfect printing experience, it was good enough for a first major print project. Lessons learned will be turned back into the printing experience and improved upon on subsequent projects.
After mounting this Raspberry Pi w/case to the back of the monitor, the next mini-project is to get the Raspberry Pi working with the 3D printer. There appears to be groundwork already done in this area, and I will follow the path already paved.
We use cookies to ensure that we give you the best experience on our website. If you continue to use this site we will assume that you are happy with it.


")


