
I am a new ham operator, since February 2018. I tested at Chelmsford, MA with Billerica Amateur Radio Society VEs for my Technician and General licenses. First-year membership in BARS was a terrific benefit offered when I passed my Technician exam.
My first radio was a Kenwood DH74A HT. In April 2018 I learned of an Amateur Extra License Boot Camp put on by the Nashua Area Radio Society and passed my Amateur Extra exam at the end of the class. A one-year Membership in NARS was an added benefit, the implications of which I had no idea at the time.
Around this same time, I started with HF. I began with an IC-7300 and a very basic wire antenna, a 63 feet wire, end-fed sloper and I was on the air. Since then I’ve changed and added antennas many times and for each antenna made numerous tweaks and reinstallations. By my count, I have at least 15 major iterations of antenna installations at my QTH.
Off-Center Fed Dipole
This was my Buckmaster Off Center Fed Dipole (300-watt version). It took several upgrades to get to this mature installation, with the feed point at 33 feet and the ends around 10 feet. The orientation is E-W, opposite of the ideal, but that is where the trees were. On this antenna, with 100 watts, I made over 1,000 QSOs and 80 DX entities, even in the doldrums of the solar cycle. Along the way, I had opportunities to operate from more powerful stations, more power and beam antennas. I wanted one!
Planning for a Better Antenna
The project to bring my basic station up to the next level occupied me for much of the next year. I needed to consider many things; spousal approval was top of the list with the budget a close second. I knew that whatever I did, I would be living with it for a long time. I had many QSOs with hams who had hex beams and they all seemed happy with them. Also, I could see on the waterfall display on the IC-7300 that their signals stood out compared with the others. There were always some brighter signals on the scope, beyond what the hex beams looked like and those were often from stations with much larger and more complex antenna systems like SteppIR or Optibeams mounted on towers 60’, 70’ or higher. That level of Antenna was orders of magnitude more expensive, so I will put them on the dream antenna wish list, maybe if I win the lottery. The hex beam antenna was the most antenna I could get, within my budget and that I could install myself, without requiring a tower, man-lift or crane to get it to the optimal height on 20 meters. Once I decided to proceed, I needed to get final spousal approval. My XYL was generically supportive of the hobby but living with the antenna on the roof was another thing. I knew of another ham locally with one, so we drove over to his house to see it. He has a split-level house with lots of trees, so the antenna is not as high off his roof and the trees behind it made it look less imposing than if it was out in the open. That did the trick and she gave me the green light to proceed.
Choosing My Hex Beam
There are many different hex beams to choose from. The first one I selected was back-ordered on parts and they couldn’t take the order for three weeks. I waited and when I went to order it again the parts were still unavailable. I purchased the K4KIO model and ordered it on a Monday. It was delivered on Thursday, so kudos to them for prompt service! K4KIO does not offer an option for a 40-meter bent dipole to be a part of the antenna. They suggest it is better to have a second antenna for 40 meters instead, so it can be installed optimally rather than with the compromises required to have it included on the hex beam framework. I must say I do miss having 40-meters and will be adding an antenna to access it very soon.
Hex Beam Antenna Building
I assembled the antenna in my driveway, with the central hub mounted on a short section of chain link top rail stuck in an umbrella stand. Assembly was simple. They recommend that you paint the spreaders, which I did after assembly, but before the wires. I used white and it looks pretty good.
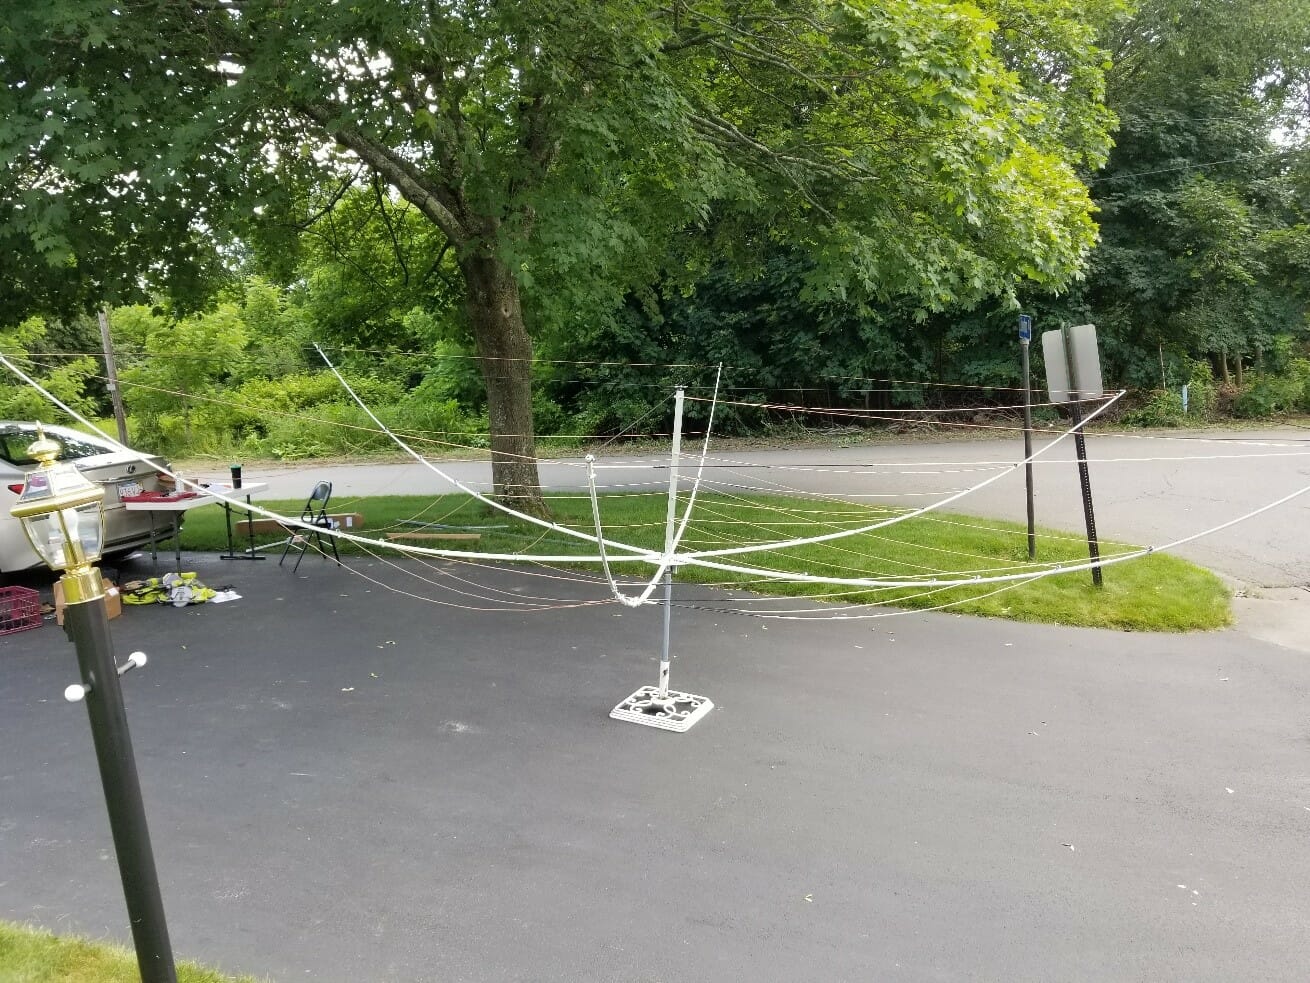
To move the antenna from the driveway to the roof I took a full section of the top rail and had my wife steady it on the back of a tall step ladder. I carried the assembled antenna over to it and climbed the ladder to place it onto the top of the top rail. From there I carefully walked it over to the roof of the house. The antenna is only 25 pounds, so not that heavy, but it is on a long pole and has long components so needed to be carefully balanced or it could get away from you.
Roof Mounting Our Hex Beam

I climbed on the roof and was able to take the antenna and the short mast from my wife, leaving her with the 10-foot top rail pole. I put the antenna on the old tripod from the dipole for temporary use until the tower, rotator and Hex Lock Tilt plate were installed.
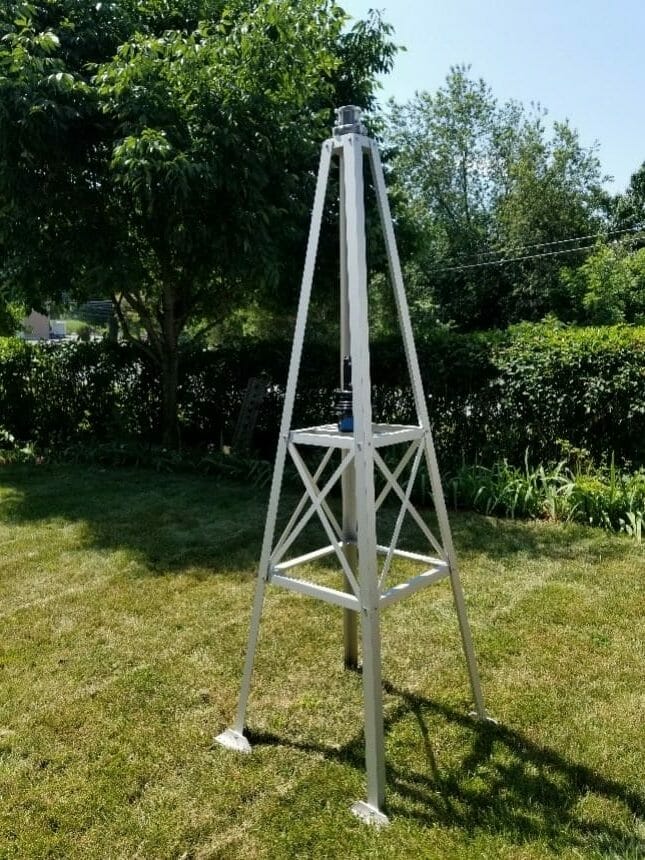
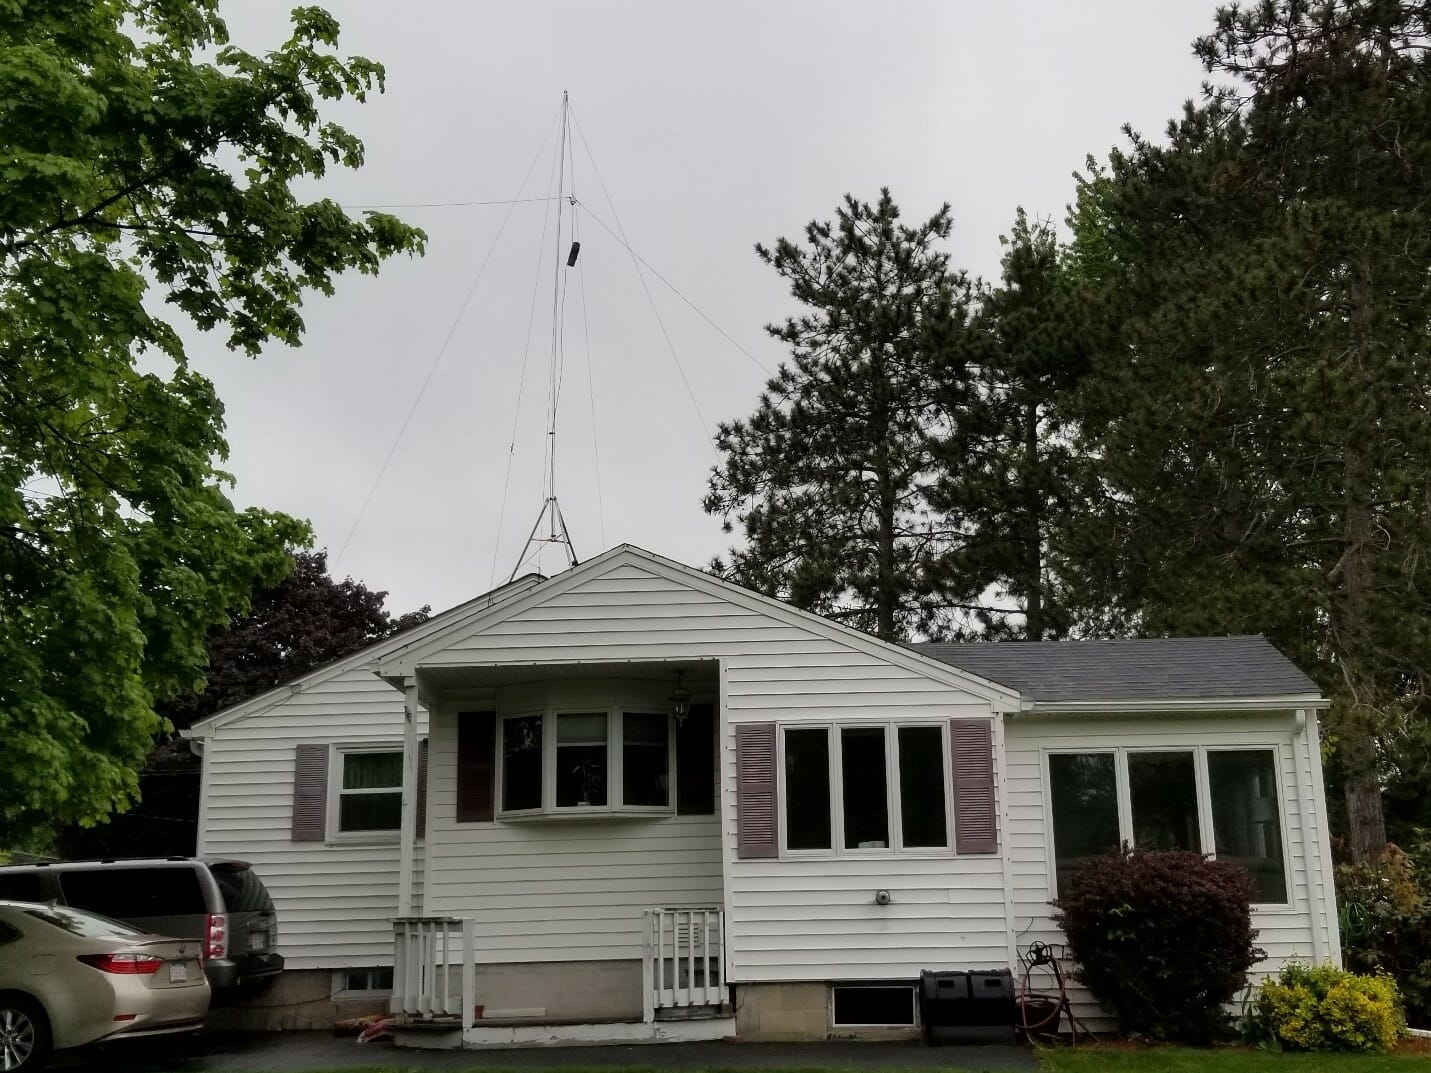
Now at 20 feet, the hex beam can be used. I noticed the difference between the dipole immediately and had lots of fun for the next two weeks until I installed the tower. I climbed on the roof to rotate it. Here is the tower with the Yaesu G8000DXA rotator and GS-65 thrust bearing installed
A Larger Roof Tower
The height from the ground to the peak of my roof was 15 feet. I ordered the 8-foot Glen Martin tower to mount on the roof. I also ordered a Hex Lock Tilt Plate, which accounts for around a foot of height when installed. The main mast extends 6 feet from the top of the tower and there is a small section from the tilt plate to the antenna proper. The antenna is close to 3 feet deep, which would place the 20-meter segment at 33 feet or ½ wavelength exactly. The first step prior to installing the G-M tower was to reinforce the rafters under it to take any additional strain it would cause. I sistered the rafters with 2X8s and then braced them horizontally with additional 2X8s connected to 5 rafters.

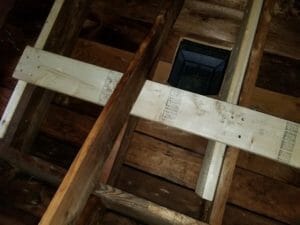
The 16 lag bolts I used to attach the tower went into either the rafter or sistered 2X8 and it is very secure.

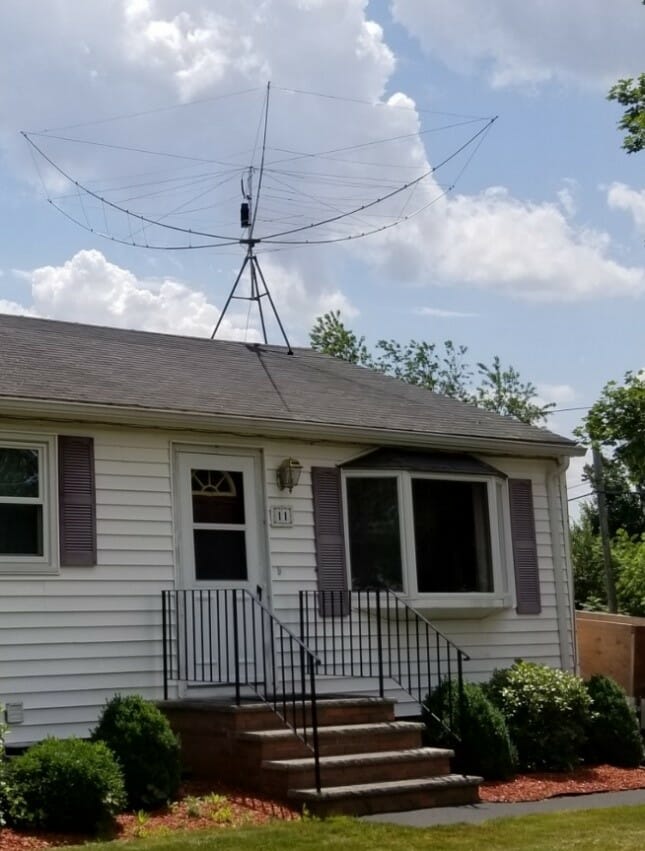
Above are the tower and antenna staged for the final steps. I need to remove the pyramid and install the G-M tower next. Relatively shallow pitch on the roof made it easy to work.
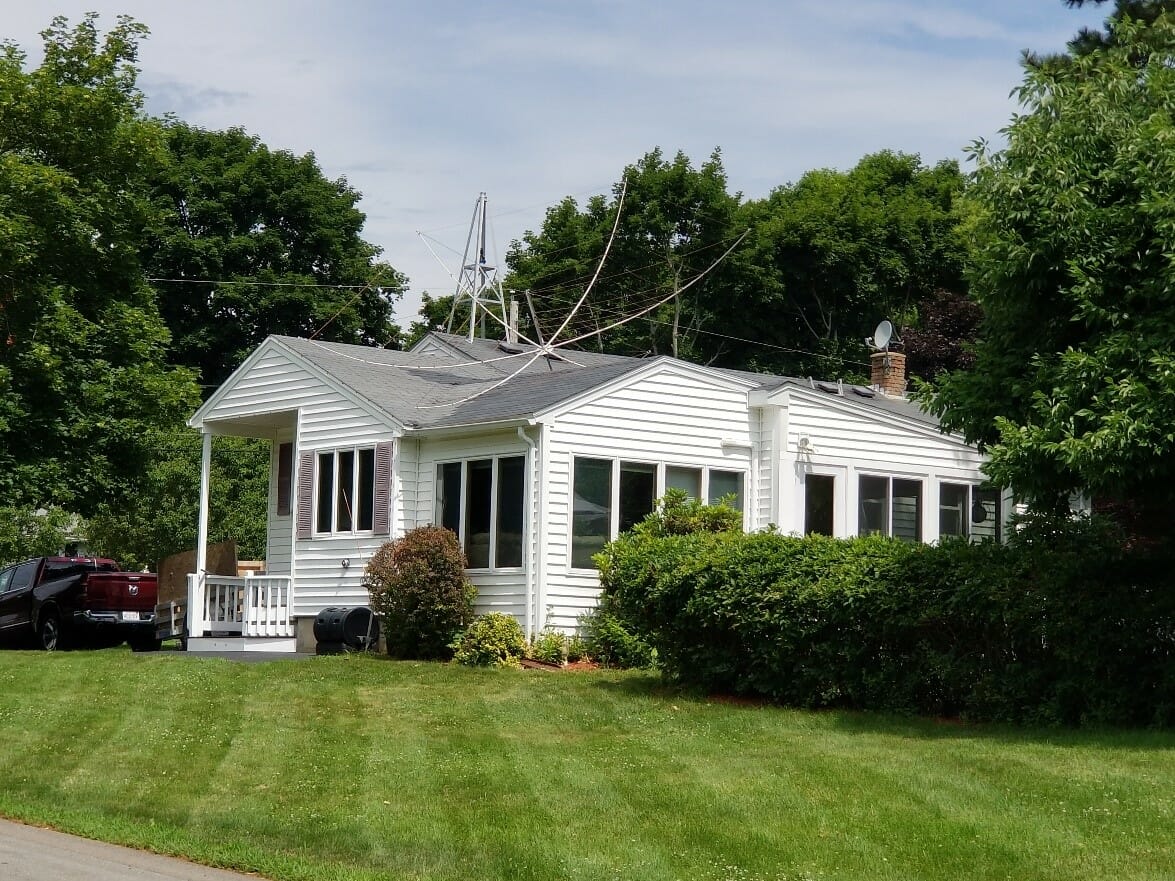
The tower is installed. You can see the scale of the hex beam to the house here.

I removed two bolts from the front side legs of the tower and laid it back, hinging on the rear legs to rest on the sawhorse. It was easy with no antenna attached. Next, I attached the tilt plate to the lower mast section and installed it in the tower. With the tilt plate tilted 90 degrees I was able to place the antenna and short mast into it and tightened up all the nuts, taking care not to deform any of the mast tubes. At this height, it is easy to attach the coax and rotator wire, etc. The next step is to raise it to vertical. I enlisted help for this step. My helper was able to help get the whole assembly up to around 45 degrees and then tend to the antenna angle with the tilt plate. It was not difficult for the two of us, you need to have more than just two hands available. It took less than 5 minutes for us to get it standing upright, then I replaced the bolts on the front legs to the mounting brackets.
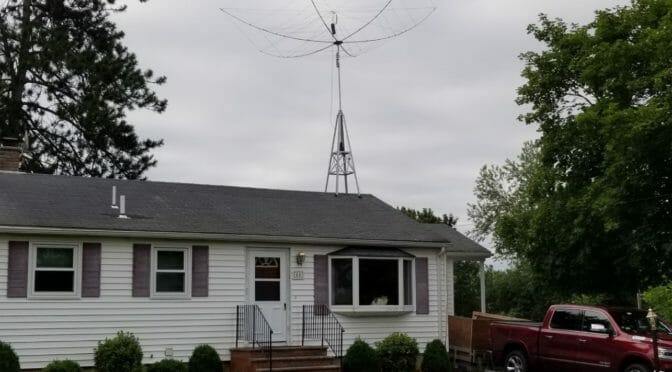
How Does It Perform?
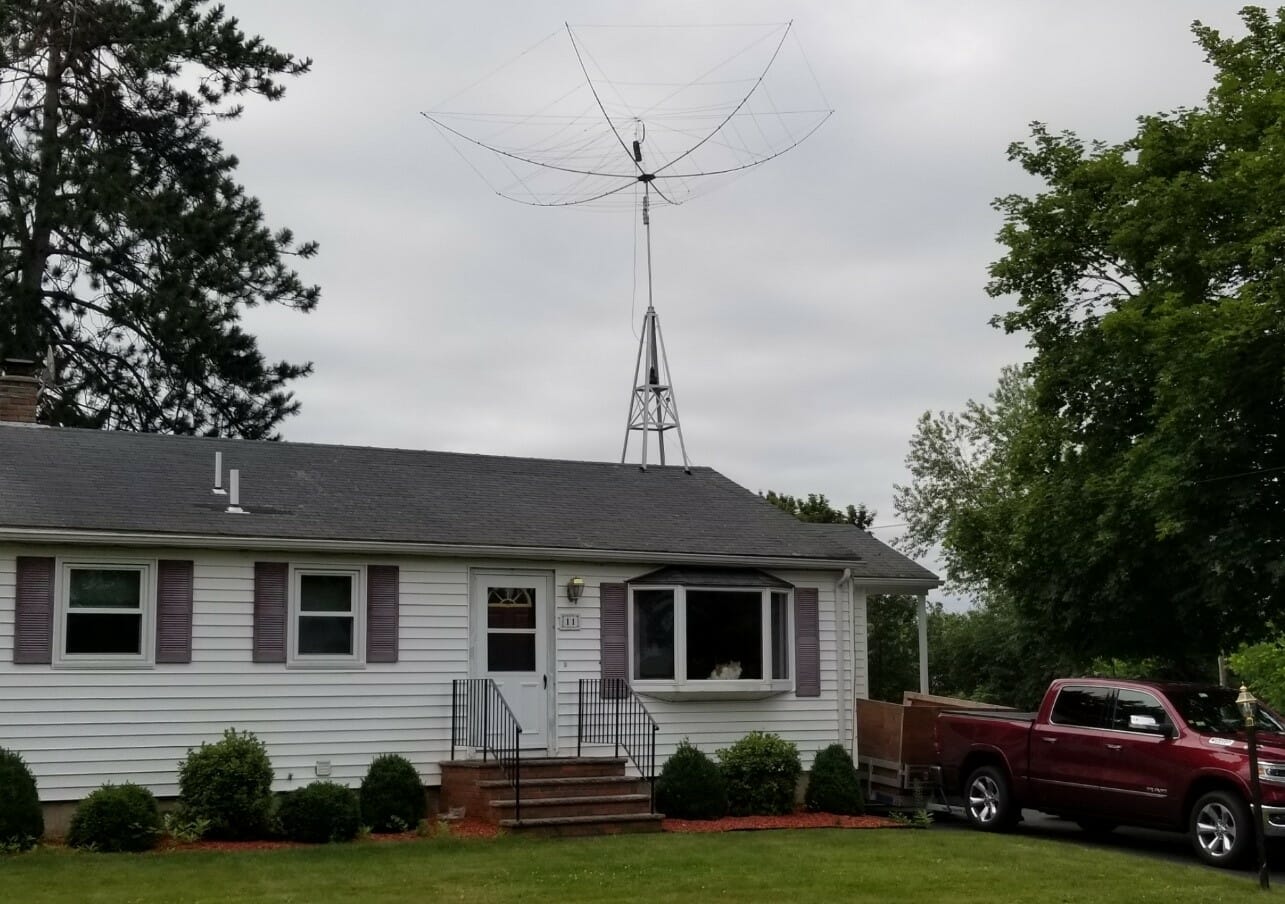
The antenna is at its final installed height.
Early the next day I heard Frankie VP2MNI in Monserrat having a QSO with Masa JE1LET in Japan and both were very strong signals to me. When I heard that Frankie was with a Japan station I rotated there and was able to hear Masa at a 56. When they finished their QSO I called out and Masa replied first try! What a way to start the day and validation of the hex beam! I was also impressed that I could hear both Monserrat and Japan at the same time, they are on reciprocal headings from Massachusetts, so I had one on front and the other perfectly on the back of the antenna. Both stations are super stations which certainly helped.

I had fun making QSOs during the rest of the day and got many good reports on my signal. The last contact I made was KH7XS. Normally this station generates big pileups, but for some reason, everyone had gone to 40-meters and we were almost alone on 20-meters. We had an 18-minute QSO 59 for most of it. Japan in the morning and Hawaii at night, I never had a day like that before the hex beam.

Not every day has had conditions as good. In summer I often found that if I call CQ between 9:00 PM and 11:00 PM or so I get western US stations and did have an NZ station reply to me once.
A View from Our Shack
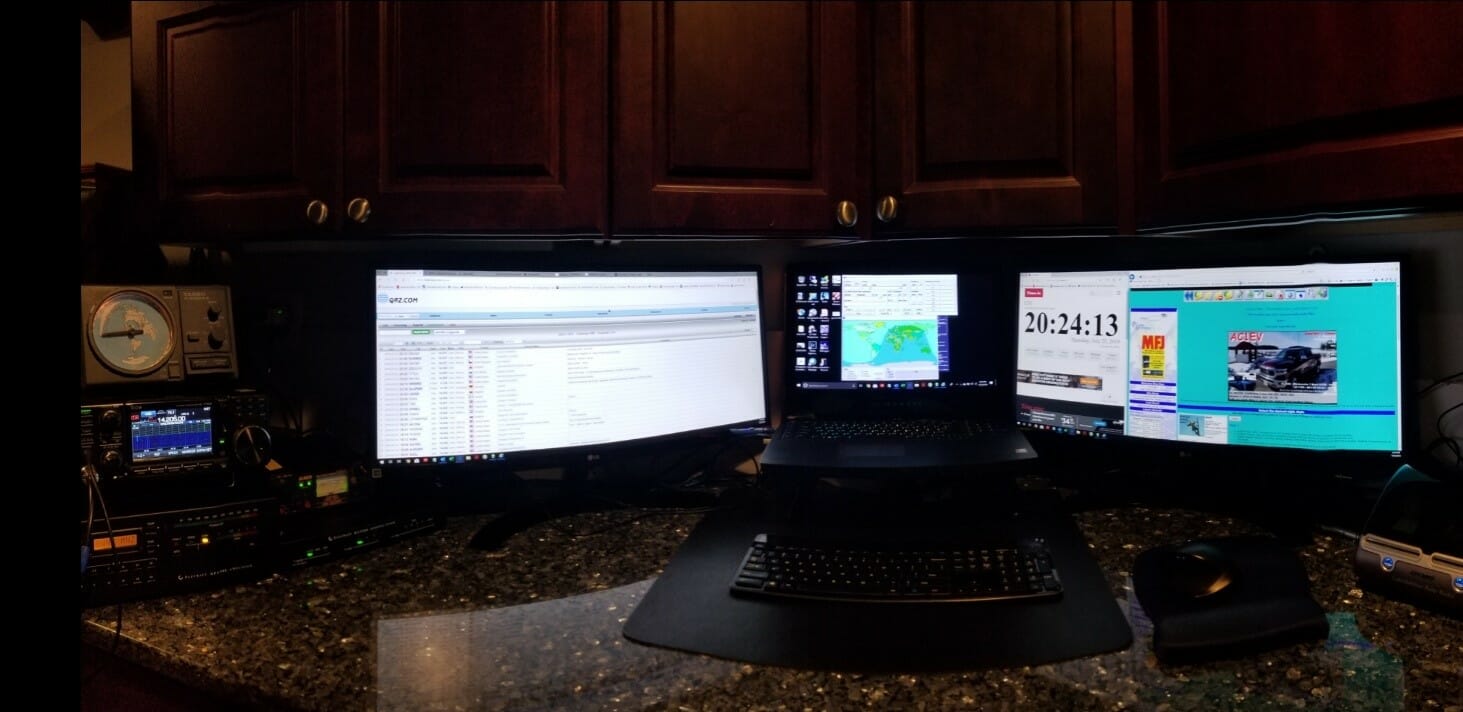
Here is the shack. IC-7300, Elecraft KPA500 amp, Elecraft KAT500 tuner, and the Yaesu rotator controller head. I’ve added a Heil Pro 7 headset. My laptop with two external monitors, a legacy of my former life in IT.
Some Final Notes and Thoughts…
Notes on construction:
- Take care to use appropriate waterproofing anywhere there is a penetration of the roof. I used caulk in the holes for the lag bolts and sprayed liquid rubber over them to seal it up tightly.
- Calibrate the rotator on the ground, it is easier than doing it on the roof.
- The antenna is well-grounded. I also ran a separate ground from the tower itself to the ground.
- If you move or tilt the tower again, remove any wires you can and address any you can’t. It is easy to ruin a wire or connector and a pain to repair them.
- My roof was very easy to work on. It was still high enough to cause a serious injury if I fell from it, so be very careful especially if your roof is steeper or wet.
At the very end of the construction, as I was gathering the last of my tools to climb down off the roof, a pickup truck on the street stopped and the driver rolled down his window. He shouted up to me, “That thing is awesome!” I couldn’t agree more.
Jon, AC1EV
Great job! And thank you especially for thinking to take pictures during the installation, I’m sure they will be helpful to many of us.
Terrific article. Well written and the pics were great.
Certainly was a terrific article, congrats on a nice antenna job.