

There are some exciting things going on in the software defined radio (SDR) world. In December (2018) I’ll be doing a Tech Night SDR workshop encouraging everybody to get familiar with these little gems. Use this article as a shopping guide to prepare for that meeting.
The SDR Stick
The workshop will concentrate on the USB stick style SDR. The most popular is probably the RTL-SDR unit based on the DVB-T TV tuner and the RTL2832U chipset. Sure it can be used to decode digital TV, but some innovative soul recognized that it could also be a general purpose receiver with a range of about 25 MHz to 1.5 GHz. Figure 1 shows that USB device along with a kit of handy parts to get started. This is available from Amazon here for about $28.
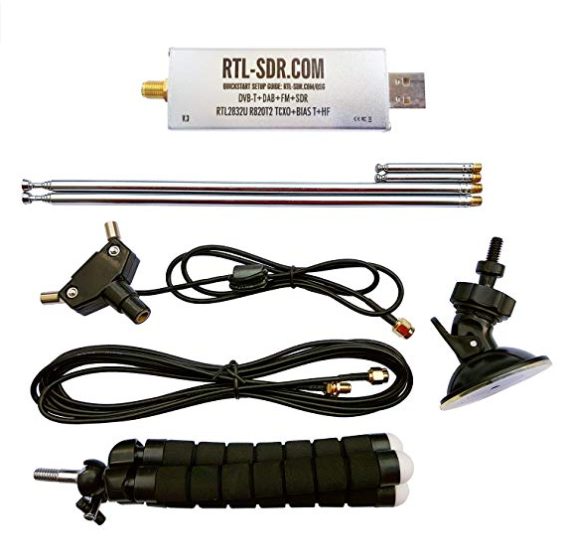
Figure 1. The starter kit for the RTL-SDR
Figure 2 shows the circuit board inside the little dongle.

Figure 2. Inside the RTL-SDR stick
With this and your computer you can have a bunch of fun and learn about pan adapters, SDR tuners, and even watch for aircraft data.
Antennas for the Sticks
The starter kit comes with collapsable whips, a suction cup mount, a small lightweight tripod mount, and feed line. You can do quite a bit with just these parts. If you wanted to use this for a particular purpose (like monitoring aircraft) you can get an antenna specifically for that band or frequency. For example, this antenna is used for doing ADS-B aircraft monitoring. It is available from Amazon here for $8.
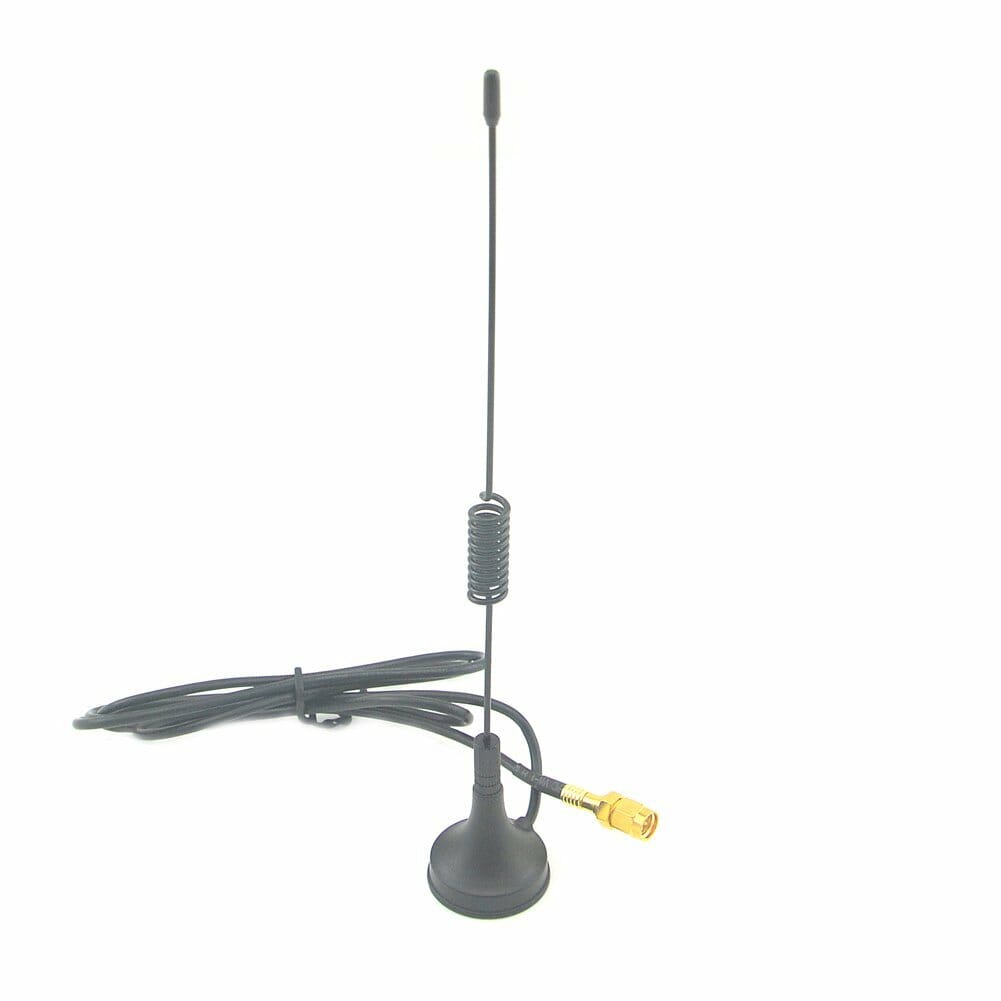
Figure 3. ADS-B monopole
Then again, you can make your own antennas easily enough for this purpose or others. See another article I wrote Homebrew ADS-B Antenna for Airplane Tracking for more information on that.
It is possible to use an existing antenna as well. The RTL-SDR dongle accepts an SMA type connector. A converter from SMA to BNC can be handy. Amazon has a set of two here for $11. See Figure 4.

Figure 4. SMA to BNC connectors
No Computer? No Problem!
An excellent way to explore these small SDR devices is with an inexpensive Raspberry Pi computer. I recommend getting one of the higher end models of these single board computers with a little extra horsepower. Processing SDR signals takes a lot of CPU power and that generates heat. My first Raspberry Pi unit was underpowered and it overheated within minutes. I’ve switched to a newer and faster model that handles the task easily. And, I’ve put it in a case with a small fan to increase airflow. See Figures 5 and 6.
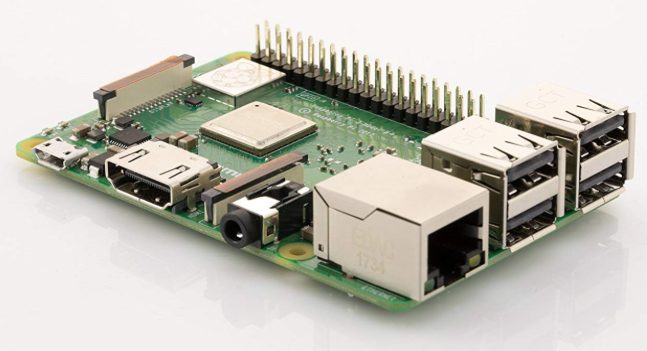
Figure 5. Raspberry Pi 3 B+ motherboard
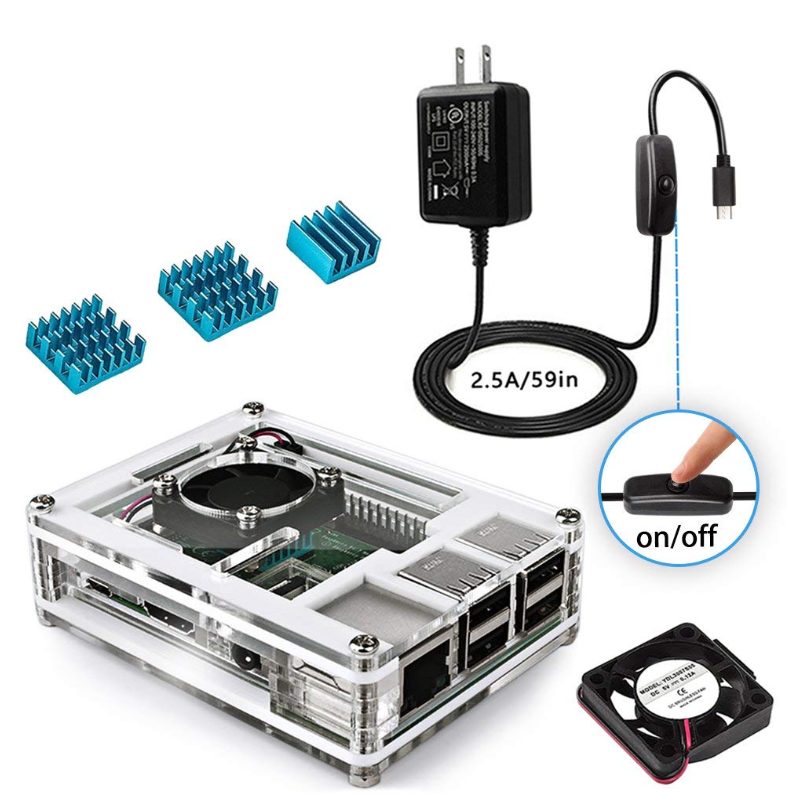
Figure 6. Kit with case, power supply, and heat sinks
These two items are available from Amazon. The Raspberry Pi 3 B+ board is $39 here. The kit that includes a case, fan, heatsinks, and power supply can be found here for $16.
Amplifier
A small device called an MMIC is a broadband RF amplifier that can bring signals up 30 dB. One of these is available on Amazon mounted on a board with two SMA connectors (in and out) here for $11. See Figure 7.
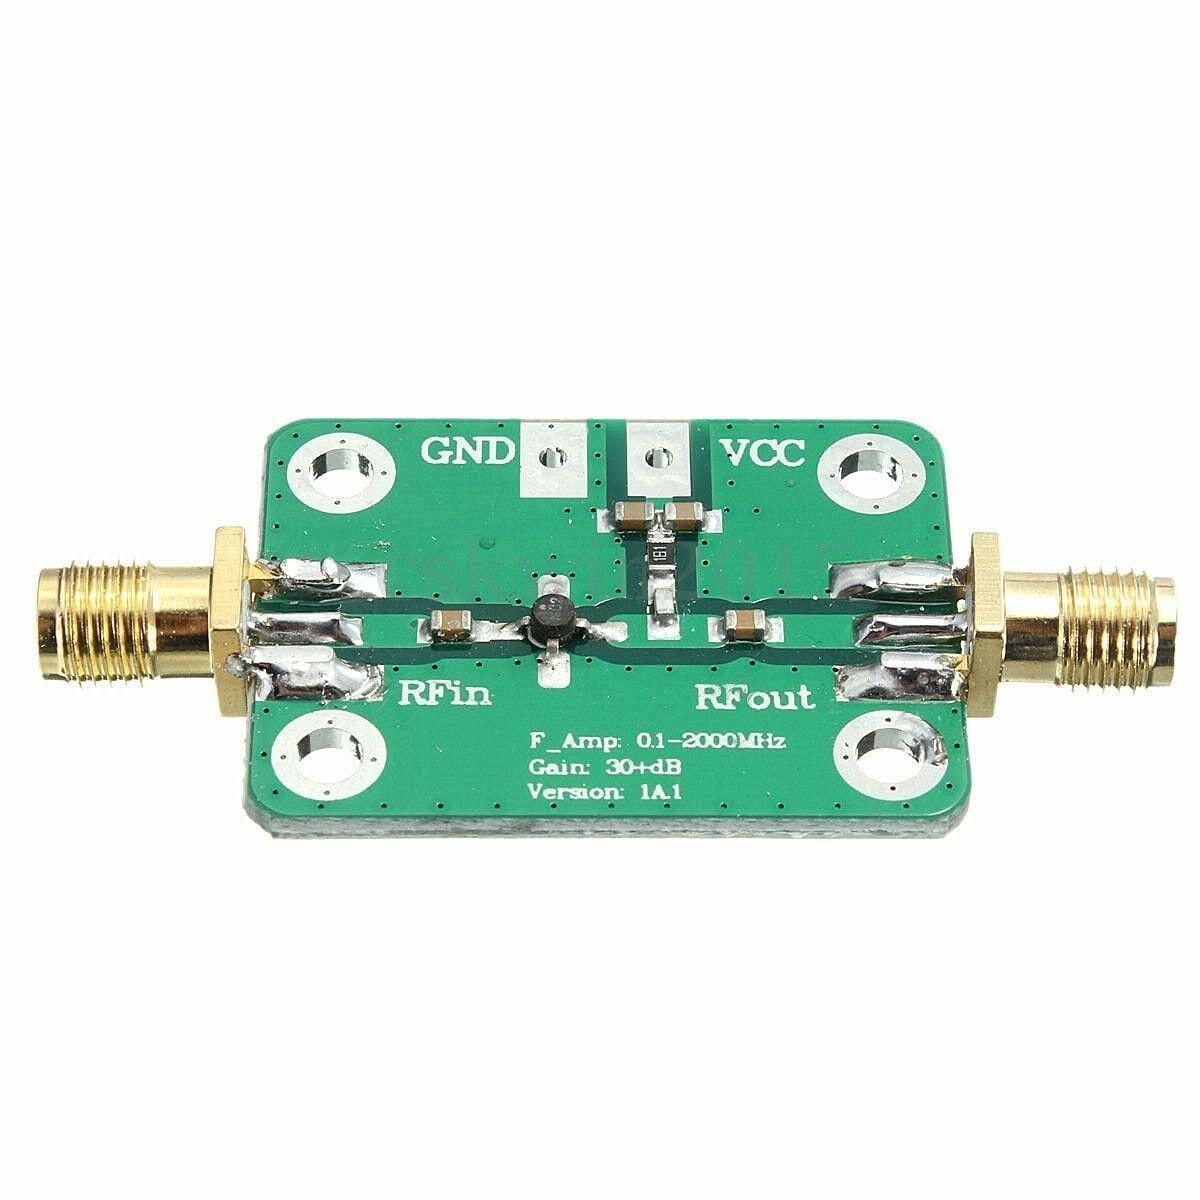
Figure 7. MMIC amplifier for RTL-SDR use.
You’ll also need a jumper to go between the amplifier and the SDR. An SMA to SMA jumper (set of 2) is available here for $4.59. See Figure 8.
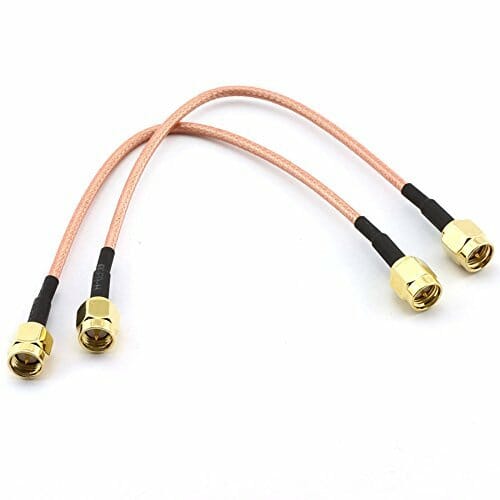
Figure 8. SMA-SMA jumper
Aircraft Tracking
If you enjoyed the aircraft tracking talk given in the regular meeting by Thomas R Kavanaugh, KC1ELF, then you might be interested in the SDR stick sold by Flight Aware specifically designed for this purpose. It has an amplifier built in, and a filter centered around the ADS-B frequency. It is available here for $20. See Figure 9.
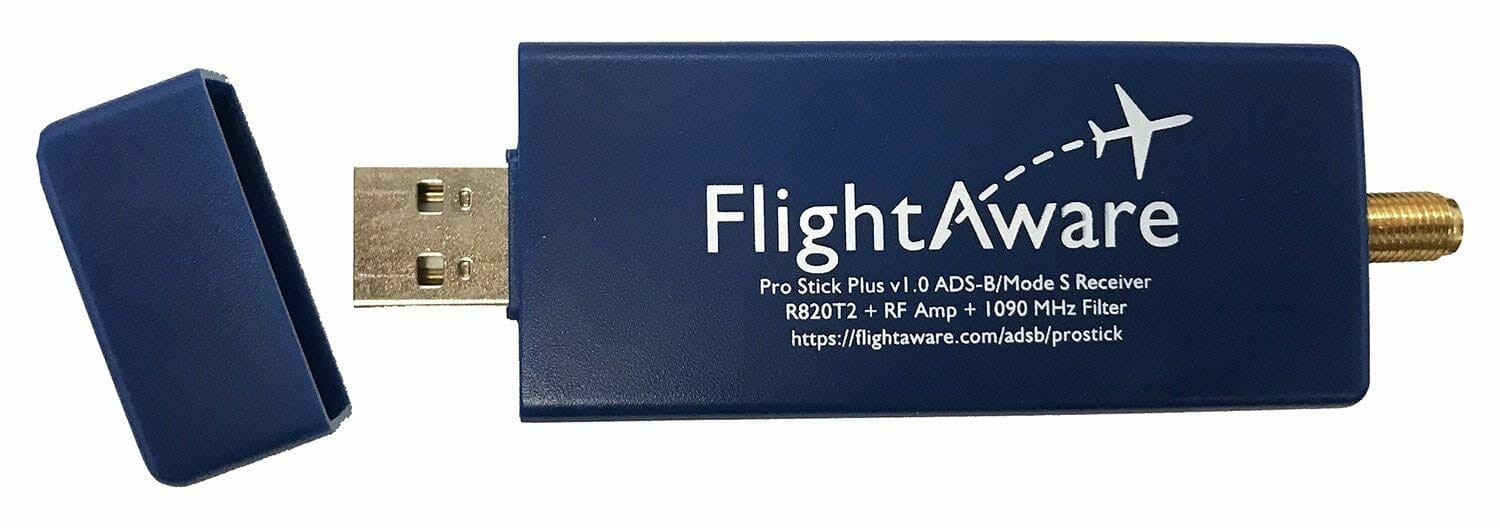
Figure 9. The SDR bundled solution for flight tracking
Smile!
Don’t forget to use the Amazon Smile feature when buying your equipment to support NARS!
Next Time
I’ll cover software options for these SDR sticks in the next installment. I hope you’ll purchase an SDR kit and bring it to the Tech Night meeting in December. It is a workshop intended to help everybody get something running. See you there!
That was very interesting and enjoyed it thank you .