As many of you may know, I QSY’d to Florida last summer and now live in a large retirement community. With the move I find myself in an area tailored for the elderly – single-story homes with wide doorways; age minimum of 55 years old; small lots with few trees; landscape and lawn-care services; and the omnipresent golf carts. The biggest industry besides the care and feeding of golf clubs is health care. While I do not consider myself elderly at least for another 10 years or so, it is nice to know what lies ahead.
The Villages, FL is probably the largest planned retirement city in the country. The city’s goal is to make retirement as enjoyable and comfortable as possible for residents, free from those annoying things you had to put up with during your working career up north. That “freedom” factor is often embodied in fine print on one’s deed that is called Covenants, Conditions, and Restrictions (CC&Rs). Hams are familiar with the term since those who live in apartments or condominiums have to contend with “no outside physical structures for non-commercial antennas, or related paraphernalia attached thereto to one’s domicile”, or similar gobbledygook that means no towers and antennas.
So why in the world does a guy who had two towers, stacked beams, contested regularly on 160 – 10 meters running the legal limit in power, and has worked them all (DXCC and states) pull up stakes for such a place? I’m still asking myself that question, although I must admit being able to cycle, run and swim in January and February is pretty cool. I’m still in good shape for tower climbing if I find a big station off the reservation that needs some help.
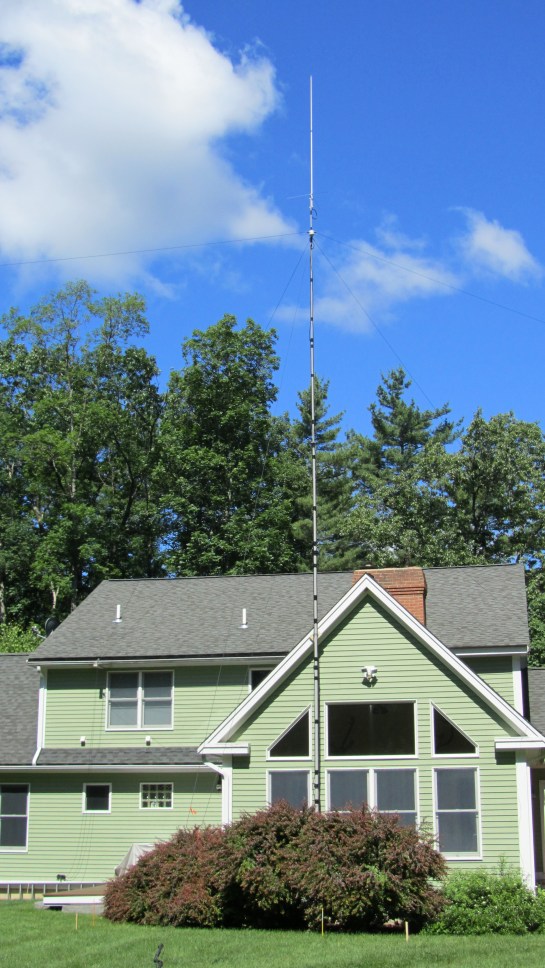
But take heart. Life’s changes mean new challenges and ham radio is no different. Thanks to technology and ham radio ingenuity, there are ways to coexist with Big Brother and still enjoy the hobby. Before I made the commitment to make the move, I checked out the local radio club’s site at K4VRC.COM that contains some useful and clever stealth antenna configurations one can implement. A number of local hams have an “ugly” flagpole made of PVC pipe that encases a vertical antenna. The base hardware is disguised with a fake rock or a nice flower bed while the lush lawns hide a radial field. It didn’t take me long to settle on a Hustler 6BTV vertical for my flagpole antenna. The 6BTV is attractive because it requires no top hat capacitive loading that would not work inside PVC pipe. It is about 24 feet in height which fits in with the CC&R limit of 22 feet for flagpoles. (The two feet that stick out are part of the 80-meter coil and are hard to see.)
I’ve been operating about four months now with the vertical and have had some success with it. I managed to work 500 stations during the ARRL CW DX contest in February and several hundred more during a couple of the RTTY DX contests. I find my hamming has a familiarity that hearkens back to when I got started. As a newly minted General in the 1960s I was confined to low wire dipoles; the Heathkit DX-20/DX-40/DX-60 line of transmitters; and a Hammarlund HQ-100 receiver. I was happy working the states and especially the counties, the latter being “retired” at ~3035 confirmed.
OK, what now? Why, more antennas, of course. The back of my house has a peak about 20 feet up that I figured would be a good spot for a pole bolted in place to support a dipole. I have a tree on the front corner of my property that is 30+ feet tall, fine for one end of a multi-band dipole. Back in the early 80s when the WARC bands were new, I built a tri-band dipole for 30, 17, and 12 meters. This simple antenna worked well since there were few beams and even fewer amplifiers on these bands so everyone was on an equal footing. I decided to go with a 40/17/12 meter combination to give me another option for 40 meters. I hung the antenna between the tree and pole on the back of the house, the 40-meter dipole resting just a foot or two above the roof. The 17 and 12-meter antennas were made with insulated wire and run across the roof to tie-off points on the side of the house in a tilted inverted Vee configuration. Other hams in The Villages have run similar antennas across their roofs and found them to work OK with a tuner. (Such antennas are also hard to see even for the neighborhood vigilante.)
The new antenna allowed me to cover the entire 40-meter band without a tuner. The 12 and 17-meter antennas, however, did not perform as well as I had hoped. Propagation was a factor but I also noticed that the wires worked their way under the roof shingles and I did not want them pulled up when the antenna flexed on windy days. Time to figure out a new scheme, especially when the XYL complained about the dipole being visible from the street.
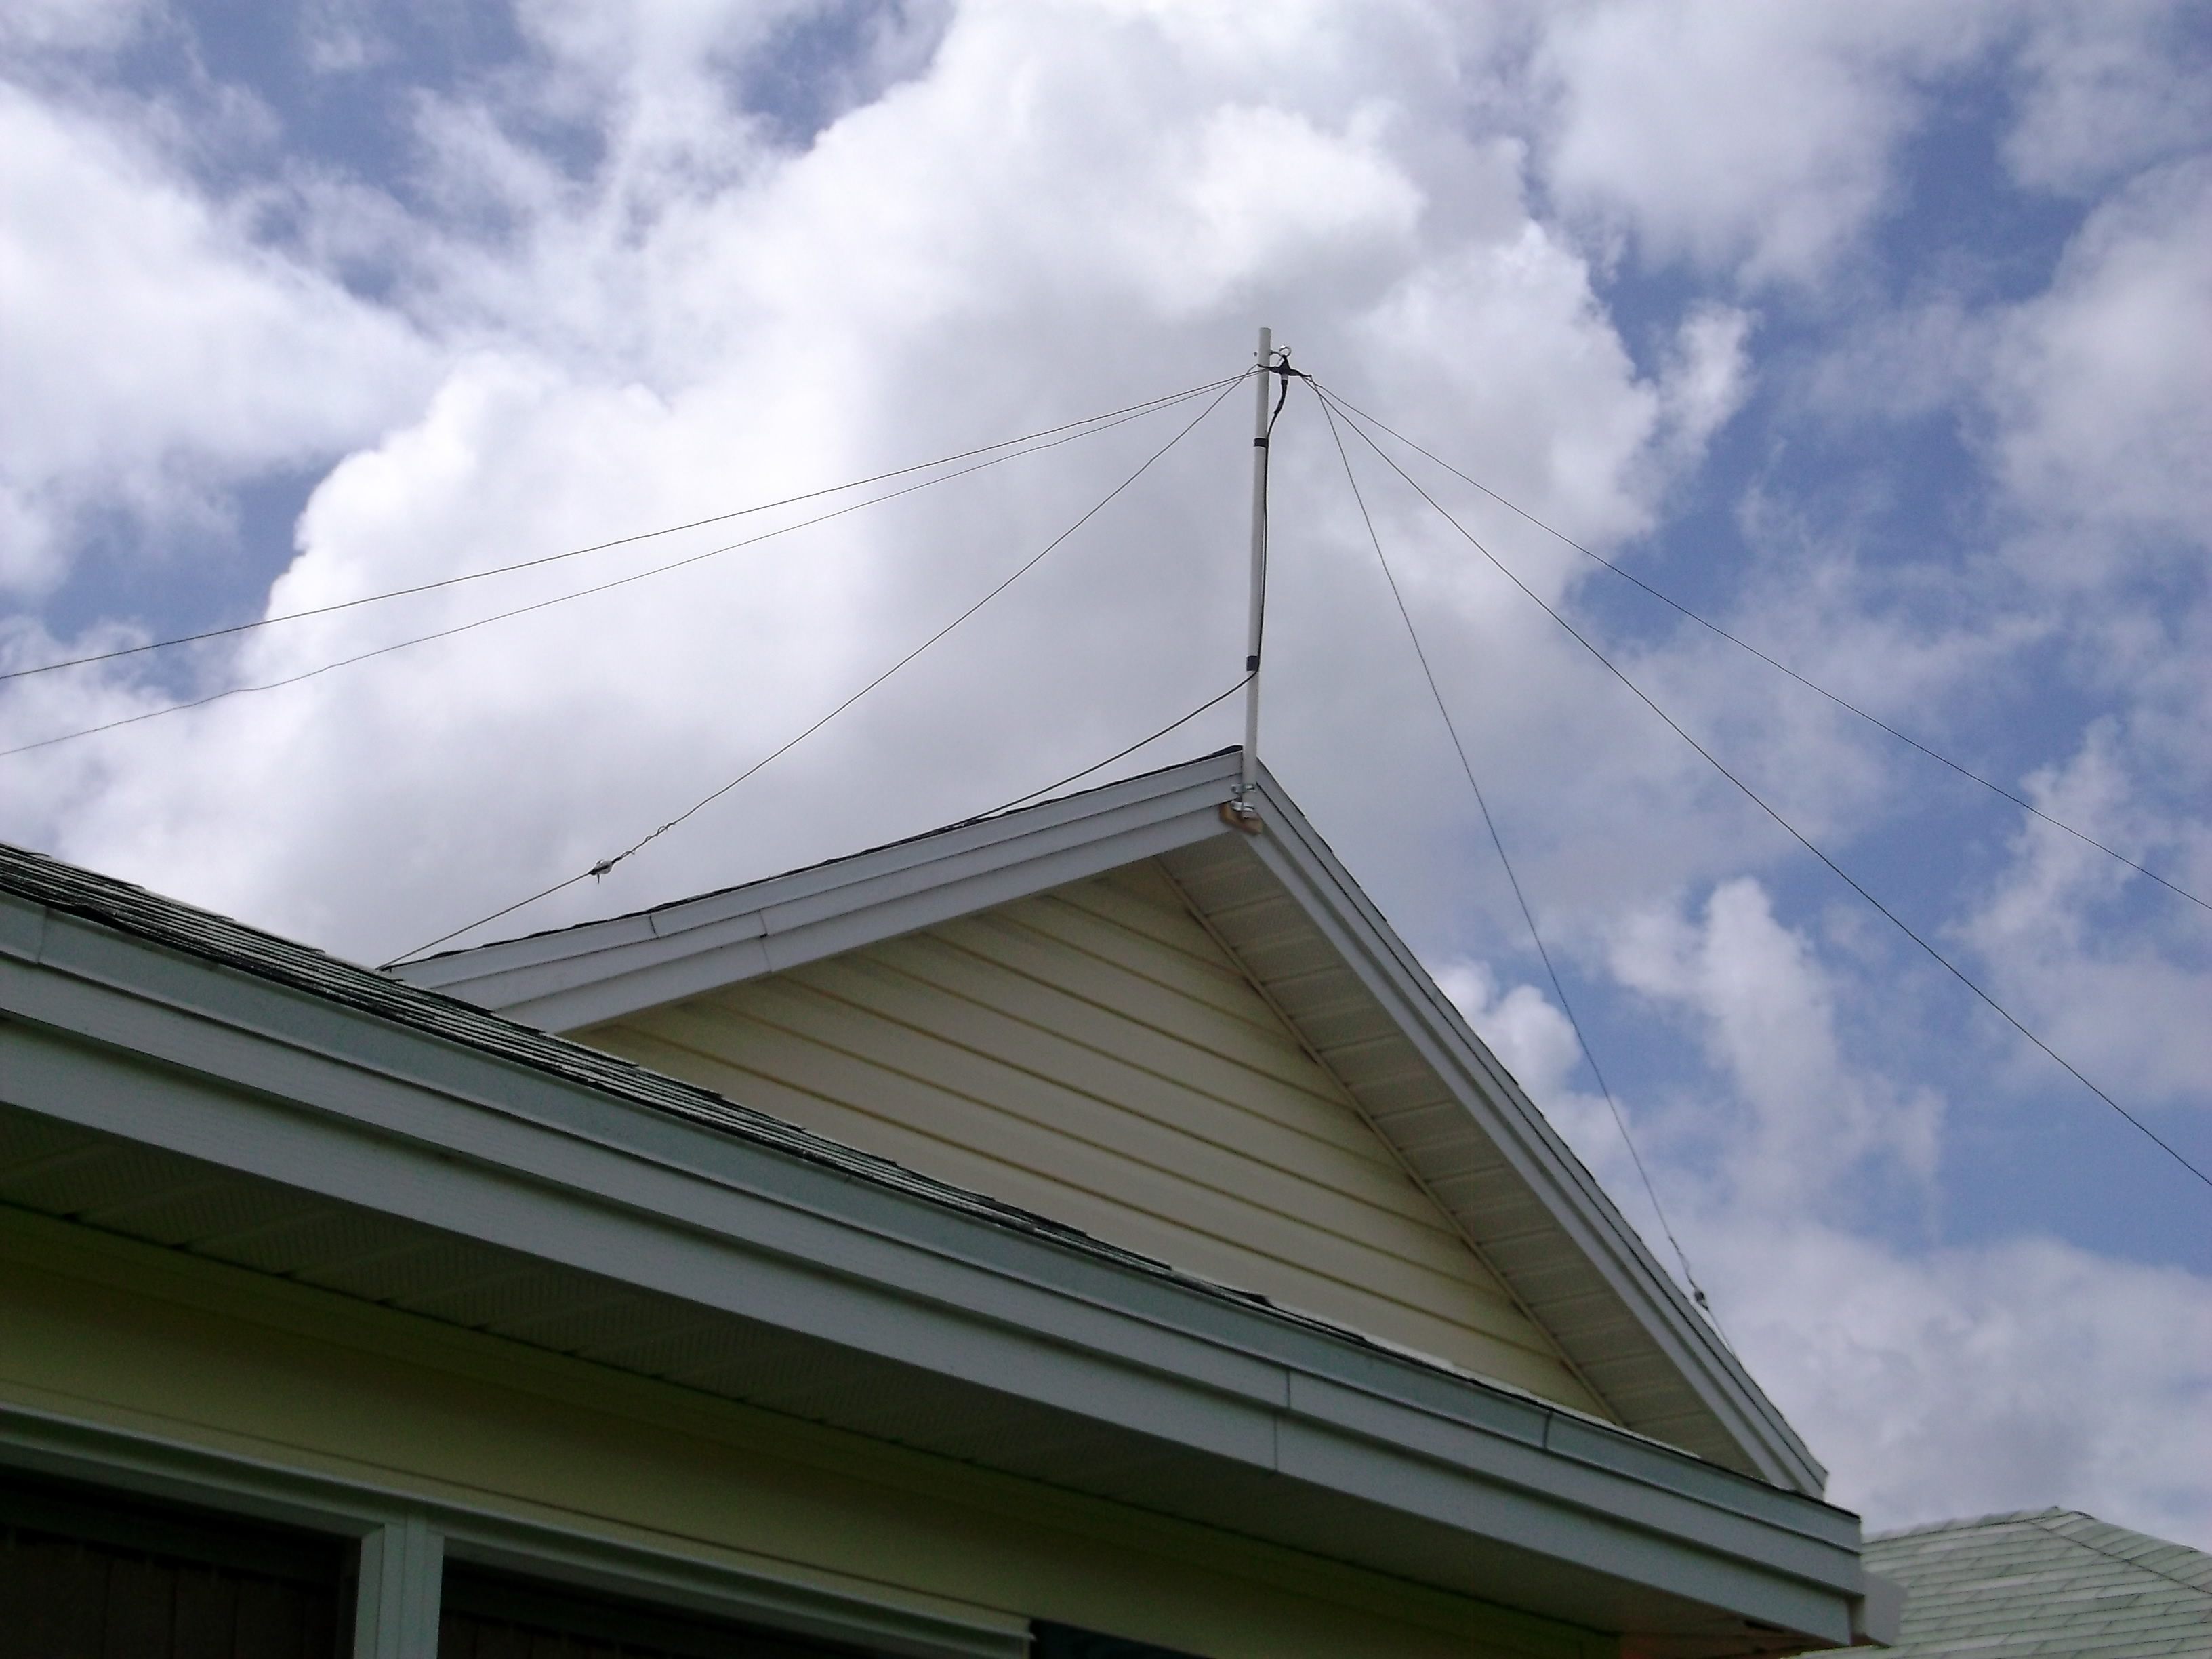
I studied the pole on the back of my house where the dipole was secured and had an idea. Why not mount the center insulator on the pole and feed the antenna ends to the ground as a series of inverted Vee antennas? This approach was desirable for two reasons: (1) it was hidden from the street view; and (2) I could orient the inverted Vees to the Northeast to favor Europe. I found that I could secure the ends of the 12-meter antenna off the ends of the soffit at the back peak of the house. The 17-meter inverted Vee hangs off one end over a lower roof and is tied off to a bush on the corner of the Lanai, and the other end is tied off to a hook on the other side of the roof. The 40-meter antenna runs from a small tree at the back of the property on one side and to a stake that supports a rope to my flagpole on the other side. The coax is taped along the pole and runs across the roof to a row of hooks along the soffit to the front of the house and into the shack. A check of the view from the street shows only the pole to be visible. As for the ends of the antennas, well, I love black Dacron rope.
The figure below shows the antenna from its pole mount. The center feed point is visible at the top of the pole. The top dipole is the 40-meter antenna, followed by the 17-meter antenna and finally the 12-meter that is tied off at the peak roof line. The 40-meter antenna is forward-most, meaning it is the most Northeasterly of the three.
The tri-band inverted Vee antenna is a very simple design and it works. Some pruning may be necessary to tune the antennas due to interaction with each other or nearby objects. I’ve been able to work stations on 17 meters as propagation allows, but nothing much on 12 meters for the same reason. (Zack, W1VT has designed a WARC tri-band dipole that uses ladder line for matching to a conventional wire dipole strung between trees. Unfortunately, I do not have the trees to try this.)
So here I am with a capability to operate 80 – 10 meters again. I’m limited to 100 watts for the time being. Adding my AL-1200 beast in line is not an option since my 6BTV is about six feet from the rig. Besides, 1.5 KW into the antenna will be like unleashing an EMP on the neighbors as well as myself. When I sit back and ponder my setup, I find myself back to the future with simple antennas like I started out with. Ahh, but this is the 21st century and technology comes to the rescue.
Stay tuned.
73 de TE


