Tag Archives: Mentor

Nashua Area Radio Society Forges Great Relationship with Hudson Memorial School

Over the course of the past year, I have found myself the benefactor of the most amazing partnership with the Nashua Area Radio Society.  I can say that I have come from a point of not knowing anything about Amateur Radio to holding an Extra Class License thanks to the knowledge and generosity of the club members who have dedicated their time to helping others come to know and understand the radio sciences.  I have found what makes this dedication even more valuable is the clubs growing outreach to the schools and students of Southern New Hampshire.

Last summer I was fortunate enough to attend Honeywell’s Teacher Space Camp as one of three New Hampshire representatives.  It was there that I learned of the possibility to bring an Amateur Radio contact with the International Space Station (ARISS).  I decided to pursue this opportunity for Hudson Memorial School students back in September of 2017.  The presenter encouraged us to work with local radio clubs to make our chances more successful.  I never imagined that when I picked up the phone and reached out to Fred Kemmerer and the Nashua Area Radio Club that I would be opening up a much larger world to the students and staff of the Hudson School District.

After my initial contact, I was able to set up a meeting with Fred at Hudson Memorial School.  In that meeting, I was able to work to complete our application for the ARISS contact, make arrangements for my students to become the largest number of students to become involved in the HAB 3 project and learn more about licensing opportunities for myself and my students.  I was invited to attend a club meeting and learned more about the generous outreach for students from the club.  I was slowly falling in love with a new hobby that only months before didn’t know existed.

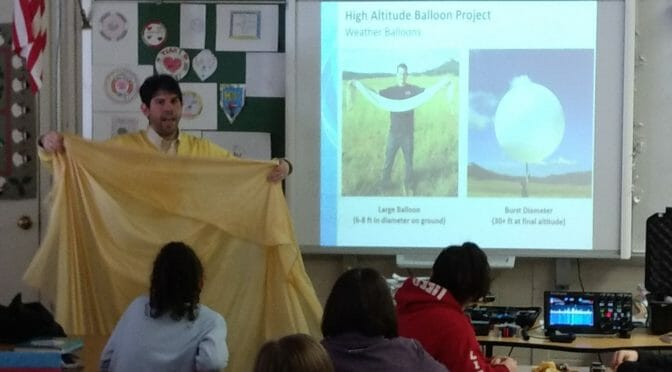
Over the course of the remaining school year, I can say that the club members and Nashua Area Radio Society continued to impress students with their knowledge and love of the hobby.  Fred, Abby, and Jamey came to HMS during our STEM night allowing students to practice Morse code, learn about HAM radio, and learn about Fox Hunting.  Fred, Jamey, and Brian S. came to HMS over the course of 6 weeks to teach the science behind the High Altitude Balloon launch they would be involved in during the month of June and demonstrate interactive activities such as Morse Code, Fox Hunting, and making amateur radio contacts.  The students’ were enthralled and engaged in the educational program that was presented to them by the club.  As a teacher, I found it very easy to work with the other presenters to easily tie the topics into our curriculum.

During this time we also learned of our successful application to earn an ARISS contact in the Fall of 2018.  I know it isn’t typical to receive a contact in your first attempt.  Thanks to all of the work that was done by the club members to make sure we would be equipped to properly host such a great event.  I am sure the students of Hudson will enjoy this once in a lifetime event.

In June we finally launched HAB 3.  The students were able to analyze the data and come to understand how the subjects they had been taught all year were connected.  We also decided to host ARRL Field Day at Hudson Memorial School.  Once again, members shared their knowledge of the hobby with students from the entire area as they visited the field day site.  Field Day is truly a site to see and participate in for anyone.

Which brings me to the past week.  Fred, Abby, Hamilton, and newly minted Extra Class Operator, me, worked with a group of nine students and two educators to help them earn their Technician class license.  We took a class that had been offered in a two-day format and turned it into a – format that would be more palatable for students of a younger age to understand.  Fred and the other instructors also incorporated a lot of hands-on activities that put what was being learned in the class to immediate use by the students.  Students from all of the HAB schools and two educators worked through the materials of the course and asked the most intriguing questions to Fred and the instructors.  It was clear that the students in the class were ready to become new Hams.  In this course, we’re happy to see a majority of the students and adults pass their first exam and several students came very close to earning their General class license.  One student I am extremely proud of is my own daughter, Mackenzie.  She worked hard over the course of the week and at only 10 years old she earned her Technician license.

I know that in the future that even greater things will come from the close relationship we have built between HMS and the NARS.  I want to personally thank all of the members and donors that make these events possible.  Your love of your hobby is infectious and this can be seen in how our students react to the great interactions and instruction that come from your members.  From the bottom of my heart, thank you for all you do for the students we teach.

Dan, AC1EN
A Block Diagram for the LNR Precision MTR3b

When I was a young child, there was nothing more dangerous in the house than me and a screwdriver. I took everything apart. Nothing was safe. I wanted—no needed—to see the insides of things, and see how they worked. At some point, learning how to put things back together was the only thing that kept me from a seriously sore backside. Still, every bit of it was worth it, and I have retained that kind of curiosity throughout my life and my career. 

Things are a little easier today. You can understand a lot from just looking at the drawings for a device. One of the things I enjoy doing is looking over radio schematics and trying to understand how they work, and the choices that the designers made. In this article, I’d like to do that for the three-band Mountain Toper MTR3b, a radio designed by Steve Weber (KD1JV) and sold by LNR Precision.

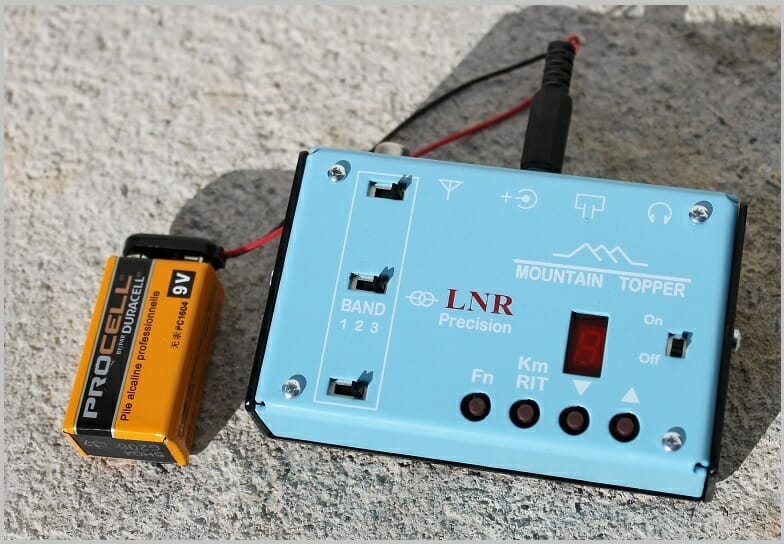
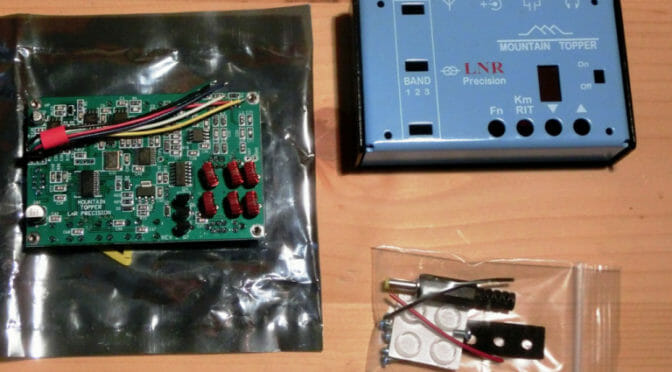
The MTR3b is a CW-only, 3-band (20/30/40) radio that can fit in the palm of your hand. The photograph of the radio with an accompanying 9-volt battery gives you some idea of its size, though you don’t truly grasp the compactness of the unit until you hold it in your hand. The 9-volt battery is not just a prop for the photograph. The radio can be powered by a single such battery, though it works better with something a little larger. I use a compact 11.1-volt LiPO battery packs made popular by drone users.

I’m not going to provide a detailed review of the user interface (just 3 slide switches, four buttons, and a single 7-segment LED), or go through its on-air performance. There have been several excellent reviews for this radio in QST and other places. Instead, I’d like to take it apart for you. Well, not exactly disassemble it as much as analyze the schematic and see how Steve Weber made it work.

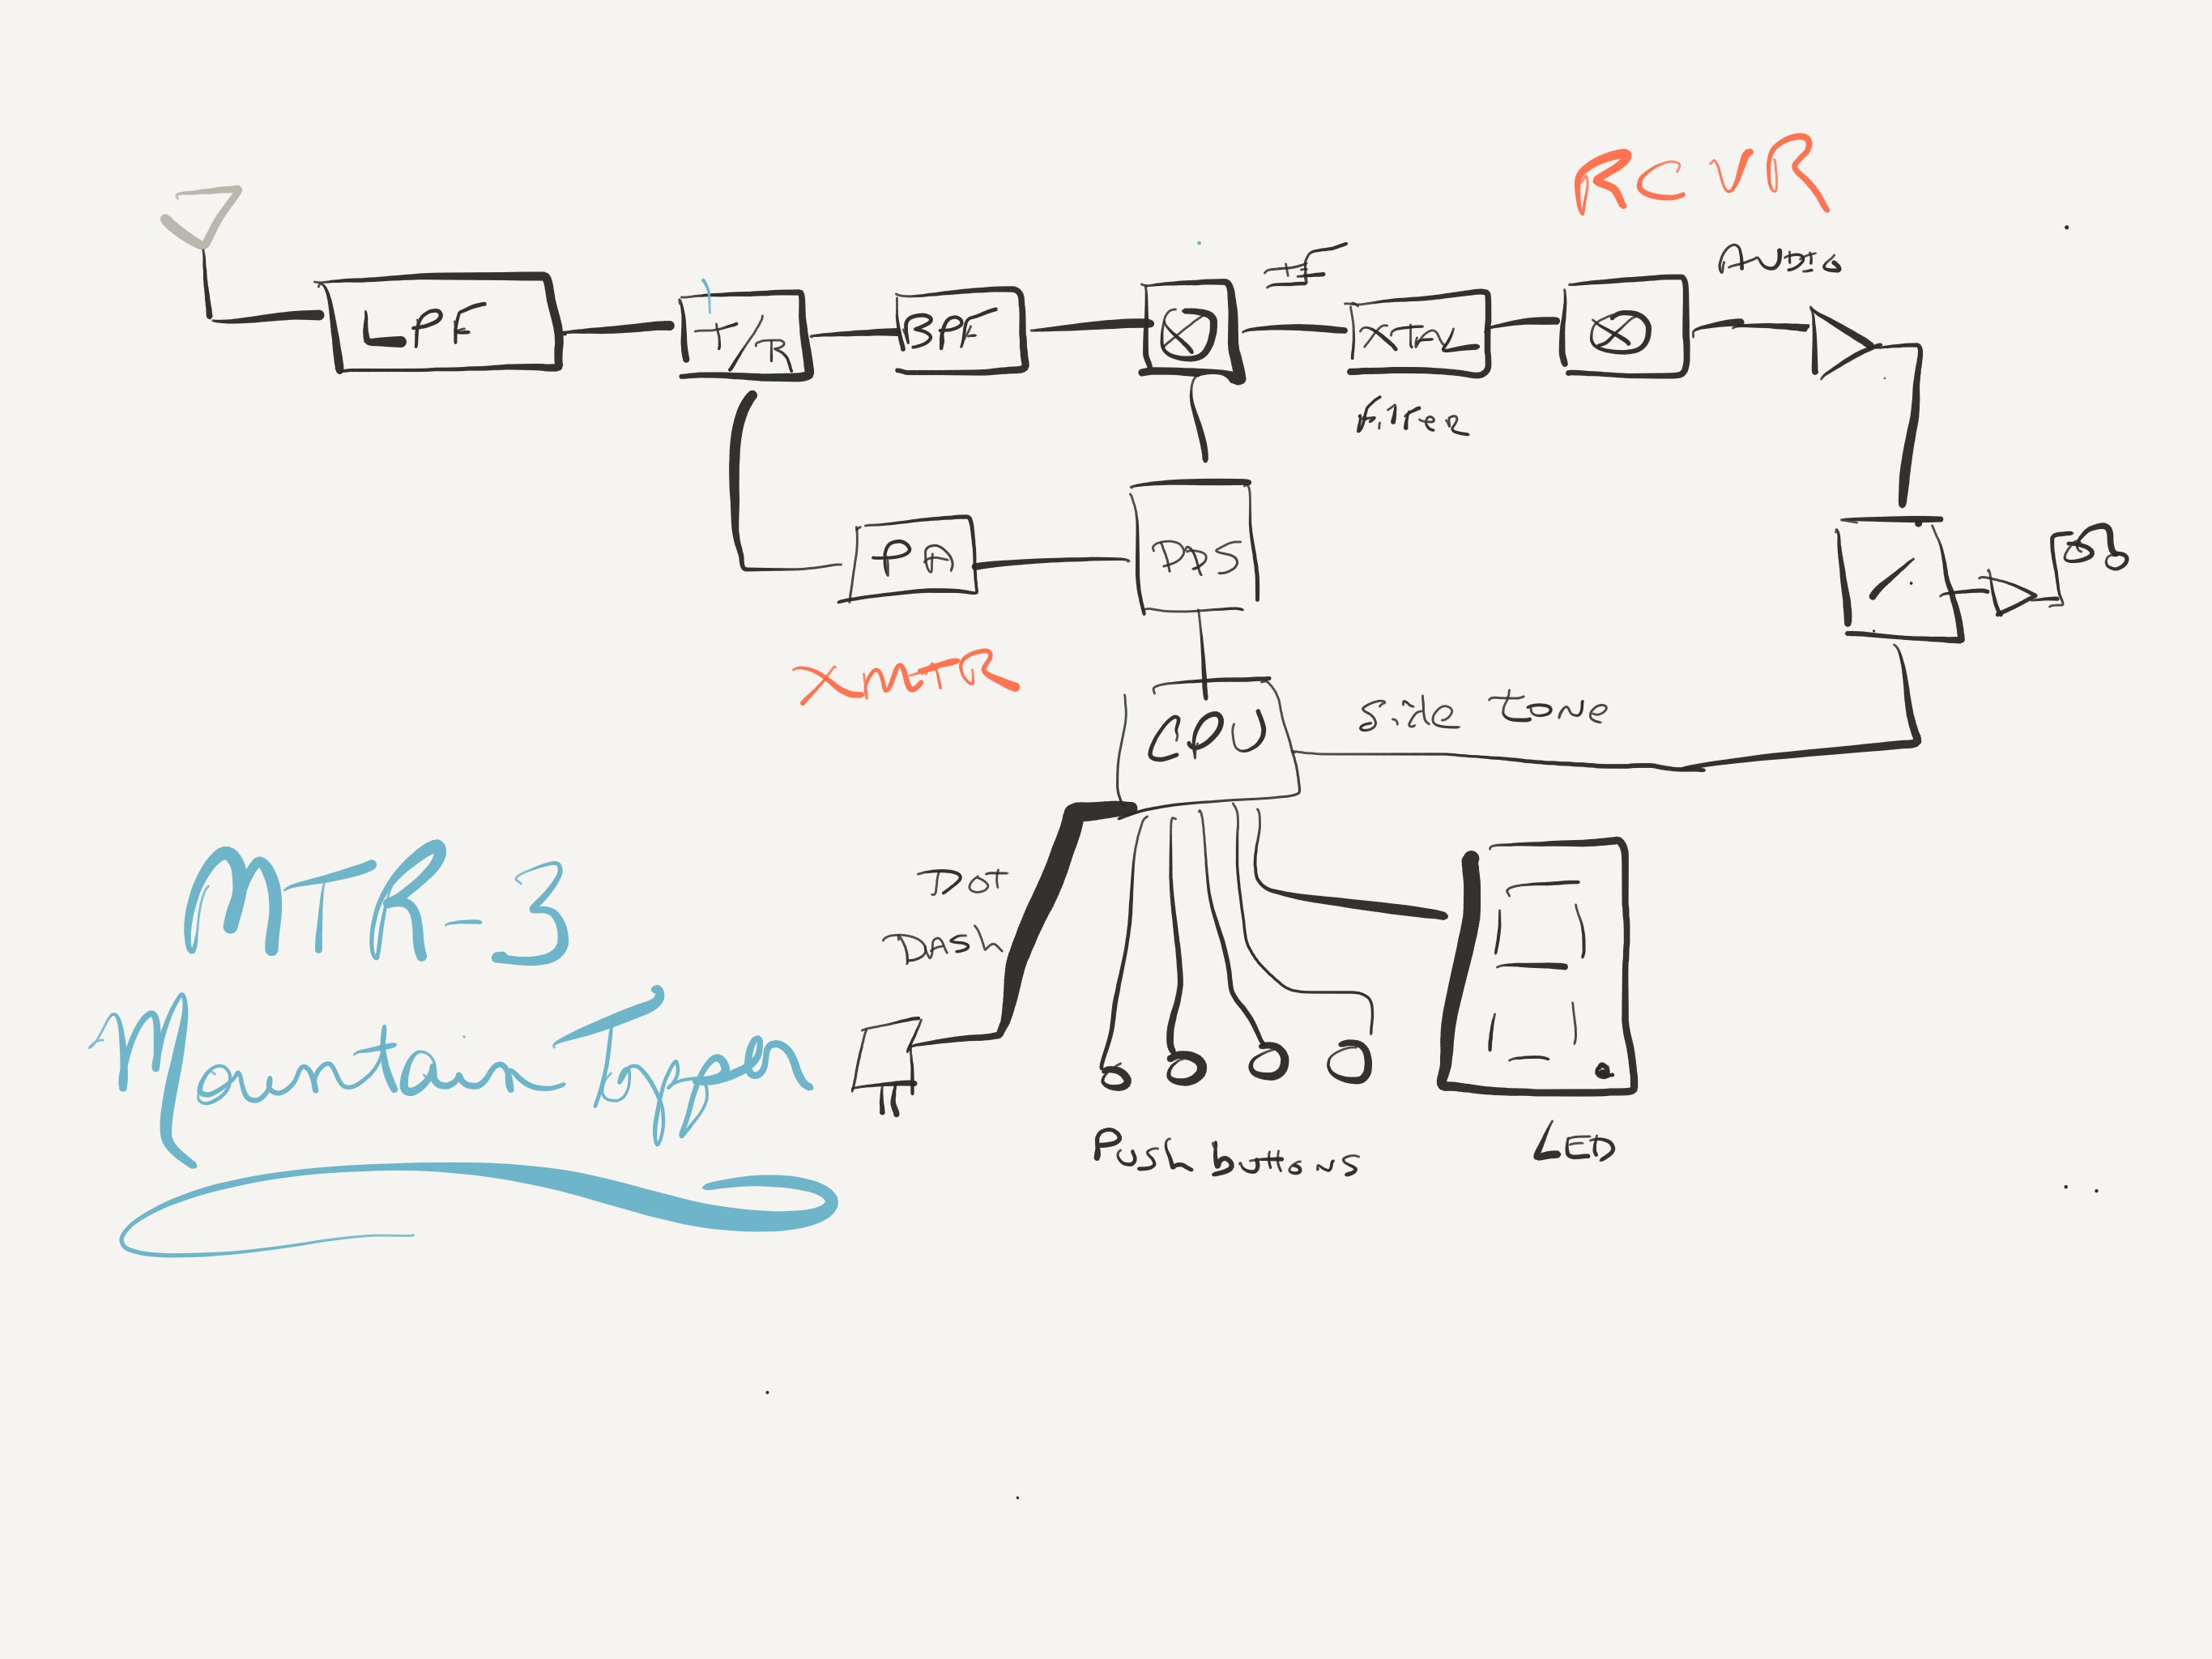
I was lucky enough to have a fellow named Mr. Davis for my high school physics instructor. He said many wise things (that I only understood long after high school, alas), but one that stuck immediately was his adage, “If you can’t draw the picture, you don’t understand the problem.” How very true! So, I often made models and block diagrams of things to better understand them. These models don’t need to be exact. In the words of George Box, “All models are wrong, but some are useful.” A block diagram of the insides of a transceiver can be useful. Here’s the diagram for the MTR3b I sketched on my iPad Pro tablet a few evenings ago.

Let’s walk through it. The antenna is on the far left. The antenna connects to the radio and is presented to a low-pass filter (LPF). As it turns out, each band requires its own special LPF so there are slide switches on the front of the radio to switch-in the correct filter. Switch position 1 is for 20m, switch position 2 is for 30m, and switch position 3 is for 40m. The way the radio is designed, as we will see, it is important that all three switches be in the same relative position for the radio to operate properly. 

The next thing in line as we walk towards the receiver is a transmit-receive (T/R) switch. When we transmit, the signal path is cut off from the receiver and the transmitted signal only goes to the antenna. When we are receiving, the signal path is routed to the receiver, pictured along the top of the diagram.

After we pass the T/R we have a band-pass filter (BPF), also selected by one of the slide switches, that rejects out-of-band signals. This is the lead-in to the first mixer that generates the intermediate frequency.

We should take a quick detour for a moment and review what a “mixer” does. A mixer is an electronic device that takes two signals in and yields four signals out. It sounds complicated, but it really isn’t. Say we have two signals of frequency A and B. The mixer will output those same frequencies A and B (not very interesting), and two other signals: A-B and A+B. These signals are interesting. 

Superheterodyne receivers like this one mix the received signal with one from the radio (tied to the main tuning system) to produce an intermediate frequency that can then be further processed. By turning the original signal received from the antenna into this intermediate frequency, we can have a system common to all three bands 20m/30m/40m in the rest of the receiver. This common system works because it only has to deal with signals at this selected intermediate frequency. The intermediate frequency selected by Steve Weber for this design is about 4.1 MHz.

After we mix the signal with the first mixer (illustrated as a circle with an X in it), we pass the resulting signals through a crystal filter that allows only the 4.1 MHz-related frequencies through it. This is the A-B output from the mixer. The other products are discarded. Once through the crystal filter, we now have a nice signal from our selected frequency, but it is in the 4.1 MHz range. We need a subsequent step to bring it down to the audio frequency range.

The product detector that produces the audio frequency range signal from the 4.1 MHz intermediate frequency is obtained by passing the signal through a second mixer. When we’re through here, we have something our ears can hear. All that is left is to bring that audio signal through a few amplification stages, and send it to the headphones. This radio is so simple that it doesn’t even have a volume control! 

Just before the headphones is a multiplexor that allows audio to be selected from either the receiver (as we’ve just done above), or from the sidetone generated when we send Morse code. The CPU generates the sidetone signal and controls the multiplexor. This is the whole receiver.

The transmitter is even more simple. The Texas Instruments extremely-low-power CPU watches the paddles, slide switches, and push buttons, and controls the 7-segment LED display. When dot or dash paddles are pressed, it signals to the DDS (Direct Digital Synthesis) frequency generator to output a signal. (The DDS is also used to select the receive frequency.) The output signal is sent through a few amplification stages, the T/R switch is changed to transmit, and the amplified signal is sent to the antenna.

I was able to get all this just by perusing the schematic included at the rear of the MTR3b manual. You can download the manual for free from the LNR precision website and follow along from the block diagram I’ve provided.

Every time I do this for a radio I feel like I’ve learned something new. It is also gratifying to use a radio that you understand, and know how it works under the hood. 

http://www.lnrprecision.com

Scott, NE1RD

N1FD Multi-Op Team #1 in Area 1 in 2018 Rookie Roundup SSB

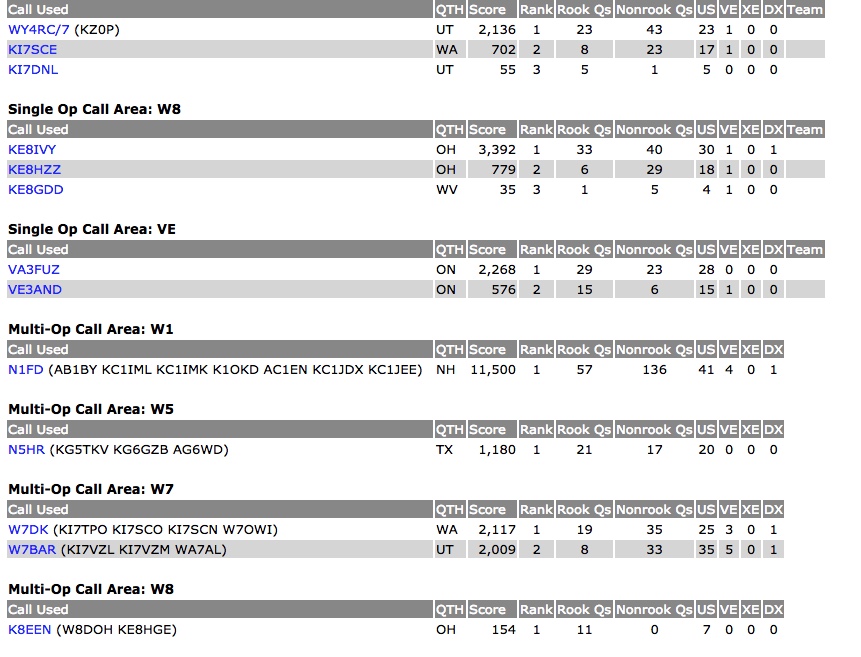
ARRL Rookie Roundup SSB Scores

2018 ARRL Rookie Roundup SSB Results

The scores are in.  The N1FD Multi-Op entry placed first in Area 1 in the 2018 ARRL Rookie Roundup SSB.  We also had the highest score of all the operators in the contest!

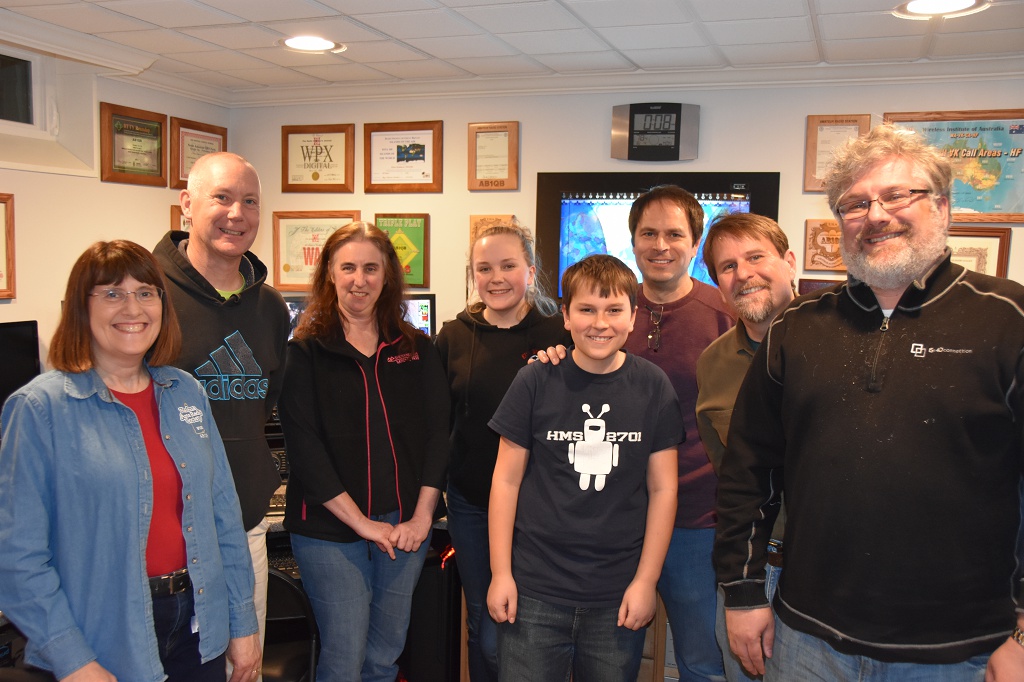
Congratulations to the Operators:

It was great to see how much the Rookies’ operating skills improved the longer they operated.  They are now seasoned operators who are ready for Field Day and the 13 Colonies events!

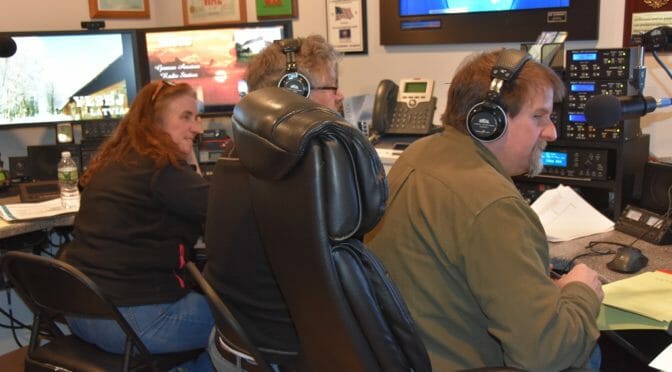
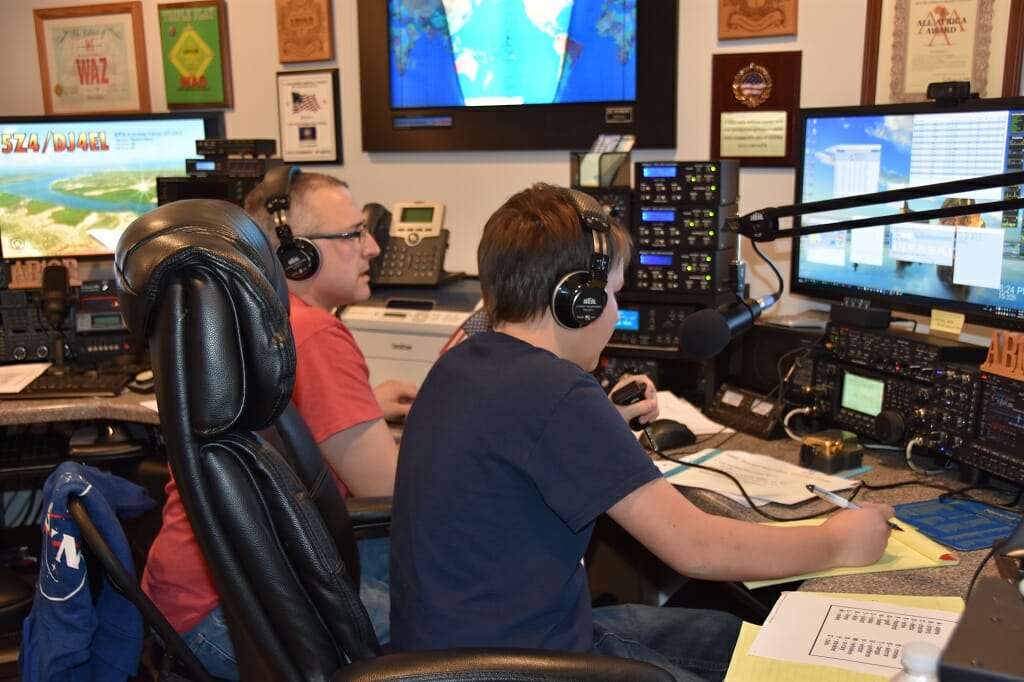
Dan, AC1EN logs with Keith, KC1IMK at the Mic

Thanks also to the members who elmered the Rookies, Jamey, AC1DC, Aron, W1AKI and Fred, AB1OC!

The ARRL Rookie Roundup SSB is a 6-hour contest for amateurs who were first licensed in 2016, 2017 or 2018.  The N1FD multi-op entry operated from AB1QB and AB1OC’s QTH on Sunday, April 15th.

Rookies and Elmers who joined the weekly repeater net.

Members who operated or elmered in the contest joined us after the contest in the weekly repeater net.  The live stream from our shack can be found on the N1FD Facebook Page.

Next Rookie Roundup

The next Rookie Roundup will be the Rookie Roundup RTTY to be held on Sunday, August 19th.    All Rookies or anyone who has never operated digital before are welcome to join us – hold the date!

Radio Amateurs Developing Skills Worldwide