Tag Archives: Homebrew

2017 Field Day Prep – New Tower Test

We decided to put up a third tower as part of our 2017 Field Day operation. The new tower will support a tri-band yagi and wire antenna for use by our Digital and GOTA stations this year. Our Field Day plans call for this tower to be located on the middle-level soccer field at the Hollis-Brookline High School. To overcome terrain limitations, we decided that our new tower should be a 60 ft setup.

The project began with some mechanical design and planning for a new, heavy-duty Falling Derrick System. Mike K1WVO, Dave N1RF and I secured the necessary materials and hardware to make the new Falling Derrick System.
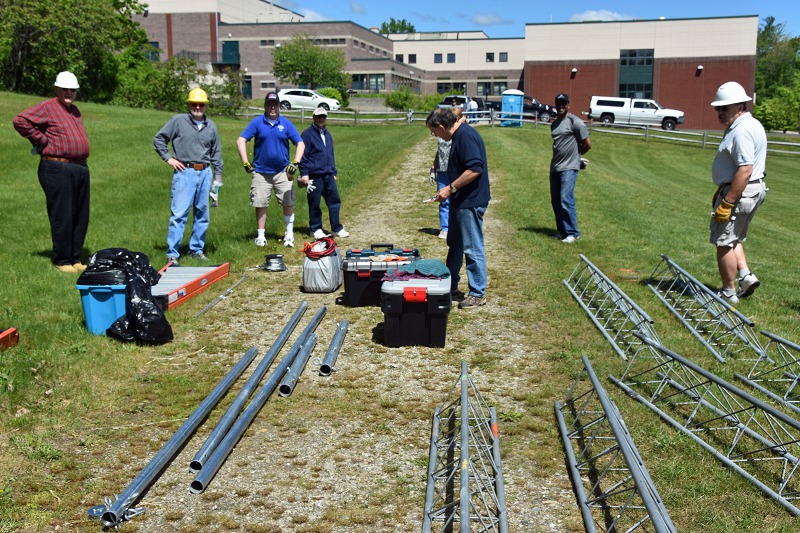
Tower Test - Equipment And Tools On Site
Equipment And Tools On Site

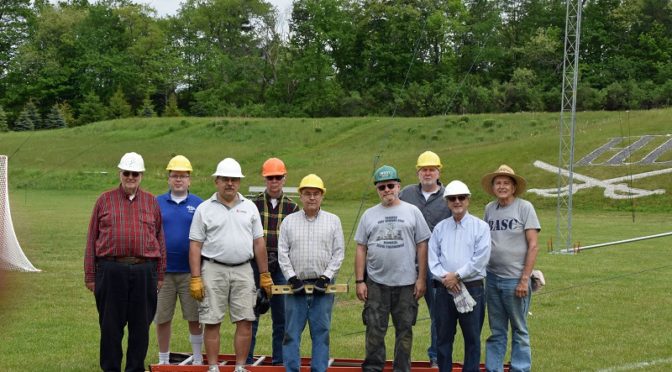
The team in the two pictures above met at our QTH this past weekend to transport all of the equipment for the new tower to the high school for a test setup.
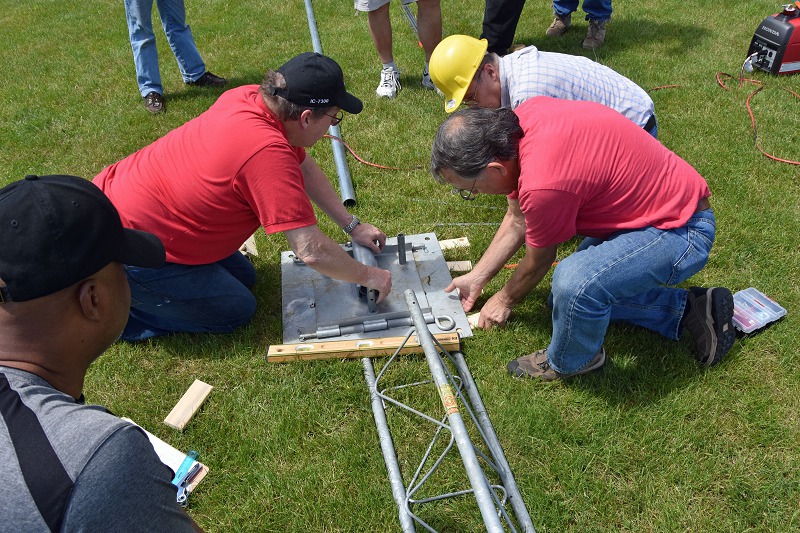
Tower Test - Setting Up The Tilt Base
Setting Up The Tilt Base

The first step in the test was to locate the tower base in the center of our test area and ensure that it was level. Steel stakes were driven and retainers added to secure the base to the ground.
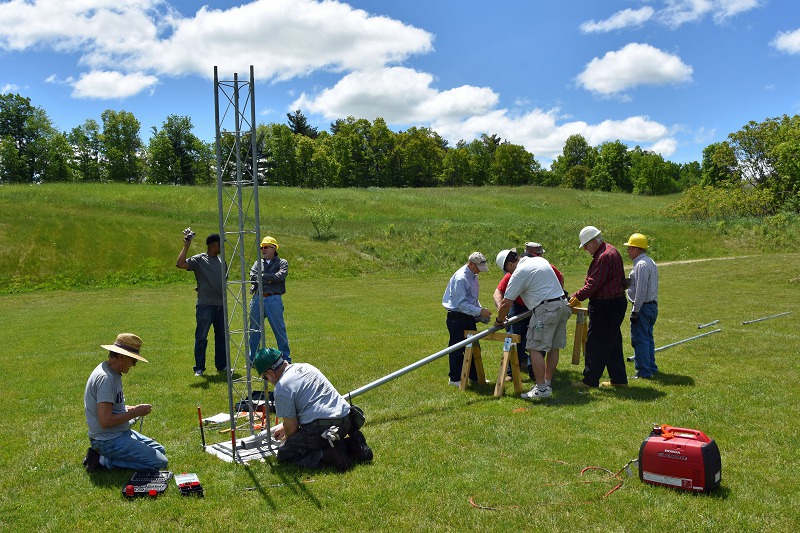
Tower Test - Building The Derrick
Building The Derrick

Next, we assembled the falling derrick and the first section of the tower to the base.
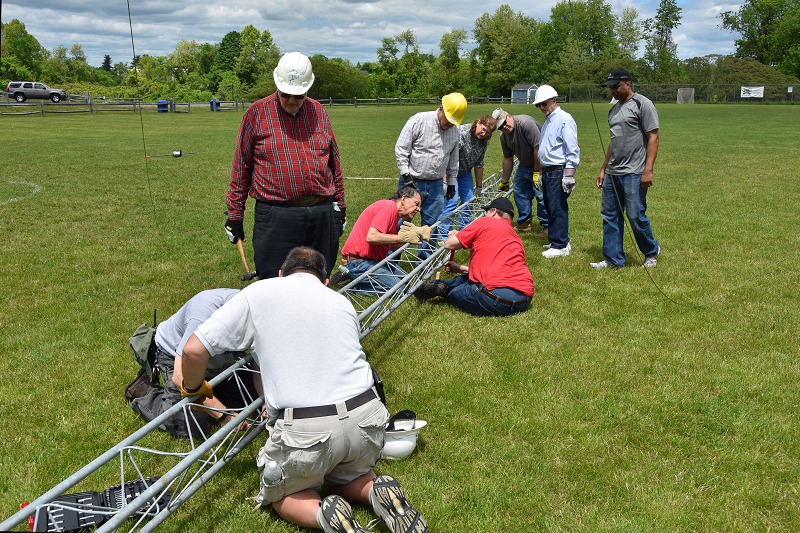
Tower Test - Assembling The Tower
Assembling The Tower

With the Derrick in place, we assembled the remaining sections of our 60 ft tower on the ground.
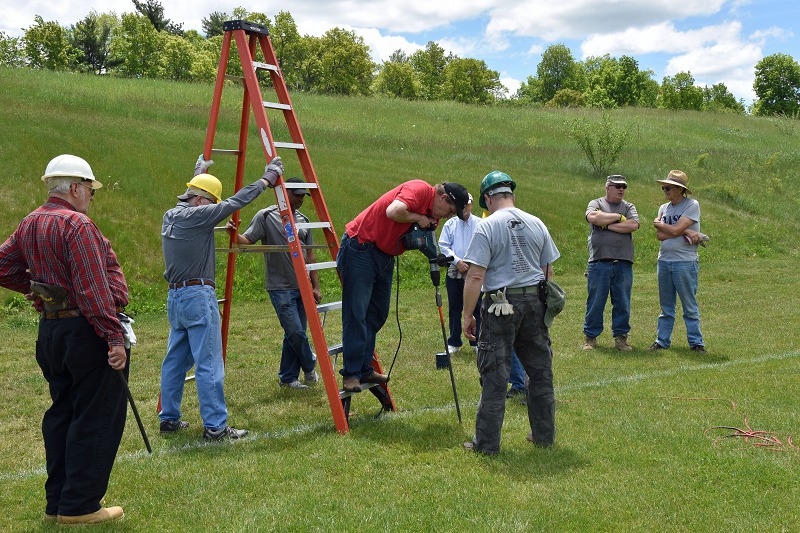
Tower Test - Driving Guy Anchors
Driving Guy Anchors

WIth the tower, Derrick and base together; we carefully located and drove the steel stakes for guying the tower, the derrick and for anchoring the pulleys associated with the falling derrick system. With this done, we made up and attached two levels of guys between the tower and the anchor stakes.
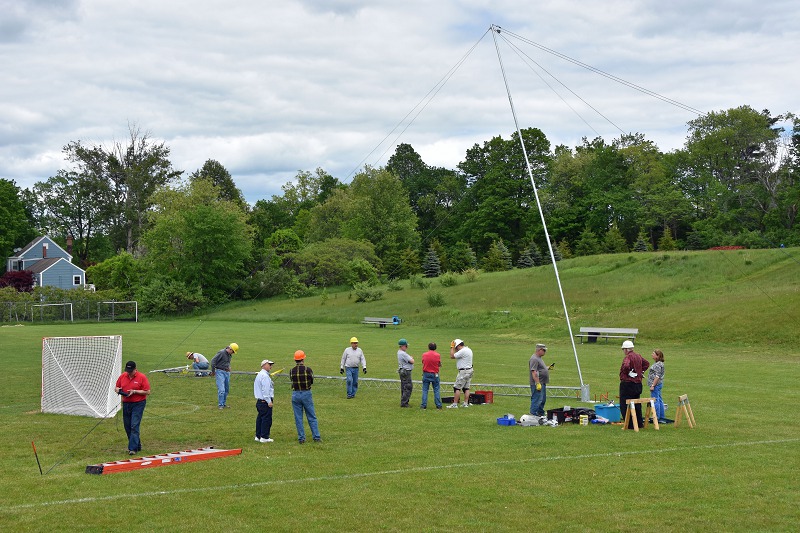
Tower Test - Completed Heavy Duty Derrick System Ready To Lift
Completed Heavy Duty Derrick System Ready To Lift

The tower is lifted by two wire cables which run between the derrick and the tower. We made these cables up to length during our test session. Multiple cables are used to ensure that the tower is fully supported during the lift.
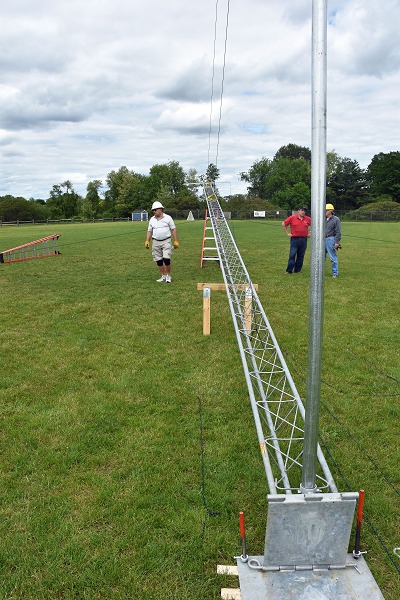
Tower Test - Completed Derrick System - A View of the Tower
Completed Derrick System – A View of the Tower

Here’s another view of the tower and Derrick prior to the lift. We supported the tower on a ladder to make the initial lifting easier. The ladder will also be needed on Field Day to allow our tri-band yagi to be installed on the tower prior to standing it up.
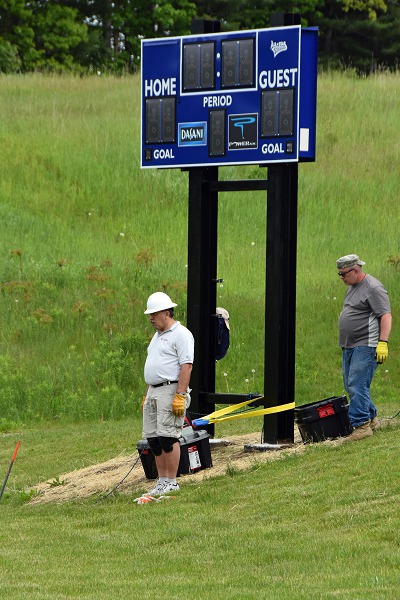
Tower Test - Capstan Winch Used To Lift Tower
Capstan Winch Used To Lift Tower

There is a considerable amount of rope that needs to be pulled through several pulleys to lift the Tower/Derrick system. The pulleys provide mechanical advantage and slow the lift rate to a safe level. We used a heavy-duty gasoline powered capstan winch to pull the considerable length of rope required to lift our tower into the full upright position
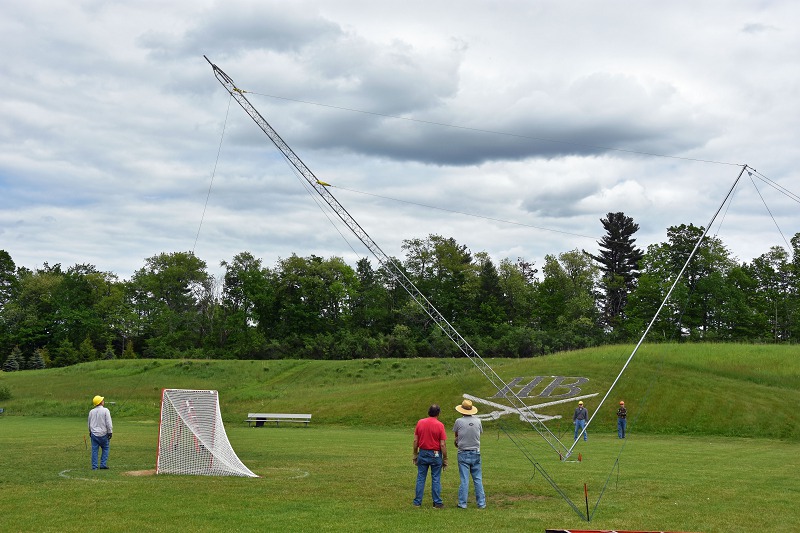
Tower Test - Lifting The Tower
Lifting The Tower

With our crew fully briefed on the process and safety procedures, it was time to lift our tower. The picture above shows the lift in progress. Our setup ensures that no one needs to be in the tower’s fall zone during the lift.

Tower Test - The Tower Is Up!
The Tower Is Up!

Here’s a picture of the tower after it was up and fully guyed. Our new heavy-duty Derrick system worked very well and lifting the tower was completed smoothly and safely with very modest effort.
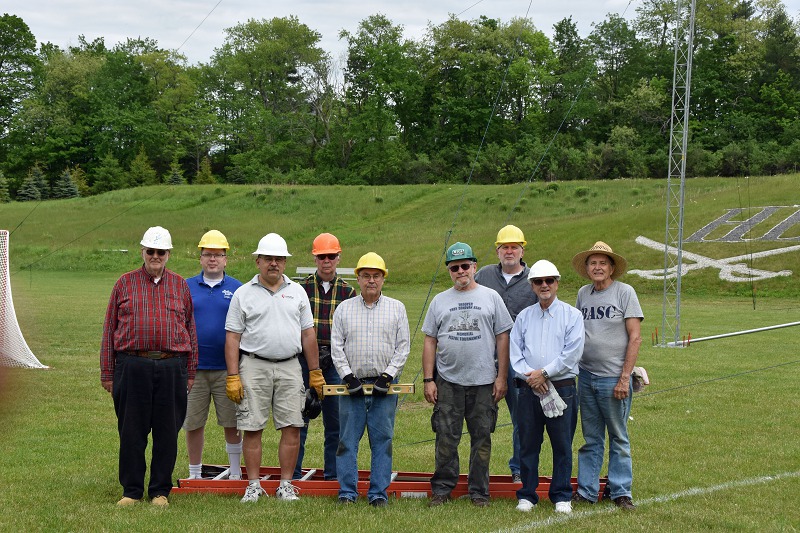
The Nashua Area Radio Club Tower Test Team

After a few pictures, we took the tower down and disassembled it. We had quite a few members turn out to help us with our new tower test. Thank you to everyone who pitched in to make our third tower project a success! We are looking forward to using it during Field Day 2017!

Notice: falling derrick tower systems can be dangerous if they are not engineered, built and used properly by a well-trained team. The tower system described here is unique and is not a standard falling derrick system. Significant steps and material choices were taken to ensure the safe use of the system described here to put up our tower Time was spent to train the team who used the Derrick system to use it correctly and safely. We do not recommend the system here to others as the engineering, materials, and training required for its safe construction and use may not be readily available.

Fred, AB1OC

Hashtags: #ARRLFD
QRPGuys Iambic Paddle Build

I’ve been practicing a lot of CW lately and had ordered a QRP guys iambic paddle from their website qrpguys.com awhile back. I went to the CW class on Saturday morning, which got me in the CW mood. After knocking some items off the honey-do list I was getting a little bored on Saturday night so I headed down to the shack and dug out the iambic key kit I had ordered.

I’ve never done any kit building or anything slightly engineer-y until joining the club. I don’t always understand why things work and building kits (even simple ones help me along). This kit didn’t look too hard, although it has a 4 out of 5-star difficulty rating on their website, so I jumped right in!

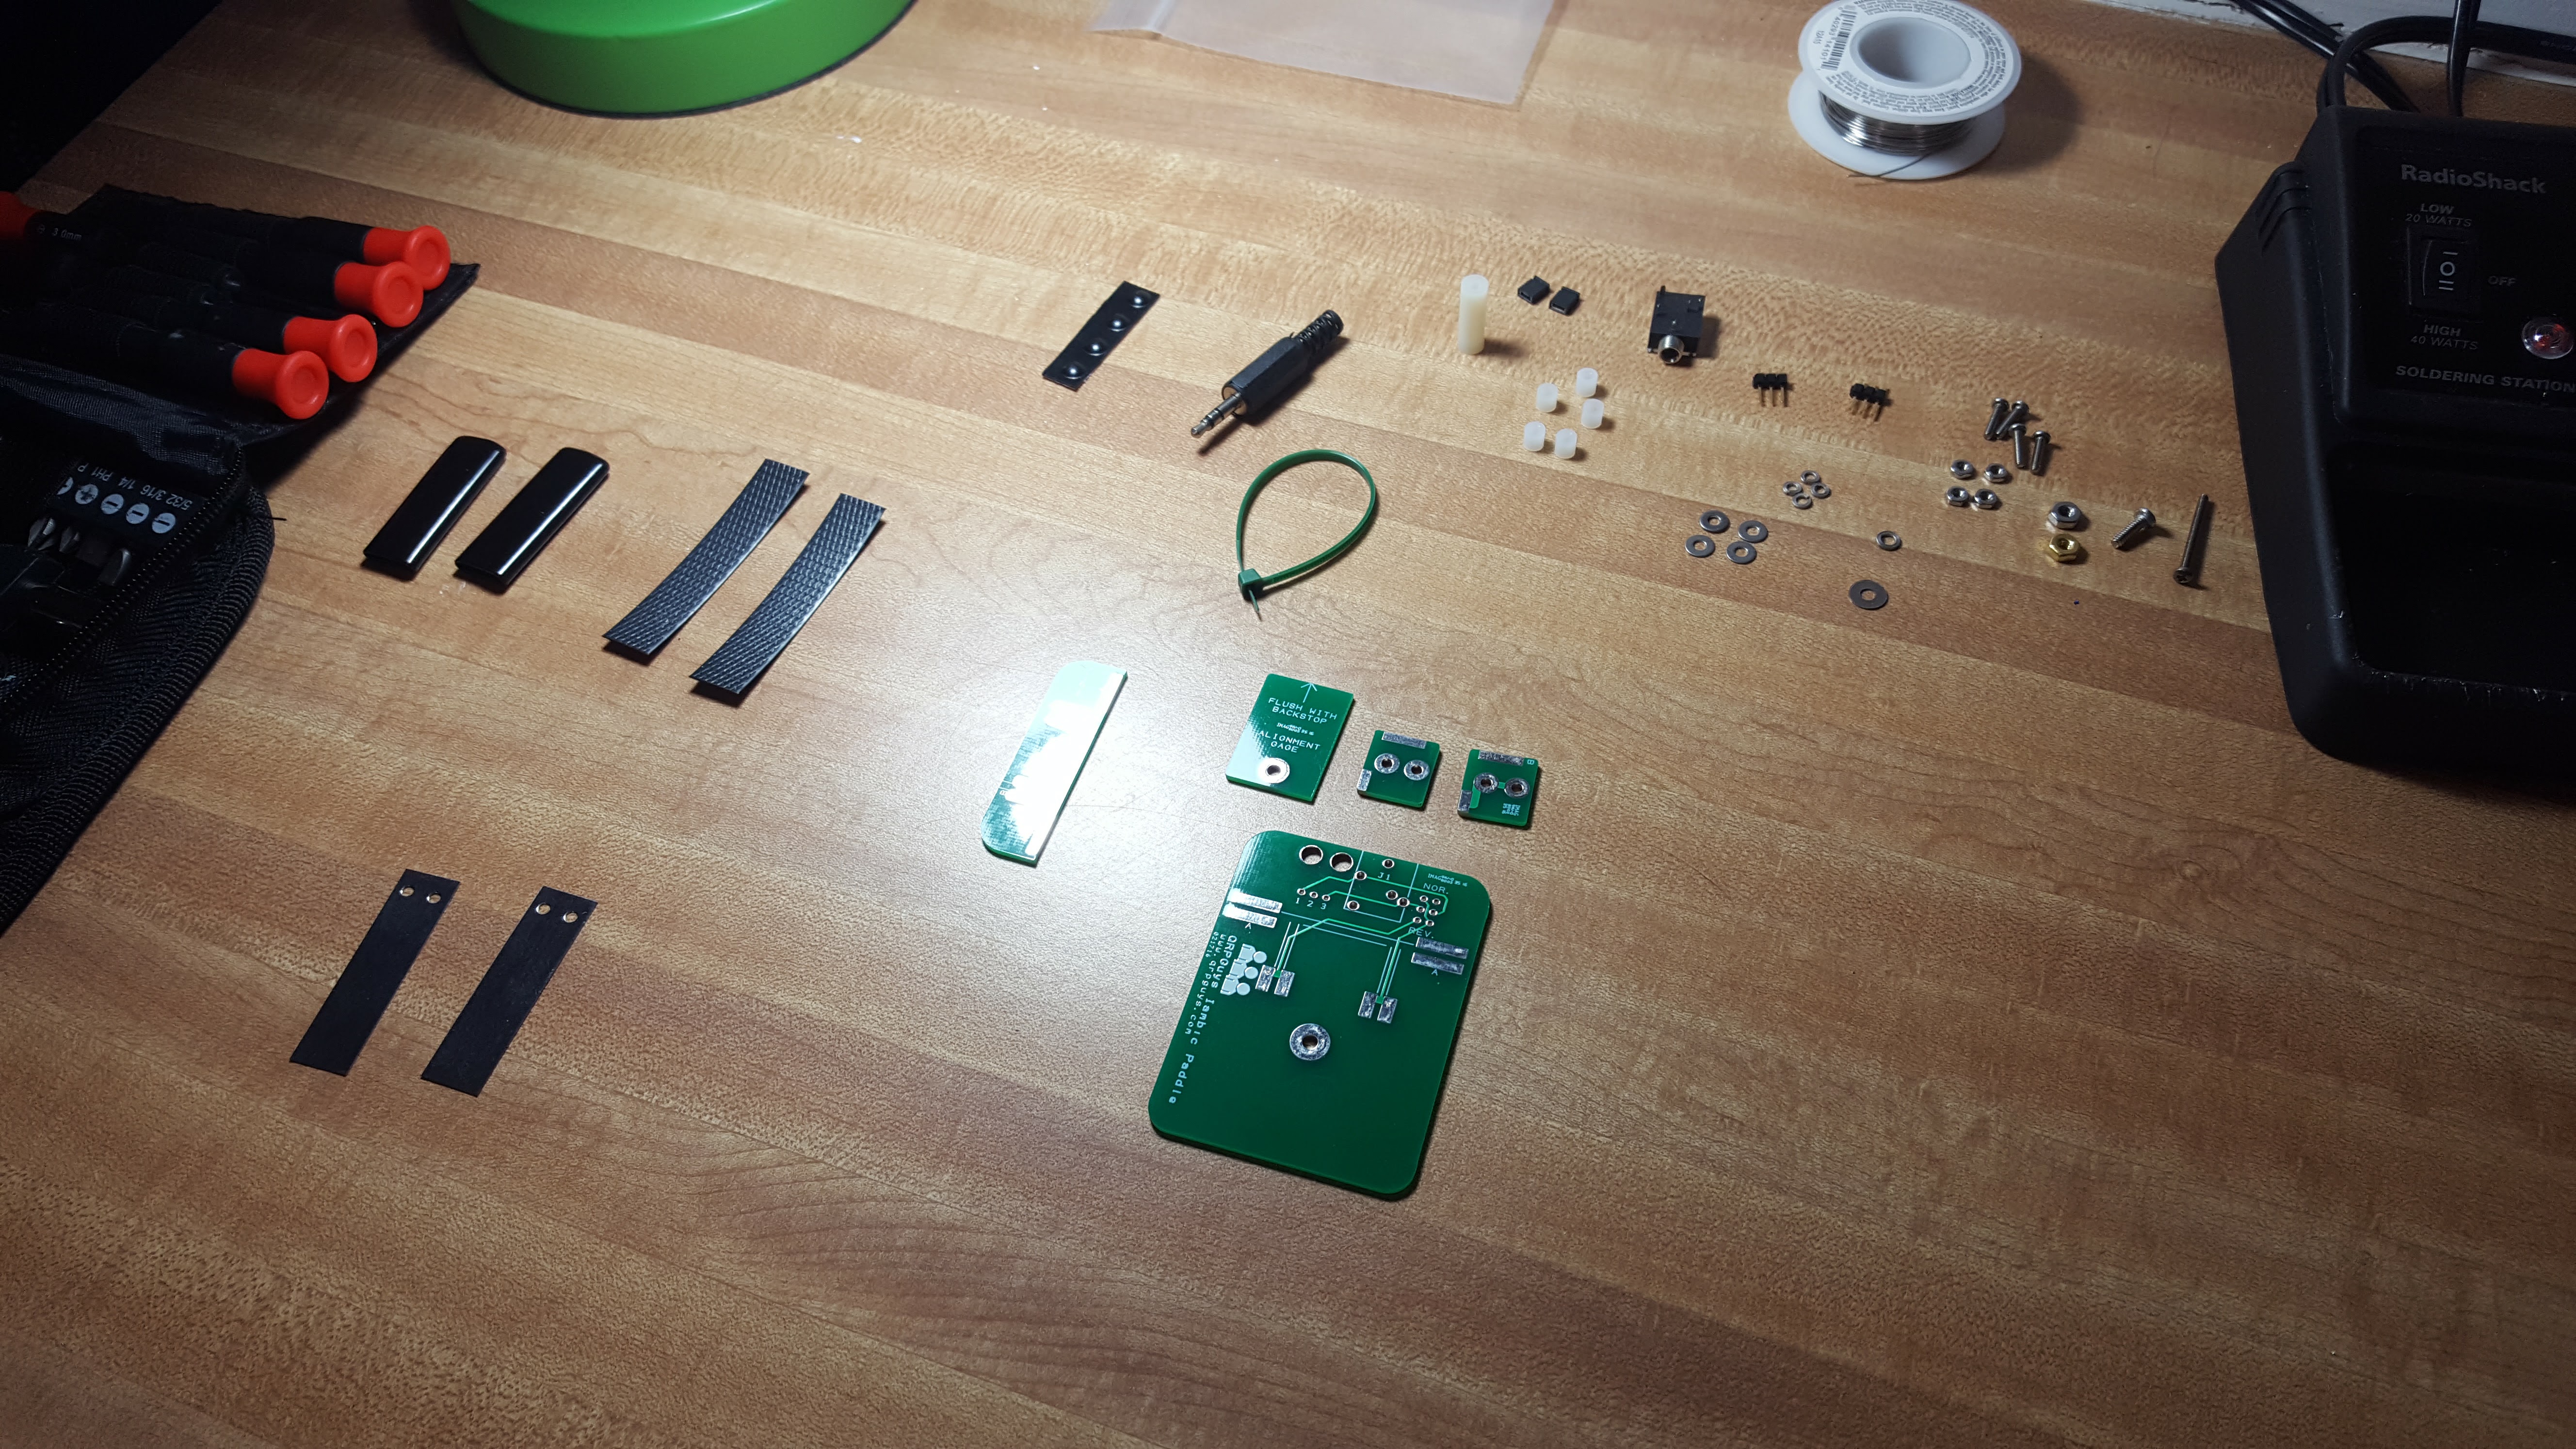
I made sure I started by sorting out all the parts in an orderly fashion.Iambic Paddle Build  I learned this much from working countless hours after Christmas and birthdays on Star Wars lego kits that are made for children, but built by adults after the kids get frustrated 15 minutes after starting!

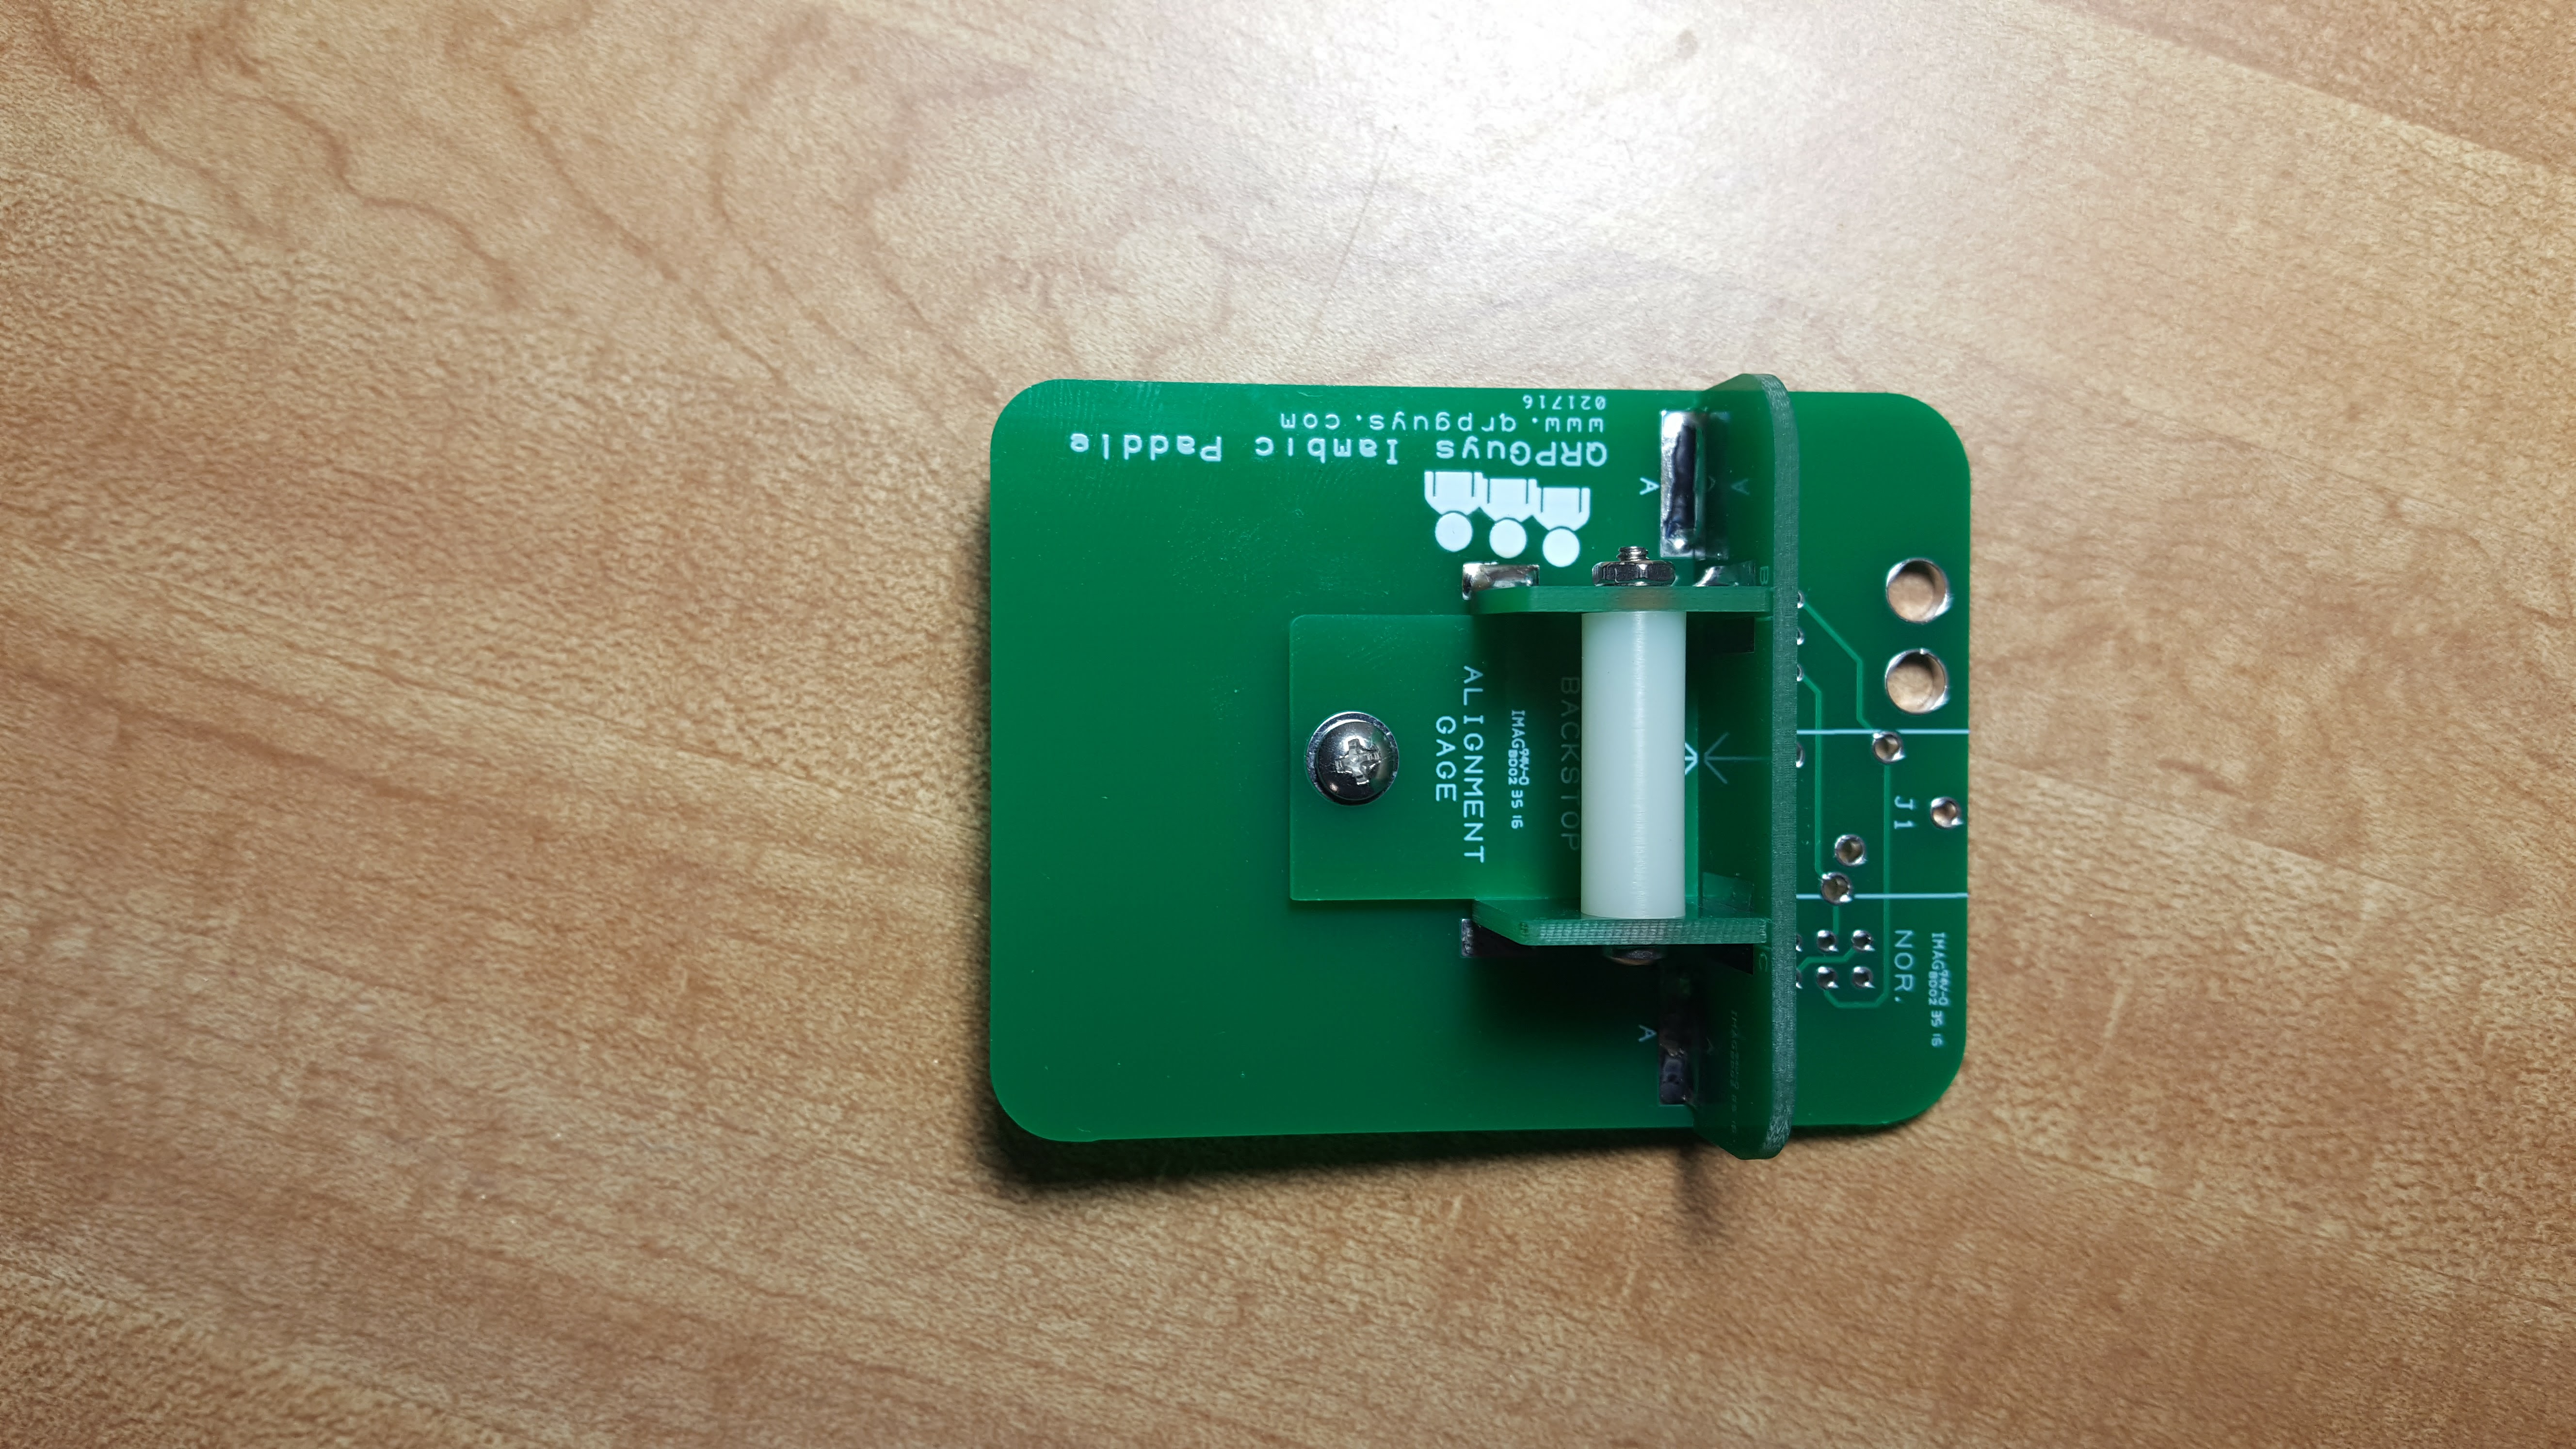
I then got to the fun part of soldering. This was different than what I’ve done in the past as I started with soldering all the mechanical parts together by applying a small amount of solder and then checking to make sure everything lined up before putting a lot of solder on. Iambic Paddle BuildI enjoyed this as it was a large area to solder and it didn’t matter so much if my soldering skills aren’t very good! There were only a few electrical components to solder and that part was rather easy, even for my limited skills!

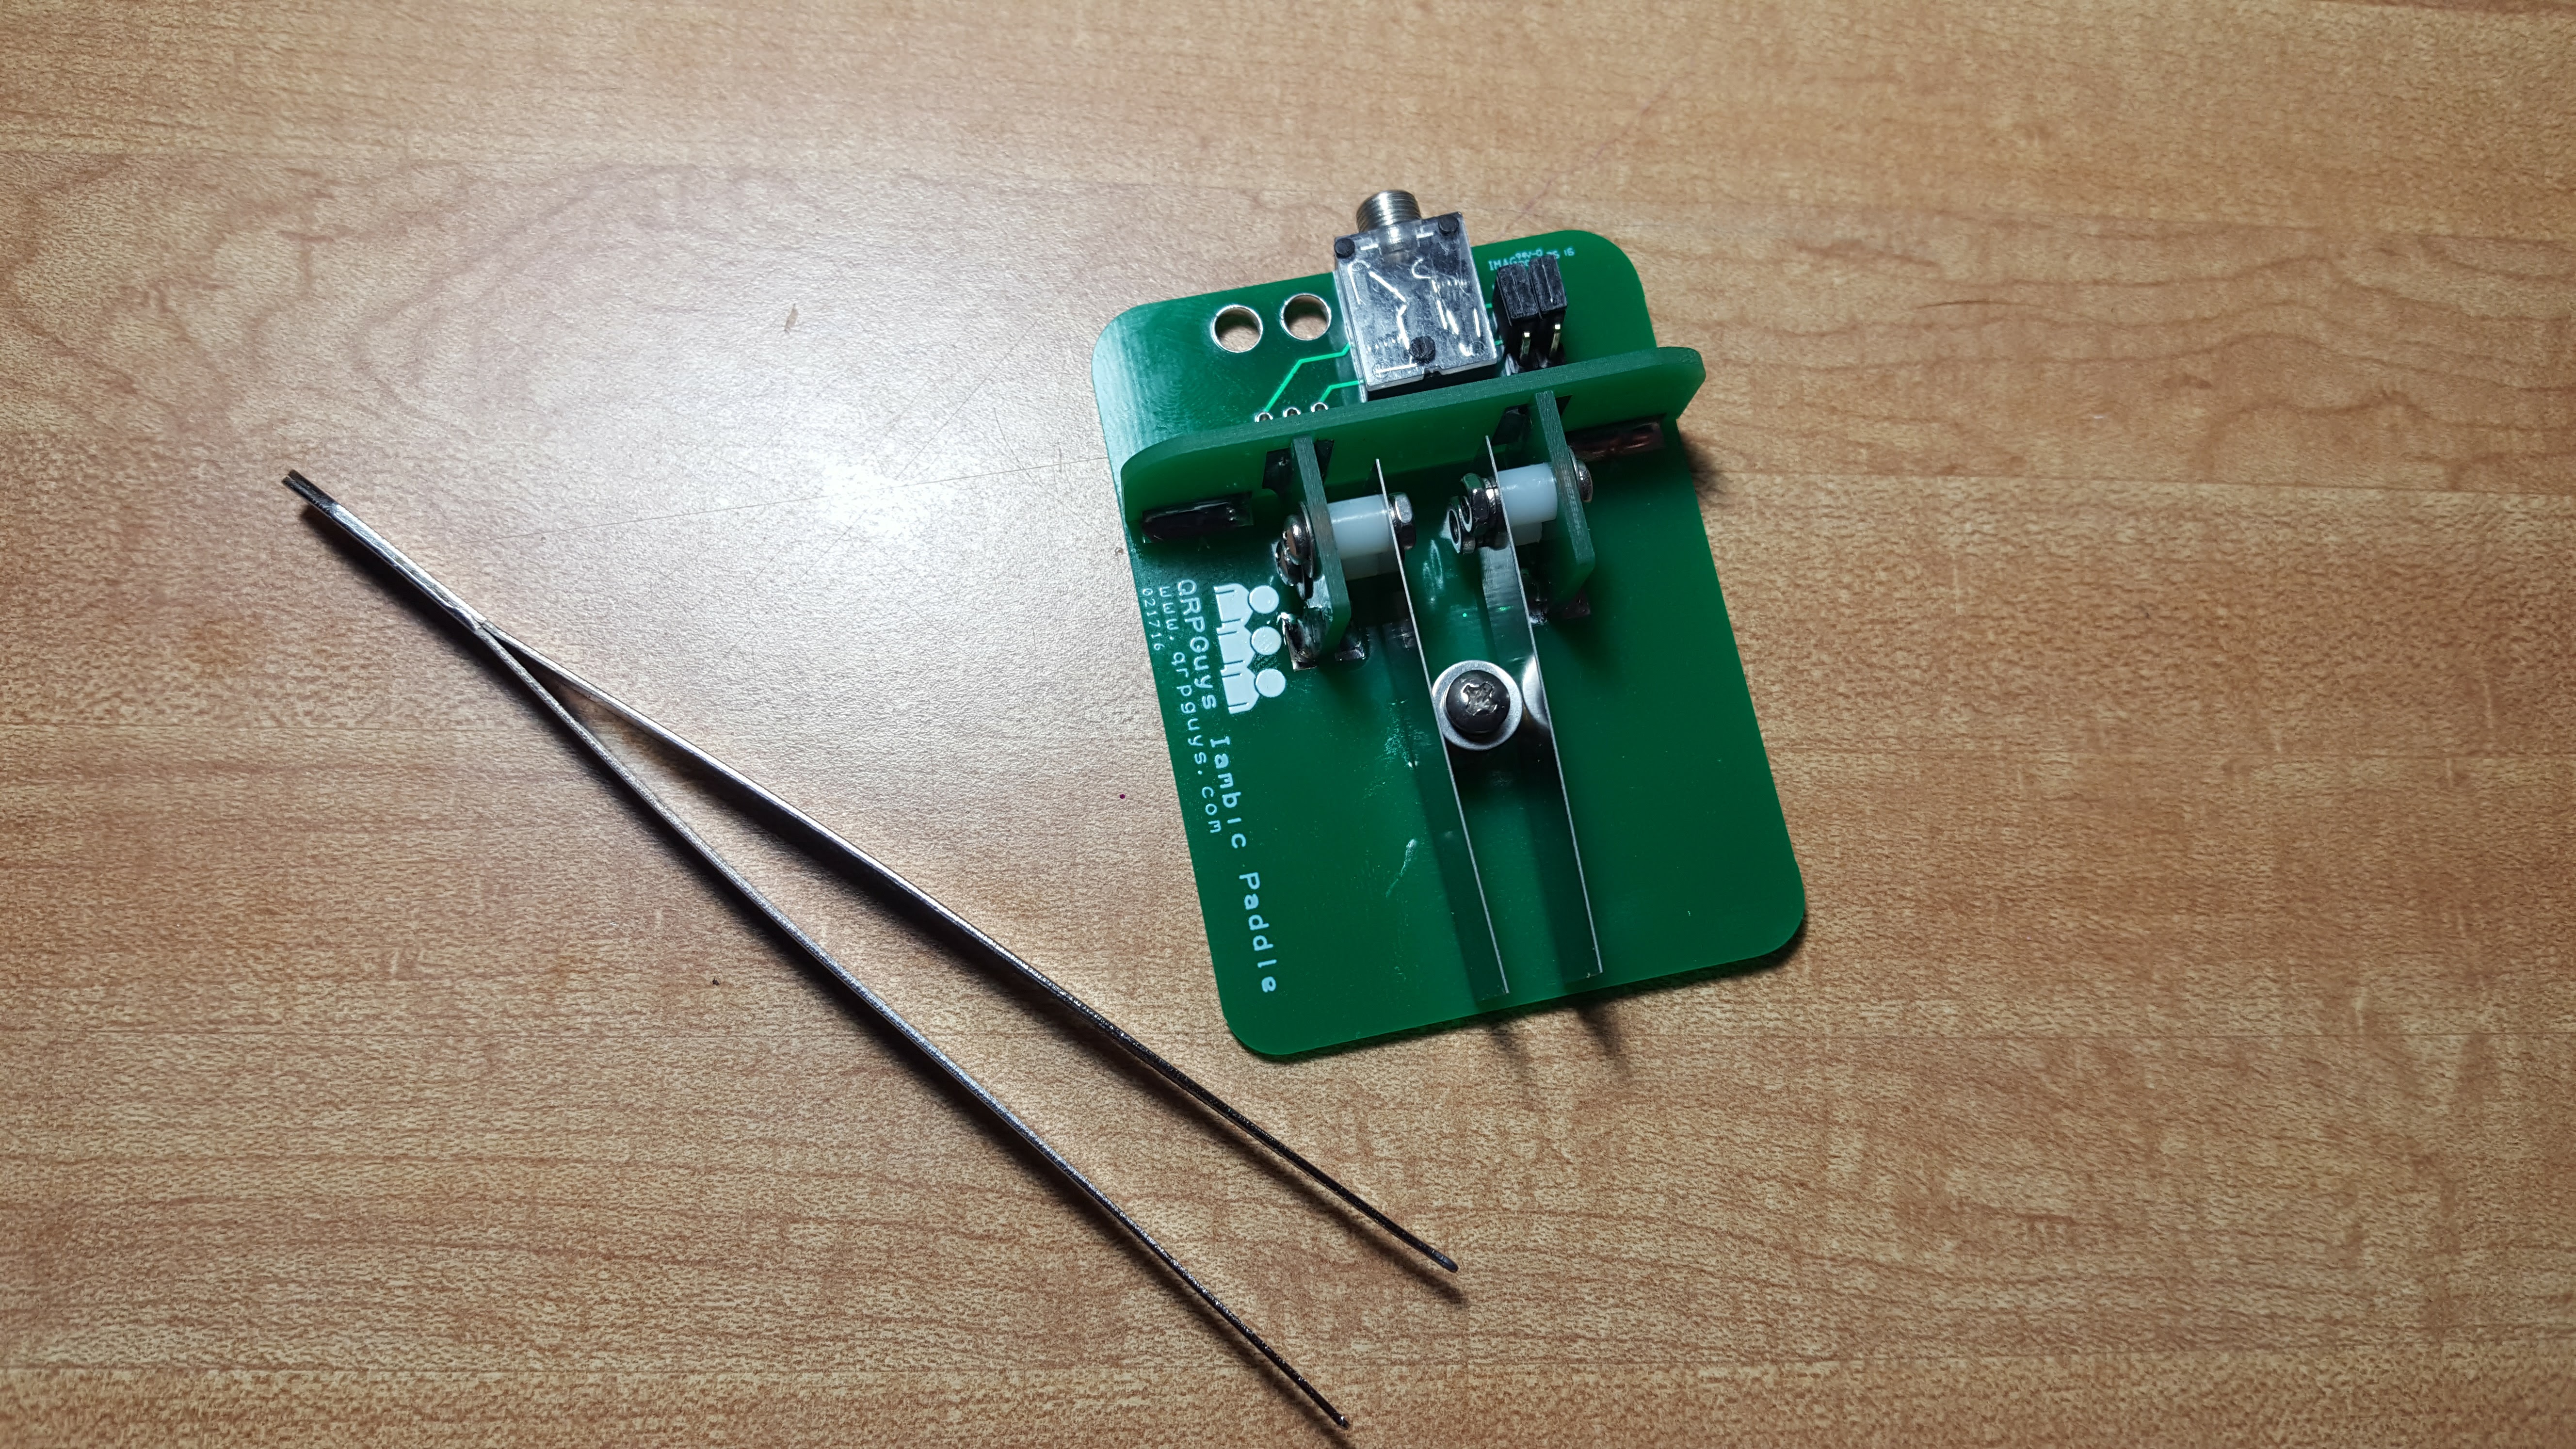
The toughest part of the whole build was assembling the paddles. You can see from the picture there are four nuts (and lock washers) that are to be assembled on the inside of the paddles with very limited space. TIambic Paddle Buildweezers were an absolute necessity – and earplugs for any youth that may be hanging around. After many – and I do mean many – attempts of dropping and picking up nuts and washers I finally got the washers and nuts in place and fastened.

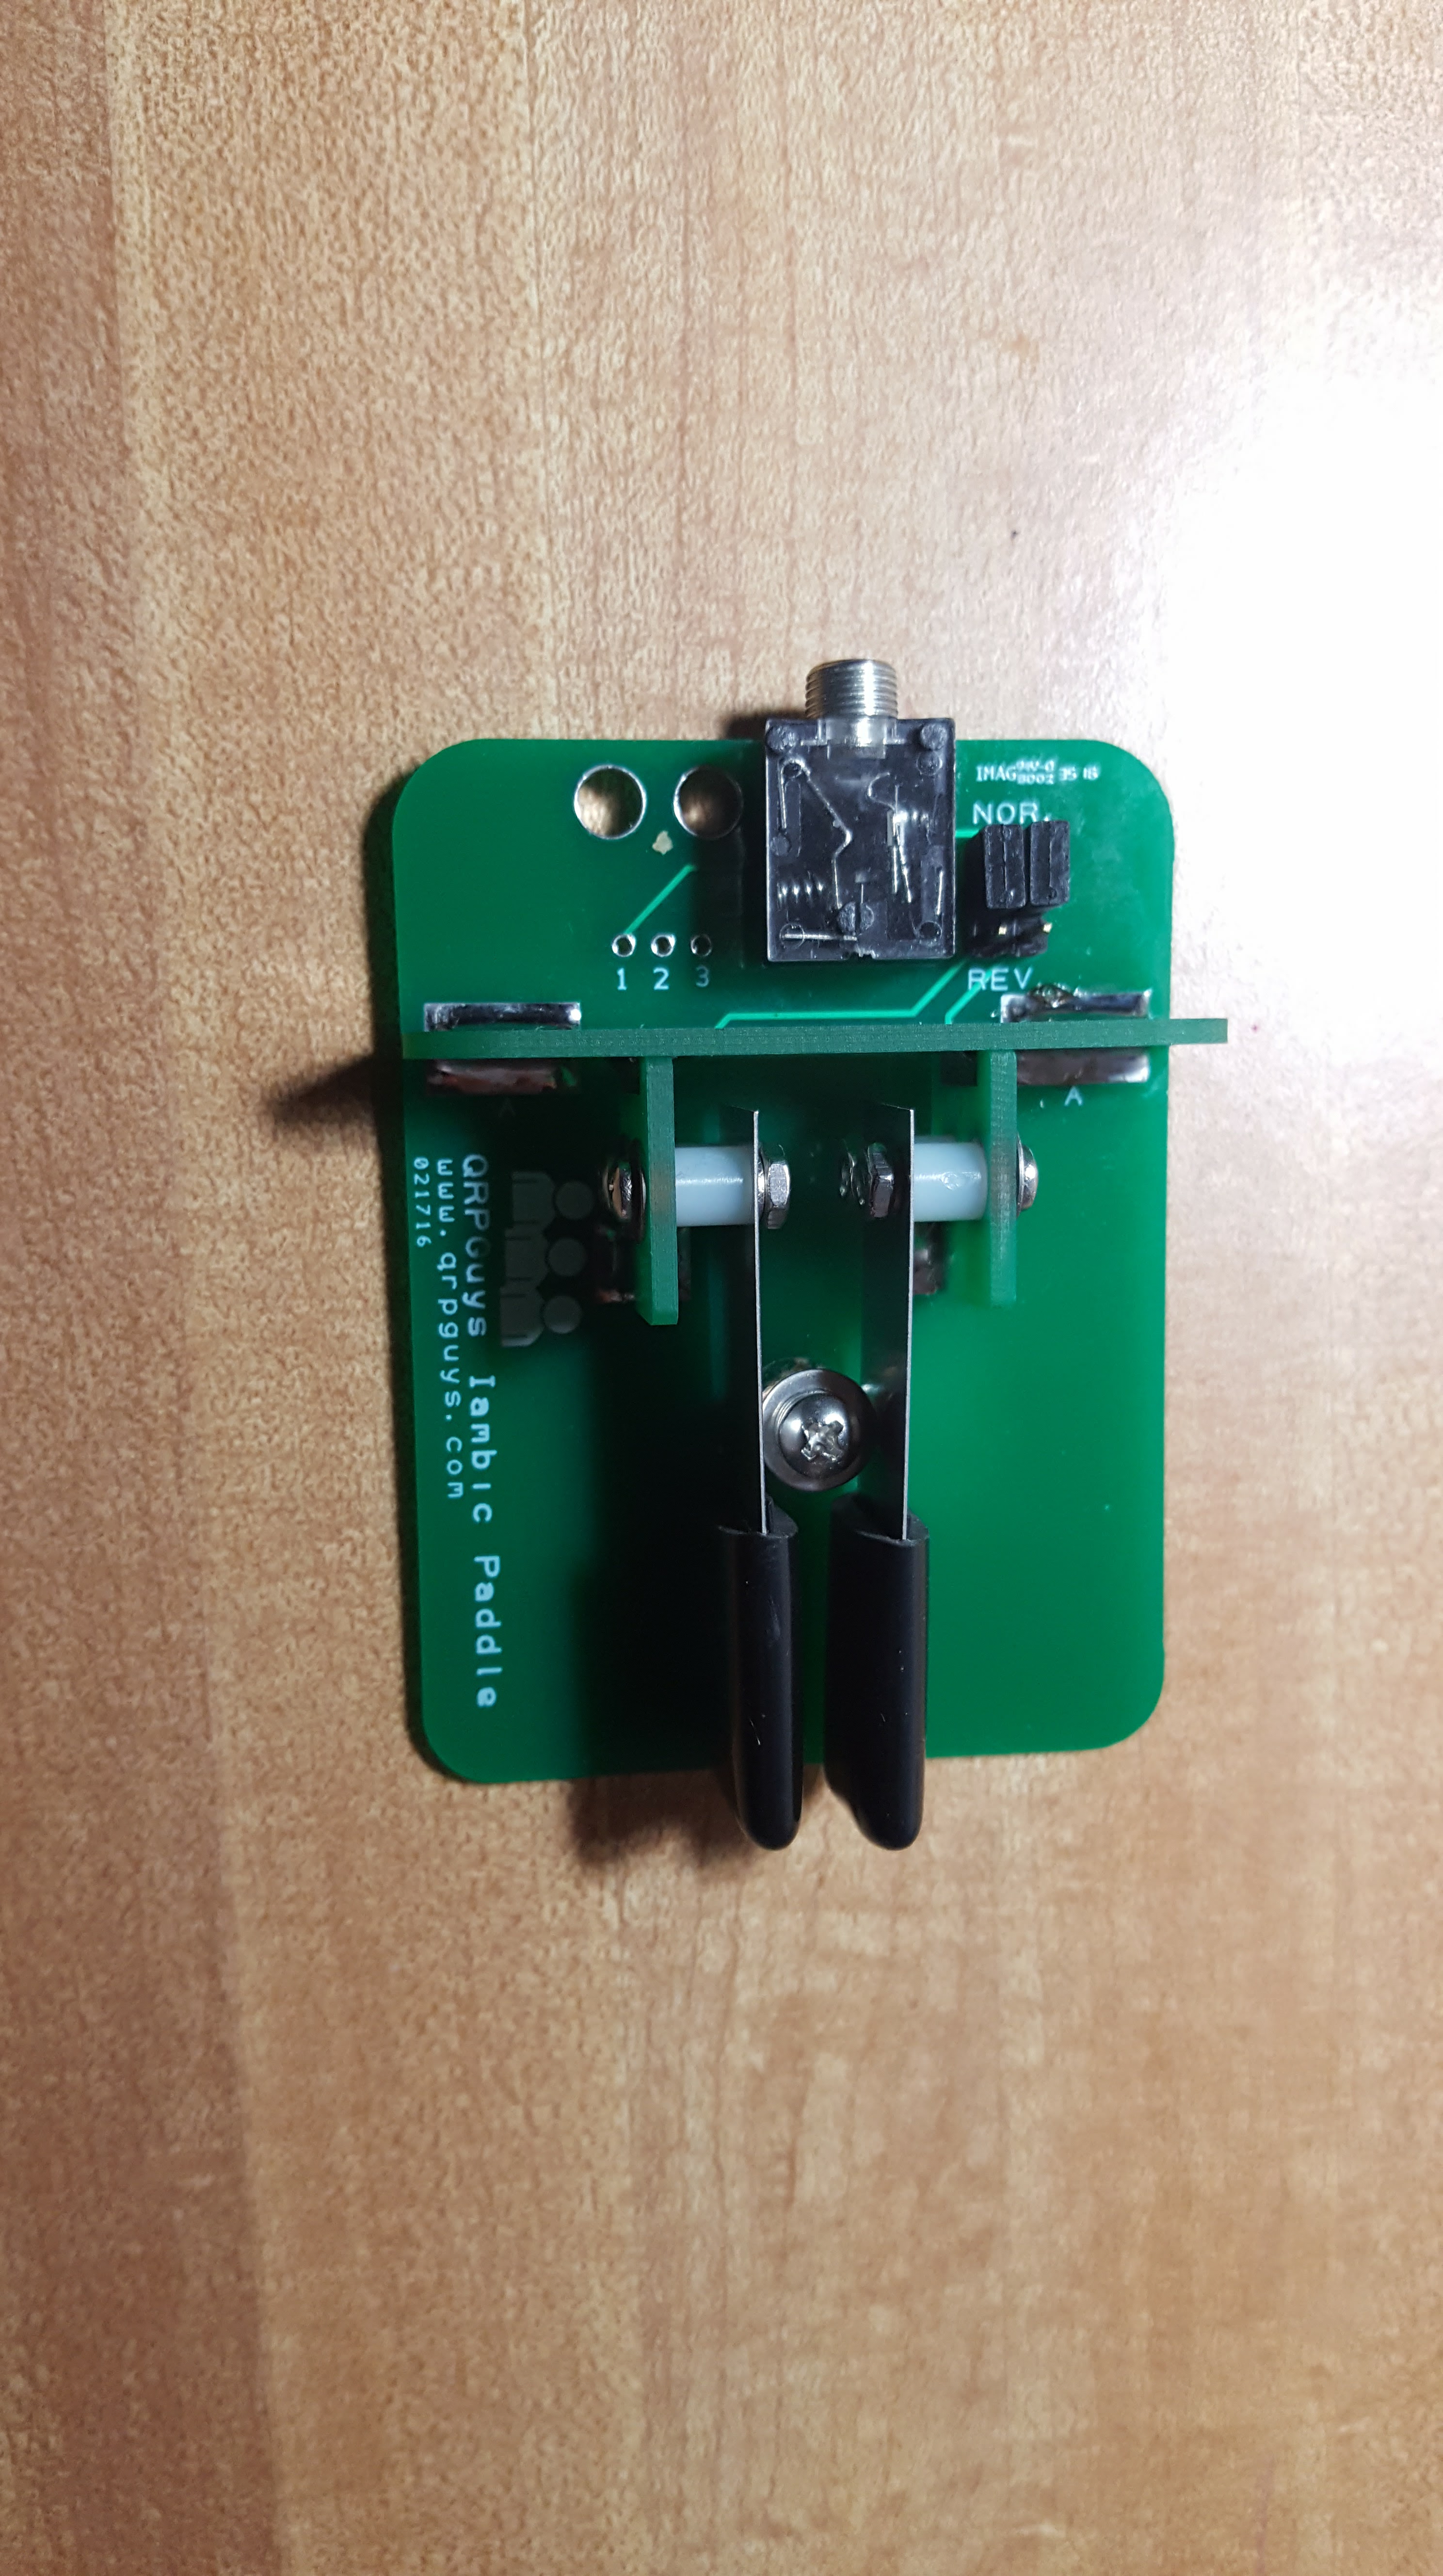
Iambic Paddle Build

I was thrilled to have succeeded and ran out to the car, where my radio is hooked up at the moment and gave it a quick test run. Below is my not-so-professional video which shows my not-so-professional CW skills.

The paddles work well. The black pads do stick together a little when you push on both paddles at the same time, but I am very happy with my tiny QRP paddles! I am thinking of cutting slots in the sides and attaching a velcro band to attach to my leg to keep the paddle in place in the hopes that I could operate it with one hand. Let me know what you think or if you’ve built this kit before.

73,

Jamey (KC1ENX)

QRP on the AIR… from K-ONE Last Good Question

By Dennis Marandos – K1LGQ

What a difference 90 days can make! It wasn’t that long ago we were looking out our windows and pleading with the snow gods to give us a break, and finally, our cries were heard. The temperatures, the blue skies, the winds have all been recently favorable and we can’t even remember what it was like with four-foot levels of bleached, hard bursts, hoar frosts in our front yards and drifts even higher. Well, we would much prefer to forget last winter than try to remember forging paths to the house garage, the grocery stores, to work or simply just getting our mail in the front yard–but look at it now. The sun is higher in the sky, the temps are thirty to forty degrees warmer than before, and the winds have shifted, a bit, for us to say “We’re in pig (HAM) heaven!”  What does all this lead up to you say? It is nature calling us to get out of the stale-air shack and into our “get-off-our-fanny” modes…including hiking, camping, biking and just plan QRP along the mountain paths. Yes, it’s the call of the CONTINUOUS WAVE!

Dennis K1LGQ, Mr. QRP
Dennis K1LGQ

I have been waiting all winter for the warmer spring months so I could pack my QRP gear into my knapsack, charge up the ole gel-cell and retune my throw-up dipoles to GET ON THE AIR. I have a small 7-amp gel-cell which is pretty much all anyone needs and thin, copper wire to fling onto the nearest tree limb to get the RF into the ionosphere. A quick and grubby antenna tuner will certainly do the job plus its pocket size which means not a lot of space occupied in the QRP bag. Overall, it’s pretty easy and if you’re thinking you have to do a lot to visit Mother Nature’s playground in her best, you’re wrong. Outdoor operating is now easier than it has ever been, and I am going to tell you why.

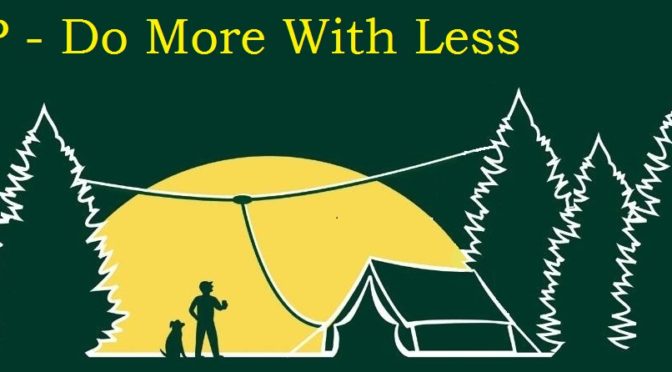
First off, operating QRP means you take the least favorable weight, carry less with you, and enjoy what you have. Five watts, or less, is pretty slim-pickings and to throw an antenna into a tree is the least of your hardships, but getting outside into the woods, the parks, the BACK YARD is going to be your toughest struggle. Where can I go? Who can I go with? How much gear do I need? Do I need to bring food, coffee, or snacks where I am headed? OH COME ON! We’re talking simply getting outside and into the sun and on the air!

I have built over two dozen QRP transceivers and perhaps as many antennas as well for the trickiest trees around. What you need is simply a low power rig that can be easily driven by six or eight double-AA batteries, or even a Lithium alone will get you on the air and you’re in attendance. Have you checked the pages of CQ magazine or QST to see who is selling QRP transceivers? Or better and easier, ‘Goggle’ QRP kits on your computer and you’ll find a utopia in front of you. Come on, the longer, brighter, sunshine days are here and you need to get moving before that cool breeze from the north comes visiting again. Not to worry, it’ll be a while, so warm up the soldering iron and burn some rosin. Just target the “al fresco” rig and get moving. By the way, bring your key, paper, and chronographic meter as well.

What does it take to get you moving? Okay, let’s suppose someone offered you fifty dollars to join him on a hike. Now, you’re outdoors and you’re loving it. Well, tell yourself that simply taking your gear to the woods is worth more than fifty dollars and look how much you saved. Think of mind relaxing thoughts, soothing, refreshing sunshine and the thrill of working QSOs anywhere someone can hear you. Now—doesn’t this bring a little excitement to your hard pressed schedule? YES, IT DOES! Now get moving…!

Radio Amateurs Developing Skills Worldwide