Tag Archives: Arduino-Raspberry Pi

My SSB BitX-40 build from VU2ESE

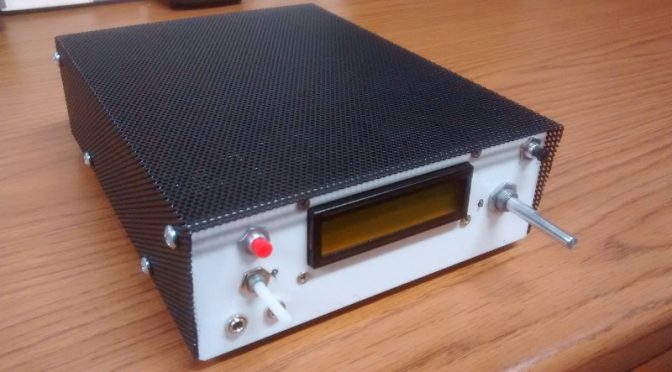
Below is a photo of my BitX-40 kit from Ashhar Farhan VU2ESE in India with my very own custom designed case.  The kits are available from http://www.hfsigs.com/

The top cover shown is powder coated steel mesh.
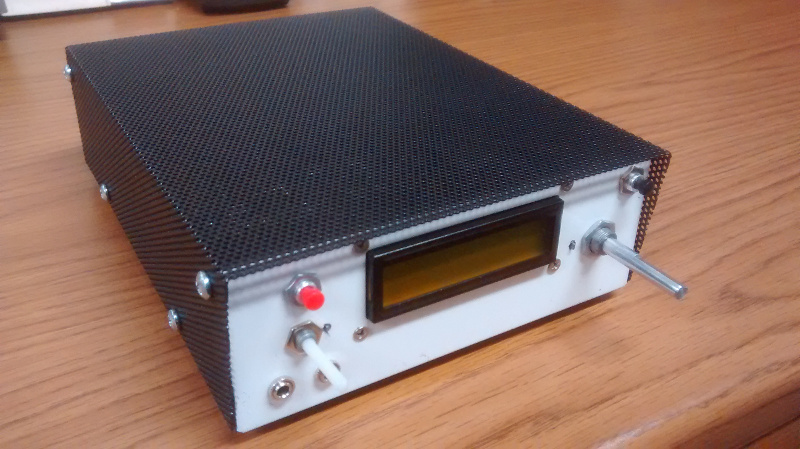
BitX-40 Enclosure

The sheet metal housing was designed in a solid modeling software package called Onshape. This web based software is free to use if your designs are to be available to anyone who signs into an account.  This design is “in the cloud” and considered “open hardware”, available to anyone who would like to use it.  Below is a screen capture of my Linux desktop running Onshape within a web browser.
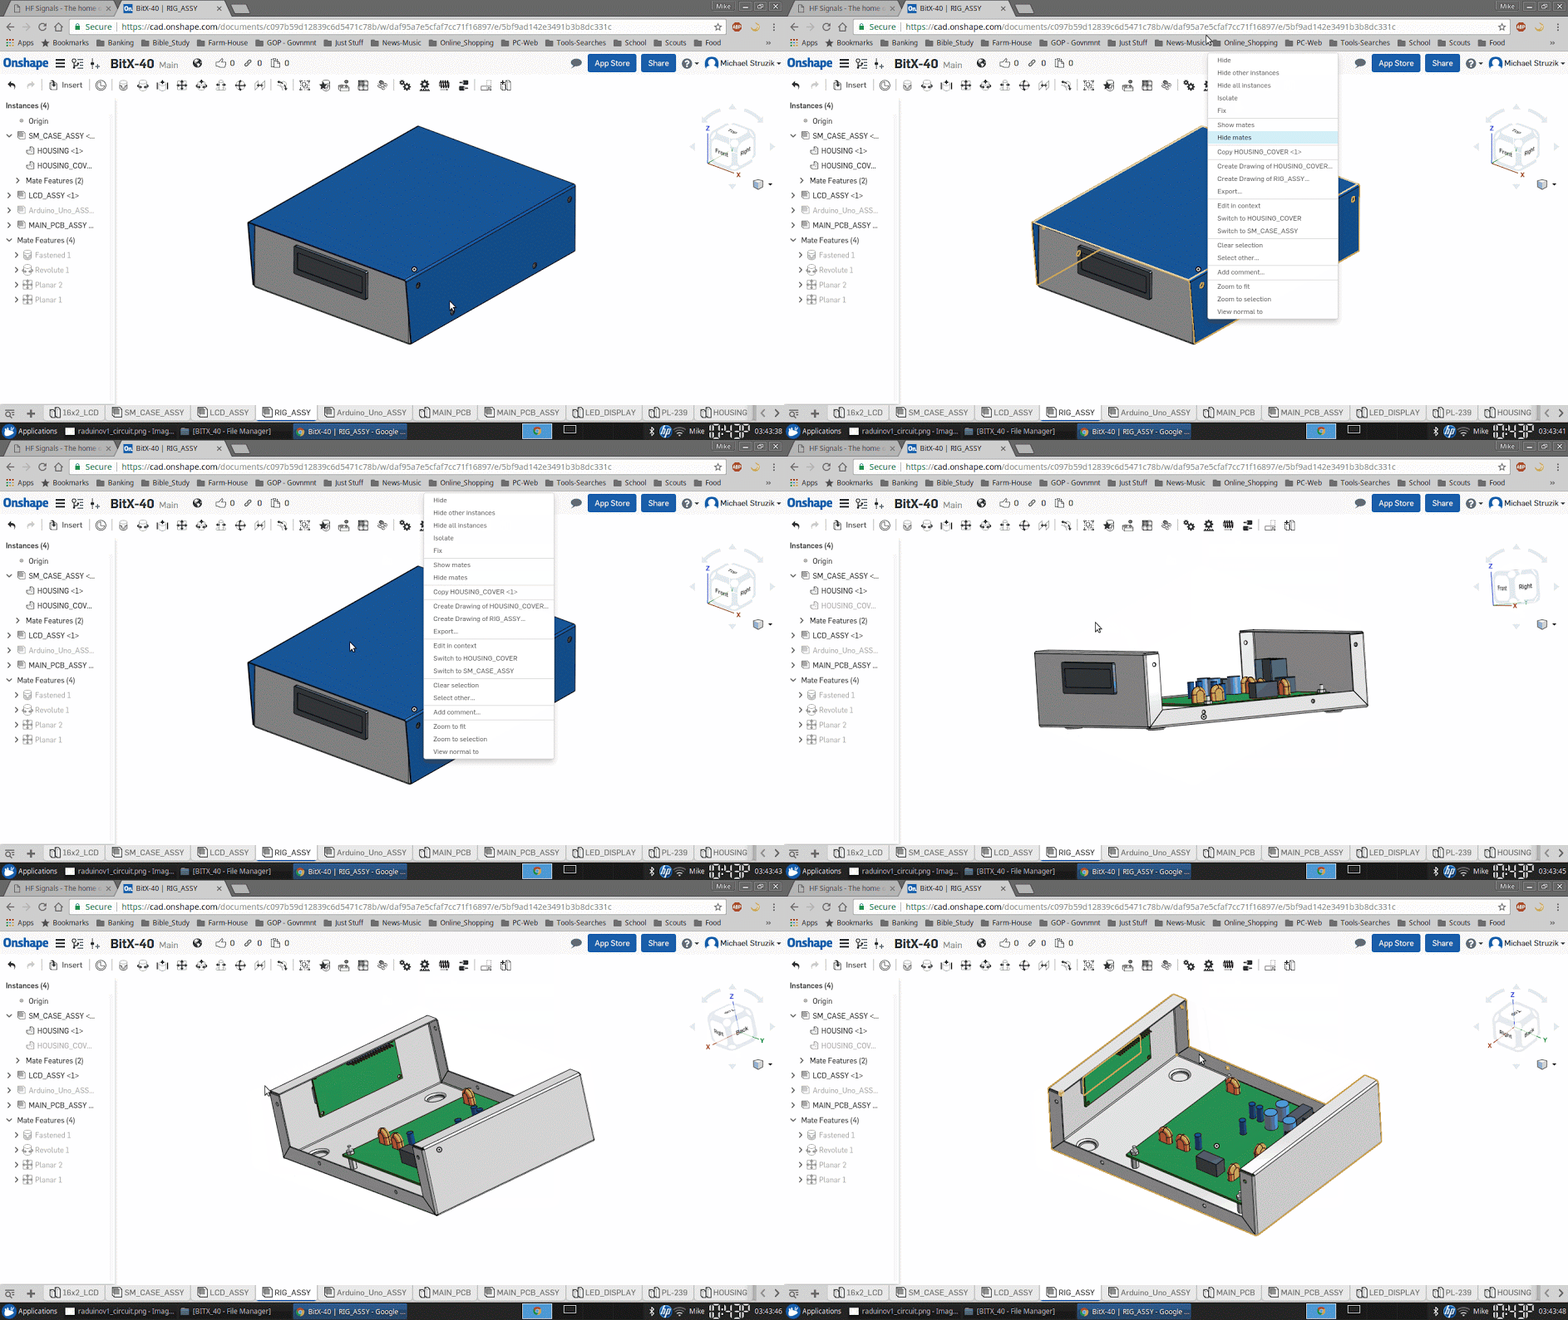
BitX-40 Enclosure CAD Design

With access to a CNC punch press and a 90-ton brake press, a coworker of mine helped out with a bit of “government work”!

I left out some of the detail in the housing to let others enjoy the use of a drill and allow for some creativity with a customized placement of components.
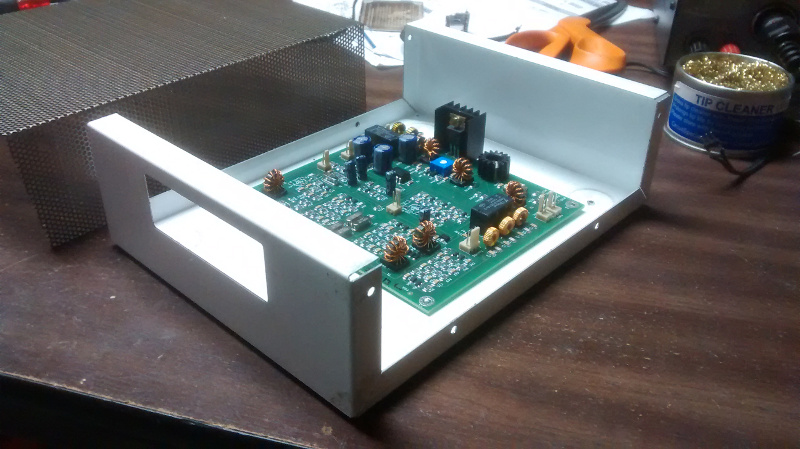
BitX-40 Enclosure with Board

Some of the wires are not needed but may be useful in future “hacks”. The image below shows some of the wires removed from the “Molex” connector.  A small sharp object can be used to push in on the barb to remove the contact for a future project.

BitX-40 Cables and Connectors

See http://bitxhacks.blogspot.com/

I used my sketch to drive the LCD screen and the SI5351 chip using the Adafruit library.  The checkered block moves left and right between the arrows to indicate when I am at or near the end of travel with the tuning potentiometer.
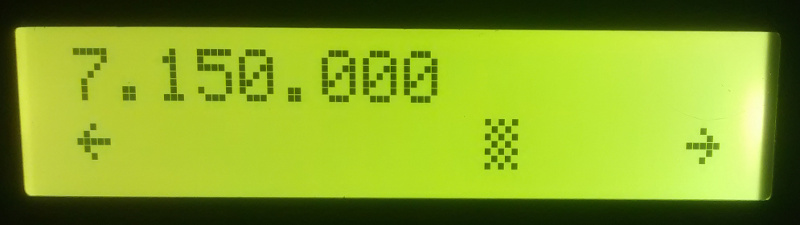
BitX-40 Frequency Stationary
Stationary

When I move the block all the way to the right with the potentiometer it turns into an arrow and automatically increases the frequency. To make it stop just turn the potentiometer to the left.
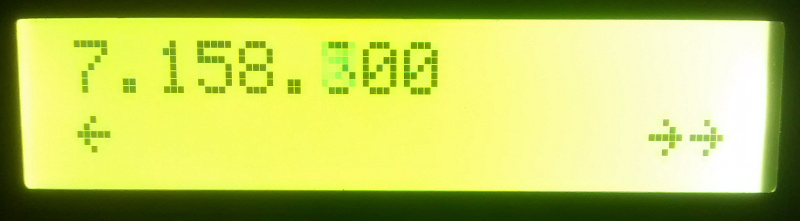
BitX-40 Frequency rising
Frequency rising

I like the ability to scan the band without having to turn a knob!

Below is an image showing 12v and 24v voltage regulators and electrical tape on the housing tabs.  12v is for the majority of the wiring and I used 24v for the IRF510 PA.  The black tape looks nice behind the black mesh cover.  while testing I measured about 4W RF output with 12v feeding the PA and 16W RF at 24v.
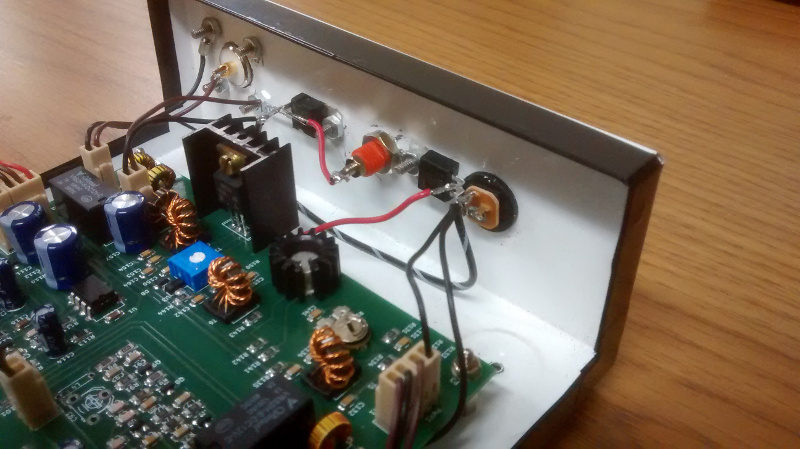
BitX-40 Enclosure

The bottom has extruded “feet” along with stick on feet to keep the rig from sliding.
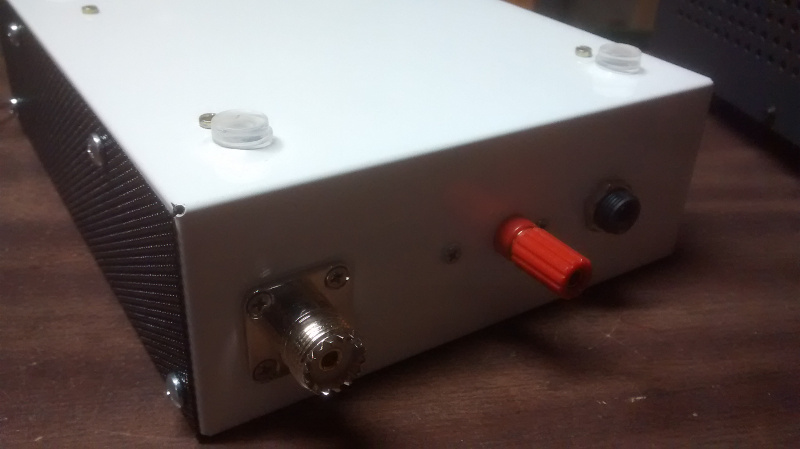
BitX-40 Enclosure

I used an SO-239 connector for the antenna.  I saved the BNC connector from the kit for test gear.  The red terminal post is connected to 32v from a repurposed HP printer power supply.  The barrel jack is connected to 16v from the same supply.

For more information on the case, you may contact me through my QRZ page.

73,

Mike (AB1YK)
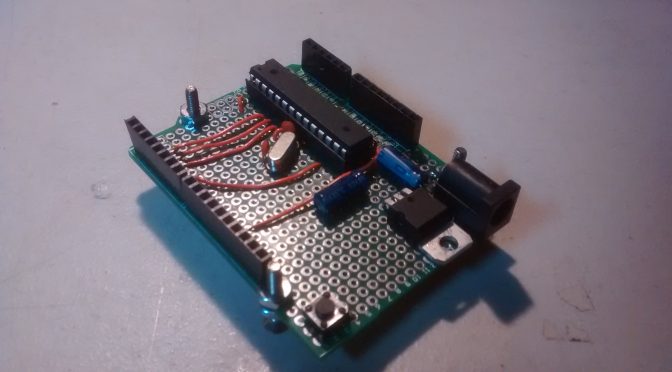
Home Brew Your Own Arduino UNO

The first question you may ask is, Why would I want to build my own Arduino UNO?  Economically speaking it does not add up in your favor after you acquire the parts and consider the time it takes to put it all together.  This is especially true when you consider that a Nano “clone” could be purchased for around $3!  You might have a permanent use application that makes building one your best option?  Maybe you just like to learn and do stuff just because you can!

The unit below is built on a prototype shield that has become the main board.  For my keyer application, I have no need of USB communications and I can keep the wiring down to only what is needed.  The 5v regulator will soon have a small heatsink as it gets warmer than I would like.

Homebrew Arduino UNO

Below is the other side of this board.  I used #4-40 screws as “legs”.

Homebrew Arduino UNO

Instructions for building one yourself on a solderless breadboard can be found at https://www.arduino.cc/en/Main/Standalone

Instructions on burning the bootloader with another Arduino can be found at

https://www.arduino.cc/en/Tutorial/ArduinoToBreadboard

and

https://www.arduino.cc/en/Tutorial/ArduinoISP

If you run into trouble like I did by getting the “wrong” ATmega328 micro controller you can get work around instructions at http://www.crash-bang.com/resource/bootload-atmega328/

73,

Mike AB1YK

Amateur Radio at MakeIt Labs

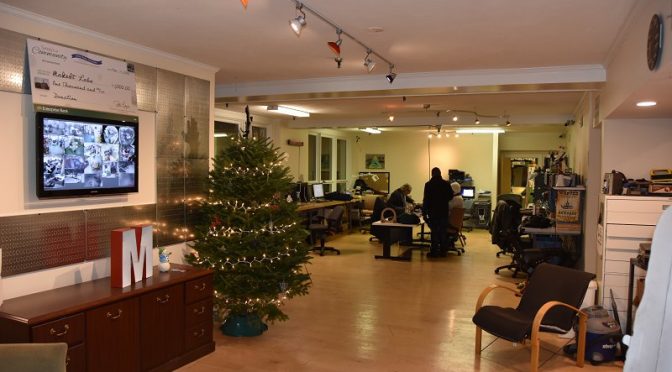
On Saturday, January 28th the Nashua Area Radio Club (Nashua ARC) will be hosting a special event for Interested kids, parents, and friends in the community about the joy of amateur radio at MakeIt Labs in Nashua from 9:00 am – 3:00 pm. You may drop in at any time and stay as long as you like to participate! Among our activities, you can:

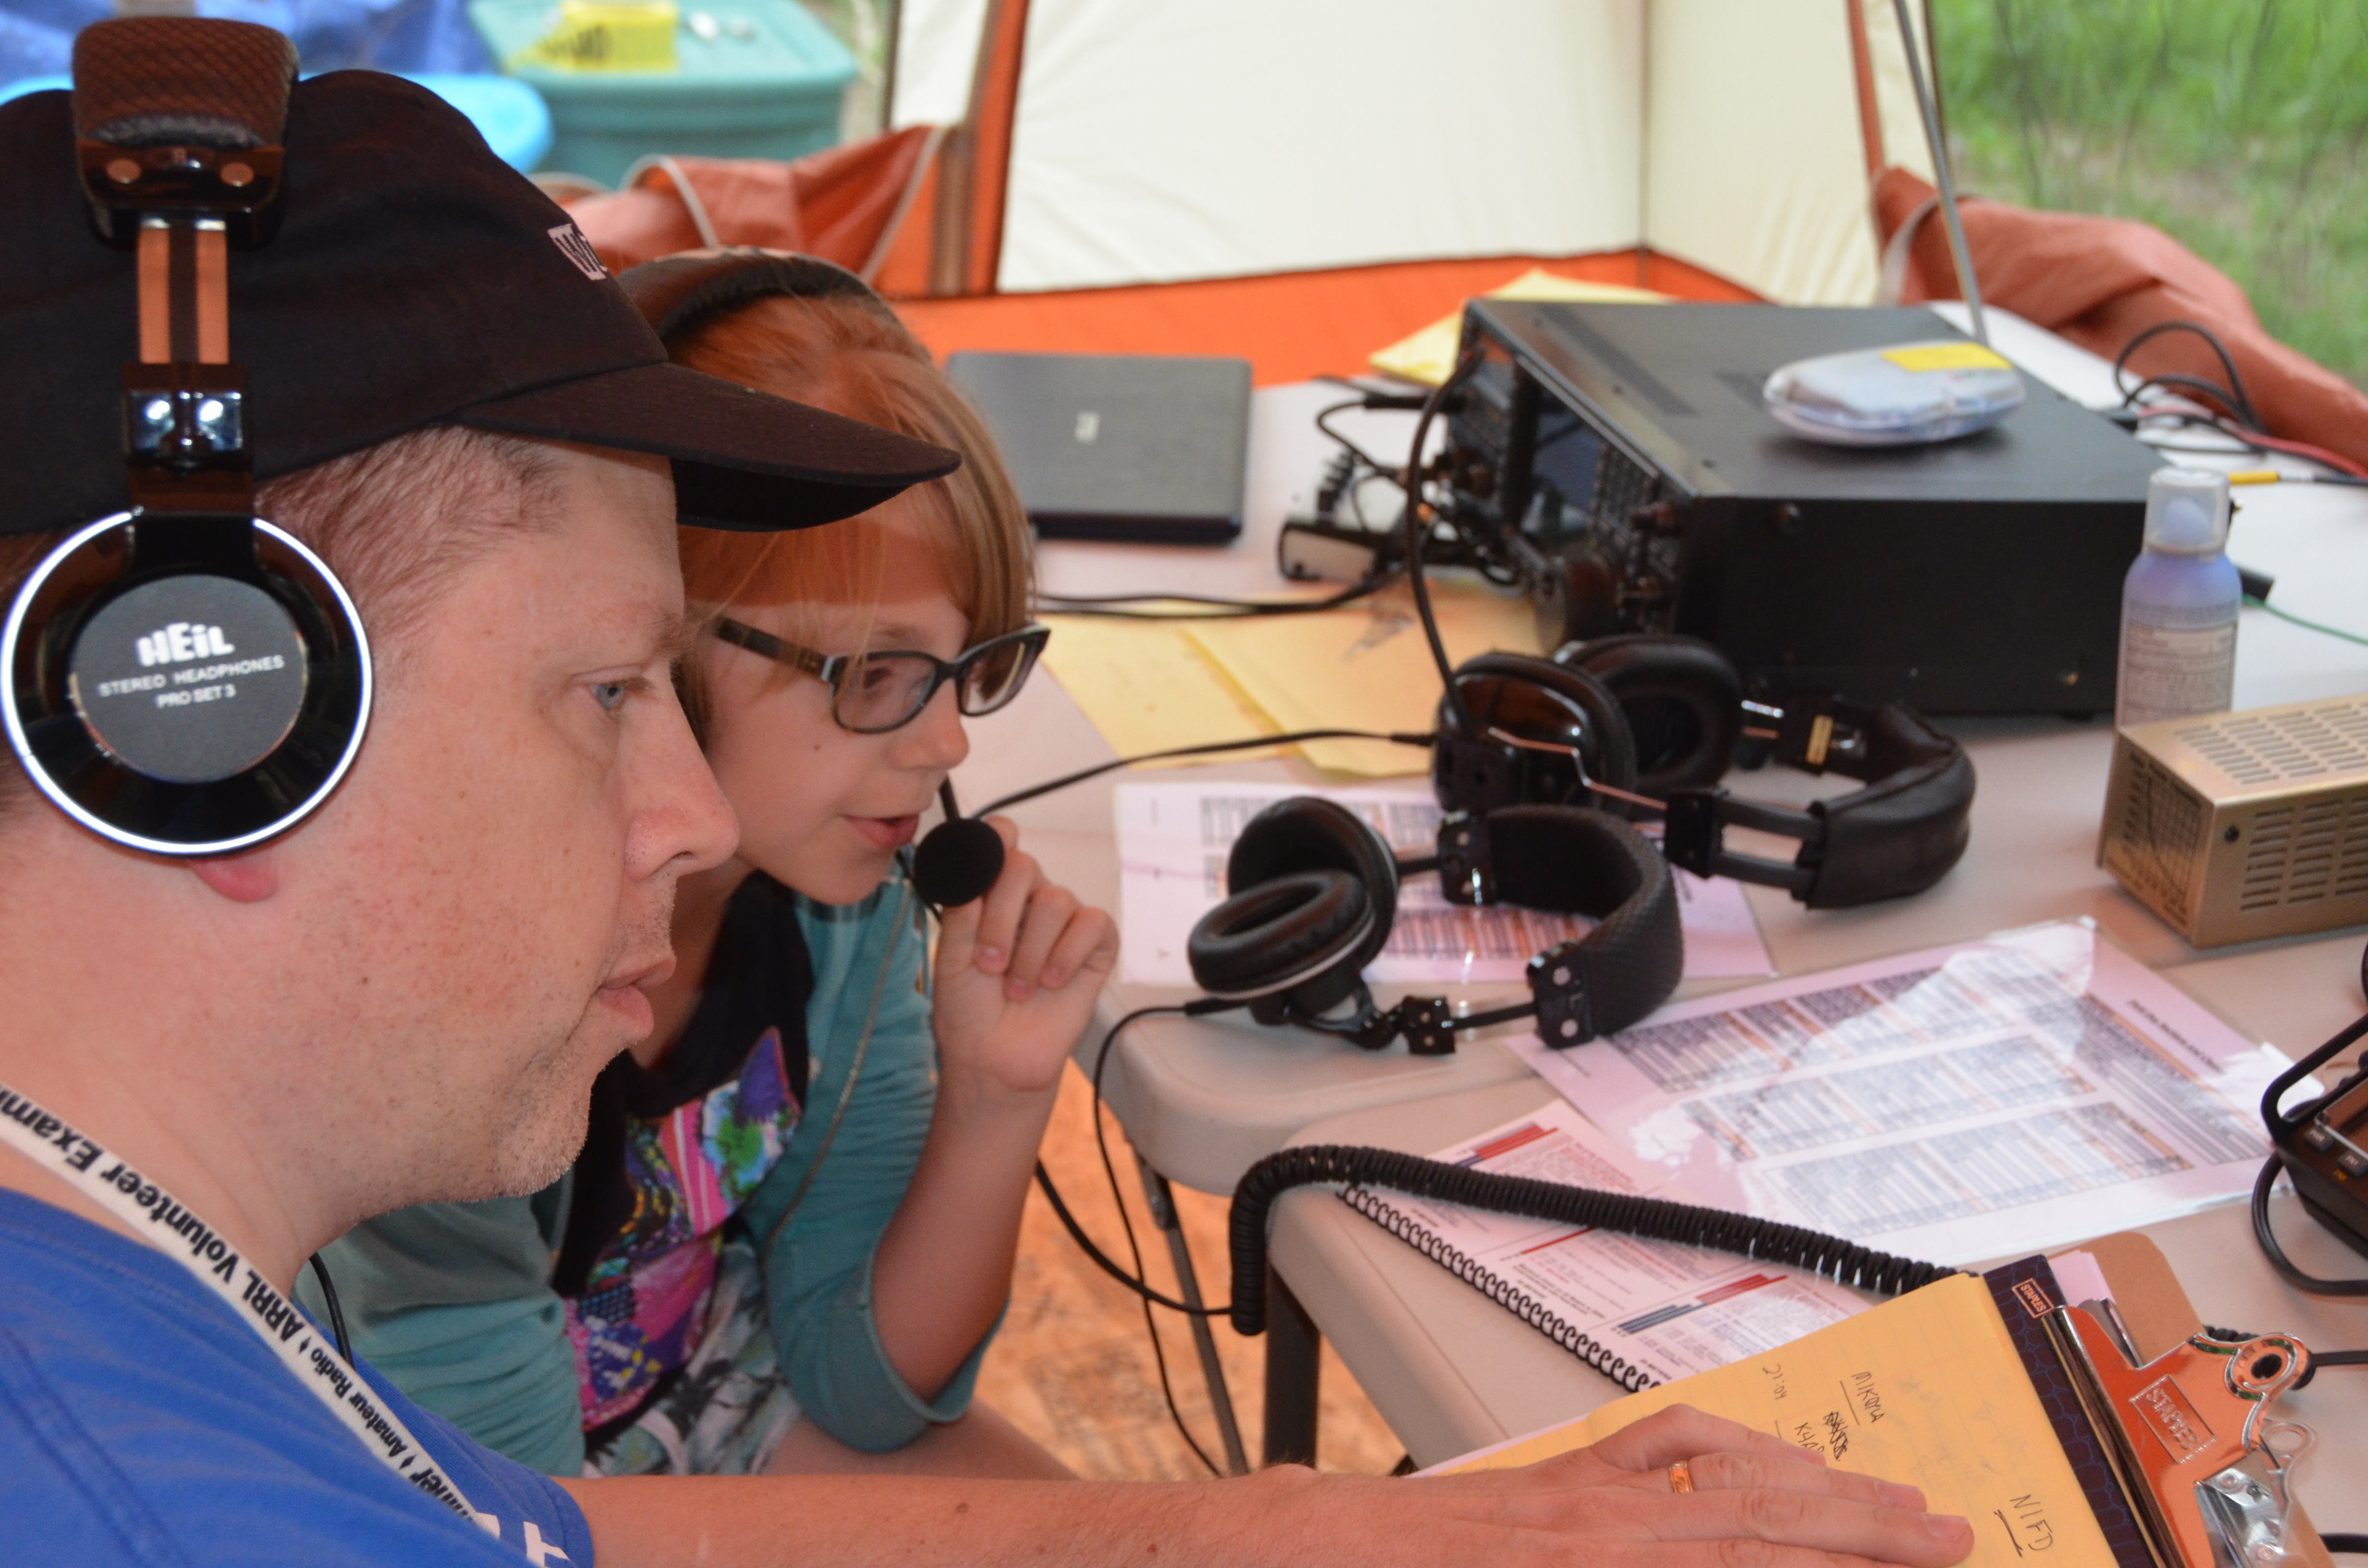
Get-On-The-Air Station (GOTA)

Ham Radio GOTA StationThis is amateur radio at its best and what it’s known for! We invite you to get on the air and make a contact (we call them QSO’s — pronounced: cue-so) somewhere in the world! You might be able to make a new friend in Germany or even Japan! Making contacts sits at the heart of amateur radio and is an activity that brings people together. So don’t be shy, step up, and hit the push-to-talk button!

Satellite Station Display

AMSAT LogoThe Radio Amateur Satellite Corporation (AMSAT) began in 1969 to foster amateur radio participation in space research and communication. Currently, AMSAT groups help advance the state of the art in space science, space education, and space technology. Come learn about what components go into constructing a station capable of contacting a satellite and what antennas, and smart phone apps, operators use to keep a pulse on the satellite location.

Digital Amateur Television (DATV)

DATV Transceiver RackNot only are amateur radio operators granted privileges to transmit speech, but we also can send fast-scan data such as TV signals! Many operators have experimented with how to homebrew their own fast-scan TV stations, and our club president Fred (AB1OC) and our member Skip (K1NKR) have chosen to use construct a station which uses a Raspberry Pi (RPi) with an Arduino shield to sit at the heart of the transceiver. The RPi is the brains of the TV which runs Linux and among other things is responsible for sequencing, transmit/receive control, automatic VSWR monitoring, and a touch-screen controlling interface to configure and operate the system. Learn about what it takes to build and operate one of these stations. We may even be able to make a contact! More information can be found at https://stationproject.wordpress.com/category/amateur-television/.

Kit Building with Nashua ARC

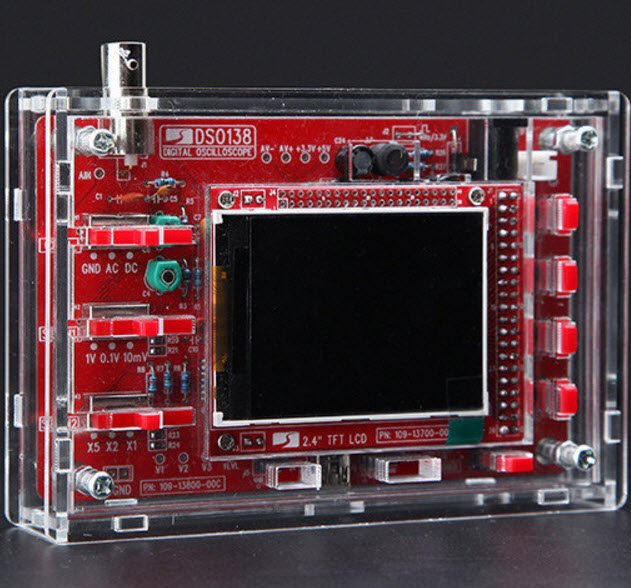
Oscilloscope KitThe Nashua ARC holds kit-building nights were both inexperienced and experienced members homebrew in a relaxed, learning environment. In the past, we have built Pixie QRP (low-wattage) kits transmitting Morse Code on the 40m amateur band. But, on February 18 from 1 – 5 pm, First Church in Nashua, Nauss Hall, we will build the digital oscilloscope kit DSO138 (shown to left). This kit comes with a clear acrylic case to protect it, build instructions, and among its specs has a 1 Msps sampling rate, 12-bit accuracy, 200 kHz bandwidth (good for audio signals), capable of freezing the waveform display, and comes with a 1Hz / 3.3V test source. We invite you to join us and will bring some kits with us. More info can be found on our website at https://www.n1fd.org/2016/03/27/inexpensive-diy-digital-oscilloscope-kit/.

We hope you will join us for our event! Please bring friends, family, but most importantly we want you to have fun and enjoy this hobby with us!!

Contact Information

Brian Smigielski (AB1ZO): [email protected]
Jamey Finchum (KC1ENX): [email protected]

Radio Amateurs Developing Skills Worldwide