No, I’m not talking about short people! I’m talking about hams who may not have tall trees or the capability to put up a tower on their property. I want to tell you about a fascinating antenna design – a low-profile, high-performance solution ideal for those of us who might be challenged by restrictive antenna regulations or limited space. I’m referring to the Magnetic Radiator, specifically the Multiple-U (MU) design detailed in this article. This clever design comes to us from the inventive mind of Paul D. Carr, N4PC (SK) who had a column in CQ Magazine many years ago.
Now, you might be thinking, “Another vertical antenna? What’s so special about this one?” Well, let me tell you. This isn’t your typical electric radiator. This antenna operates on a fundamentally different principle—it’s a magnetic radiator.
What does that mean? Electric radiators, like your standard dipole or vertical, generate a strong electric field close to the antenna, leading to ground losses and less efficient radiation. This design, however, focuses on creating a strong magnetic field, minimizing those losses, and improving efficiency. Think of it as radiating power through the earth rather than into it. Some key advantages of the MU design are:
- Low Profile: The vertical elements are less than 0.1 wavelengths high, making it perfect for locations with height restrictions. We’re talking about an antenna that’s practical for even the most compact locations.
- No Loading Coils or Radials: No need for cumbersome loading coils or extensive ground radial systems. This simplifies construction and installation considerably.
- Efficient Radiation: The design promotes efficient radiation, even at relatively low heights above ground. This magnetic radiation pattern offers surprisingly good performance.
- Good Bandwidth: The MU design offers good bandwidth, which is important for modern digital modes and for those who like to cover multiple frequencies in the same band without retuning.
The article provides details design specifications and construction guidelines for various bands, from 10 meters up to 160 meters, with diagrams to walk you through the process. It even offers adjustments for different antenna heights above ground.
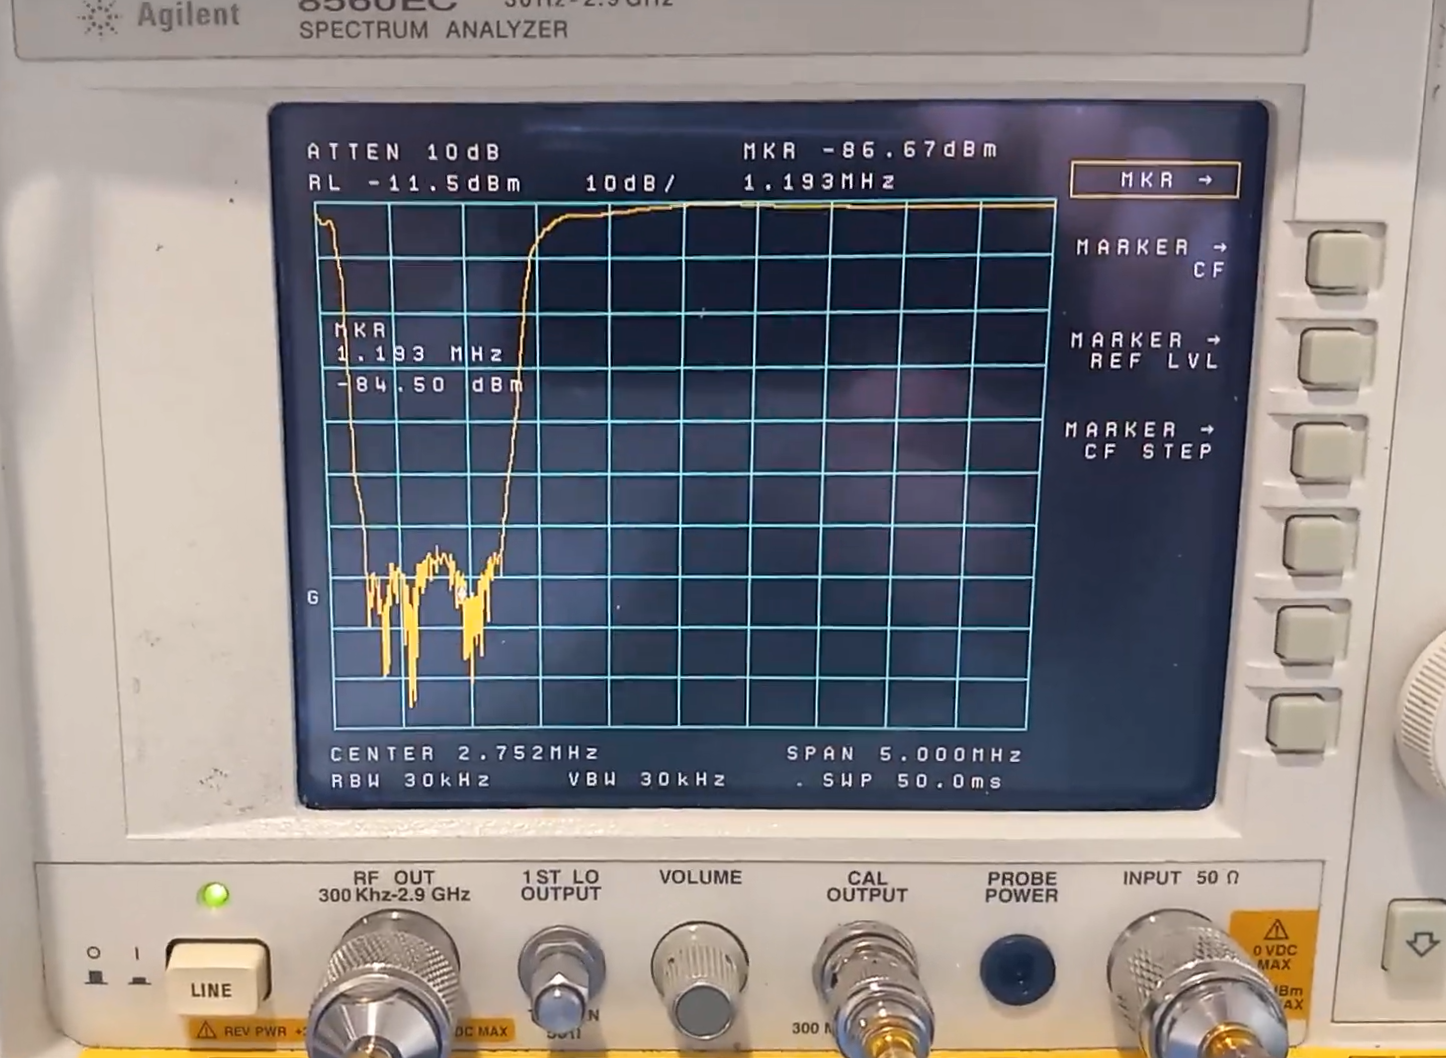
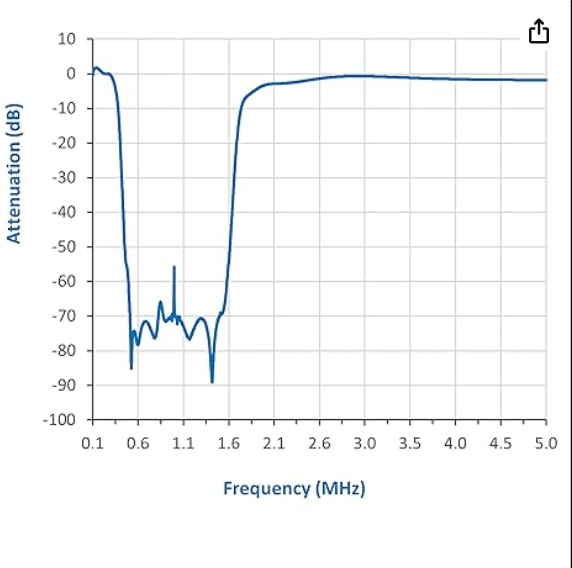
Now, let’s be clear—this isn’t a magic bullet. The performance will vary depending on the specific location, and like any antenna, there will be some directional favoritism. In the examples provided, there is significant performance in a certain direction. However, the overall design offers impressive performance, considering its low profile and simple construction. Remember that the measurements presented are based on real-world testing, demonstrating its practical effectiveness.
If you’re looking for an efficient, compact, and relatively easy-to-build antenna that performs well for long-haul contacts, I highly recommend taking a closer look at the Multiple-U magnetic radiator. The provided charts and diagrams will help you determine your optimal design based on your specific band and location.
Back in the 1990s, I built this antenna on my four-acre property in Boulder, Colorado. Boulder County’s strict antenna regulations prevented me from using a tower despite having ample space. After extensive research, I chose this design and started with a 10-meter version, using readily available parts from my “junk box”—speaker wire and RG-59 75-ohm coax for the matching network. I improvised support using a nearby bush and my garden fence and constructed the antenna, including the spreaders, in under an hour.
Connecting my 50-ohm feedline to the quarter-wave 75-ohm balun, I was pleased to see my ATU quickly achieve a 1:1 SWR with minimal tuning effort—always a good sign. Using my old IC-745, I tuned into a busy pile-up on 10 meters. I cautiously sent my callsign, fully expecting nothing, especially with my low power output of only 100 watts. To my astonishment, the DX station from Malta immediately answered who was the reason for the pile-up.
This unexpected success initially left me stunned. After confirming the contact with a 59 report, he responded that my signal was 59+20dB at his location. I explained my simple antenna. He compared my signal to a friend’s using a 50-foot high tri-bander in Illinois, noting that I was significantly louder. Propagation undoubtedly played a role, but switching to my vertical antenna resulted in a noticeable decrease in his signal strength (about two S-units) – this proved to me the design was effective. I was hooked and decided to build a larger version for 80 meters.
Using four 25-foot supports, I constructed a much larger 80-meter version of the antenna, requiring approximately 530 feet of wire. Bamboo served as the spreaders, and a quarter-wave 75-ohm line provided the matching. I oriented the antenna east-west for broadside radiation. That evening, I monitored an 80-meter WAS net and was amazed by the clarity of the signals. Typically, 80 meters is noisy, but this antenna exhibited remarkably low atmospheric noise, a characteristic benefit of H-plane operation, which minimizes noise typically prevalent in the E-plane. The longer “skip” characteristic of this antenna meant that distant stations came in exceptionally well, making it ideal for DX but less effective for closer contacts.
I replicated the antenna design for another ham who wanted a directional antenna specifically for 17 meters. He lived in a trailer park with antenna restrictions, so we needed a lightweight, easily repositionable solution. We constructed two supports using PVC pipe, with a central section and two horizontal PVC spreaders at the top and bottom. To ensure stability, the base of the vertical PVC support was encased in cement, allowing him to easily adjust the antenna’s direction simply by moving the cement-filled buckets at the base of the supports, effectively changing the broadside direction as he desired.
The unexpected success of my initial 10-meter antenna, built from readily available materials and achieving exceptional signal clarity, fueled my curiosity for this simple yet effective design. The subsequent construction of larger versions for 80 meters and a modified model for 17 meters further confirmed its versatility and adaptability. These antennas, built to overcome challenging site restrictions, demonstrated the principle of H-plane operation in minimizing atmospheric noise while maximizing the reception of distant signals. The experience proved that resourcefulness, ingenuity, and careful design could significantly enhance signal quality in challenging operating environments.
You can learn more about magnetic radiator antennas here.
Jack, WM0G