Category Archives: Education and Training

Education and Training information is for folks looking for help to earn or upgrade their license, learn about Amateur Radio, and get help with Ham Radio questions.

Getting On The Air – Your First Station

Class Grad with Her CSCE

So you’ve gotten your Technician License or your General upgrade – how do you get a station on the air? This was the topic of our recent Tech Night. The following are some thoughts to get you started. If you are a new Technician, the first thing to ask is – “What do I really want to do on the air and where will I be doing it?” Here are some common answers to this question:

  • I spend a lot of time commuting in my car or truck and I’d like to pass the time talking with other HAMs
  • I will mostly be operating from my home and I want to rag chew (chat with other HAMs) and check-in to emergency, ARES and/or other nets
  • My plans are mostly be doing parade and other HAM activities in the field and I need something that is portable

Approaches for Tech Operators

In all of these scenarios, you will be using a combination of FM Simplex and Repeater operation on the 2 m and 70 cm bands.

Mobile 2m/70cm FM Radio in a Vehicle
Mobile 2 m/70 cm FM Radio in a Vehicle

If the first case is you, then you’ll want to install an FM mobile rig and antenna in your car or truck. You’ll also probably want to permanently mount a simple  2 m/70 cm antenna on your vehicle.

Base 2 m/70 cm Radio with APRS Display

If the second case is your prime operating scenario, then your choices in radios probably are along two main paths.  A 2 m/70 cm radio or a dual purpose HF and 2 m/70 cm capable “all in one” radio. You might take the second approach if you already have or are planning to get your General Class or Extra Class license.  A 2 m/70 cm ground plane style vertical antenna that you can mount outside or perhaps in your attic would be a good choice. You might also want to consider a radio that does D-STAR or another Digital Voice mode. There are some large worldwide nets that use digital plus internet linking to reach a large population of HAMs.

HT with Improved Antenna

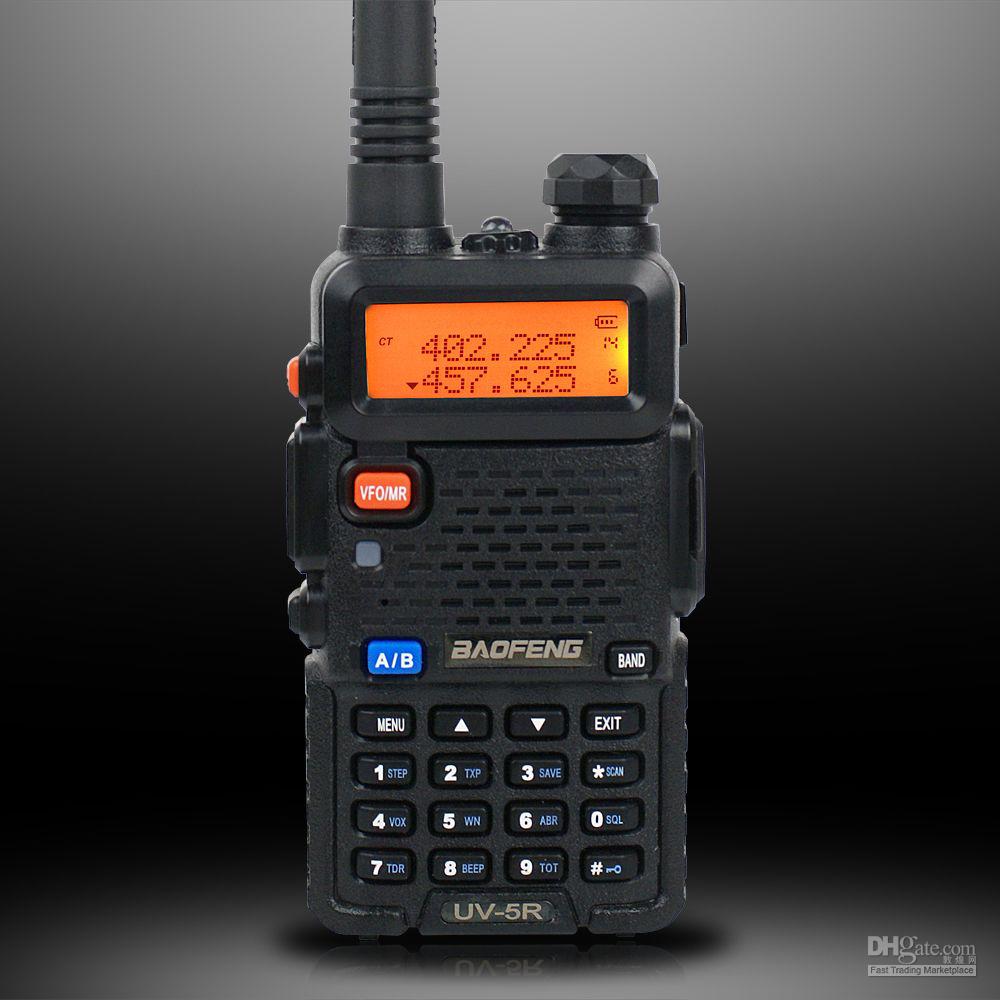
If the third case is you main operating mode, then you probably want a quality HT with a good antenna. The rubber duck antenna that comes with most HTs will provide relatively weak performance. A quality 5/8 wavelength antenna and a spare battery for your HT will be a good way to go.

Approaches for General  Operators

First Station - OCF Dipole and a 2 m/70 cm Antennas
OCF Dipole and a 2 m/70 cm Antennas

If you’ve received your General Class license and want to do HF, your biggest decision will your antenna antenna. This topic is pretty broad and we’ll cover it in more detail at our Tech Night. I usually recommend a simple wire antenna to get started. A 20m dipole mounted either horizontally or vertically is often a good first choice. It’s inexpensive and can be put up at most QTHs in a day or less.

Moving up from here, a 40m delta loop or a multi-band OCF dipole also make great starter antennas depending on your space and what you want to do. If you cannot mount an antenna outside, you may be able to mount a modest dipole in your attic or use a portable antenna system like the Buddipole that you can set up to operate and then take down.

First Station - Basic HF Station with PC
Basic HF Station with PC

Radio choice is also a broad topic which we will cover at our Tech Night. I would recommend a starter HF radio or a good used one (with help from an experienced HAM to select and check out). Your radio should be a 100W unit and cover all of the HF bands from 80 m – 10 m at a minimum. QRP radios (5 – 10W) are usually not a good choice for a first station. Making contacts at this power level with simple antennas can be challenging. It’s also good to have a radio which can do 6 m if that works out for you.

I highly recommend that you include digital mode capability in your first HF station. Digital modes such as PSK and RTTY provide a great way to learn to make contacts on the HF bands. Also,  these modes work very well for making DX contacts with 100W and simple wire antennas.

I hope that this will get you started thinking about how to set your first station. Please come to our next Tech Night session to learn more. You can ask questions and get the benefit of experienced folks in our club. We can help you with these choices. We can also help with installing radios, antennas and getting on the air.

Fred, AB1OC

How to Build a Ground for your Shack and Feedlines

When I began construction of a dedicated 8-Circle Receive Array antenna system for the low bands (160m – 40m) some time ago (see part one in this series for details), I knew that I’d have to use good Ham Radio grounding practices…

This is an article about Ham Radio grounding that I wrote some time ago when I added a second ground and entry point for my shack for some additional antennas. The ground system used was a simple one that would make a good system for a new HAM’s first station. The copper bracket on the rod can mount the feed line arrestors needed for feed lines before they enter your house. All one needs is the ground rod, the bracket, arrestors for your feed lines and a 12 gauge wire into your shack to ground your radio and you’re ready to get on the air. You can also use the arrester as a place to disconnect your feed line(s) when you’re not using the station to protect your QTH from lightning.

Source: Receive Antenna For The Low Bands Part 2 – Second Shack Entry And Ground Point | Our HAM Station

Fred, AB1OC

Baofeng/Pofung Radios: A Review For The New Ham

Baofeng UV-5R
Baofeng UV-5R

You may have run across the names Baofeng/Pofung here and there. They are a Chinese manufacturer of two-way radio equipment. What makes these radios attractive to the new ham is their low cost. If you look carefully on Amazon, you can buy a UV-5R+ dual band HT for around $40. Add a programming cable for $10, pair that with the free, open source programming software called CHIRP and you’ve got a very capable portable station.

The UV-5R+ covers 136-174 / 400-512 MHz (transmit and receive) with two power levels, 1- and 5-Watts. They also feature a dual-watch function, DCS/CTCSS encode/decode, DTMF keypad, VOX, and a handy LED flashlight. The front mounted speaker provides 1 Watt of clear audio. The audio and reception reports I’ve received were excellent. There is a two-pin, Kenwood compatible socket on the side of the radio for an optional speaker mike. An earphone-microphone is included.

One drawback to these radios is the fact that programming them manually is a bit of a challenge. However, with some practice, it is possible to program the radio without the aid of a computer. There are many YouTube videos on programming. It’s usually a good idea to learn how to program any radio in the field because your laptop/desktop computer may not be available to you in an emergency situation.

So you’ve got your new radio, you’ve charged the battery, turned it on, was greeted by the cheery voice telling you that you were in the frequency mode (yes, the radio will talk to you in English or Chinese)…now what? The first thing you should do is get CHIRP installed and running on your PC. Next, download the virgin configuration from the radio and save it to a file on your computer. That way you’ll be able to revert the radio to its factory fresh state in case you accidentally mess things up. More about CHIRP in another article.

One accessory you might want to consider is an antenna. The stock rubber antenna isn’t very good because of mismatching. You’ll find that most users recommend Nagoya antennas. These seem to be well made Taiwanese antennas that are much better than the one that came with the radio. Unfortunately, there is a rash of counterfeit Nagoyas out there so be careful. I have had good luck with the MFJ-1717S dual-band antenna. Just remember to get an antenna with a female SMA connector.

Another nuisance I’ve found is the retaining nut for the antenna connector on the radio coming loose after a couple of days use. The simple fix for this is to remove the nut and apply a small amount of thread locking compound to the threads. Tighten the nut well and that’s it. Just make sure that the thread locker is removable because there will come a time when you have to take the radio apart for servicing. I recommend Loctite Blue.

I’ve had my UV-5R+ for two years and it just runs. Last year I bought a BF-F9+V2 which is the tri-power version of the 5R+ (1/5/8 Watts). These low cost, easy to use radios will make a welcome addition to any emergency Go Box.

Bill, KA1SSR

Radio Amateurs Developing Skills Worldwide