We’ve been thinking about building a portable Go Kit for VHF/UHF Emergency Communications (EMCOM) and Field Day Applications for a while now. The following is a list of our requirements for a Go Kit –
- 2m and 70cm operation with FM simplex and repeaters
- APRS capability and tactical display for portable coordination
- Digital messaging capability
- Weather band monitoring capability
- AC Power with flexible battery backup options
A plan to build our Go Kit came together during our trip to the Dayton Hamvention this year.

The heart of any Go Kit is the Transceiver. We’ve been using Kenwood equipment for our APRS iGate for some time now and we have had good results with it. Kenwood’s latest 50W transceiver with APRS is the TM-D710GA. This unit provides full support for APRS tactical applications and now includes a built-in GPS receiver making it ideal for our Go Kit application.

We have been using the Kenwood TM-D710 along with an AvMap GeoSat APRS display in our APRS iGate setup and the combination works very well. The AvMap display lets one see the location of portable and mobile APRS stations on a map display. This arrangement is perfect for coordinating activities in an EMCOM situation. The AvMap GeoSat 6 APRS display is no longer in production but I was able to locate a nearly new unit on eBay.
EMCOM Go Kit Packaging

We had a chance to look at the iPortable enclosure at Dayton and decided that their Pro 2 4U deep unit would be a good choice for our Go Kit application. The iPortable enclosures are based on a portable rack mount case and include a DC power system, speaker and headphone hookups, a light, and provisions for a cooling fan.
EMCOM Go Kit Construction

With all the components in hand, we began the construction of our Go Kit. Reliability is important in any portable system like this so we put some time into securely mounting all of the equipment and neatly arranging the cabling. First came the shelf which holds the Kenwood transceiver and a SignaLink USB sound card. A combination of drilling the shelf to secure gear with large cable ties and #8 stainless hardware was used here.

Our iPortable case was equipped with both SO-239 and N-connectors on the front panel to allow for antennas and feed lines equipped for either connector type. To make the change over between the connector types easy, we installed separate PL-259 jumper cables for each connector. One simply connects the appropriate jumper to the radio.

The power and AvMap display shelf were next. The AvMap display mount was dissembled and modified to accept a custom mounting bracket.

The iPortable enclosure was drilled to mount a West Mountain Radio PWRgate to handle backup battery charging and management. The PWRgate supports instantaneous switching between an AC power supply and a backup battery and can accommodate a wide range of battery types and sizes.

The PWRgate was configured to properly charge our 18AH AGM backup battery. Note the use of a fuse in series with the battery for safety reasons. We used a Powerwerx SPS-30DM adjustable power supply set to 14.5Vdc to operate our Go Kit and to provide the proper charging voltage for our AGM battery.
EMCOM Go Kit Operation

The last piece of the setup was the antenna. We wanted something that was portable, easy to set up and would provide good performance. We choose a Diamond X-30A 2m/70cm ground plane antenna and mounted it on a 12′ fiberglass push up mast. The feed line is made from 25′ of LMR-400UF coax. Several bungee cords are used to attach the mast to a fence post or other vertical structure.

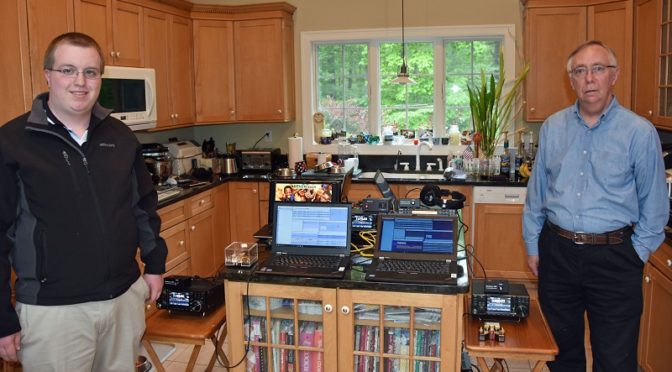
The picture above shows the completed Go Kit in operation. We typically set one side of the Kenwood TM-D710GA to operate as an APRS transceiver and Digipeater and the other side to operate on a local repeater or simplex FM. The SignaLink sound card is used with a laptop computer running Fldigi and NBEMS for messaging applications. The iPortable case has a 13.8V lighter socket which connects to a power brick to power our laptop PC.

The Go Kit is quite portable when closed. All of the equipment and cable connections are enclosed and protected by the case’s removable end caps. We’ve tested our Go Kit during our club’s weekly repeater net and it worked great. The first real use of our new Go Kit will be at Field Day this year. It will be located in our public information tent and will be used as a “talk-in” system.
Fred, AB1OC